Kickstart your day with 20g or more protein in these delicious, easy-to-make breakfast recipes! Whether you’re fueling up for a busy morning, refueling after a workout, or just want a satisfying, balanced breakfast, these dishes deliver on taste, convenience, and nutrition. From make-ahead meals to quick skillet creations, each recipe is packed with wholesome ingredients to keep you full and focused. Try one (or all!) of these protein-packed breakfasts to supercharge your morning routine.
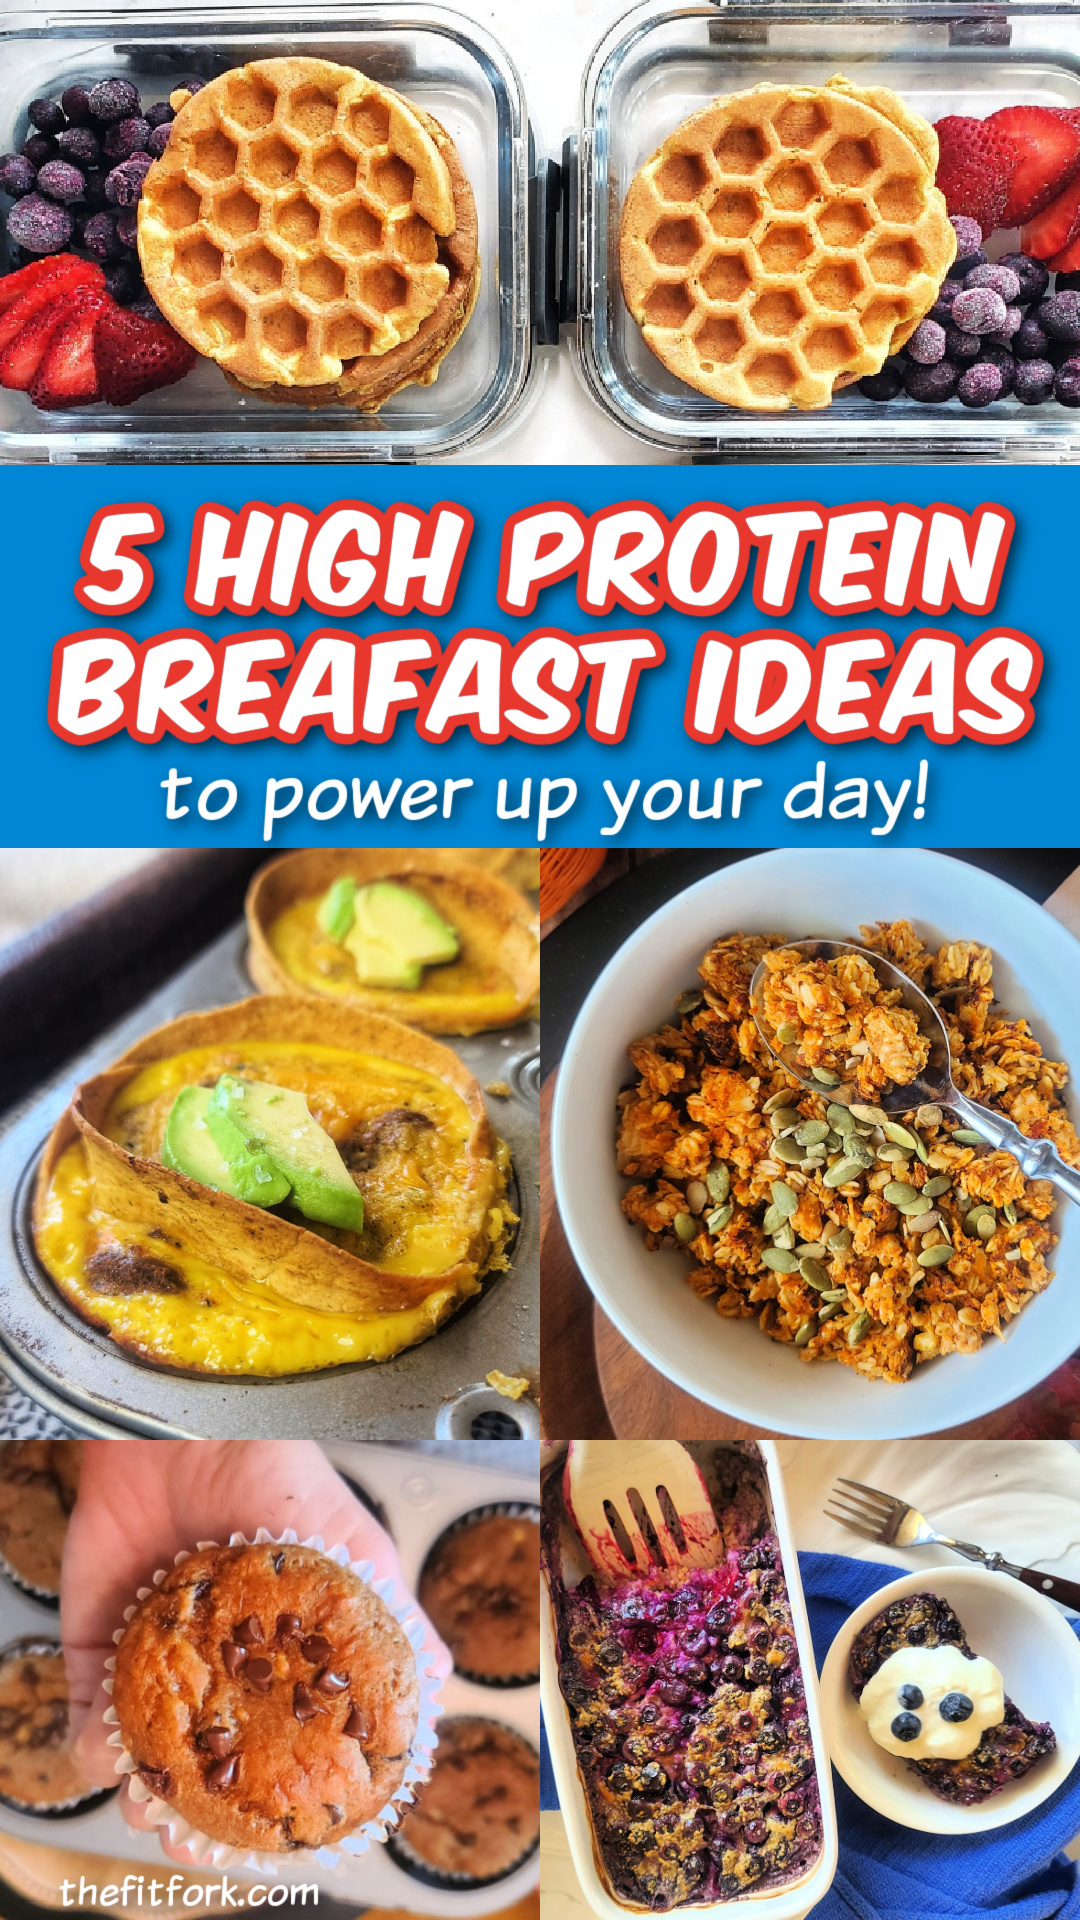
Beef Breakfast Burrito Muffins: These Beef Breakfast Burrito Muffins are a protein-packed way to enjoy your favorite Tex-Mex flavors any time of the day! Low-carb tortillas form the base, filled with eggs, salsa, cheese, and leftover taco meat for a savory, satisfying breakfast. Bake once and enjoy all week long—each muffin delivers 216 calories, 3g net carbs, 14g fat, and 20g protein.

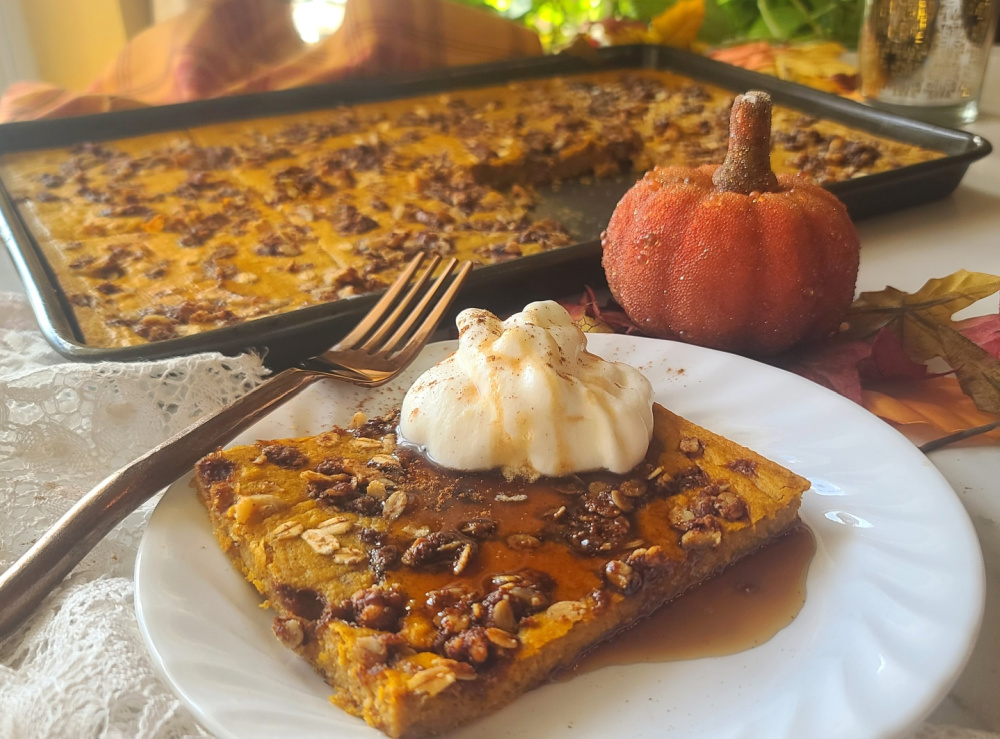
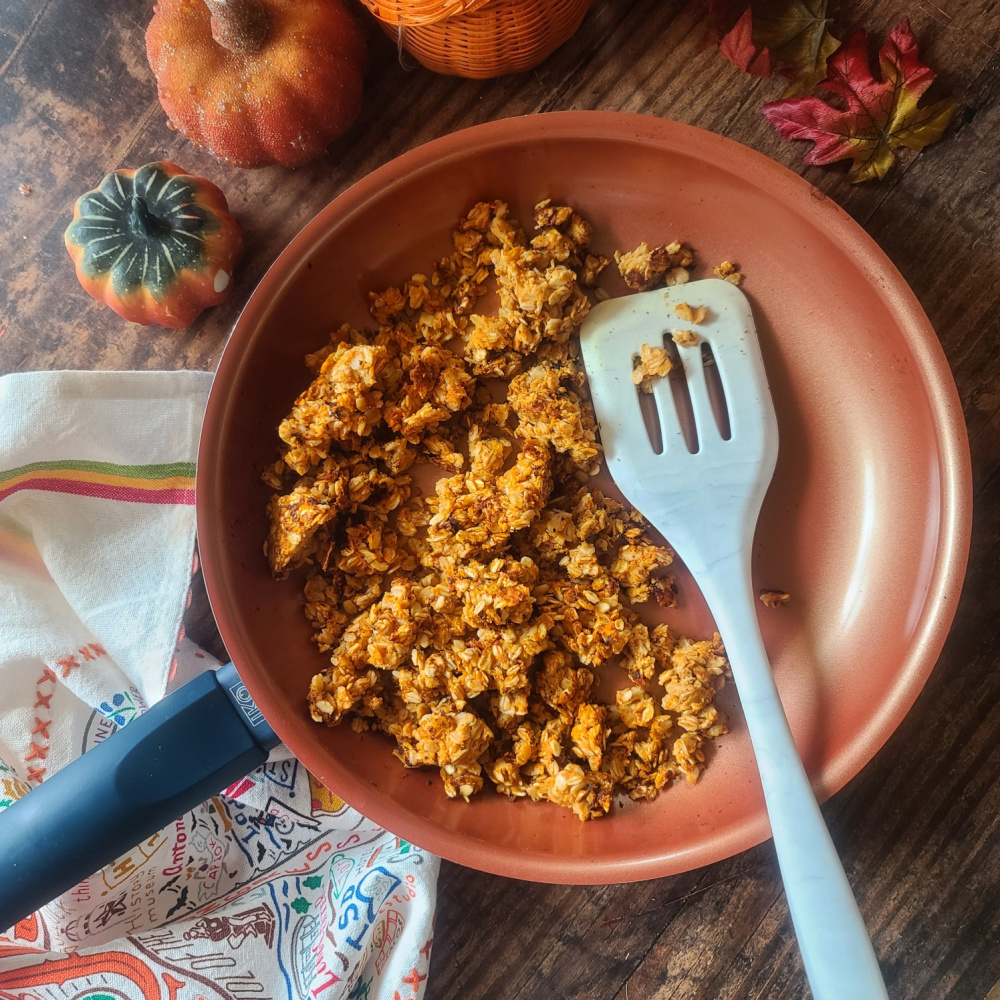
Pumpkin Scrambled Oats: Warm up your morning with this cozy and nutritious Pumpkin Scrambled Oats recipe. This comforting breakfast comes together in just 10 minutes using simple, wholesome ingredients—perfect for chilly fall mornings or whenever you’re craving the taste of autumn. Don’t have pumpkin on hand? Swap in applesauce for a delicious twist. Each serving has 22g protein to keep you full and energized.
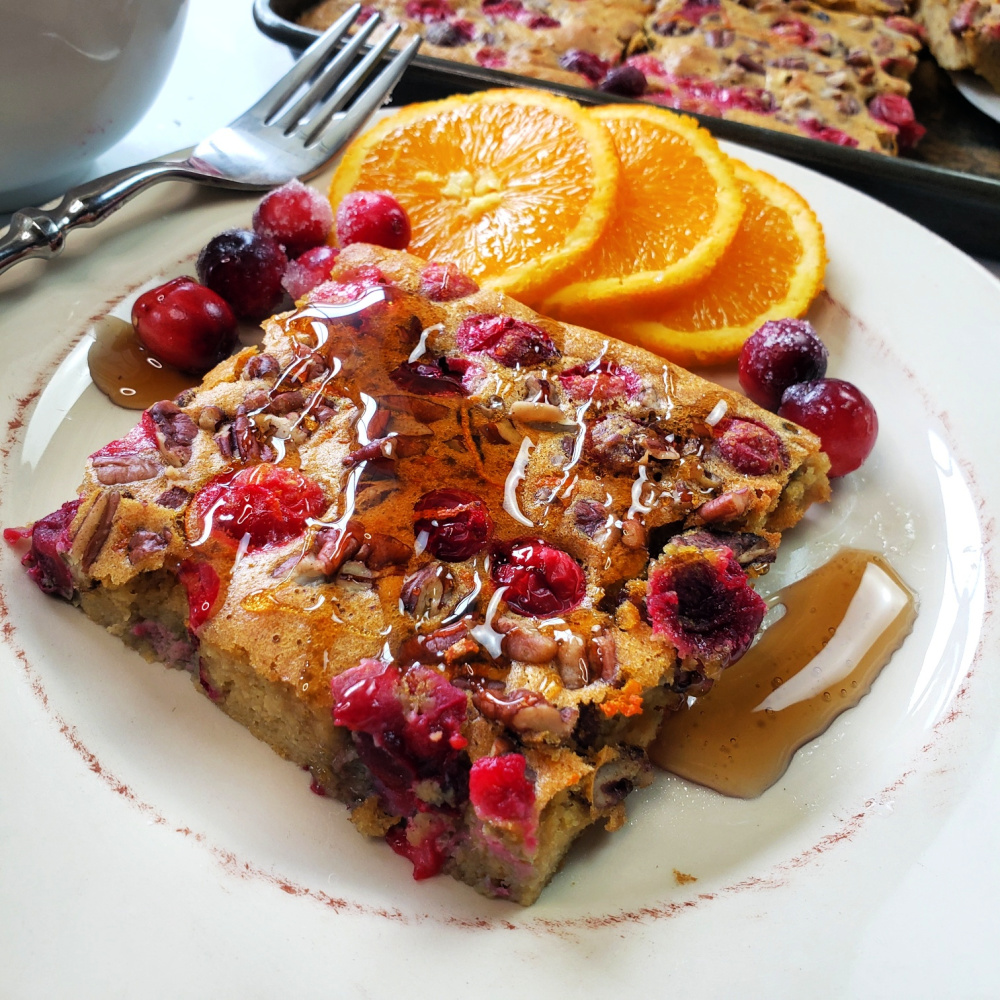
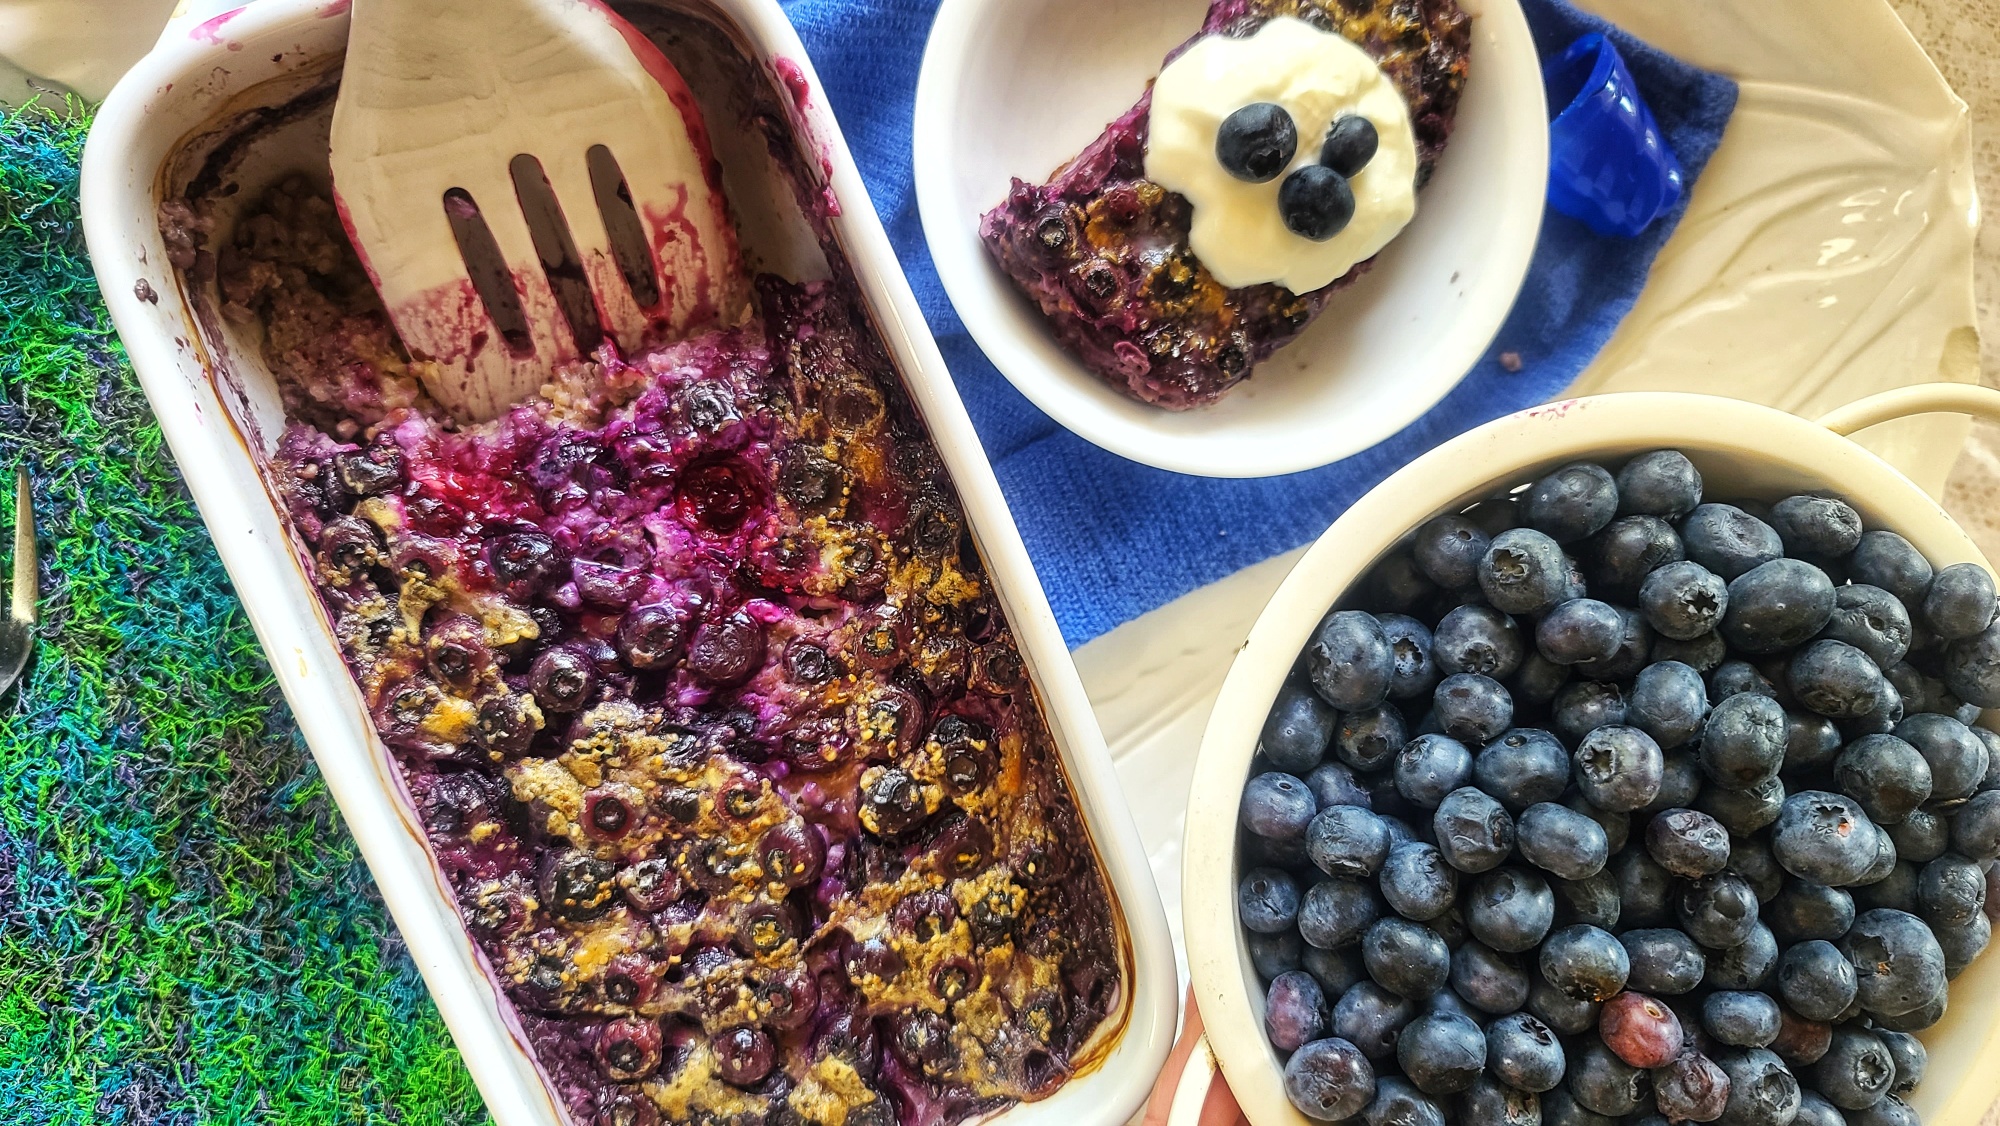
Blueberry Steel Cut Oat Bake:
Make breakfast easy and nutritious with this Blueberry Steel Cut Oat Bake. It’s perfect for meal prepping—just bake, slice, and store! Loaded with whole grains, berries, and your favorite protein powder (I used Great Lakes Wellness Collagen—use code THEFITFORK15OFF to save!), this recipe provides 290 calories, 21g protein, and the perfect balance of carbs and fiber to fuel your day.
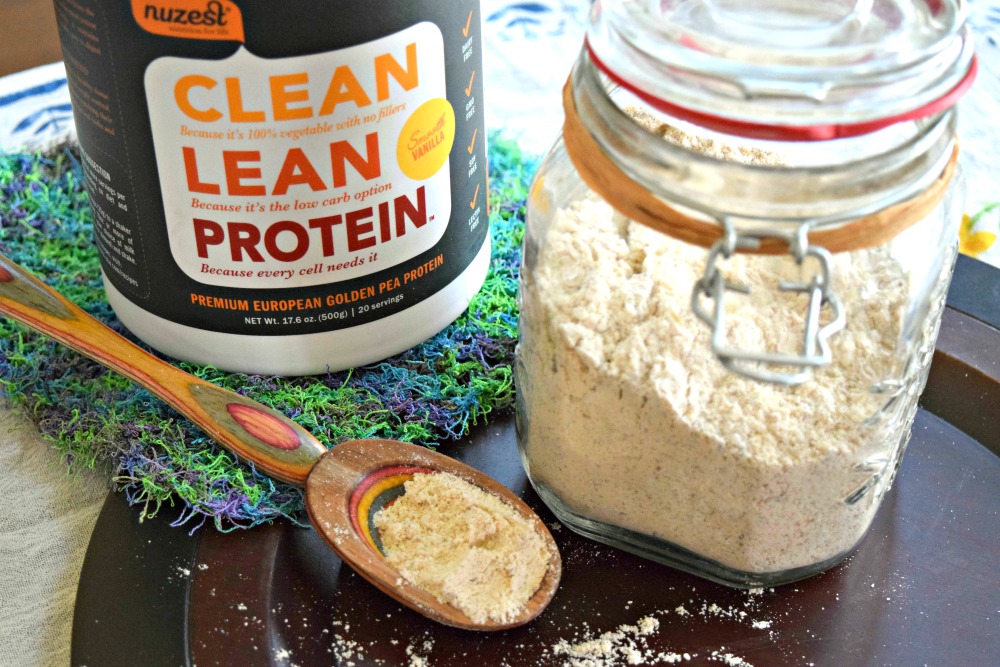
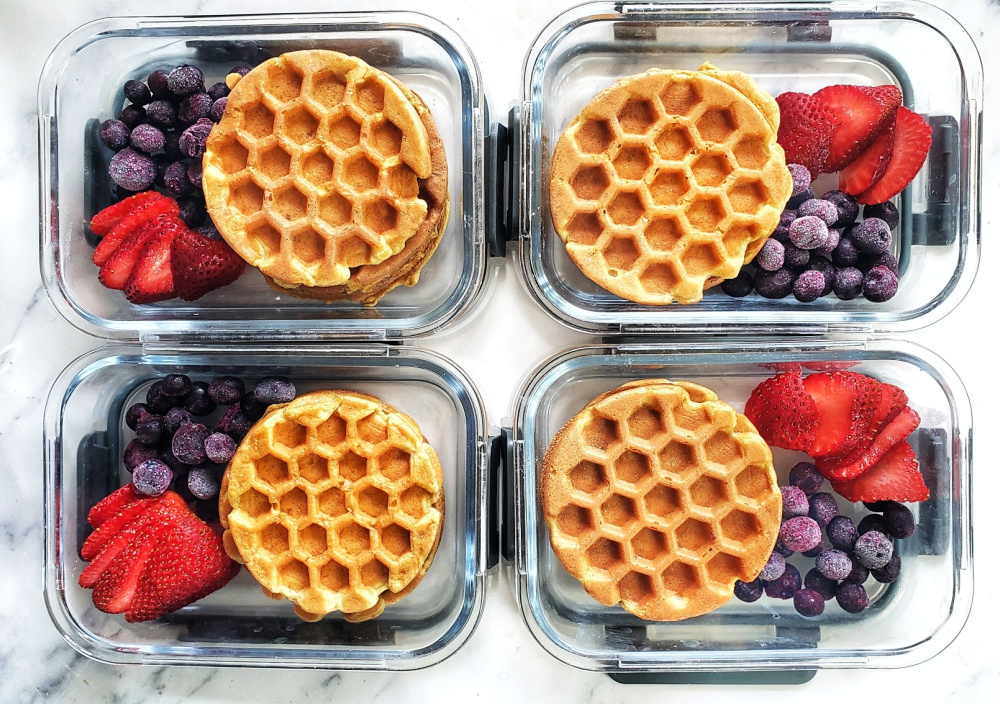
Cottage Cheese WafflesThese Cottage Cheese Waffles are a high-protein breakfast staple you can make ahead and freeze for busy mornings. Each batch can be customized by swapping protein powder flavors—try vanilla, strawberry, or chocolate! Made with Clean Lean Protein from Nuzest (use code FITFORK to save 15%), this gluten-free recipe serves up 23g protein and just 216 calories for three fluffy waffles.
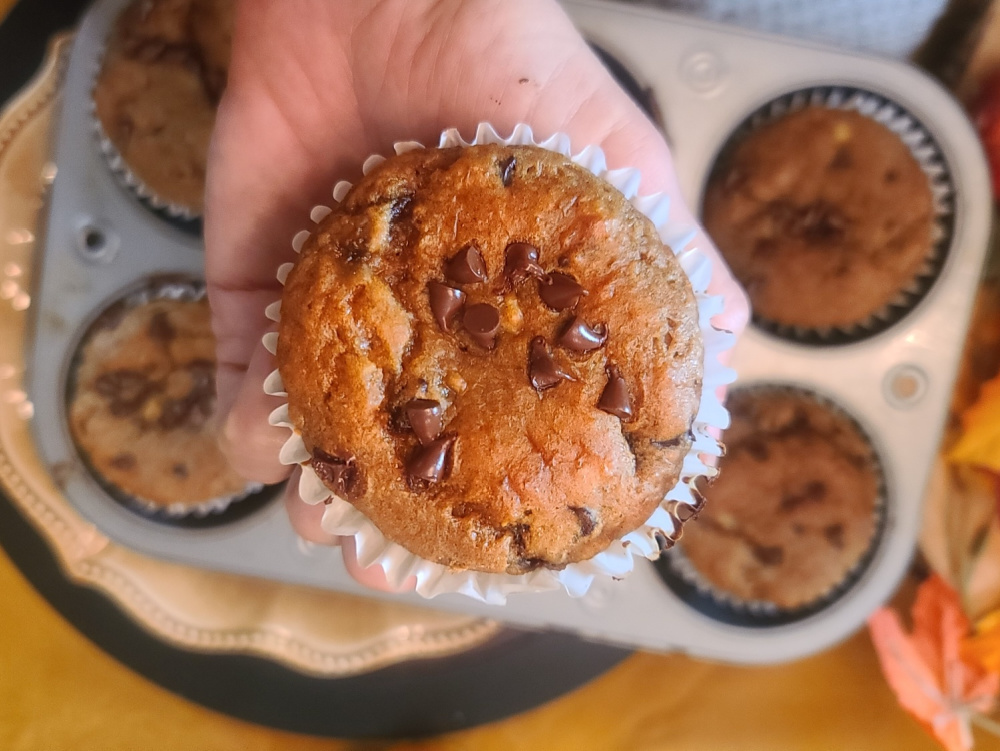
Banana Bread Protein Muffins with Chocolate Chips: Enjoy these smartly sweet Banana Bread Protein Muffins with Chocolate Chips for breakfast or a snack. Each muffin has only 163 calories and 12g of protein, but doubling up means 24g of protein to keep you satisfied. Cottage cheese, protein powder, and a gluten-free peanut flour baking blend make these muffins soft, flavorful, and rich in fiber—perfect for fueling your day.
Note: This post contains affiliate links. I earn a small commission for purchase made through links. Proceeds help offset operating costs for The Fit Fork. Thank you!