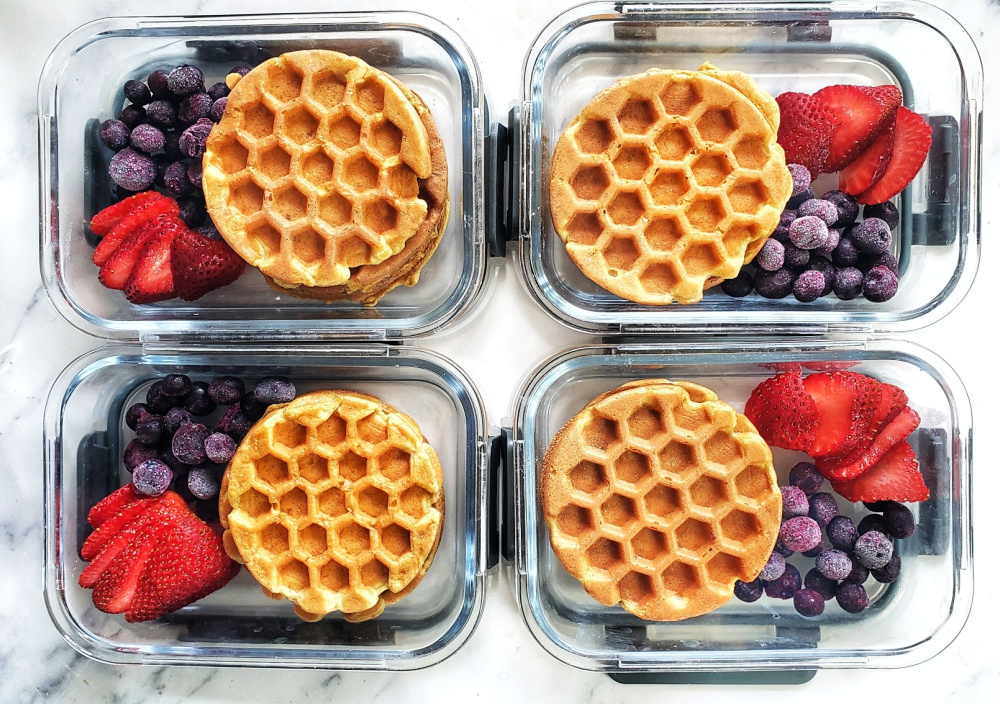
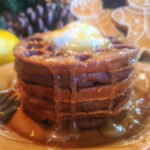
Gingerbread Protein Waffles for a Festive Fitmas!

Enjoy festive flavors and fuel our body right in the morning with these Gingerbread Protein Waffles – a seasonal, easy-to-make, and downright delicious way to keep your health goals in check without feeling deprived.

This high-protein holiday breakfast treat is not only packed with classic gingerbread spices that scream holiday vibes, but they’re also a powerhouse of protein thanks to cottage cheese and protein powder. Cottage cheese gives the batter creaminess while delivering a big protein punch, and protein powder amps things up even more.

My favorite protein powder for gingerbread recipes with protein powder (and making protein baked treats in general) is Clean Lean Protein from Nuzest – use my discount code FITFORK to save on your next purchase!)

Making these waffles couldn’t be simpler. Just blend up cottage cheese, protein powder, eggs, spices, and a handful of other easy ingredients to create a smooth batter. Then, let your waffle iron do the rest! Whether you use a mini waffle iron to cook them one at a time (makes about 12 waffles) or a larger 4-square waffle maker to knock them out quicker (done in three rounds!), you’ll have warm, spiced waffles ready in no time.

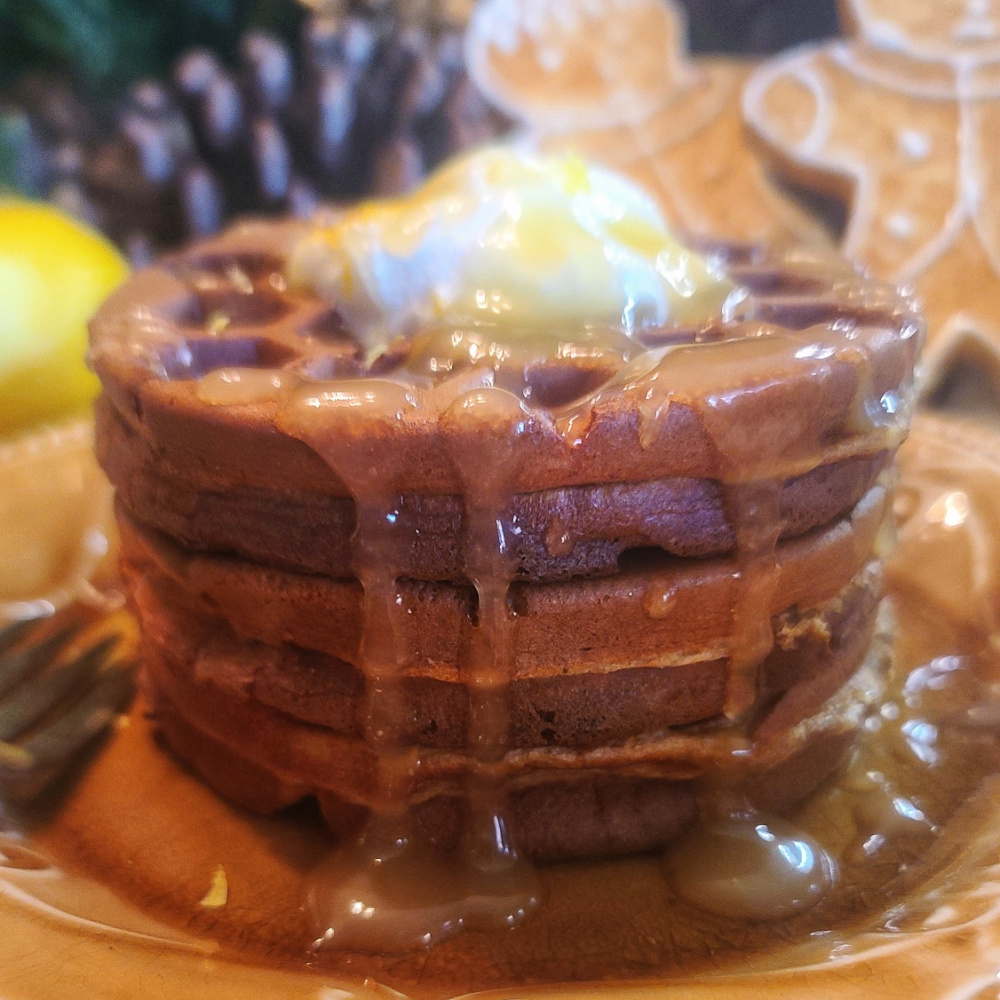
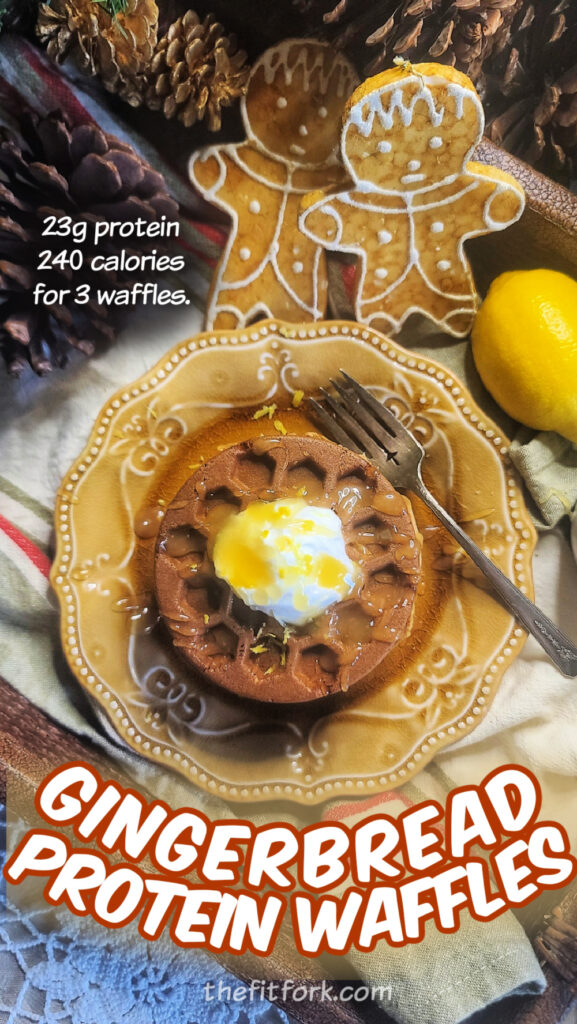
One serving of three waffles has just 240 calories and a whopping 23 grams of protein (full macros in the recipe card below). They’re perfect for breakfast, post-workout refueling, or even a holiday-inspired snack. I love topping mine with warm sugar-free lemon curd that’s been thinned out to a syrupy consistency. The bright citrusy zing pairs so well with the rich gingerbread flavor. A sugar-free maple syrups is a yummy pairing, too!

If you’re looking for holiday meal prep ideas, this recipe is a game changer. I often double or even triple the batch and freeze the extras for busy mornings or grab-and-go snacks. Just pop them in the toaster or air fryer for the best results, and they’ll taste as good as fresh off the iron.

So, this holiday season, don’t let all the treats derail your goals. These Gingerbread Protein Waffles let you indulge in festive flavors while staying on track. Whip up a batch (or three) and enjoy every healthy, seasonal bite!

This gingerbread waffle recipe is based on my original and very popular Cottage Cheese Waffles recipe! You can check it this yummy protein waffle with cottage cheese recipe here: Easy Protein Powder Cottage Cheese Waffles.

IF you’re here for the gingerbread and are a gingerbread head like me, check out this post: Holiday Inspired Healthy Gingerbread Recipes

Note: This post contains affiliate links. I earn a small commission from purchases made through links. This helps offset operating expenses for The Fit Fork, thanks!

Gingerbread Protein Waffles
Prep Time
5 mins
Cook Time
15 mins
Total Time
20 mins
 

Gingerbread Protein Waffles area flavorful and festive addition to your morning routine with all those holidayspices you love, but none of the sugar overload. Each serving has 23g protein,thanks to protein powder and cottage cheese. Freezer friendly for breakfastmeal prep.

Course: Breakfast, brunch, Snack
Keyword: 10 minute meal, christmas, cottage cheese, gingerbread, holiday, protein powder, waffles
Servings: 4 3 waffles per serving
Calories: 240 kcal
Ingredients
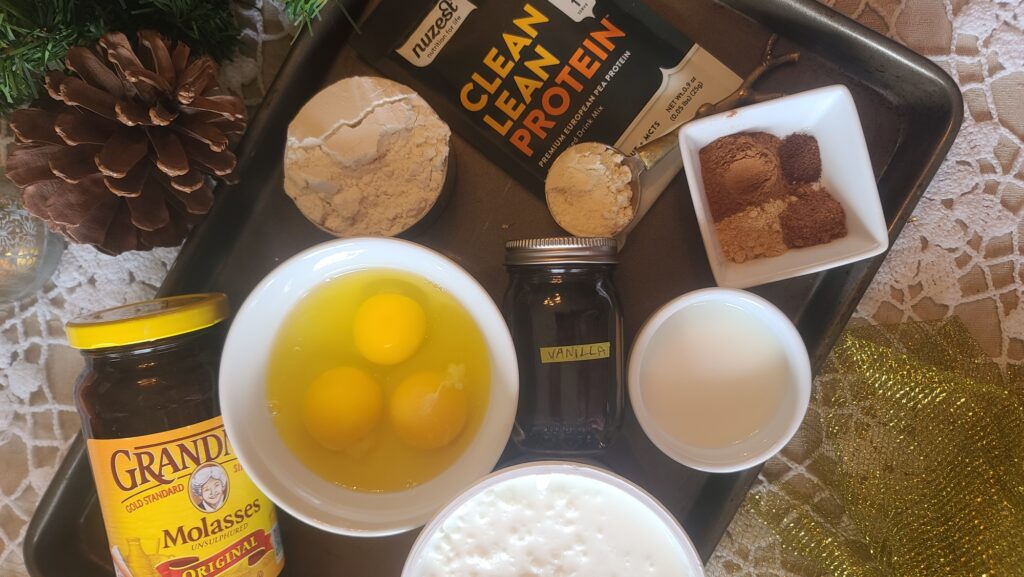
  • 3 eggs
  • 1/3 cup unsweetened milk of choice
  • 2 tsp coconut oil or oil of choice
  • ½ tsp vanilla extract
  • ½ cup 2% cottage cheese
  • 1 Tbsp molasses
  • 1/4 tsp baking powder
  • 1 tsp cinnamon
  • 1 tsp ground ginger
  • ¼ tsp nutmeg
  • ¼ tsp cloves
  • 1/2 cup 60g vanilla Nuzest protein powder (or powder of choice)
  • ½ cup all-purpose flour or gluten-free baking flour like bob’s red mill gluten free baking blend
Instructions
  1. In blender, add eggs, milk, oil, vanilla, cottage cheese and molasses. Blend until smooth.
  2. Add baking soda, spices, and protein powder to blender, pulse in.
  3. Blend in flour, a little at a time, scraping down sides of blender as needed, until smooth batter created.
  4. If sweeter waffles desired, add stevia or monk fruit drops until desired level of sweetness achieved.
  5. Heat waffle iron (either a mini waffle iron or larger 4-square iron).
  6. Pour in batter and cook for several minutes, until indicator light goes off.
  7. Repeat for remaining batter.
  8. Should make 12 single waffles (or three 4-square waffles).
Recipe Notes

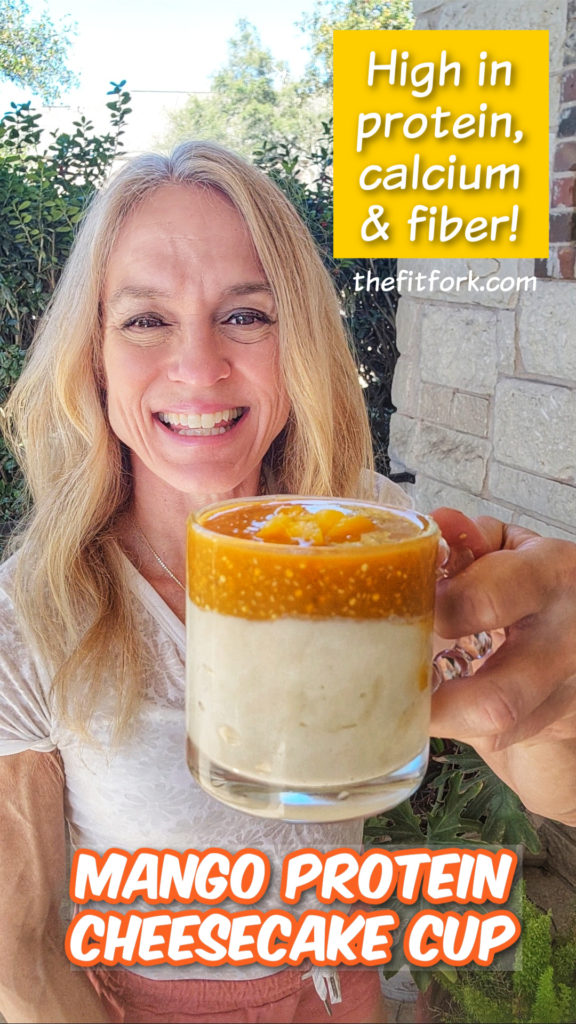
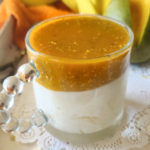
Mango Protein Cheesecake Cup for One

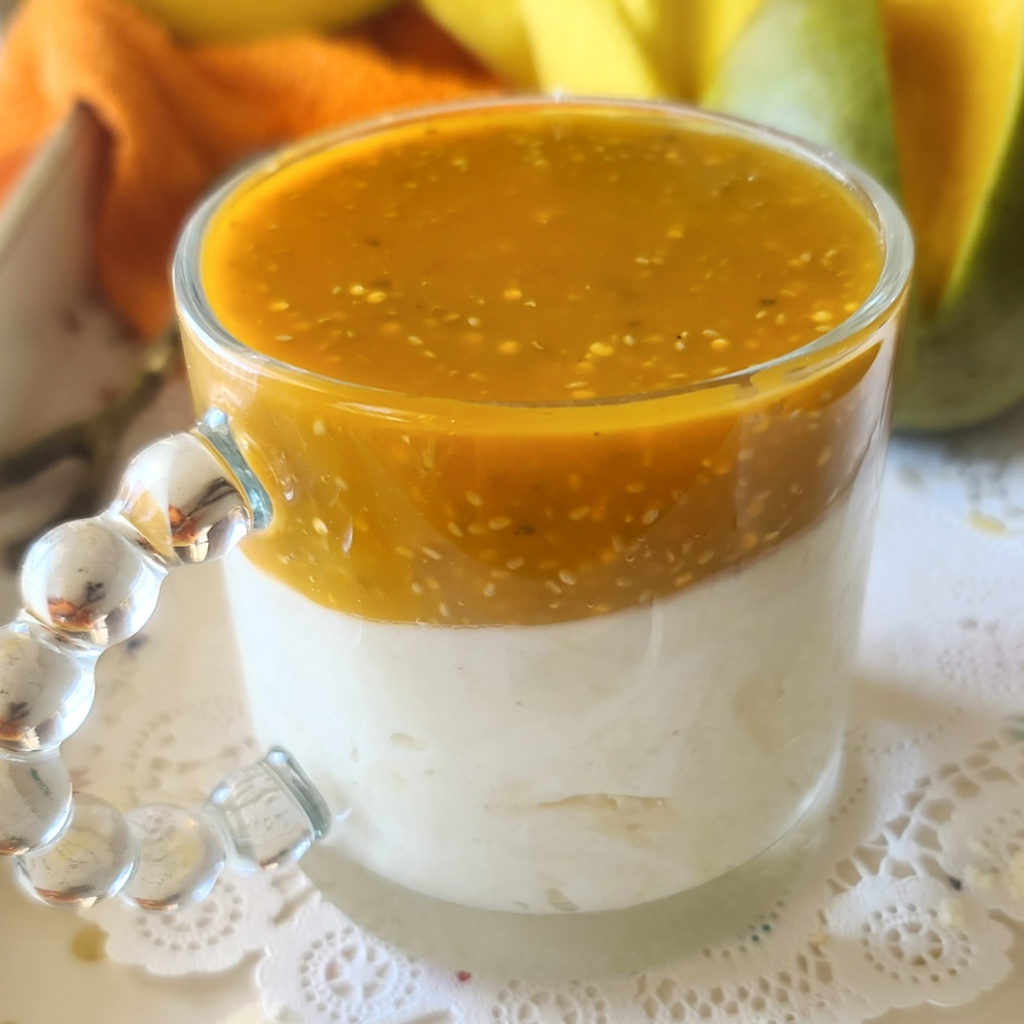
When life throws mangos at you, make a Mango Protein Cheesecake Cup for one. It’s no-bake, no stress and ready to impress your taste buds.

Mango Protein Cheesecake Cup for One is a no-bake, easy high protein snack that will be your new tropical-inspired favorite for a healthy dessert, post-workout snack or even an easy breakfast that also boasts lots of calcium and fiber.

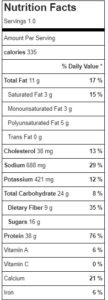
This easy, single-serve high protein snack is sweet and tart and creamy, a delicious healthy dessert that is nutritionally on point for breakfast or a post-workout snack! It’s a great source of protein, calcium and fiber (full nutrition in recipe card).

It all starts with one of my favorite ingredients, blended cottage cheese. A cottage cheese cup is such a powerhouse food providing lots of protein and calcium for a relatively low calorie expenditure.  Vanilla protein powder pumps up the protein even more – use the variety you like best! In this cheesecake cup, I use Nuzest Clean Lean Protein, a plant-based protein powder that’s easy to digest and has a good texture. (Save 15% with code FITFORK)

Mango Protein Cheesecake Cup for One is a no-bake, easy high protein snack that will be your new tropical-inspired favorite for a healthy dessert, post-workout snack or even an easy breakfast that also boasts lots of calcium and fiber.
If you have fresh mango to add as garnish – GREAT! But, it’s still amazing with just the mango juice!

TIPS FOR MAKING MANGO PROTEIN CHEESECAKE CUP

Container: You’ll need a 10 to 12-oz bowl, mug or jar for this mango protein cheesecake!

Juice: You can use straight up mango juice, or a mango juice blend – I prefer to look for juice with no added sugar.

Chia Seeds: these help the juice gel up and add a great jam-like texture – you can use black chia seeds or white chia seeds, your choice!

Cottage Cheese Tip: Because I almost exclusively use BLENDED cottage cheese in my diet (a texture preference), I pre-blend my cottage cheese when I get home from the market and then put it back in the container, ready to go. However, if you are just blending the small ¾ cup called for in this recipe, you’ll want to use a personal sized blender.

Mango Protein Cheesecake Cup for One is a no-bake, easy high protein snack that will be your new tropical-inspired favorite for a healthy dessert, post-workout snack or even an easy breakfast that also boasts lots of calcium and fiber.

Note; This post contains affiliate links.

5 from 3 votes
Mango Protein Cheesecake Cup for One is a no-bake, easy high protein snack that will be your new tropical-inspired favorite for a healthy dessert, post-workout snack or even an easy breakfast that also boasts lots of calcium and fiber.
Mango Protein Cheesecake Cup for one
Prep Time
10 mins
chill
30 mins
Total Time
40 mins
 
Mango Protein Cheesecake Cup for One is a no-bake, easy high protein snack that will be your new tropical-inspired favorite for a healthy dessert, post-workout snack or even an easy breakfast that also boasts lots of calcium and fiber.
Course: Breakfast, Dessert, Snack, workout
Keyword: cheesecake, cottage cheese, mango, protein powder
Ingredients
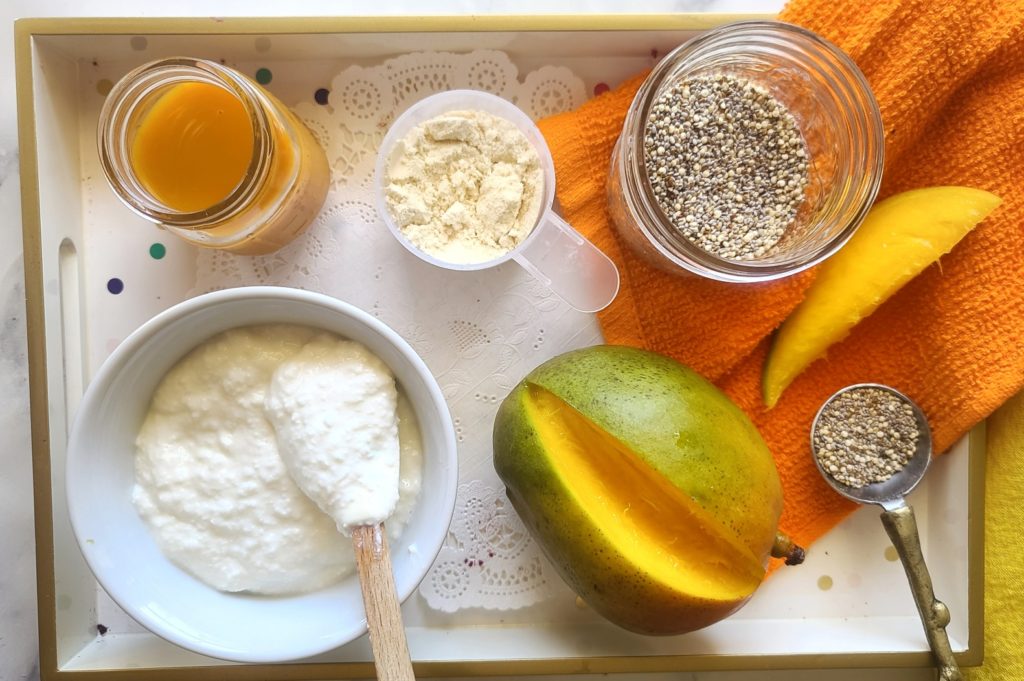
  • ¾ cup 2% cottage cheese blended
  • 3 tbsp. vanilla protein powder
  • 3 oz. mango juice or a no-added sugar mango juice blend I used Naked’s Mighty Mango
  • 1 ½ tbsp. chia seeds black or white
  • optional garnish Fresh mango, chopped
Instructions
  1. Blend cottage cheese in personal-sized blender, scrape down sides as needed.

  2. Stir in protein powder. Add cottage cheese mixture to 10-12 ounce mug (or bowl)

  3. Add mango juice and chia seeds to small jar and shake. Pour over top, chill for 30 minutes to gel up chia seeds. Add chopped mango, if desired.

Recipe Notes

Caramel Protein Tiramisu with Rice Cake Layers


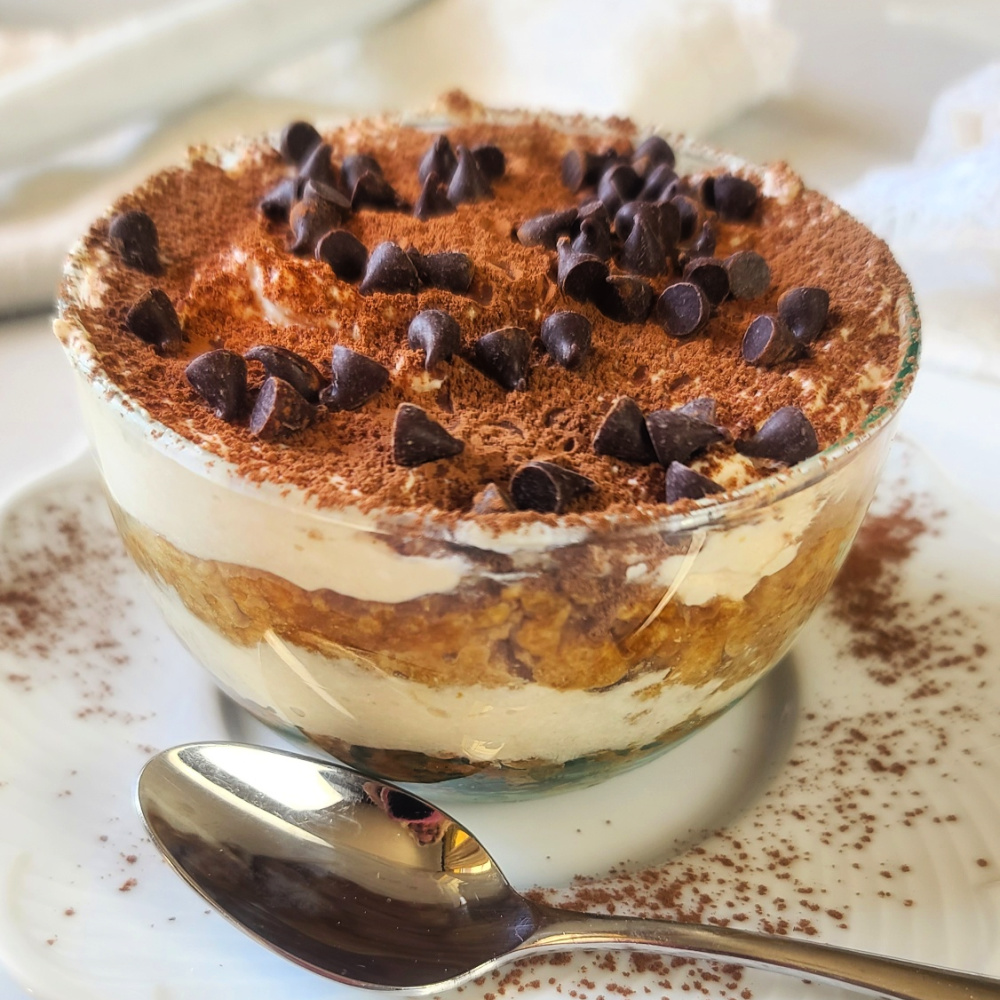
You’ll love this guilt-free makeover on a classic dessert favorite – Caramel Protein Tiramisu! By swapping out traditional ingredients for healthier options — like blended cottage cheese for mascarpone cheese and rice cakes for lady fingers – you get a protein dessert that not only satisfies your sweet tooth but also fuels your body with nourishing goodness.

Whether you’re aiming to boost your protein intake (this protein tiramisu has 285 call and 31g protein!) or simply seeking a lighter, sugar-free snack option, this Tiramisu makeover recipe is sure to delight your taste buds without compromising on taste or a sense of treating yourself.

INGREDIENTS & TIPS

Rice cakes: Use your favorite plain rice cakes, salted or unsalted in the mini size. There are flavored rice cakes out there like caramel and chocolate . . . which would work – but would add sugar to the recipe (so I avoided them).

Cottage Cheese & Greek Yogurt: For a lower fat and low-calorie tiramisu that is packed with protein, this recipe relies on 2% cottage cheese blended no fat Greek yogurt to maintain a creamy texture. When whipping your cottage cheese in the blender in preparation for this cottage cheese dessert, do not drain it beforehand. The liquid, watery stuff you see is actually the whey protein – which is important for the nutrition and also to assist in blending!!

Coffee: Rice cakes are soaked in coffee, one by one, before layering into the tiramisu. You have lots of coffee choices and you only need about ¼ cup– regular brewed coffee, instant coffee, espresso (if you like a stronger taste), instant espresso (what I used), and even a canned coffee drink would work.

Protein Powder: Adding just a bit of protein powder (only 2 tbsp) boosts the protein count and helps sweeten without sugar. To make this a caramel tiramisu, I used a plant-based Caramel Protein from Nuzest (save 15% with code: FITFORK). You can also use a coffee or vanilla protein powder and the protein format of your preference – like whey or plant or whatever!

Cocoa powder: Unsweetened cocoa powder is dusted on top with a sifter in that famous old-world style. This little flourish adds deep chocolate notes and will make your cottage cheese dessert taste and look like a tiramisu! Because it was such a small amount of cocoa powder, I used a little mesh tea strainer as my sifter – genius, I thought!

Cup / Bowl Size:  Choosing the right cup or bowl is a little tricky if you want a “perfect” presentation and see the layers– the bowl opening at the widest part has to accommodate the width of a rice cake (usually and 3 ¾” to 4”) – if the bottom is a little narrower, that’s fine as the soaked rice cake can be flattened smooth with a spoon. I used a 10-oz glass bowl filled up to the very tippy top (a 10-ounce custard cup or 10-oz ramekin would work great) Most 10-12 oz bowls, mugs or cups will work if you are not particular about perfect layers.

Scaling Up: This is a recipe for one, specifically measured to create one delicious single-serve tiramisu. That being said, it’s an easy recipe to scale up this tiramisu for one – simply multiply the ingredient portions by the number of servings desired to be make. I think it could also be made larger in an 8×8 or 9×13 dish, but I haven’t tried that yet!

If you love Caramel Protein Tiramisu, you’ll also love some of my other protein desserts featuring cottage cheese:

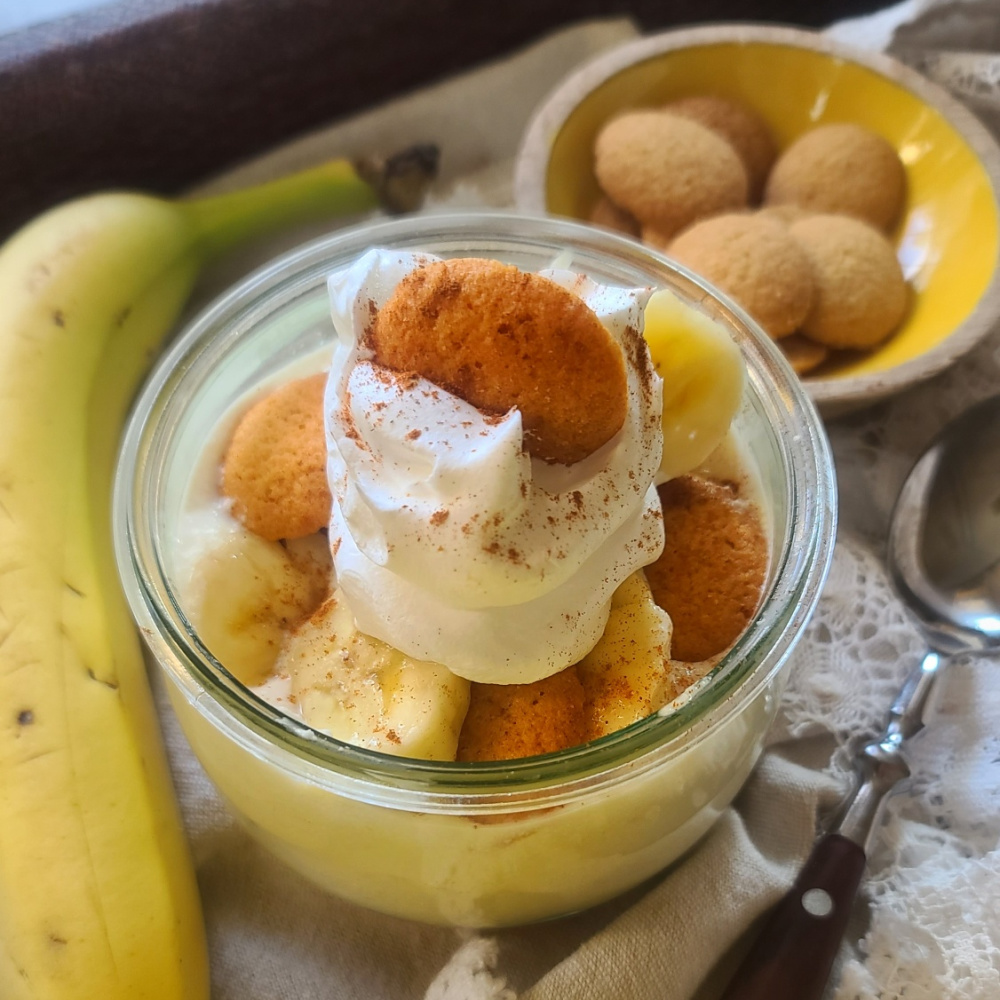
High Protein Banana Pudding with Cottage Cheese

No-Bake Beet Protein Cheesecakes with Sugar-Free Hard Chocolate Topping

Boston Cream “Pie” Cup

No-Bake Maple Pecan Chia Cheesecakes

Note: This post contains affiliate links. I earn a small commission from any sales generated and that helps me offset operating expenses for The Fit Fork. Thank you!
5 from 4 votes
Caramel Protein Tiramisu (with Rice Cakes)
Prep Time
10 mins
Total Time
10 mins
 
Sounds odd, but holy yum – this healthy dessert, post workout snack (or even breakfast in my book), is delicious. The rice cakes soak up espresso and whipped cottage cheese, Greek yogurt and salted caramel protein powder make a creamy filling. No added sugar, gluten-free.
Course: Dessert, Snack
Keyword: cottage cheese, gluten free, high protein, protein powder, rice cake, sugar-free, tiramasu
Servings: 1 serving
Calories: 281 kcal
Ingredients
  • ¼ cup brewed, instant or canned coffee or espresso
  • 2 unsalted or lightly salted rice cakes approx. 4” diameter size
  • ½ cup 2% cottage cheese blended
  • ¼ cup fat-free Greek yogurt
  • 2 tablespoons Caramel Protein Powder coffee or vanilla protein works too
  • 5-10 drops liquid stevia or monk fruit if desired
  • 1 tsp unsweetened cocoa powder
  • 1 tsp sugar free mini chocolate chips
Instructions
  1. In bowl, place coffee. Add first rice cake into coffee for about 10 seconds, then flip for another 5-10 seconds.
  2. With spatula, gently move to a 10 oz bowl, if needed use spoon to pat down to be an even layer.
  3. In another bowl, stir together whipped (blended) cottage cheese, Greek yogurt, protein powder, and stevia (if desired). Spoon half this mixture over soaked rice cake in bowl
  4. Soak the second rice cake in remaining coffee, flipping, until all absorbed. Place in bowl over creamy later and then top with remaining creamy filling.
  5. Use small sifter to dust on cocoa powder, sprinkle with chocolate chips. Serves 1.
Recipe Notes

281 call, 31g protein per serving.

No-Bake Beet Protein Cheesecakes with Sugar-Free Chocolate

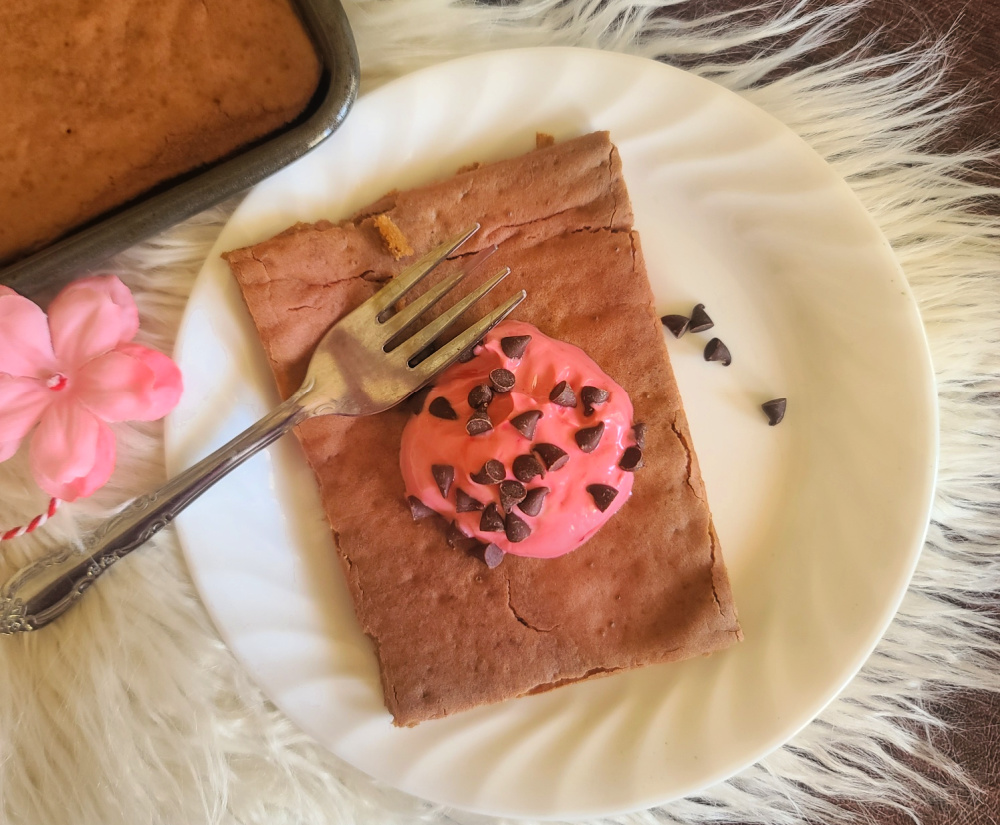
This easy, no-bake dessert delivers pretty-in-pink style and lots of smiles because it’s so delicious – and No-Bake Beet Protein Cheesecakes are still nutritious featuring lots of protein (39g) and the benefits of beetroot powder.

No added sugar in this beet cheesecake recipe and, depending on the type of sugar-free cookies used for the “crust,” it can also be gluten-free.  

First, let’s jump into the benefits of beetroot powder. The vibrantly-hued supplement contains micronutrients and phytonutrients that studies show may benefit heart, gut, and brain health. Specific benefits link to beet root power include lower blood pressure, reduce inflammation, and increased stamina in athletic performance.

Ding, ding, ding – did that athlete part get your attention?  I’m always looking for a way to naturally optimize my athletic performance.  I learned that upon eating or drinking beets or beetroot powder, your saliva converts the nitric oxide is activated, which relaxes and expands blood vessels. In turn, this increases blood flow and allows more oxygen to be delivered to your muscles to help get the job done – and it could help you perform better for longer. Increased blood flow also helps you recover faster!

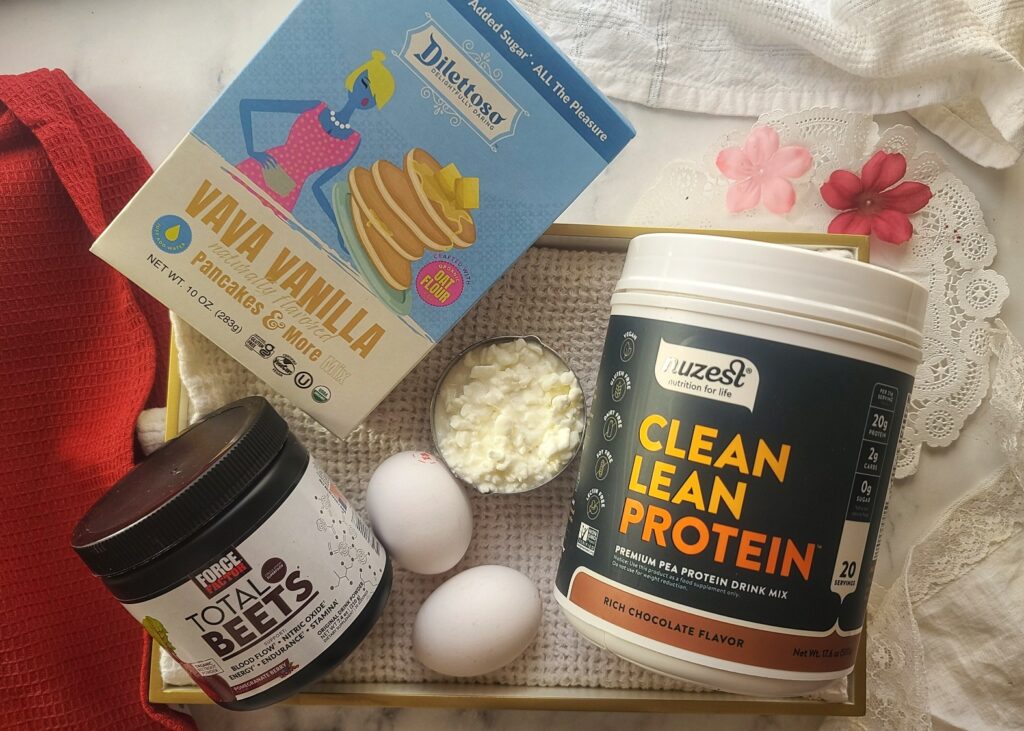
Of course, you can get the benefits from fresh beets, too – but that’s not often convenient (or you may not care for the earthy taste). Plenty of pills and tonics available that capitalize on beet benefits, but I personally just prefer to do a scoop of beetroot powder in water, a smoothie or even my oatmeal about an hour or two before I hit the ground running. I use Force Factor’s Total Beets Organic Powder. It provides all the functional superfood benefits of fresh beets, but much more conveniently — and it has a very lightly sweet taste with no added sugar, or anything artificial.

TIPS FOR MAKING NO-BAKE BEET PROTEIN CHEESECAKES

Beetroot Powder: I recommend Force Factor Total Beets Organic Beet Root powder – no added sugar, nothing artificial or yucky, and a good price point. My main suggestion if you are using another powder is just to read the label to avoid added sugar or flavorings. I just love the pink hue, you can get so creative with beetroot powder recipes!

Protein Powder: Use the vanilla protein powder of your choice, that you like and fits your dietary eating patterns. I like the plant-based Clean Lean Protein from Nuzest. Save 15% with code FITFORK.

Cottage Cheese Type & Blending: Using 2% cottage cheese helps keep the fat down a bit. But, if you like a richer taste, this no-bake cheesecake is made very luxurious with full-fat cottage cheese. To get the smooth taste of a cheesecake, the cottage cheese must be blended. For the 1 ¾ cups that this recipe calls for, I use a personal-sized blender. Scoop out the cottage cheese into the blender, including any liquids (eg: the whey) –don’t drain it off, you need that bit of liquid to encourage a smooth consistency. Be patient blending, it will seem very thick and require several iterations of stopping to scrape sides with a spatula.

Containers: I prefer 8-ounce glass canning jars, because the lids make it easy to store for later. However, small bowls will work too, but if the opening is too wide – there may not be enough chocolate topping to cover the area.

Cookie Crust: I use the term “crust” loosely, as cookies are just crumbled and piled in the bottom of the jar. This keeps the recipe no-bake. It’s a simple, no-bake crust but just NOT a crust that will slice up and serve in cheesecake slices without falling apart.  Use the cookies of your liking – I used the wafers from sugar-free chocolate sandwich cookies.

As an Amazon Influencer, I earn from qualifying purchases.

These No-Bake Beet Protein Cheesecakes are not only pretty in pink and very delicious, but also include the functional benefits of eating beets and lots of protein thanks to blended cottage cheese and protein powder! A healthy dessert or post workout snack.
No-Bake Beet Protein Cheesecakes
Prep Time
5 mins
Total Time
15 mins
 

This quick and easy dessert offers lots of muscle-making protein and the functional benefits of beets. No added sugar and can be made gluten-free, depending on the type of cookie chosen for the crust. Balanced enough to eat for breakfast or a post-workout snack!

Course: Dessert, Snack
Keyword: beet, beet powder, cheesecake, cottage cheese, protein powder
Servings: 2 servings
Calories: 354 kcal
Ingredients
  • 1 ounce sugar-free cookies, crushed any flavor – chocolate, graham, vanilla wafer, etc
  • 1 ¾ cup 2% cottage cheese, blended smooth
  • 1/3 cup vanilla protein powder of choice type of protein source your choice
  • 2 tablespoons beetroot powder
  • 2 tablespoons sugar-free dark chocolate chips
  • ½ teaspoon coconut oil
Instructions
  1. Crush up cookies and divide among the bottom of two 8-oz jars or bowls. Set aside.
  2. Blend cottage cheese until smooth, mix in protein powder and beet root powder.
  3. Divide cheesecake mixture evenly between cookie crust in jars.
  4. In small bowl, melt chocolate chips and coconut oil in microwave for 20-25 seconds. Remove to stir. If not totally melted yet, microwave for 10 more seconds until stirs up glossy and smooth.
  5. Immediately pour chocolate topping over cheesecake mixture, spreading gently around with spoon to cover, if needed.
  6. Set in fridge for 10 minutes for chocolate to set up and become hard.
Recipe Notes

354 calories, 24g carb (11g dietary fiber), 13g fat, 39g protein

No-Bake Jam Oat Cups – Lower Carb Snack Idea

No-Bake Jam Oat Cups are a smart way to satisfy your sweet tooth! Customizable to your mood of the moment, by using any flavor sugar-free jam, jelly, preserves or even smashed fresh fruit like berries or banana.

We all have those times when we need something sweet, and these jam-filled oat cups are easy-to-make, require no baking — it’s really just a few simple steps.

Go ahead ad cave to the craving for something without guilt. Just a little natural sugar from banana, and the rest of this no-bake dessert recipe is put together with smart swaps.

Here are some of the better-for-me ingredients I like to use in this healthy snack recipes and lower carb treats:

.Sugar-Free Dark Chocolate Chips (if you need dairy-free, make that swap, too!) https://amzn.to/48kozhq

Sugar-Free Jam (or you can even just use mashed fresh berries)

Eat Garnish Oat & Seed Butter is a great seed-allergy option, but ANY nut or seed butter will work. Use code FITFORK975 to save 10%.

Plant-Based Protein Powder in the crust mixture gives these treats a little more oomph. Clean Lean Protein from Nuzest is my go-to. Save 15% with code FITFORK.

TIPS TO MAKE OAT JAM CUPS

Banana Guidance: “Half of a medium banana” called for in this recipe can be subjective, but it’s about 60g of banana without peel. Or, if you’re eyeballing it, about 3 1/2 to 4-inches in length. However, if you think the mixture looks too sticky (like you used too much banana), just add a few more oats to the mixture, you really can’t mess this up.

Filling Ideas: Sugar-free jam with chia seeds mixed in is what my recipe calls for, but you can test around with other fillings — like smashed banana, smashed berries, tangerine slices, a dollop of nut or seed butter — really whatever floats your boat.

What to Make In: I really recommend silicone muffin cups, this makes them easy to pop out when frozen. Also, bonus, they are reusable. I wouldn’t use paper liners, they get soggy and/or stuck to the treat. You can skip liners all together and freeze in the actual muffin tins, just let soften for a few minutes on counter before trying to remove.

Freezing Step: Don’t skip it! These oat jam cuts need to set up in the freezer for about 30 minutes, otherwise it will just be a big sticky mess. Afterward you can store in the fridge OR freezer, depending on your preference on how to heat them (softer vs harder).

Note: This post contains affiliate links. I earn a small commission for any sales generated through the link. This helps me offset overhead for The Fit Fork, thank you!

5 from 5 votes
No-Bake Jam Oat Cups – Lower Sugar and Gluten-Free
Prep Time
5 mins
Total Time
30 mins
 

Enjoy a sweet treat with none of the guilt – or baking! For the filling, use the sugar-free jam of your choice or even smashed fruit!

Servings: 6 servings
Calories: 180 kcal
Ingredients
  • 1/2 medium banana, sliced about 60g, after peeling
  • 30 g vanilla protein powder or can substitute a flour
  • ¼ cup nut butter
  • 1/2 cup rolled oats
  • ¼ cup sugar free jam
  • 1 tbsp chia seeds
  • 1/3 cup sugar-free chocolate chips
  • 1 ½ tbs coconut oil
Instructions
  1. In a medium bowl, mash together banana, protein powder and rolled oats Press into 6 cavities of a regular sized muffin pan lined with silicone liners. Pushing oat mixture up the sides a bit to form an indention for the jam.
  2. Stir together the jam and chia seeds. Place a skosh under 1 tablespoon of jam mixture into indention of oat cup.
  3. Melt chocolate and coconut oil in 30 sec increments in the microwave, stirring between until all chocolate is melted. Pour on the cups, dividing equally. Freeze 25 minutes to set.
  4. Enjoy your treats! Keep them in the refrigerator for up to 1 week or frozen up to 3 months.
Recipe Notes

Nutrition per serving: 180 calories, 12g fat, 11g carb (2g fiber, 2g sugar), 7g protein