Pumped Up Protein Popcorn

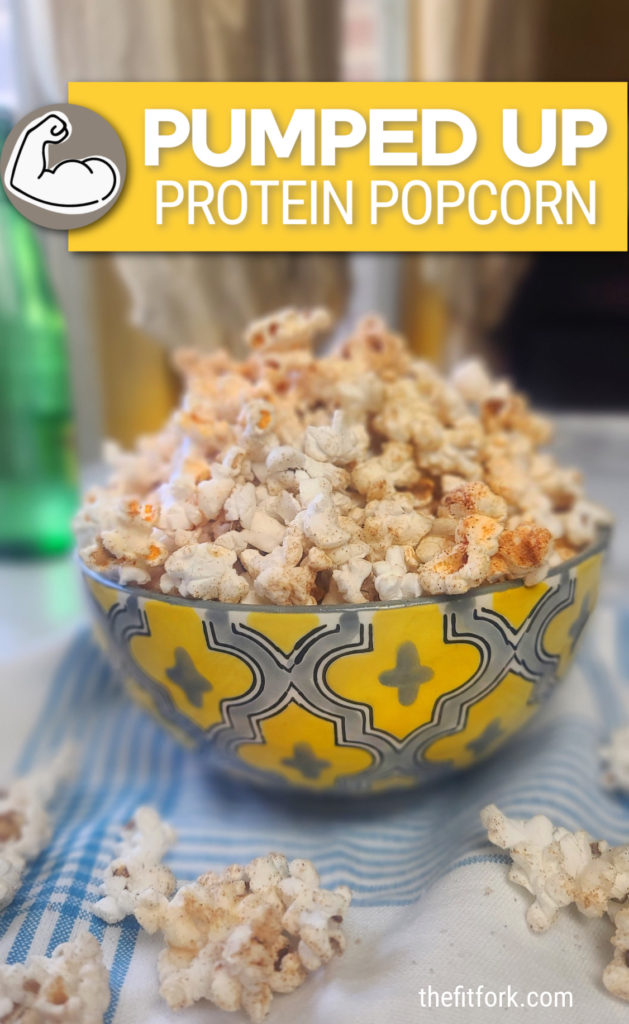
Pump up snack time with Protein Popcorn! Adding protein powder to air-popped popcorn is a clever (and crunchy) way to boost your daily protein intake!

Looking for a healthy snack that will sustain you? Try adding protein powder to popcorn for a tasty, low-cal, high-protein snack with lots of fiber. Get the recipe at thefitfork.com

Popcorn is a whole grain and can be a great snack option when prepared yourself in a healthy way (meaning without the fat, excess salt and additives found in most store-bought options). Whole grains like popcorn contain important nutrients like fiber, vitamins, and minerals that are beneficial for our health.

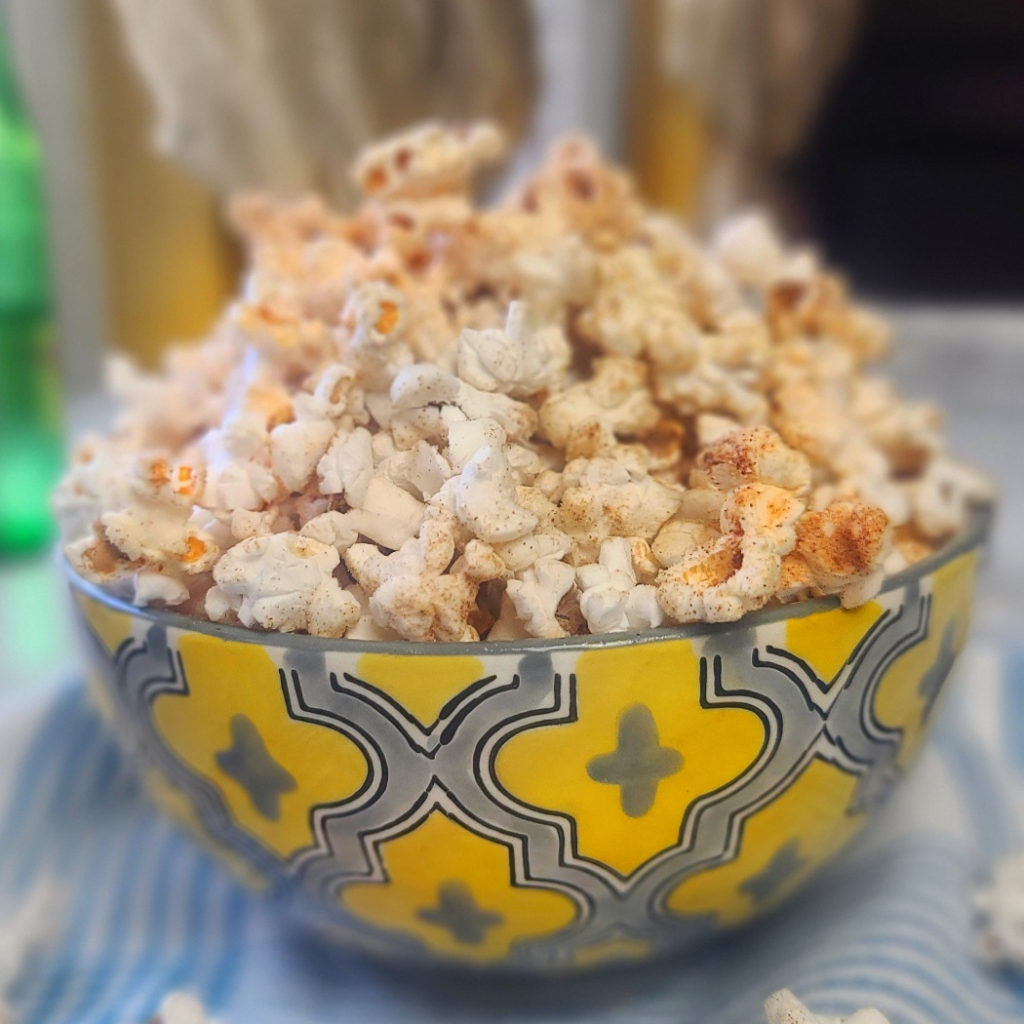
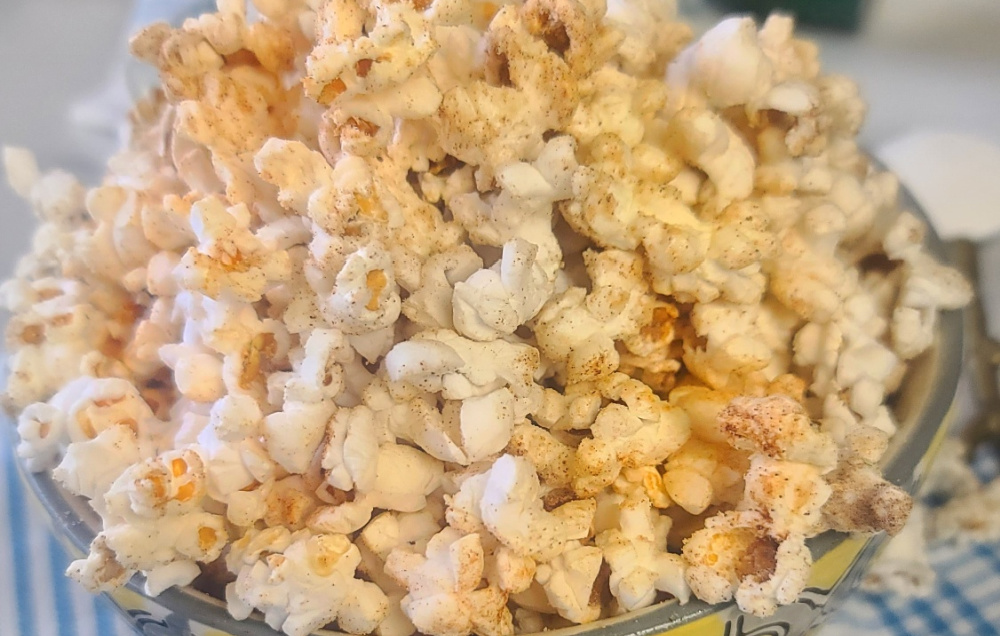
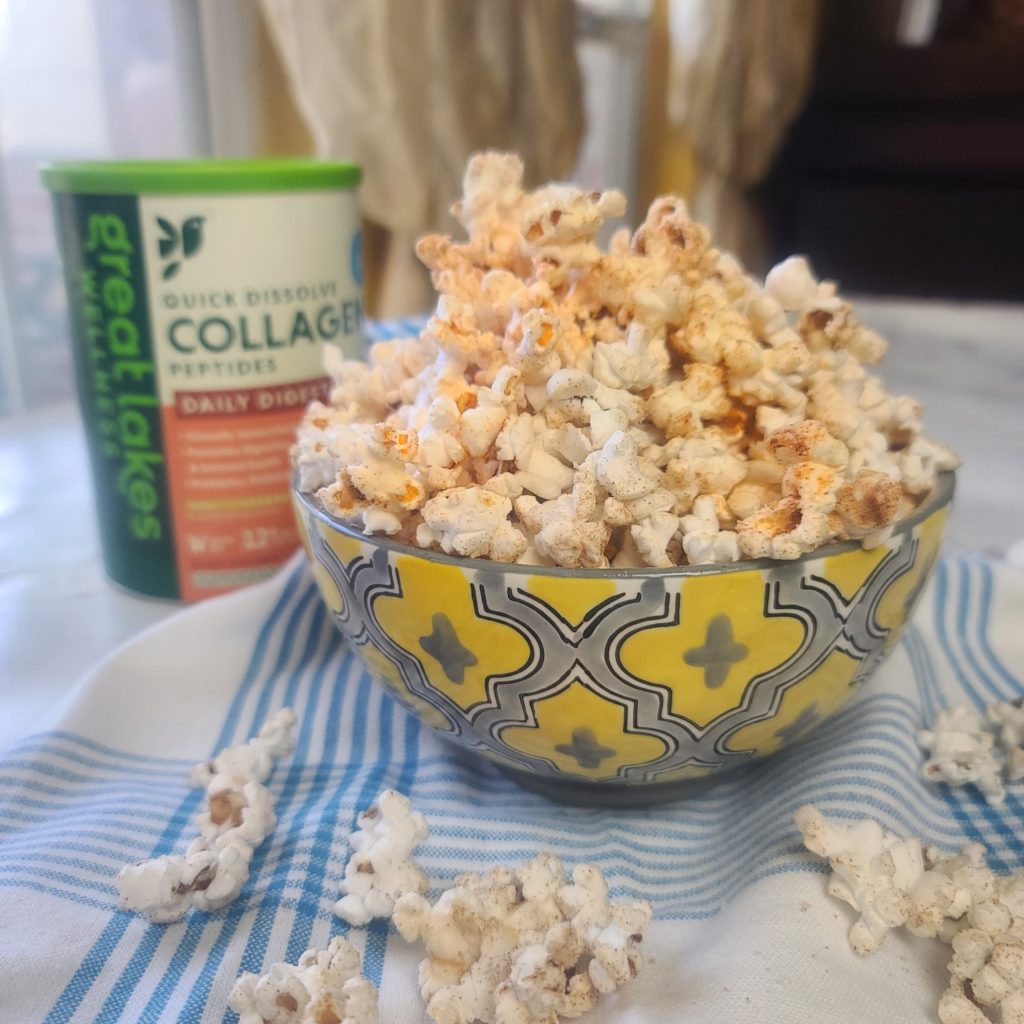
Here’s the honey cinnamon version I made with collagen protein powder!

I personally like the “bang for budget” popcorn offers both your food expenses (it’s a very low-cost snack) and your calorie budget (3 cups of popped plain popcorn looks like a big serving, but has under 100 calories). This recipe makes two 3-cup servings. Nutrition per 1 serving is 120 calories, 8g protein 2g fat 16g net carb (based on the protein powder, cooking spray, and spices I used — may vary slightly for your products).

Looking for a healthy snack that will sustain you? Try adding protein powder to popcorn for a tasty, low-cal, high-protein snack with lots of fiber. Get the recipe at thefitfork.com

Turning plain air-popped or plain microwave popped popcorn into “Pumped Up Popcorn” is quick and easy.

Pick out your protein powder of choice. You can use any type of protein powder, meaning protein source (whey, casein, collagen, pea protein, other plant-based proteins, and blends. You can also experiment with unflavored or protein powder or a flavor. For each batch, you’ll use 2 tablespoons of powder – for this batch I used an honey cinnamon collagen protein powder from Great Lakes Wellness.

Looking for a healthy snack that will sustain you? Try adding protein powder to popcorn for a tasty, low-cal, high-protein snack with lots of fiber. Get the recipe at thefitfork.com
save 10% Great Lakes Wellness collagen and products with code THEFITFORK10off

Save 10% on Great Lakes Wellness with code THEFITFORK10OFF

Extras Tip: Get the basic recipe for protein popcorn recipe (shared at end of post) and upgrade with your special touch by mixing in a pinch, dash, teaspoon, or tablespoon (depending on the ingredient) of EXTRAS. These extras could include (but are not limited to):

  • Parmesan cheese or nutritional yeast
  • Cookie Spices like Cinnamon, Nutmeg, Ginger, even Cacao Powder
  • Savory & Spicy Spices like Chili Powder, Cumin, Italian Seasoning, Turmeric, Garlic Powder
  • Granulated Sugar Substitutes

Popcorn Making Tip: You can make this protein popcorn recipe in a counter-top air-popper, a microwave-popper, or even a brown paper bag in the microwave (yes! Add the ¼ cup kernels to a larger lunch-sized brown bag, fold down top, and microwave for 3 minutes or until popping becomes infrequent and sporadic).

Fun Fact: Popcorn has a volume expansion of over 25 times, so 1 tablespoon of kernels yields 1.5 cups of popped corn. 

Looking for a healthy snack that will sustain you? Try adding protein powder to popcorn for a tasty, low-cal, high-protein snack with lots of fiber. Get the recipe at thefitfork.com
PUMPED UP PROTEIN POPCORN
Prep Time
2 mins
Cook Time
3 mins
Total Time
5 mins
 

Make a quick and easy snack that will keep you filled up thanks to protein and fiber! Easy to customize with flavors and mix-ins of your choice!

Course: Snack
Keyword: popcorn, protein powder
Ingredients
  • 1/4 cup popcorn kernels (4 tablespoons) yield 6 cups
  • Cooking spray of preference two 3-second dispenses
  • 2 tablespoons protein powder or collagen powder
  • ¼ teaspoon salt
  • Optional Extra Mix-Ins of Choice, see notes
Instructions
  1. Prepare no-oil-added popcorn via the method of your choice: air popper, microwave popper, or even brown paper bag (see recipes notes).
  2. After popcorn has popped, work quickly and divide into two batches while still hot.
  3. Spritz each bowl with a 3-second spritz of cooking spray of choice, tossing the bowl to coat evenly as you do so.
  4. Quickly sprinkle half the protein powder, salt and any other mix-ins on each batch. Toss well for maximum sticking. If needed, do another quick spritz of cooking spray to encourage fall-off powder to stick on.
  5. Ready to serve in the two bowls, or toss together in one big bowl for sharing-style.
Recipe Notes

Nutrition: 120 calories, 8g protein 2g fat 16g net carb per serving (makes about 2 servings, 3 cups each)

Popcorn making tip: make microwave popcorn in a brown lunch bag, simply add the ¼ cup kernels to a larger lunch-sized brown bag, fold down top, and microwave for 3 minutes or until popping becomes infrequent and sporadic

Optional Mix-In Ideas:

    • Parmesan cheese or nutritional yeast

    • Cookie Spices like Cinnamon, Nutmeg, Ginger, even Cacao Powder

    • Savory & Spicy Spices like Chili Powder, Cumin, Italian Seasoning, Turmeric, Garlic Powder

    • Granulated Sugar Substitutes

Air Fryer Crispy Chickpeas (for One)

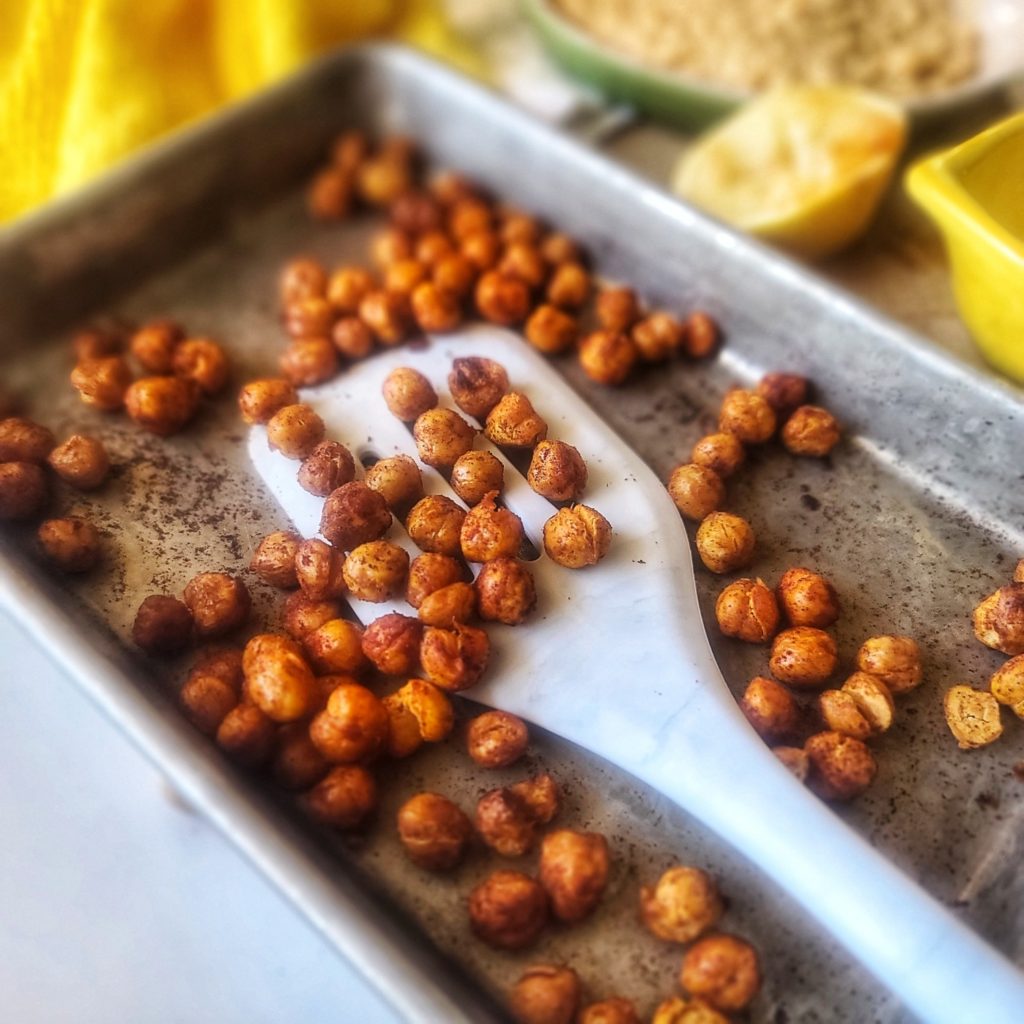
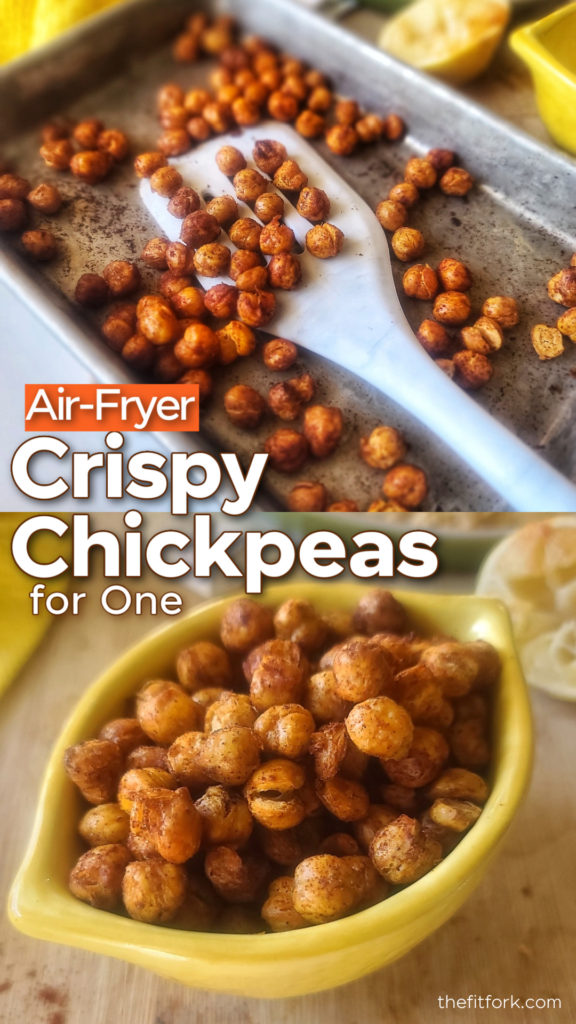
Air Fryer Crispy Chickpeas make snack time a happy time and a healthy experience, especially when that craving for something salty-crunchy hits but are trying to stay away from chips.

If you’re like me, you’ll want to eat theses roasted chickpeas warm, right off the air-fryer and pop the lightly-seasoned, crispy delights into your mouth, one after one! Definitely one of my favorite single-serve snack ideas!

The good news is that unlike typical crunchy snack foods, you control the fats, the sodium, and the flavor. Nothing is processed or yucky, it’s just the goodness of garbanzo beans (the other common name for this legume) simply dressed up with a hint of flavor.  

This quick snack recipe for one makes a single serving (as hinted, lol) and uses ¾ cup of chickpeas (also called garbanzo), about half a can. To use up the other half of the can, check out this Small Batch Hummus recipe (or just easily double the ingredient list for the Air Fryer Crispy Chickpeas below).

PRO TIPS:

Remove skins from chickpeas to help oil & spices adhere.

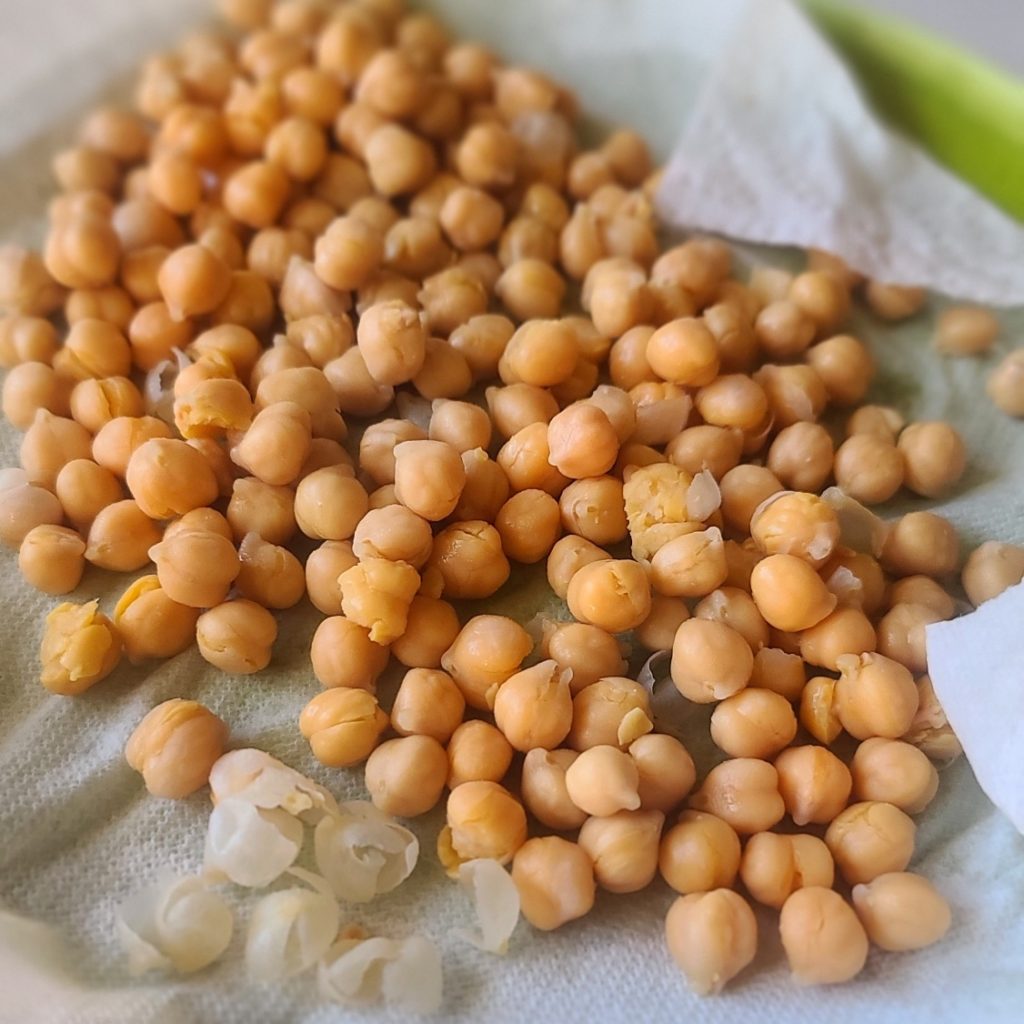
Remove Skins:  Often canned chickpeas still loosely have their “skins” on. Most fall off during rinsing but any remaining can be removed by patting dry on a paper towel and loosely rubbing around until removed. You CAN eat chickpeas with the skins still hanging on, there is no harm! But removing helps the oil and spices cling onto the legume better in this recipe and for hummus recipes, it creates a smoother outcome.

Oven Option: If you don’t have an air fryer (I LOVE my Omni Pro Plus 18L), the general rule of thumb for crisping up garbanzo beans in the regular oven is to use the same temperature, but double the cooking time (shaking pan around every 10 minutes to promote even cooking).

Seasonings: Instead of smoked paprika, try curry powder, chili powder, Italian seasoning, Everything Bagel spice, or any other spice or blend you can dream up. Even homemade gingerbread spice with a pinch of stevia would make a delicious, unique chickpea snack.

How to Serve: Of course, eating warm off the pan is the obvious way to serve roasted chickpeas! They are also delightful tossed on a salad for extra nutrition and texture. Also try soups (instead of croutons) and as a garnish atop dips (like hummus) or your main entrée (like so yummy with salmon and greens)

How to Store: To maintain crunch, store roasted chickpeas covered at room temperature, for up to a couple days. If desired, pop back into a pre-heated 350F air fyer for 1 to 2 minutes to warm and re-crunch.

This post contains affiliate links.

5 from 5 votes
Air Fryer Crispy Chickpeas for One is a quick, easy and healthy snack with lots of dietary fiber plus protein, iron, and folate. A mindful way to satisfy that salty-crunchy craving when trying to stay away from chips and processed foods.
Air Fryer Crispy Chickpeas for One
Prep Time
5 mins
Cook Time
15 mins
Total Time
20 mins
 

Crunchy, crispy and addictive! This fun and easy-to-make snack offers lots of dietary fiber and also is a good source of plant protein, iron, folate and other essential nutrients. Note: If you want to use up the entire can 15-ish ounce can of chickpeas, just double the recipe!

Course: Snack
Cuisine: healthy, Indian, Mediterranean
Keyword: air fryer, chickpeas, garbanzo beans, legumes
Servings: 1 serving
Ingredients
  • ¾ cup canned chickpeas about half a 15.5-ounce can
  • 2 tsp olive oil
  • 1/2 tsp lemon juice
  • 1/8 teaspoon salt
  • ¼ teaspoon ground black pepper
  • ½ teaspoon smoked paprika
Instructions
  1. Pre-heat air fryer to 390 F degrees.
  2. Drain and rinse chickpeas.
  3. Pour out on paper towel and dry, gently rubbing to release any skins; discard skins.
  4. Add chickpeas to small bowl and drizzle on olive oil and lemon juice, stirring to coat evenly.
  5. Sprinkle with salt, pepper, and smoked paprika and stir around to adhere to chickpeas.
  6. Pour chickpeas out on rimmed baking sheet that fits in air fryer.
  7. Stick in preheated air fryer for about 15 minutes, stopping to shake around once halfway through. Chickpeas should be toasted and crunchy when finished. IF needed (because air fryer models vary in heating), cook for another 2 to 4 minutes.

  8. Remove and let cook a couple minutes before eating. Store leftovers in air-tight container at room temperature, for up to 3 days. If desired, you can warm up in air fryer preheated to 350 for 1 to 2 minutes.

  9. Note: For a conventional oven, cook at 390-400F degrees for 30 minutes, or until golden brown and crispy, stirring up every 10 minutes.

Recipe Notes

Cinnamon Churro Watermelon Rind Fries + Ways to Use the Whole Watermelon

This post is sponsored by Watermelon.org. All opinions, comments and enthusiasm remain my own!

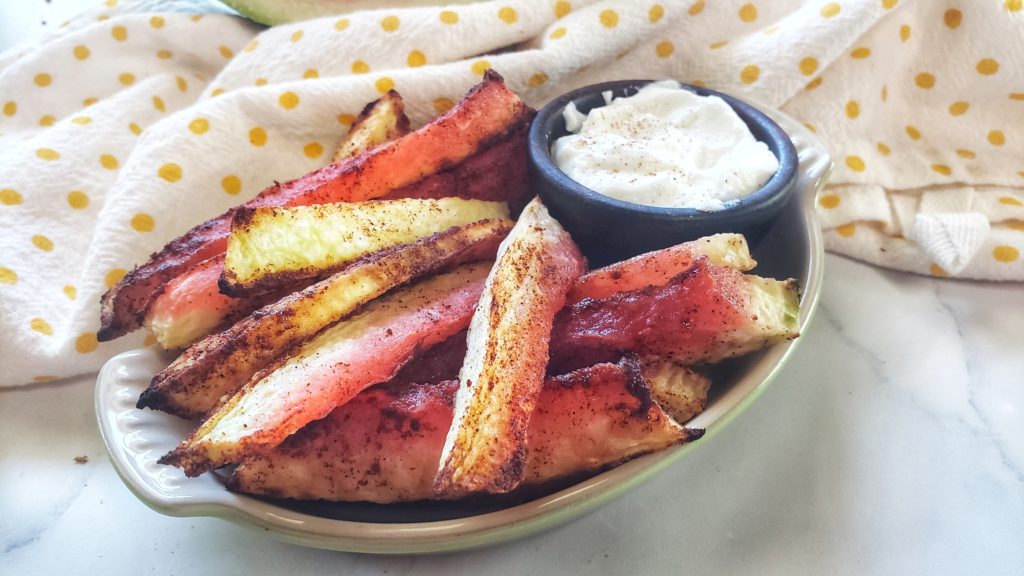
Trust me here, Churro Watermelon Rind Fries are a good thing. In fact, this easy watermelon snack recipe is a REALLY, REALLY GOOD THING that tastes yummy, reduces food waste, and can be made in the air fryer in minutes.

Cinnamon Watermelon Rind Fries in Air Fryer Cinnamon

Your mouth is probably hanging open for a couple reasons. The first is you may not have known you can actually (and should) eat watermelon rind. Sadly, watermelon rind is the most tossed away part of the fruit by far. Why not rescue it for a recipe and reduce watermelon food waste?! Just cut off the off the thin green skin layer and then chop, dice, slice, shred or otherwise prep the mild white part of the rind for use in recipes like smoothies, salsas, salads, appetizers and more.

Check out how easy it is to make watermelon rind fries!

You also might be surprised that cinnamon (the primary flavor in Mexican churros, those little fried cinnamon-sugar pastries) is AMAZING on watermelon. Something about the earthy, woody flavors of this warming spice adds something extra to watermelon – and watermelon rinds. Watermelon rinds are mild and play well with a variety of spices. 

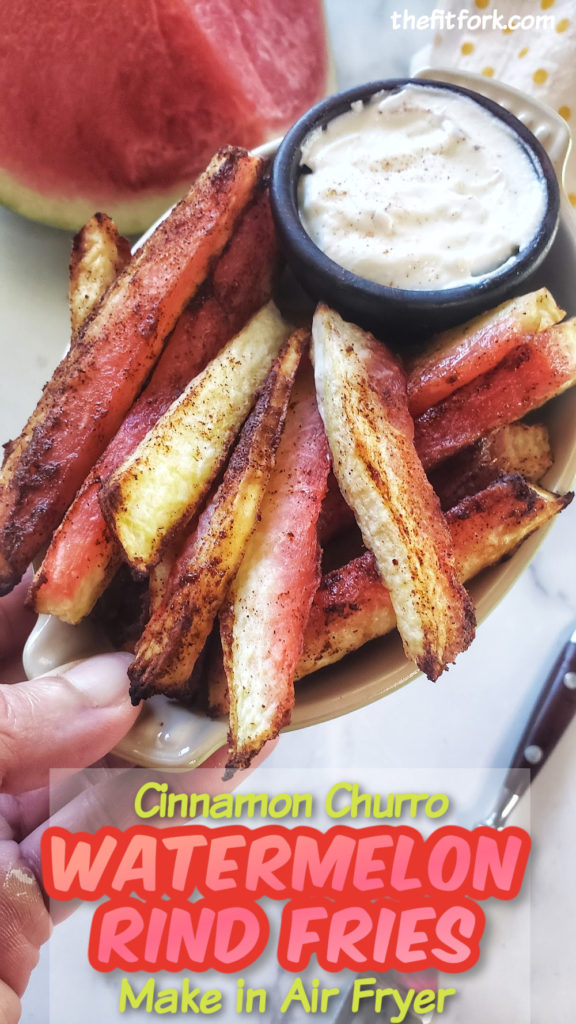
Cinnamon Churro Watermelon Rind Fries made in Air Fryer, a healthy snack that uses the whole watermelon. Economical and reduces food waste!
Pin this for later!

What surprised me was how easy these watermelon rind fries were to make in an air fryer with little mess. I simply sliced rinds into French fry-sized pieces and then rolled into cinnamon mixed with a stevia baking blend (you can also use regular table sugar, I’m moderating carbs over here).  After an 8-minute session in my air fryer (flipping once), these tasty morsels came out sweet and delicious with a pleasantly firm and slightly chewy texture – not soggy, or mushy or messy. Delicious served with vanilla yogurt as a dipping sauce!

Check out these other ways to use the whole watermelon – the rind, the juice, the flesh and (if your watermelon has ‘em), seeds.

Use the watermelon rind to make a cheap centerpiece decoration for your summer entertaining.

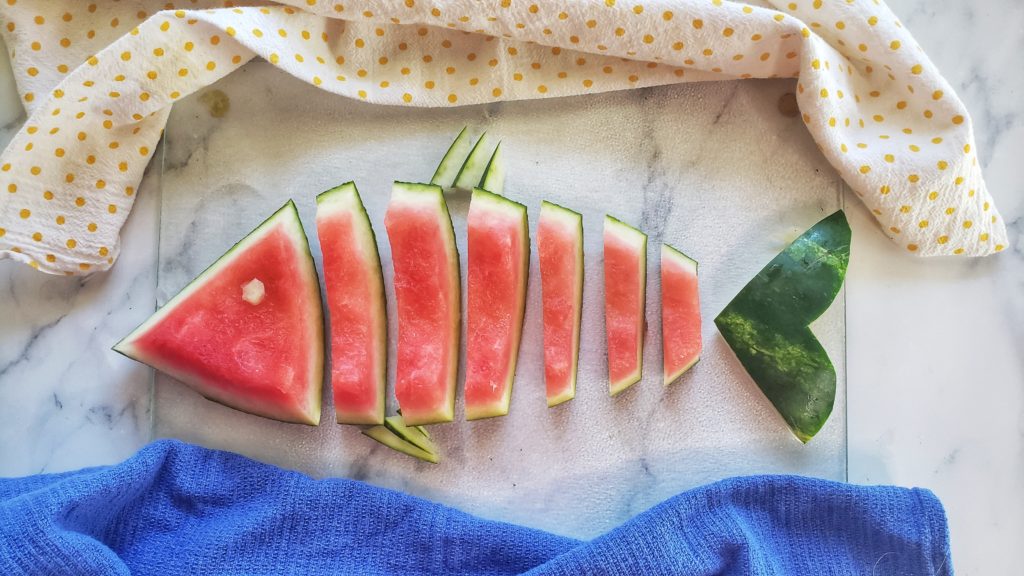
Watermelon Rind: Rise and “rind,” put chopped up rind in your breakfast smoothies or use in a relish for dinner like watermelon rind kimchi. OR, how about something completely different – use a scooped out half watermelon rind (skin on) as a compostable vase or potting vessel.  After making my watermelon rind fries, I had even MORE scraps of rind, so I got crafty and made a quick centerpiece for a summer pool party – a fish!  Get creative – and check out my pin story <<insert link>> on other food hacks and ways to repurpose the rind!

Watermelon Juice and The Fit Fork
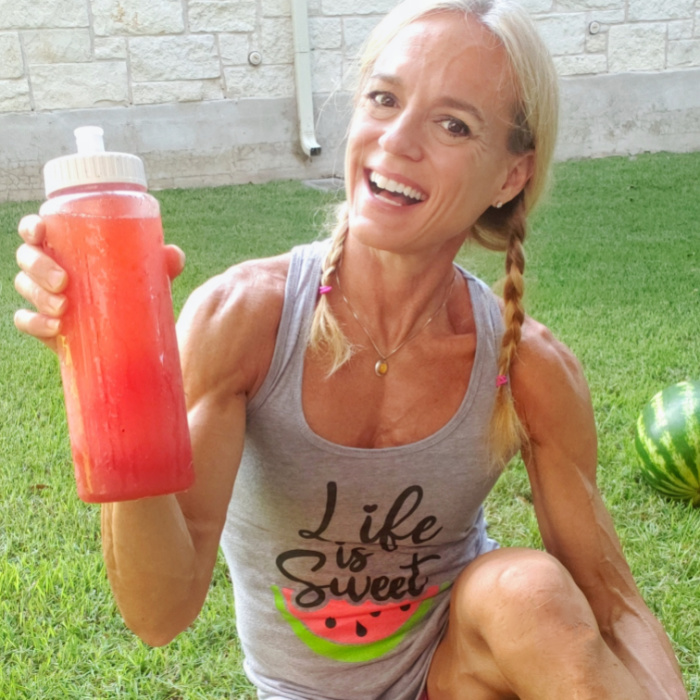
All the watermelon juice in this sports bottle was drained off a large watermelon that was sitting cut-up in my fridge

Watermelon Juice: Comprised of 92% water, watermelons are prolific juice-makers and a smart choice for staying hydrated. There are a couple ways to get juice from your watermelon. The first way is to drain the seeped-out juice from a watermelon – both from the actual cutting up session, to the juice that seeps out overnight. I drain this juice off daily, and also think it helps the watermelon flesh stay fresher in the fridge. A plus of this method is that you get to enjoy all the flesh of the fruit to, but a negative is having to wait for juice to seep out. So, not the best method if you need a lot of watermelon juice at once. Blending up watermelon chunks and straining off the pulp is the second way to get watermelon juice (watch this watermelon juice tutorial) – it’s fast and makes a lot, but you lose the flesh. It’s a super solution to “save” a watermelon that’s become overly ripe. Use juice in smoothies, cocktails, popsicles and other sweet treats. It can also be used as a cooking liquid for quinoa or oats!

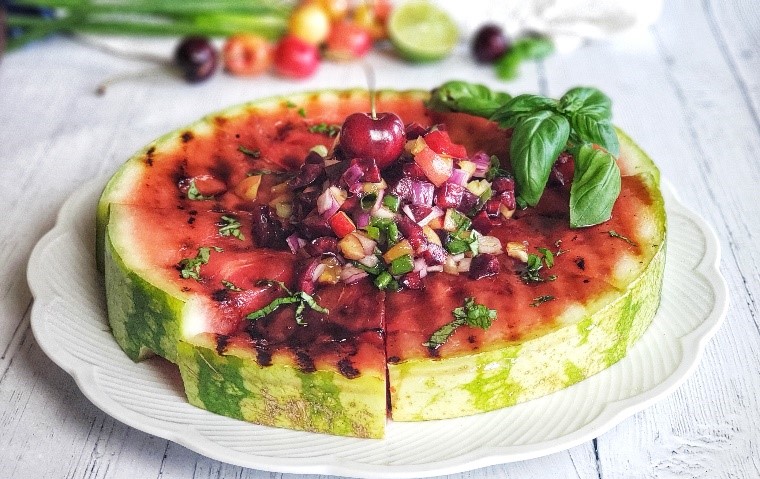
Grilled Watermelon Plank with Cherry Balsamic Relish
Grilled Watermelon Plank with Cherry Balsamic Salsa

Watermelon Flesh: Chunks, wedges, balls, fries, balls, diced – there are so many ways to cut up watermelon flesh. Of course, watermelon is delicious unadorned, but it’s also exciting dressed up with simple seasonings. Check out these four ways to season watermelon that will blow your mind. Watermelon is also adds nutrition and sweet yum to every recipe category in existence. Works in sweet OR savory recipes! Watermelon.org has a drool-worthy watermelon recipe collection and I’m pretty proud of my own creations too, like Grilled Watermelon with Cherry Balsamic Salsa, and lots of others — just type “watermelon” in my search bar!

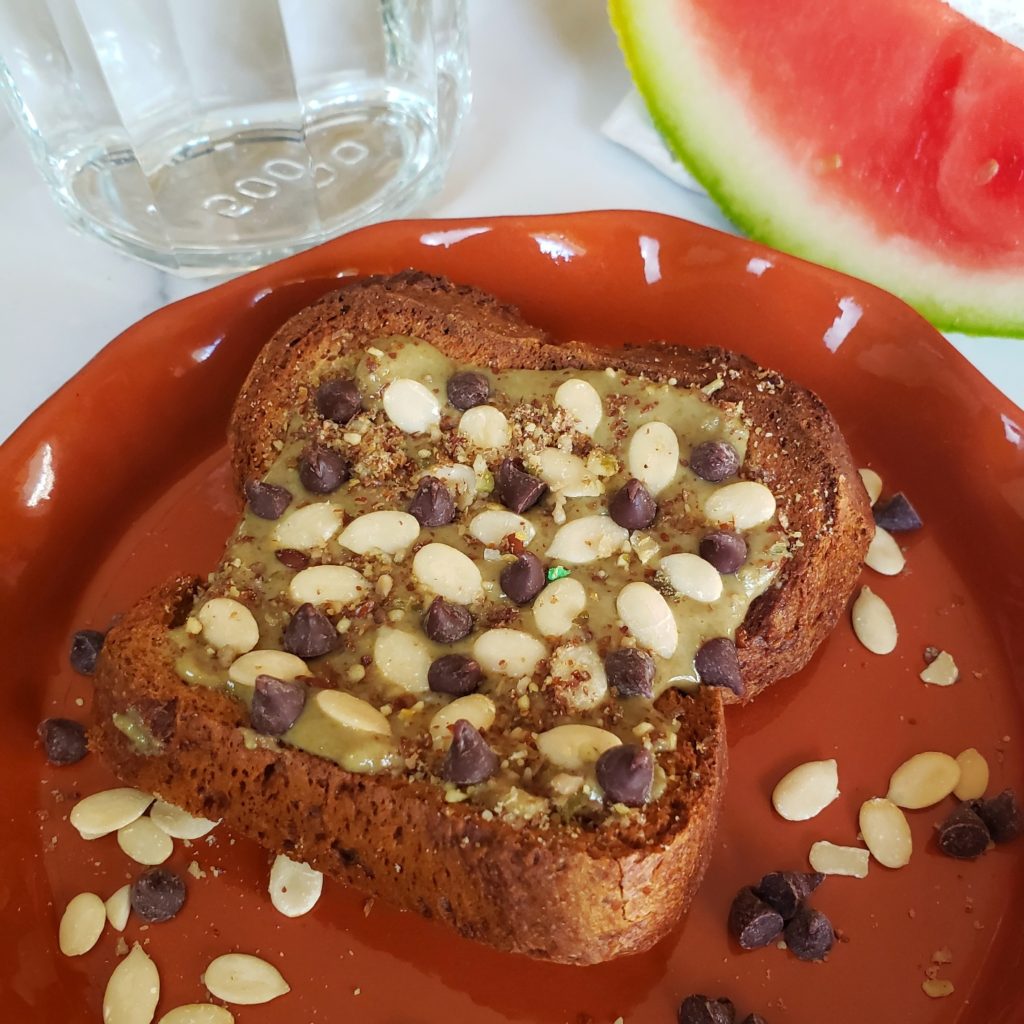
Watermelon seeds on watermelon seed butter toast!

Watermelon Seeds:  Most watermelons these days are the seedless variety. But, if you see those little white unmatured hulls, they are just fine to eat. And, so are the big black seeds for that matter, they are just like any other seed and offer plant protein along with other beneficial nutrients! If you have a bunch of black seeds, toss them with olive oil and a bit of salt before roasting in the oven at 325F for about 20 minutes. Then, crack open the hull and eat the tender seed in the center (like a sunflower seed eating experience) I’ve written and entire post singling about the wonders of watermelon seeds with recipe ideas too, check it out!

5 from 5 votes
Cinnamon Churro Watermelon Rind Fries
Prep Time
7 mins
Cook Time
8 mins
Total Time
15 mins
 

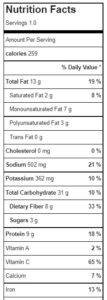
Don't toss away the watermelon rind! Use it to make an easy, nutrition and yummy snack that is also economical and helps prevent food waste.

Course: Appetizer, Side Dish, Snack
Keyword: air fryer, churro, cinnamon, food waste, fruit, pork rind, watermelon
Servings: 4 servings
Ingredients
  • 1 lb. watermelon rind
  • ¼ cup sugar or stevia baking blend
  • 1 teaspoon ground cinnamon
  • 1 6- ounce vanilla yogurt carton
Instructions
  1. Use paring knife to slice green skin off rind and discard.
  2. Cut rind into approximate finger-sized portions (like the size of a thicker fry)
  3. In shallow bowl, mix together sweetener and cinnamon.
  4. Roll each piece of rind through mixture, coating all sides a bit.
  5. Place in basket tray of pre-heated (375F) air fryer and air fry for approximately 8-9 minutes, flipping once after about 4 or 5 minutes.

  6. Serve warm vanilla yogurt as dipping sauce.

Lemon, Blueberry & Almond Granola (Lower Carb + Protein Packed)

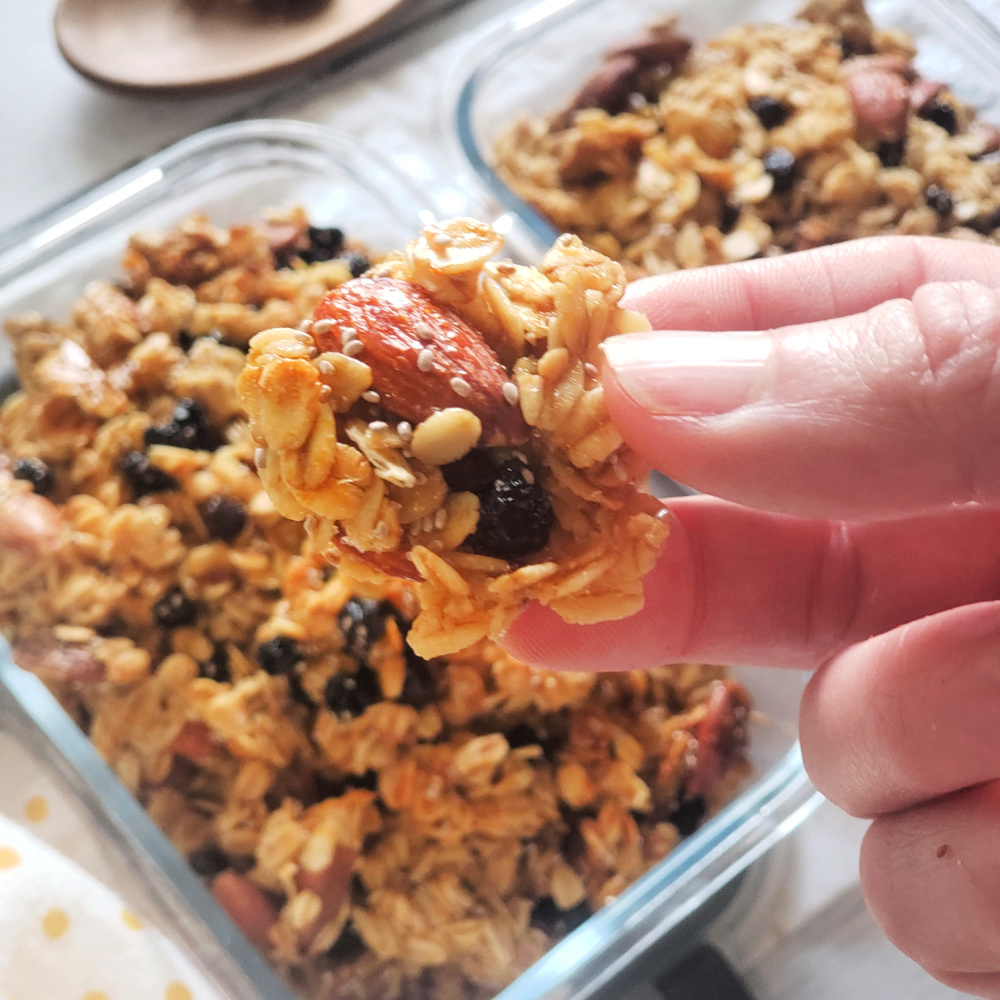
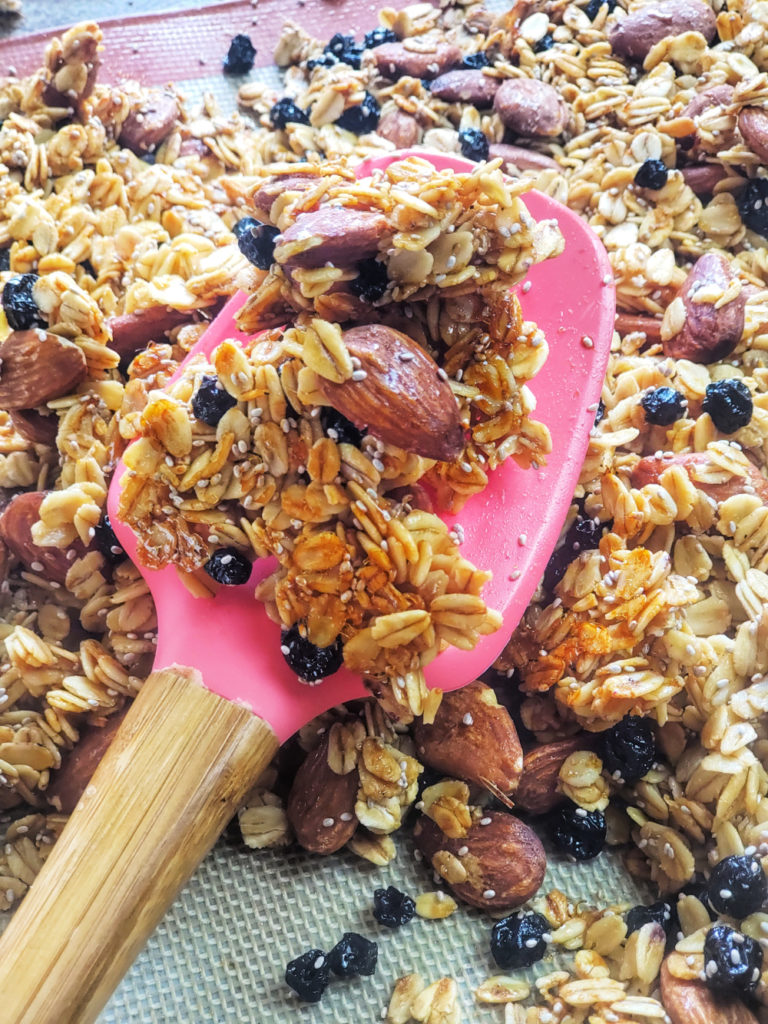
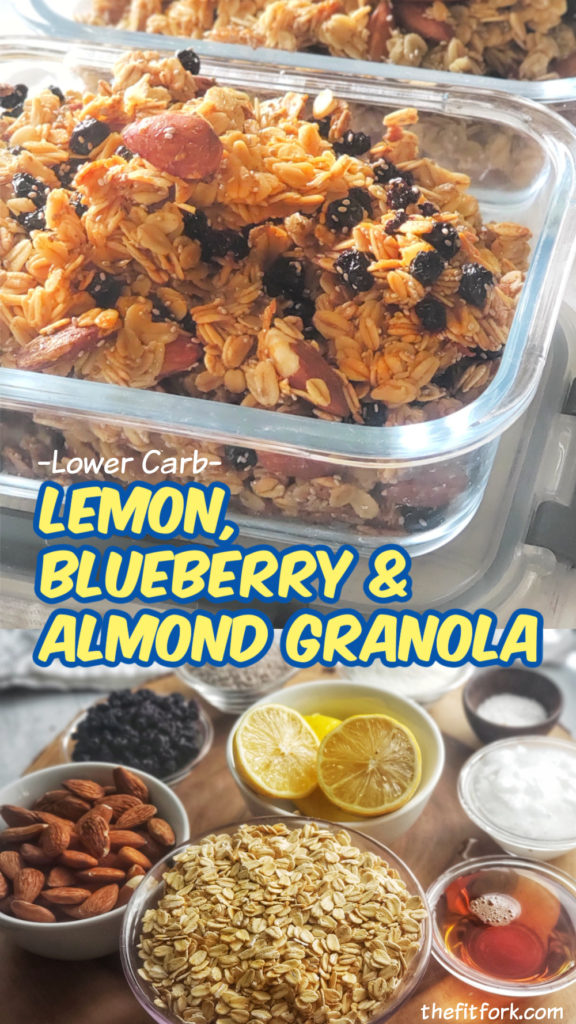
Lemon, Blueberry & Almond Granola is perfect for breakfast with milk or on yogurt — or for eating straight by the handful as a snack. I’ve used my kitchen hacks (like using alternative sweeteners and adding collagen powder) to moderate carbohydrates, boost protein and create a nutritious food to fuel my goals.

Crunch, lightly sweet and wholesomely satisfying for breakfast or a snack, this easy homemade granola recipe features oats, dried blueberries and almonds -- and also sugar swaps and collagen powder to keep the carbs lowered and protein up!

Preparing homemade granola is surprisingly easy . . . and super economical. Oats are inexpensive and can really stretch your food budget a long way — the biggest expense in homemade granola is the array of mix-ins like nuts, dried fruit, seeds and such. But you still get more goodies in your batch than you’d find in a more expensive bag of packaged granola.

Check out this video tutorial on how to make Lemon Blueberry Almond Granola!

As hinted, this lower-carb, higher protein Lemon, Blueberry & Almond Granola uses a few favorite products — a honey alternative (or any zero-carb syrup will do) and unflavored collagen. And, so many wholesome, good-for-you ingredients in this low carb blueberry granola.

Crunch, lightly sweet and wholesomely satisfying for breakfast or a snack, this easy homemade granola recipe features oats, dried blueberries and almonds -- and also sugar swaps and collagen powder to keep the carbs lowered and protein up!

I’m a long-time user of collagen hydrolysate from Great Lakes Wellness. They have quite a few flavors, but the unflavored (green can) is very versatile for everything from mixing into coffee to using as a protein multiplier in recipes like this homemade granola with collagen.

Save 10% on anything at Great Lakes Wellness with my discount code: THEFITFORK10OFF

Great Lakes Wellness discount code THEFITFORK10OFF
Crunch, lightly sweet and wholesomely satisfying for breakfast or a snack, this easy homemade granola recipe features oats, dried blueberries and almonds -- and also sugar swaps and collagen powder to keep the carbs lowered and protein up!
Pin to make later!

5 from 1 vote
Lemon Blueberry and Almond Granola - Crunch, lightly sweet and wholesomely satisfying for breakfast or a snack, this easy homemade granola recipe features oats, dried blueberries and almonds -- and also sugar swaps and collagen powder to keep the carbs lowered and protein up!
LEMON BLUEBERRY & ALMOND GRANOLA – Lower Carb and Packed with Protein!

Crunch, lightly sweet and wholesomely satisfying for breakfast or a snack, this easy homemade granola recipe features oats, dried blueberries and almonds — and also sugar swaps and collagen powder to keep the carbs lowered and protein up!

Course: Breakfast, Snack
Keyword: almond, blueberry, collagen, granola, lemon, lower carb
Servings: 10 servings
Calories: 301 kcal
Ingredients
  • 1 lemon zested and juiced
  • ¼ cup coconut oil
  • ¼ cup unflavored collagen powder
  • 1/3 cup sugar-free “honey” or can sub real honey but will increase carbs
  • 4 cups rolled oats gluten-free, if needed
  • ¼ cup chia seeds
  • 1 cup raw almonds
  • 1-2 pinches salt
  • 1/3 cup dried blueberries no-sugar added
Instructions
  1. Juice and zest one lemon in large bowl.
  2. Mix in honey substitute, collagen, and coconut oil.
  3. Add oats, chia seeds, almonds, salt and blueberries.
  4. Mix until coated.
  5. Dump out on parchment or silicone-lined baking sheet. Lightly pat down.
  6. Bake at 300F for 35 to 40 minutes, using spatula to turn over clusters at halfway point.
  7. Let cool.
  8. Store in air-tight containers.
Recipe Notes

301 Calories

20g net carb

16g fat

11 g protein

Toasted Quinoa-Oat-Pecan Apricot Bites (with Collagen)

Time to get toasty in the middle of summer! My Toasted Quinoa-Oat-Pecan Apricot Bites (with Collagen) are a versatile, balanced energy balls that are easy to make and keep on-hand for healthy snacking.

Nourishing and delicious, these little wholesome balls of goodness feature toasted quinoa, oats and pecans -- along with apricots, maple syrup and collagen for a protein boost! A great breakfast on the go, anytime snack or for after workouts instead of a protein bar!

I like to pop one, two or three (depending on my hunger and energy needs) of these apricot pecan balls in my mouth on the way to my pre-dawn boot camp, or later in the day for a satisfying between-meal snack.  Whole grains, nuts and dried fruit for the win. . .  plus a little collagen powder for my joint support, general wellness and a protein boost!

Great Lakes Wellness discount code THEFITFORK10OFF
Nourishing and delicious, these little wholesome balls of goodness feature toasted quinoa, oats and pecans -- along with apricots, maple syrup and collagen for a protein boost! A great breakfast on the go, anytime snack or for after workouts instead of a protein bar!
Pin for later!

Not added sugar in this apricot protein bites recipe! Dried apricots (look for the unsweetened and unsulfured variety) add sweetness, along with a sugar-free maple syrup alternative. If you’d rather use real maple syrup, honey, agave syrup or another “sticky sweetener”, that’s fine too! Just swap in using the same measurements – do note that it will change the macro, adding more carbohydrates.

Toasting quinoa, oats and pecans

Toasting the quinoa, oats and pecans before chopping up in the food process gives them an amazingly satisfying texture and aroma. You can skip this step if absolutely pressed for time, but it’s well worth the extra 5 minutes each of cooking/cooking time for the elevated flavor. Toasting quinoa is also kinda fun! The dry quinoa also starts to “pop” in the pan, which is an indication only a minute or more needed before you can pulse the remaining ingredients in the food processor. And, the scent of toasting oats, quinoa, pecans and the cinnamon is AMAZING!

If the majority of the mixture isn’t pulling off the sides of the food processor, you can add in a tablespoon or two more of uncooked oats and pulse to make less sticky. You’ll still want it moist and sticky enough to keep the balls holding shape as you roll between your palms.

Save 10% at GreatLakesGelatin.com with code THEFITFORK10OFF

As I mentioned, unflavored collagen in this oat quinoa energy balls recipe for my joint/bone and general wellness support – plus a protein boost! For these no-bake collagen bites, I like the Great Lakes Wellness brand and you can save with code THEFITFORK10OFF

5 from 2 votes
Nourishing and delicious, these little wholesome balls of goodness feature toasted quinoa, oats and pecans -- along with apricots, maple syrup and collagen for a protein boost! A great breakfast on the go, anytime snack or for after workouts instead of a protein bar!
Toasted Quinoa-Oat-Pecan Apricot Bites (with collagen)
Prep Time
10 mins
Cook Time
5 mins
cool
5 mins
Total Time
20 mins
 

Toasted Quinoa-Oat-Pecan Apricot Bites (with collagen) make a nourishing anytime snack — even a breakfast on the go or post-workout refuel. Gluten free.

Course: Snack, workout
Keyword: apricot, energy bar, pecan, protein bar, quinoa
Servings: 24 balls
Ingredients
  • ½ cup uncooked quinoa rinsed
  • 3/4 cup rolled oats
  • 1 cup chopped pecans
  • ¼ tsp cinnamon
  • 2/3 cup unflavored collagen powder
  • 8 oz dried apricots set 2 aside for garnish
  • ½ cup sugar-free maple syrup substitute or “sticky” sweetener of choice like honey, agave, etc.*
Instructions
  1. In skillet, over medium-high heat, toast pecans, oats, quinoa and cinnamon for about minutes, stirring frequently, until turning lightly brown. You will hear the quinoa “popping. Remove from heat and let cool down a few minutes.
  2. Place toasted mixture in food processor along with collagen and couple pinches of salt. Pulse a few times to combine.
  3. Add dried apricots and syrup in to food processor and process for a minute or so until a sticky mixture forms and is pulling away from sides. If seems to sticky, add a up to two tablespoons of oats (they don’t need to me toasted).
  4. Form a heaping tablespoon into a ball by rolling between your hands. Repeat with remaining mixture to make 24 total.
  5. Cut the two reserved apricots up into small pieces for garnish on top.
  6. Store bites in refrigerator for 4–5 days. * changing sweetener may affect the macros.
Recipe Notes