Hatch Green Chile Zucchini Soup, Hot or Cold!

Summer soups are a lovely way to enjoy the season’s freshest flavors, and this Hatch Green Chile Zucchini Soup is no exception. Combining two of summer’s most vibrant vegetables, this dish is both a delicious and nutritious option that can be served hot or cold, making it versatile for any occasion.

Whether you’re trying to make the most of a bumper crop of Hatch chiles or zucchini (and goodness knows, there can be bushels at the end of summer, this soup is a quick and easy way to transform summer produce into a satisfying meal.

With the added richness of potatoes, onions, and garlic, all sautéed with a hint of cumin before simmering in broth and puréeing to a silky texture, it’s a low-calorie side dish or light lunch that will leave you feeling nourished. Plus, with 6 grams of protein per serving, it’s as filling as it is flavorful. A finishing touch of lime, feta, and cilantro adds a tangy brightness that elevates every spoonful.
HATCH GREEN CHILE ZUCCHINI SOUP TIPS

Hatch Green Chiles: August through September is prime time for these beloved green chiles that hail from New Mexico (but typically available across the country at the end of summer). If you fresh roast your peppers, stick over a flamer, on the grill or in a broiler until the skins blister up black. Remove, let cool in a paper bag for 5 minutes and then in a bowl of cool water, slip off the skins, remove the stem and rise out the seeds before chopping. If Hatch aren’t available to you, and you still want to use a fresh chile – Poblano will make a good substitute. OR, for convenience, there are a number of prepped frozen Hatch green chile and canned/jarred hatch peppers available.

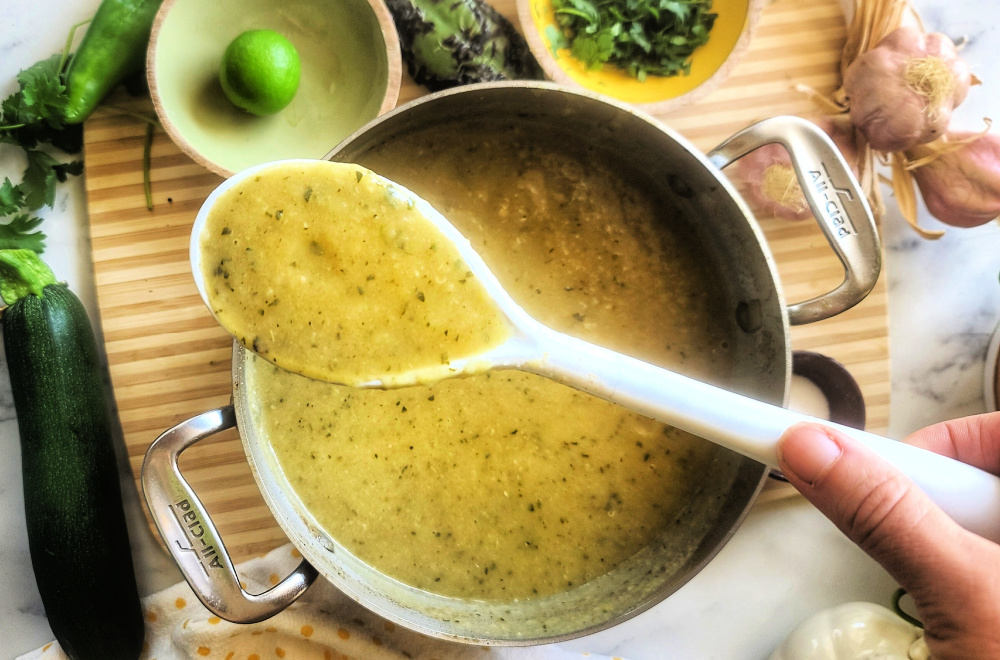
Puréeing: The silky, smooth texture in this hatch green chili soup with zucchini comes from puréeing the sautéed veggies that have been simmered in sauce. It’s very convenient to puree soup right in the pot with an Immersion Blender. However, you can use a traditional stand blender or food process, but DO NOT add hot soup to the blender – the hot liquids will expand and explode all over the kitchen, making a mess and potentially creating a burn hazard. Instead, 1) let soup cool to a warm or room-temp status, 2) ONLY fill blender pitcher half way, 3) add lid slightly askew to let any warmth out (drape dish towel over); and 4) start blending slowly in “pulses” to ensure that it will react fid.

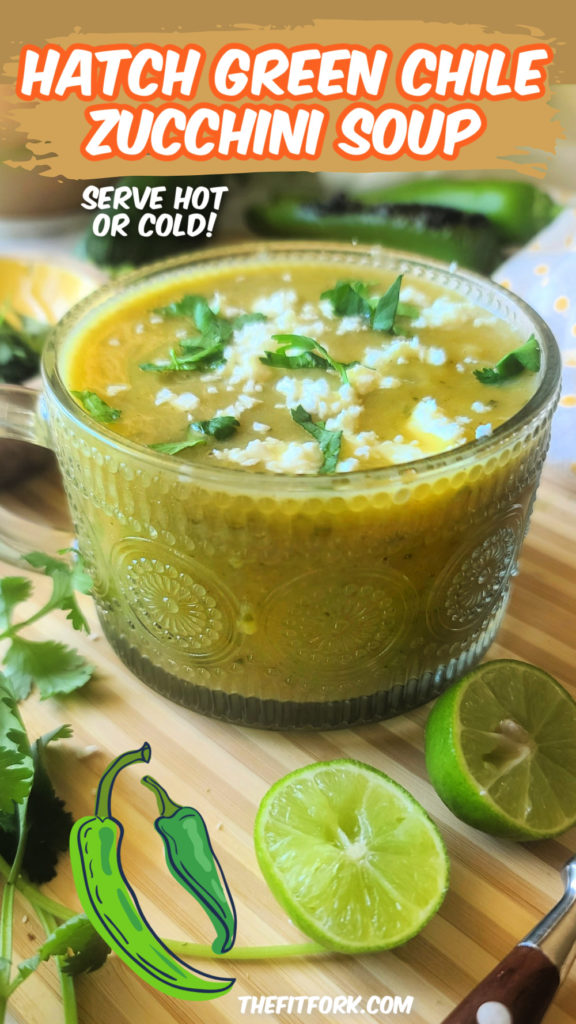
 Toppings: This soup is amazing as-is, but various toppings like a squirt of lime or lemon juice, crumbled feta or queso fresco, fresh herbs like cilantro, or even a little sour cream, crema or drizzle of flavored olive oil.
Note: This post contains affiliate links.
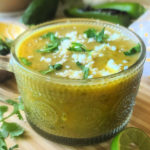
Hatch Green Chile Zucchini Soup
Prep Time
10 mins
Total Time
30 mins
 

‘Tisthe season for zucchini and Hatch green chile – use up your bumper crop in thisdelicious soup that can be served hot or cold. Makes 6 servings, each with 134cal, 4g fat, 11g net carb and 6g protein.  

Course: entree soup, lunch, Soup
Cuisine: Southwestern
Keyword: green chile, hatch, soup, zucchini
Servings: 6 servings
Calories: 134 kcal
Ingredients
  • 3 mild Hatch green chilis – roasted peeled and chopped (or 1 cup chopped canned or frozen option)
  • 1 Tbsp olive oil
  • 2/3 cup diced onion
  • 1 ½ lbs. zucchini- sliced about 4 cups
  • 8- oz potato peeled and chopped
  • 1 quart chicken broth
  • 1 Tbsp minced garlic
  • 1 Tbsp ground cumin powder
  • 1 tsp salt
  • Optional garnish: Lime feta cheese, cilantro
Instructions
  1. Roast chiles over direct flame or in broiler, using tongs to flip every minute or until outside is blistered black. Set in covered container to “sweat’ for 5 minutes, then peel, seed and chop.
  2. Add chopped vegetables (onion, zucchini, potato and hatch chiles) to soup pot and drizzle with olive oil; sauté on medium-high for 7-9 minutes until vegetables becoming tender. Add garlic and cumin; sauté for another 1-2 minutes until fragrant.
  3. Add chicken broth to cover vegetables and simmer over medium heat for 10 more minutes.
  4. Keep soup in pot and insert an immersion blender to puree soup contents. OR, let soup cool to warm and blend in a high-wattage blender (DO NOT BLEND WHILE HOT, that’s dangerous)
  5. Serve warm or cold, topped with a squirt of lime juice, sprinkle of feta cheese and chopped cilantro.
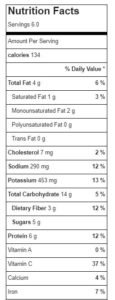
Recipe Notes

Delicious Red Fruit Salad with Lime-Honey-Mint Dressing

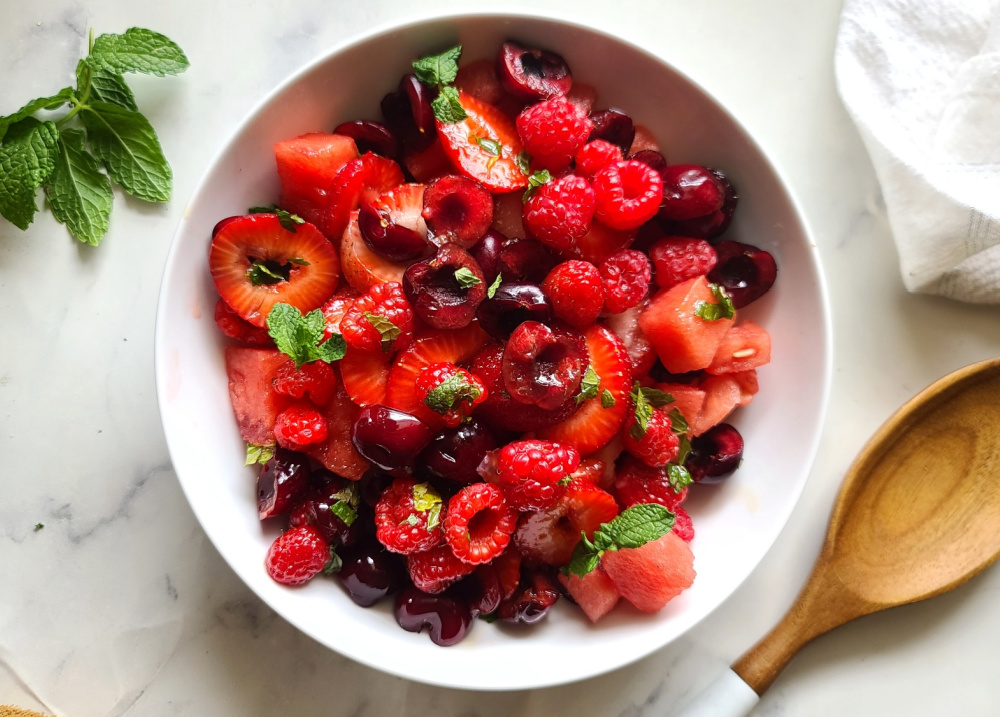
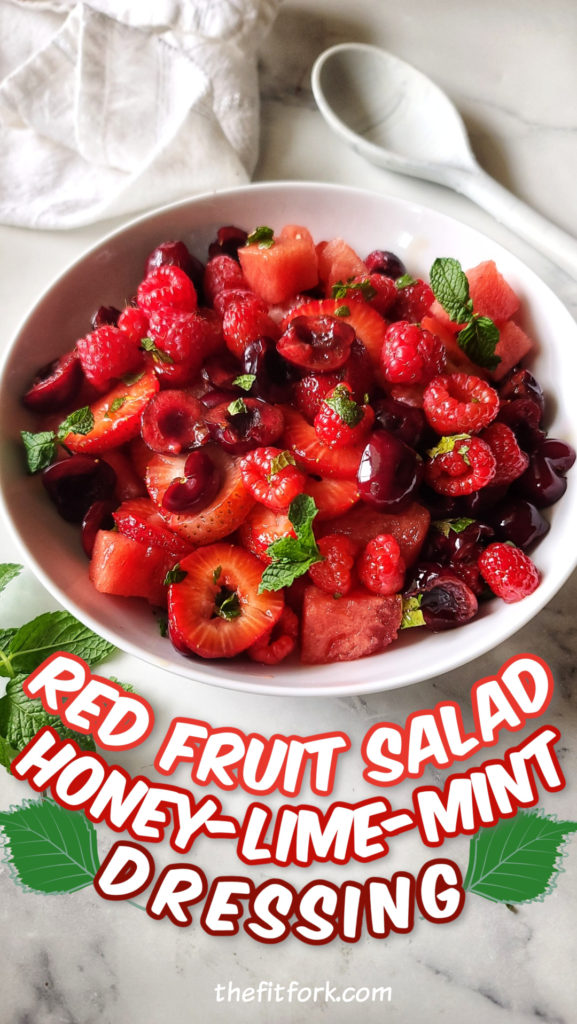
Summer is the perfect time to indulge in fresh, vibrant, and healthy dishes, and nothing screams summer more than a refreshing fruit salad. Add a pop of bold color to your table with a  red fruit salad, made up of the summer’s best season – watermelon, strawberries, cherries and raspberries.

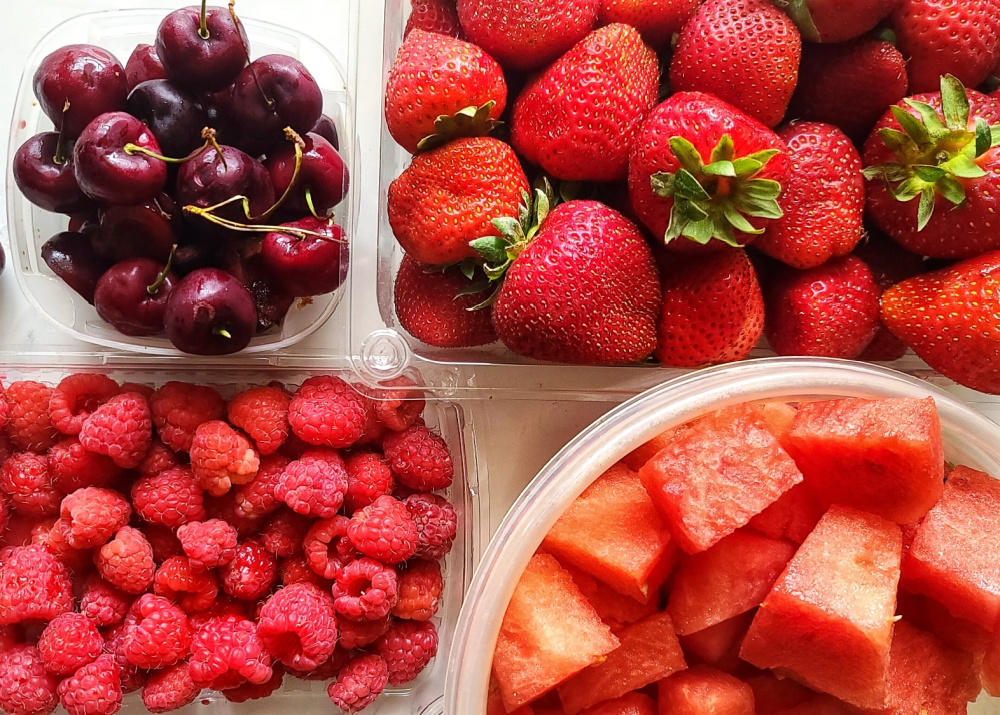
This beautiful fruit salad -- featuring red raspberries, strawberries, watermelon and cherries – will be the star of your summer celebration. The Honey Lime Mint dressing is super easy to make and adds a flavorful upgrade to your breakfast, lunch, or dinner!

Not only is a salad of red fruit visually stunning, it’s also packed with vitamins, antioxidants, and a burst of natural sweetness. The easy Lime-Honey-Mint Dressing enhances the sweetness with a bright tang of citrus – no need to dirty another dish, I just mix it up in the bottom of my serving dish and then toss around after adding fruit before serving.

This beautiful fruit salad -- featuring red raspberries, strawberries, watermelon and cherries – will be the star of your summer celebration. The Honey Lime Mint dressing is super easy to make and adds a flavorful upgrade to your breakfast, lunch, or dinner!

A fun way to prep the salad is in a large, wide-mouth mason jar – keep in the fridge until ready to serve. Then dump into a bowl before serving, the dressing on the bottom ends up on top!!  Perfect for a summer patio meal, pool party or pot luck!

This beautiful fruit salad -- featuring red raspberries, strawberries, watermelon and cherries – will be the star of your summer celebration. The Honey Lime Mint dressing is super easy to make and adds a flavorful upgrade to your breakfast, lunch, or dinner!
Red Fruit Salad with Lime-Honey-Mint Dressing
Prep Time
10 mins
Total Time
10 mins
 
This beautiful fruit salad — featuring red raspberries, strawberries, watermelon and cherries – will be the star of your summer celebration. Super easy to make, so also perfect for lazy days or busy night meals.
Course: Dessert, entree salad, Side Dish, Snack
Keyword: cherries, fruit salad, raspberries, strawberries, watermelon
Servings: 4 servings
Ingredients
  • Dressing:
  • 2 Tbsp. honey
  • 1 ½ Tbsp lime juice
  • 2 tsp chopped fresh mint leaves
  • Fruit 4 cups total, can vary a bit
  • ¾ cup raspberries
  • ¾ cup halved and pitted cherries
  • 1 cup sliced strawberries
  • 1 ½ cup watermelon cubes 1/2” cut
Instructions
  1. In bottom of glass jar that holds 4 cups or a medium serving bowl, whisk together the honey, lime juice and chopping fresh mint.

  2. When ready to add raspberries, halved and pitted cherries, sliced strawberries, and chopped watermelon to bowl and gently toss to coat with dressing.
  3. Store leftovers, covered, in the fridge for up to two days.

  • 1 ½ cup watermelon cubes 1/2” cut

Instructions

Red, White, and Blue Caprese Salad with Blueberries

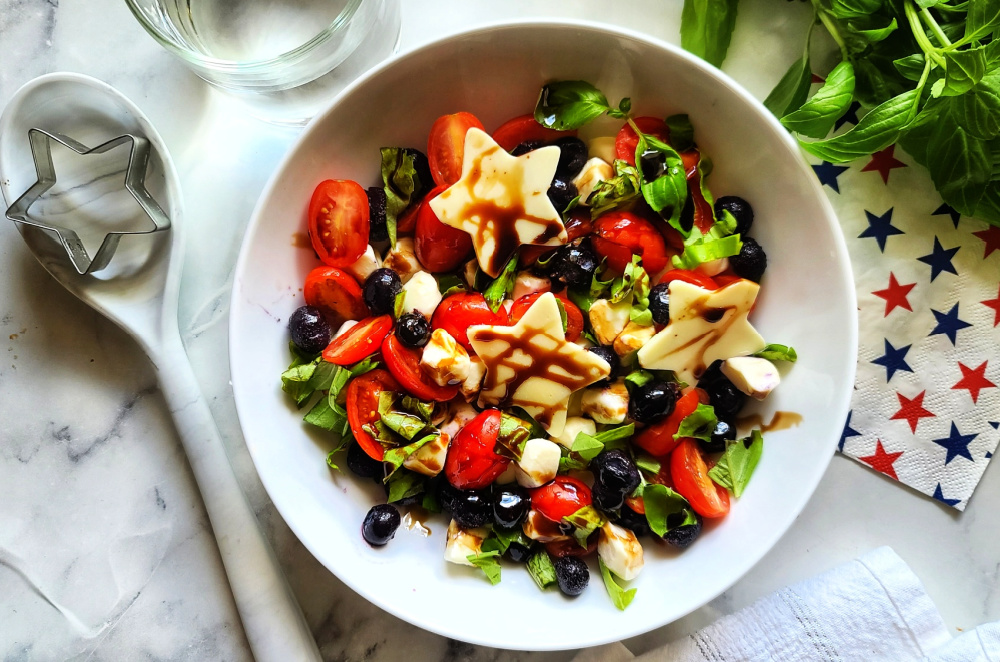
There’s no time like summer to enjoy fresh salads that are not only exploding with flavor but also bring fabulous color to the table – like this Red, White and Blue Caprese Salad.

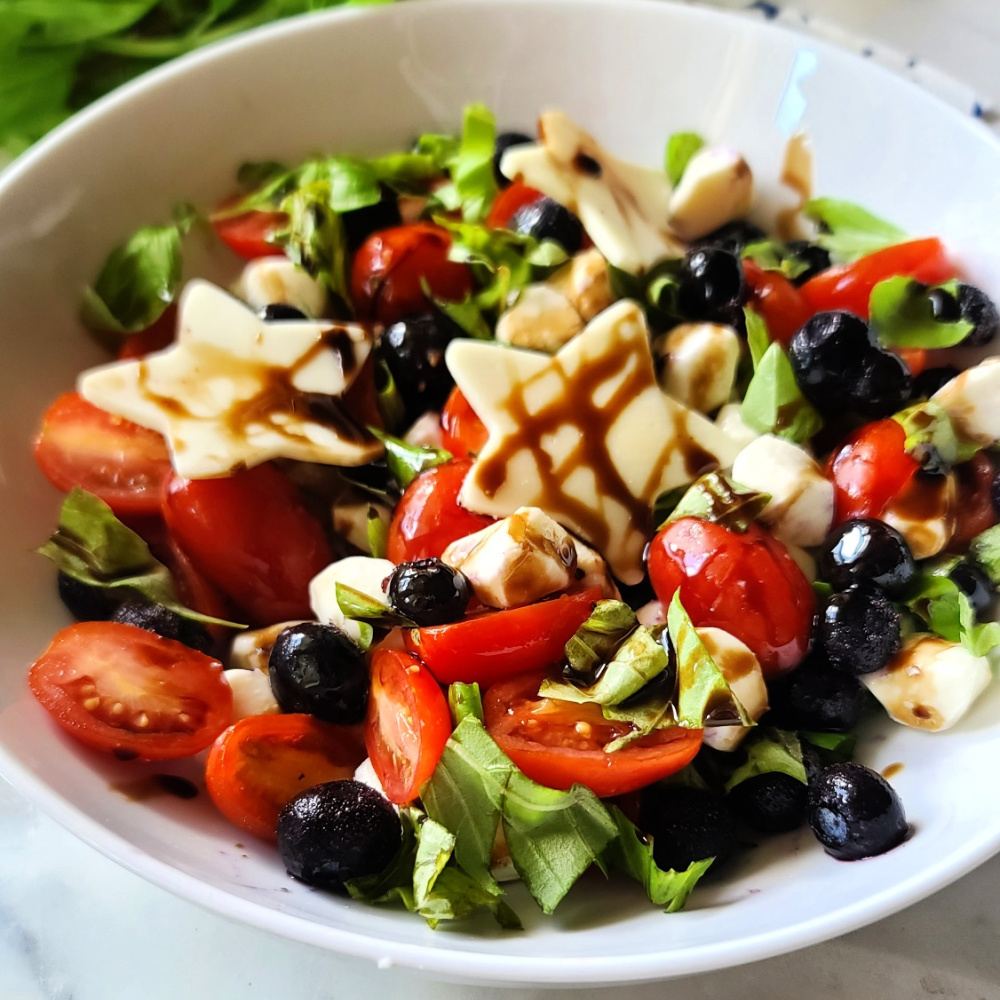
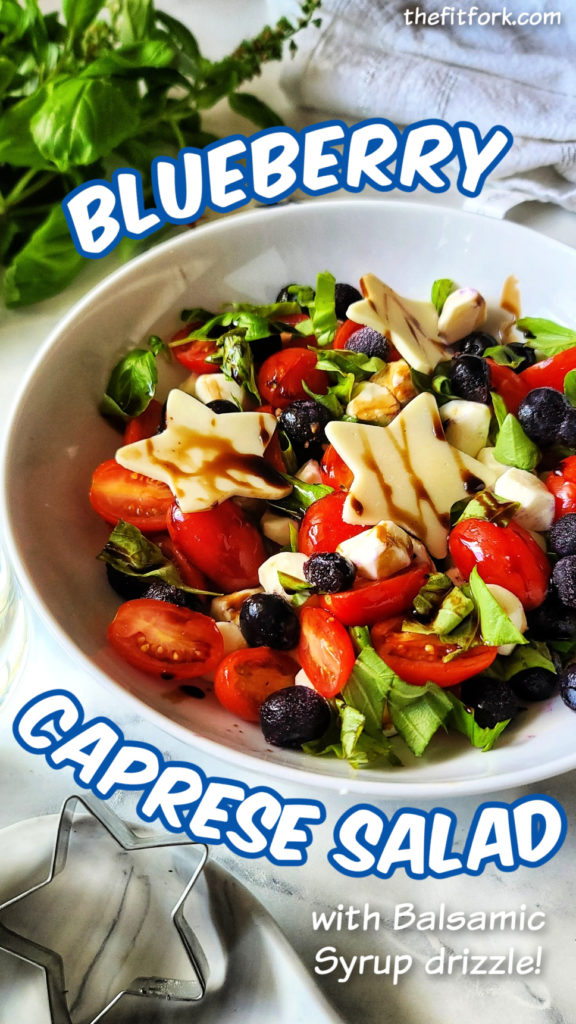
Everyone loves a Caprese salad with juicy tomatoes, aromatic sweet basil and creamy mozzarella cheese all drizzled in balsamic syrup. My patriotic version of the classic favorite summer salad that adds blueberries in honor of the USA and Red, White and Blue. Perfect for summer entertaining.

Who doesn’t love a Caprese salad with juicy tomatoes, aromatic sweet basil and creamy mozzarella cheese all drizzled in a balsamic dressing or syrup?  This is my patriotic version of the classic favorite summer salad that adds blueberries in honor of the Red, White and Blue. This beautiful salad can be tossed together in two minutes and is a delicious and easy way to celebrate the Fourth of July, Memorial Day, or any warm-weather gathering.  This is a must-make for berry season and summer entertaining by the pool, patio or a potluck!

Everyone loves a Caprese salad with juicy tomatoes, aromatic sweet basil and creamy mozzarella cheese all drizzled in balsamic syrup. My patriotic version of the classic favorite summer salad that adds blueberries in honor of the USA and Red, White and Blue. Perfect for summer entertaining.

TIPS FOR MAKING BLUEBERRY CAPRESE SALAD

Mozzarella: This creamy, mild cheese is the cornerstone of a Caprese salad and I like that it brings a little protein to the party. I used mozzarella pearls (so cute and perfect for a salad) but you can also use a bigger ball of mozzarella and cut into bite-sized pieces.

Balsamic Syrup: To keep life easy, I used a prepared balsamic syrup rather than make my own by reducing balsamic vinegar in a saucepot until thickened. The particular prepared balsamic syrup I used was infused with ginger, it was SO DELICIOUS. Also, as an alternative, you can use the balsamic salad dressing of your choice or simply olive oil for a less sweet effect on this tomato cheese salad.

Basil: You can’t skip the fresh basil in a Caprese salad! I like to grow a pot of my own sweet basil in the summer, to have in abundance for my recipes as inspired. But you can also grab fresh sprigs in the market. To store your clipped basil sprigs, place stem ends in a cup with a bit of water and store on the countertop to use within a few days – in the fridge, leaves will turn black-brown quickly.

Everyone loves a Caprese salad with juicy tomatoes, aromatic sweet basil and creamy mozzarella cheese all drizzled in balsamic syrup. My patriotic version of the classic favorite summer salad that adds blueberries in honor of the USA and Red, White and Blue. Perfect for summer entertaining.

Note: This post contains affiliate links.

Red, White & Blueberry Caprese Salad
Prep Time
5 mins
Total Time
5 mins
 

Everyone loves a Caprese salad with juicy tomatoes, aromatic sweet basil and creamy mozzarella cheese all drizzled in balsamic syrup. My patriotic version of the classic favorite summer salad that adds blueberries in honor of the USA and Red, White and Blue. Perfect for summer entertaining.

Cuisine: Italian
Keyword: balsamic, blue cheese, blueberry, mozzarella, salad, tomato
Servings: 4 servings
Ingredients
  • 4 oz. mozzarella pearls drain if packed water
  • 4 oz. grape or cherry tomatoes halved
  • 4 oz. fresh blueberries or thawed frozen berries
  • ¼ cup coarsely chopped fresh basil leaves
  • 2 tbsp (+/-) balsamic syrup or balsamic dressing
  • Optional: slices of mozzarella to punch out star shapes with a cookie cutter
Instructions
  1. Toss mozzarella pearls, tomatoes, blueberries and basic in a serving bowl. Drizzle with balsamic syrup.
  2. If desired, used cookie cutter to punch out star shapes from slices of mozzarella cheese.
  3. Best served when made, but leftovers stay good in the fridge for up to 3 days (although basil may oxidize a bit, it’s still fine to eat).

Watermelon Raspberry Quinoa Salad with Ginger Mint Dressing

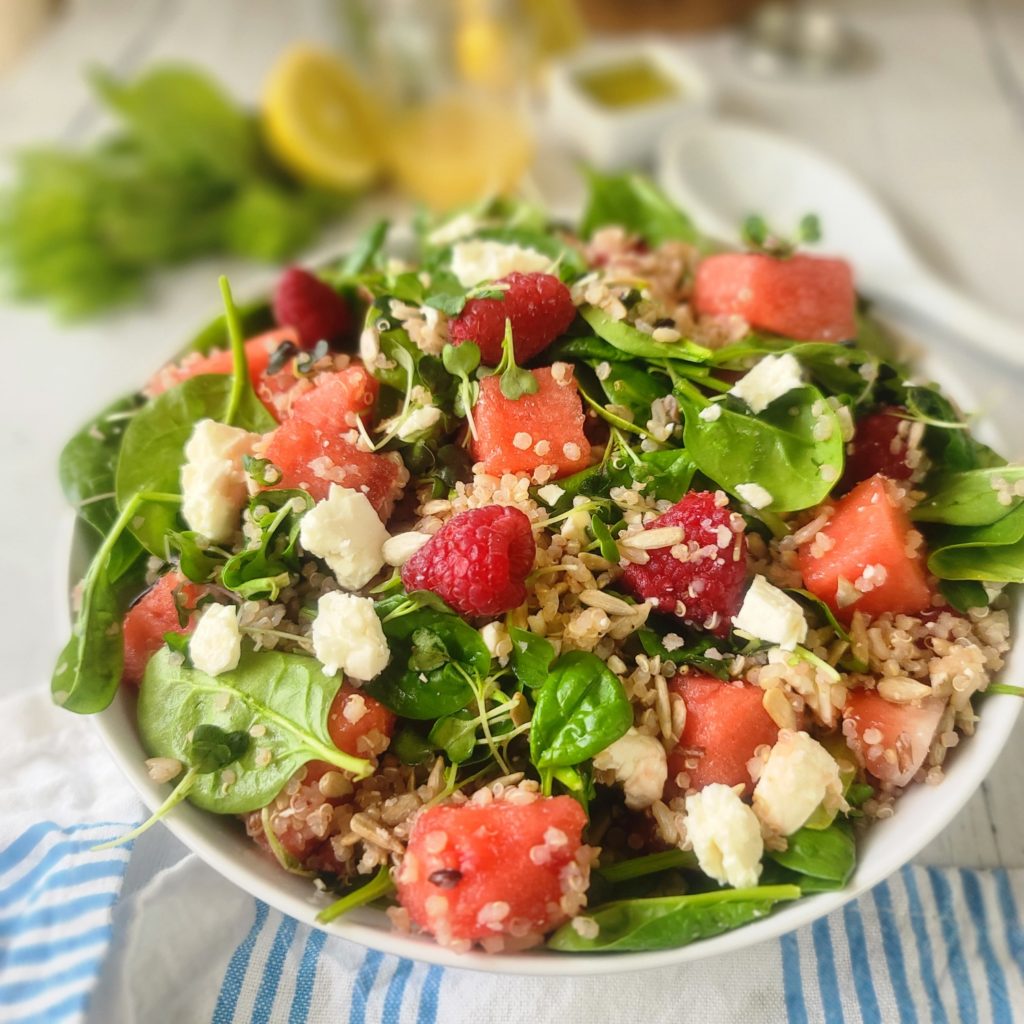
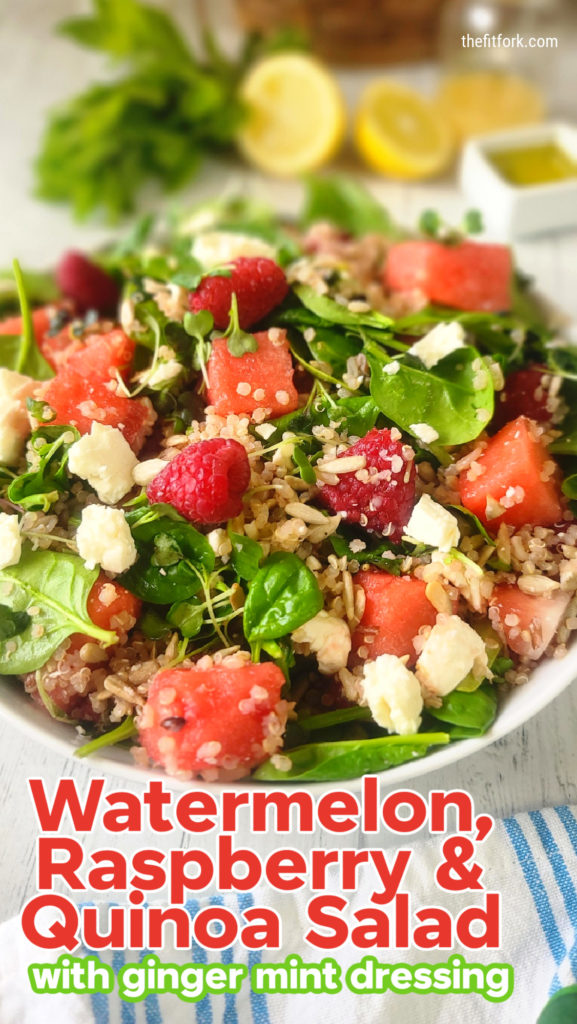
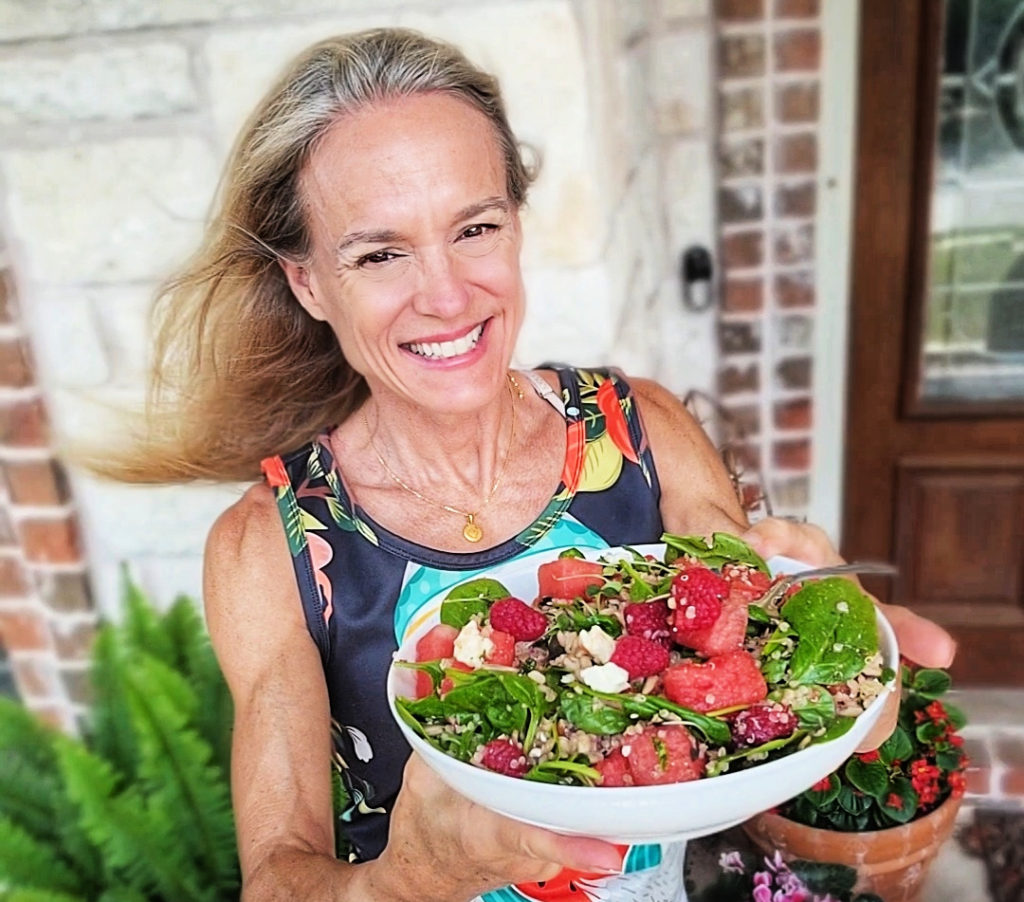
Summer is nearly here and this Watermelon, Raspberry, & Quinoa Salad with Ginger Mint Dressing is an easy-fix for upcoming pool parties, picnics and patio dining.

 Fully-loaded, this watermelon salad won’t leave you hunger a few minutes later. It’s actually quite hearty with quinoa, sunflower seeds, feta cheese, loads of greens, juicy watermelon and raspberries.

Pin this for later!

Why I love this watermelon salad, other that the amazing taste: Fresh ingredients to fuel my adventures, no cooking, stunning as a side dish but hearty enough for a main course (especially if you add some shrimp or salmon!).

I love how watermelon is a refreshing and delicious addition to salads, providing a burst of sweetness, hydration and nutrients.  It’s also a smart way to use up leftover watermelon, if you purchased a big one! By the way, check out this post on how to efficiently cut up a jumbo-sized watermelon fast.

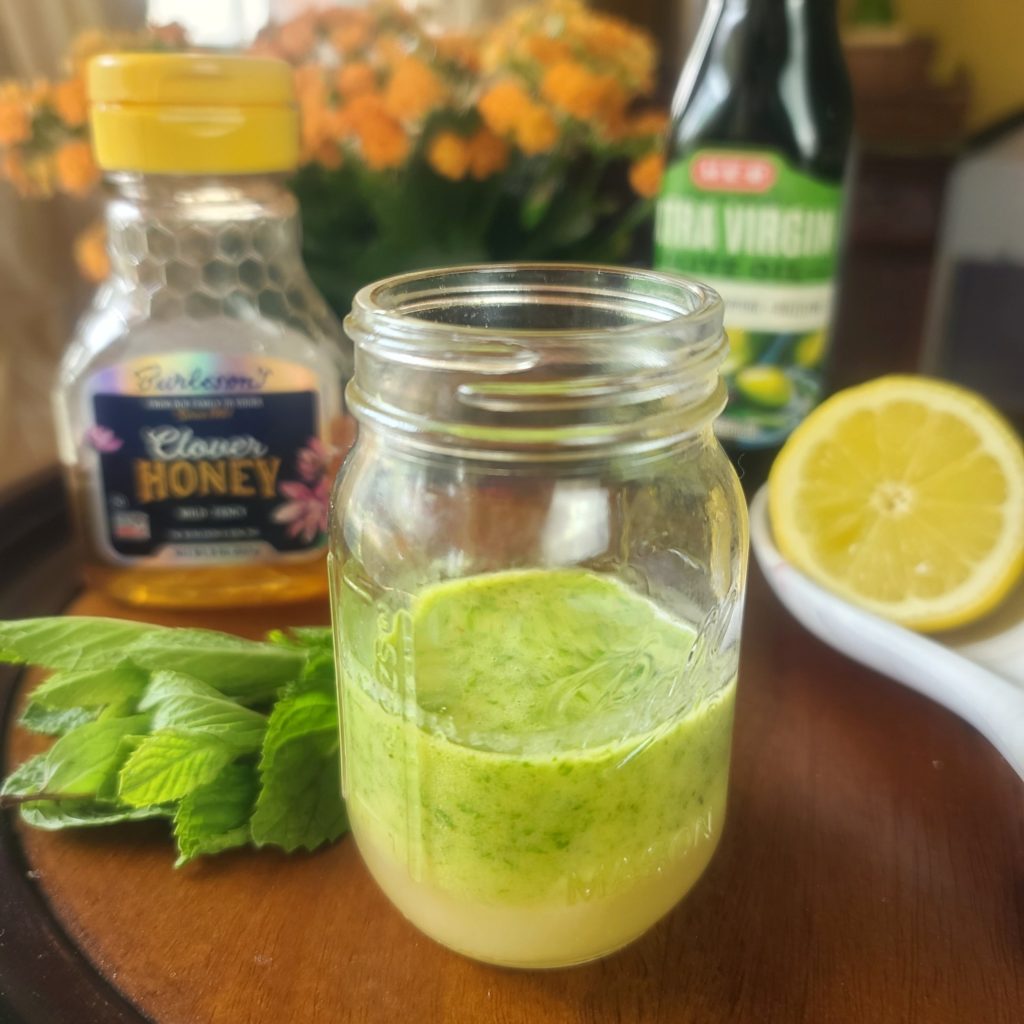
Ginger Mint Dressing, so fresh and fragrant!

Let’s talk about the fresh, invigorating, and aromatic dressing. Ginger Mint Dressing is so simple to make with just a quick blast in a personal-sized blender. It’s also a smart way to tackle mint that likes to take over gardens this time of year. Now and then, I pull out my juice to make Ginger Juice (and store in small portions in my freezer). Check out my tips on Juicing Ginger Root. However, if I’m “out of stock,’ for convenience I just rely on bottled ginger juice or the little ginger juice shots you can buy in the fresh juice section of the produce department. 

This Ginger Mint Dressing also makes an amazing marinade for fish and shrimp.

Enjoy!

Note: This post contains affiliate links.

5 from 5 votes
Hydrate and invigorate with this juicy fresh salad featuring watermelon, raspberries and quinoa! The zingy ginger mint dressing is amazing. It’s a stunningly colorful side dish or add shrimp or salmon for a main dish.
Watermelon, Raspberry & Quinoa Salad with Ginger Mint Dressing.
Prep Time
15 mins
Total Time
15 mins
 

Hydrate and invigorate with this juicy fresh salad featuringwatermelon, raspberries and quinoa! The zingy ginger mint dressing is amazing.It’s a stunningly colorful side dish or add shrimp or salmon for a main dish.

Course: entree salad
Keyword: ginger, mint, quinoa, raspberries, summer, watermelon
Servings: 4 servings
Ingredients
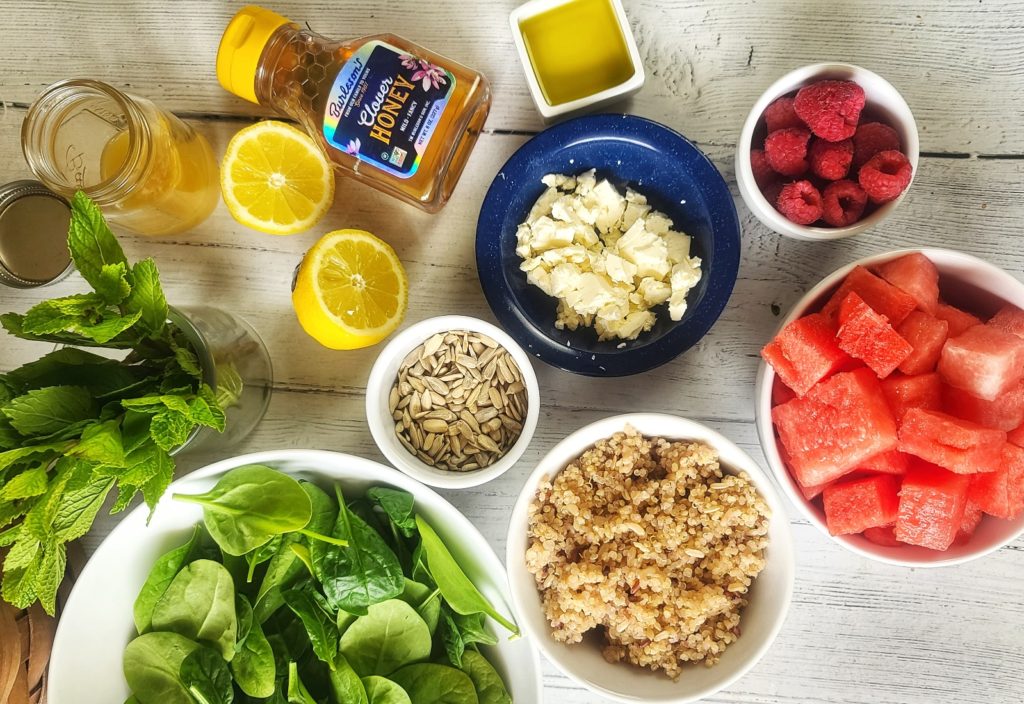
  • 3 cups baby spinach leaves
  • 1 cup microgreens of choice
  • 2 cups chopped watermelon
  • ½ cup fresh raspberries
  • 1 cup prepared quinoa
  • ¼ cup crumbled feta
  • ¼ cup sunflower seeds
Dressing
  • 1 2- oz bottle ginger juice like Suja
  • 1 tbsp honey
  • 2 tbsp olive oil
  • 1 tbs lemon juice
  • ¼ cup mint leaves
Instructions
  1. Add salad ingredients to bowl. Then add all dressing ingredients to small blender and process until mostly smooth. If you don’t have ginger juice, you can sub watermelon juice (from the watermelon prep run off) and a ½ teaspoon of finely grated ginger. Pour dressing over salad and gently toss. Best eaten same day as dressed – serves 4 as a side.

No-Crust Tomato Pie – Lower Carb, Gluten-free

Crustless Tomato Pie is a low-carb spin on one of my favorite southern dishes. Such a yummy way to use up a bumper crop of sweet, ripe tomatoes.

Most southern tomato pies have a pastry crust, but I personally like mine without! Tomatoes tend to get watery and seep all over a crust and make it unpleasantly soggy, especially you have leftovers. But a crustless tomato tart or pie doesn’t have nearly the same issue.

Watch it – 15-second tutorial!

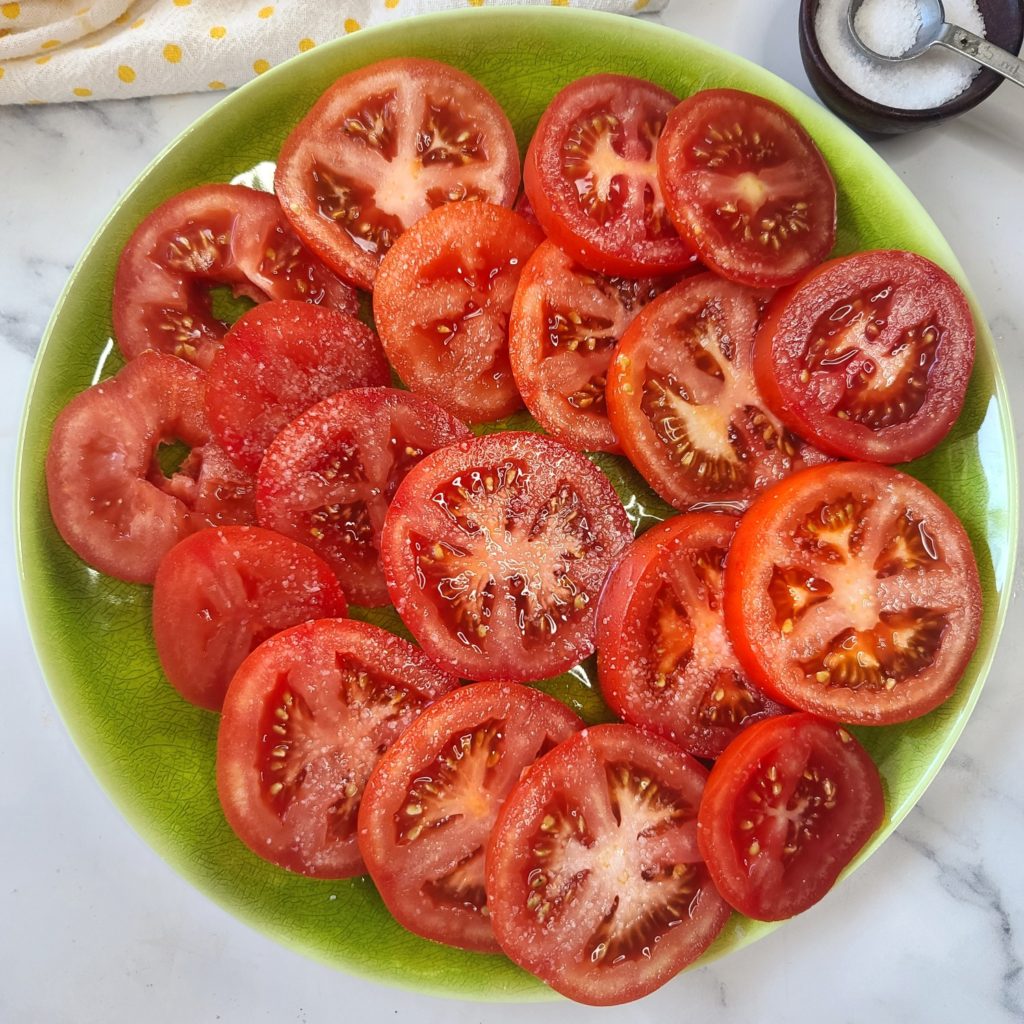
However, one of the most important preparation steps you’ll want to take for this tomato mozzarella pie is to “sweat” the tomatoes. To do this simple task, just sprinkle your slice tomatoes with a little salt and let them rest on a plate for about 30 minutes. Afterward, drain off any liquid released onto the plant and use paper towels to blot up any excess moisture (this also helps remove some of the salt so that it doesn’t overpower). Sweating tomatoes like this helps keep them from making dishes watery and also makes the tomato flavor more intense – win-win!

Sweat the tomatoes with a little sale for 30 minutes - this helps remove excess moisture so recipe doesn't get soggy and also intensify flavor.
Don’t skip the 30-minute tomato “sweat” session!

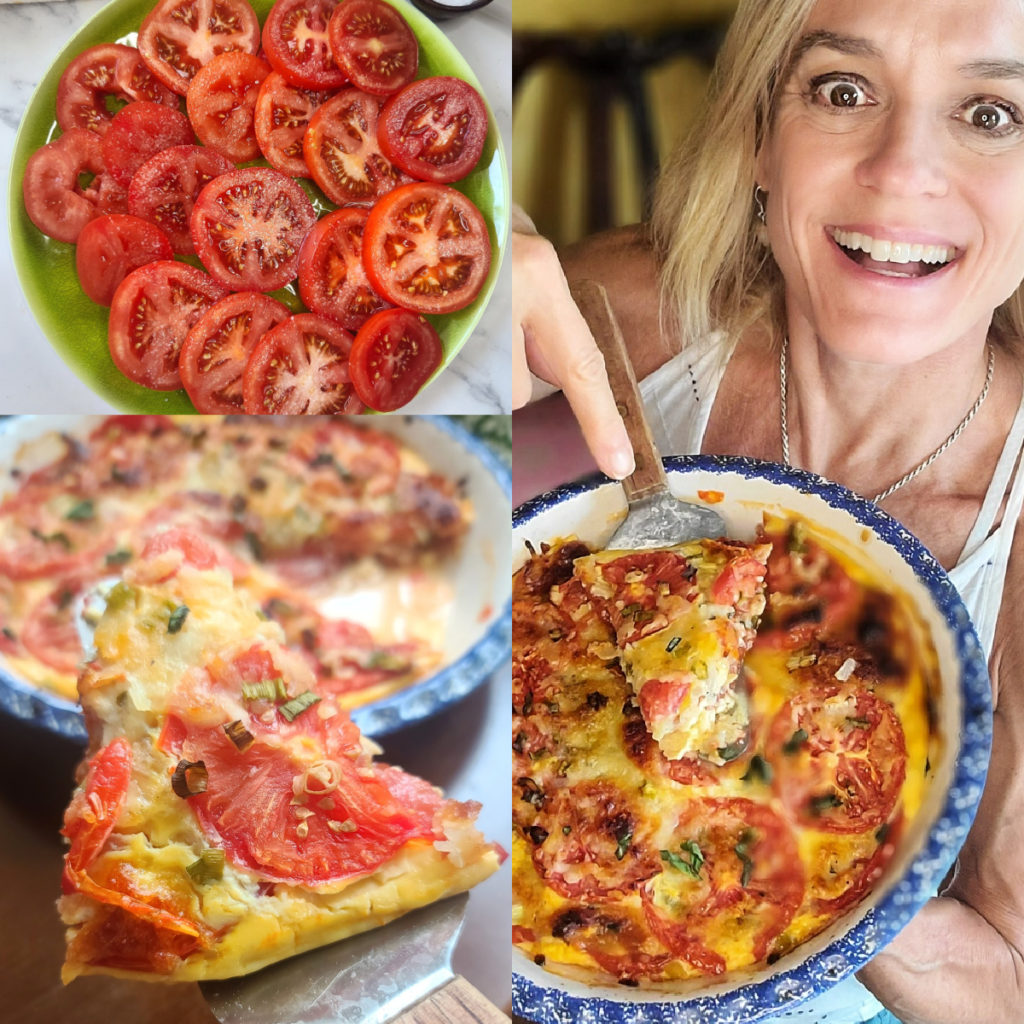
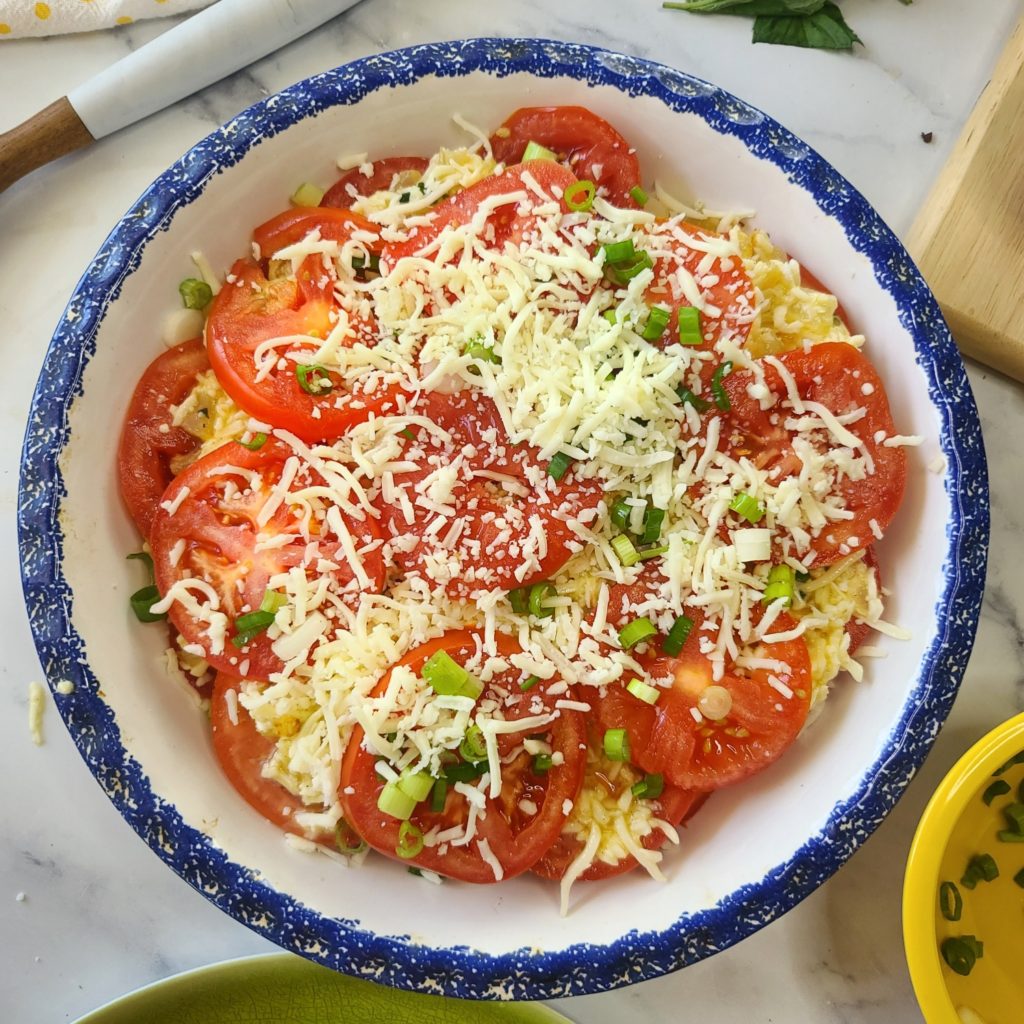
To assemble the tomato pie, you just layer tomato slices and half of the egg-cheese mixture, and then repeat those layers again, and finish with a final tomato layer – so 3 layers of tomatoes and two layers of filling. The recipe does call for two eggs in it, but only to serve as a binder to help keep everything together – it’s definitely not eggy like a quiche or frittata.  It’s all about the tomatoes!

Ready to pop in the oven for 30 minutes!

Serve a side dish to dinner or light lunch – it’s even delicious as summery breakfast. My husband says it’s a casserole with tomatoes, but I say it’s a low carb tomato pie since it’s in a pie dish – he does agree it’s delicious. My kids say the low carb tomato casserole slash pie tastes like a pizza! Any way you slice it, we gobble it all up.

Pin this for later!

However, if you do want to heat leftovers up the next day, you can microwave a slice for about 45 seconds. Or, if you have an air-fryer, I prefer to set my slice in a small dish and air fry at 390F for about 6 minutes – this returns the cheese to more of the original gooey-crispy state.

Makes 6 servings, each with 178 calories, 9g carb, 12g fat, 13g protein

Disclaimer: My post contains affiliate links. I earn a small commission on products purchase, however the price to you remains the same. Thank you!

5 from 6 votes
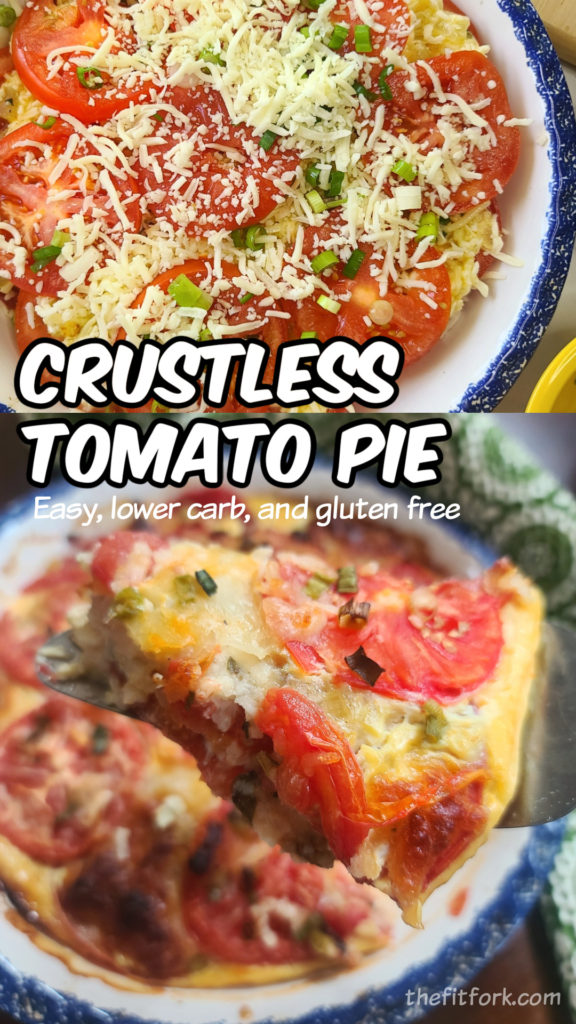
Crustless Tomato Pie: No crust means the intense flavor of vine-ripe tomatoes shines through in this recipe whether you want to call it a pie, tart or casserole. Simple ingredients, lower carb, gluten-free and sure to delight for breakfast, brunch or as a side dish any night.
No Crust Tomato Pie – Low Carb and Gluten Free
Prep Time
10 mins
Cook Time
30 mins
“Sweating” tomatoes
30 mins
Total Time
1 hr 10 mins
 

Crustless Tomato Pie: No crust means the intense flavor ofvine-ripe tomatoes shines through in this recipe whether you want to call it apie, tart or casserole. Simple ingredients, lower carb, gluten-free and sure todelight for breakfast, brunch or as a side dish any night.

Course: Appetizer, Breakfast, brunch, lunch, Side Dish
Cuisine: American, Southern
Keyword: brunch, pie, tart, tomato
Servings: 6 servings
Calories: 178 kcal
Ingredients
  • 1 ½ lbs. tomatoes about 5 to 6 medium
  • 1 tsp salt
  • 1 cup chopped sweet onion
  • 1 tablespoon butter
  • 2 eggs
  • ½ tsp black pepper
  • 2 tablespoons fresh chopped basil
  • 2 cups shredded mozzarella reserve 1/3 cup
  • 2 green onions tops and whites chopped
Instructions
  1. Slice tomatoes and sprinkle with salt. Let sit 30 minutes, then pour off juices and blot excess with paper towels.
  2. While tomatoes are “sweating,” saute onion in butter. Let cool of a bit.
  3. Mix together cooled sauteed onions, eggs, pepper, fresh basil, and 1 2/3 cups of the mozzarella.

  4. Layer pie dish with tomatoes, then dollop and spread ½ of the cheese-egg mixture on top.
  5. Sprinkle with green onions. Layer with tomatoes and remaining cheese mixture.
  6. There should be enough tomatoes left for the top. Arrange these and sprinkle with remaining cheese.
  7. Bake at 375F for 30 to 40 minutes, or until cheese bubbling and starting to brown in places.
  8. Let rest for 15 minutes before cutting into 6 wedges.
Recipe Notes

Makes 6 servings, each with 178 calories, 9g carb, 12g fat, 13g protein