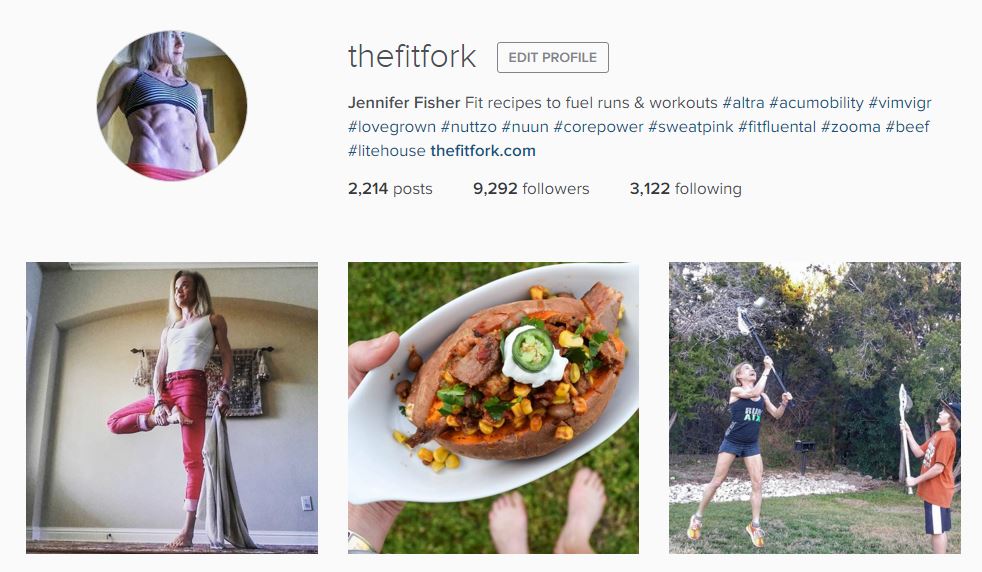
I’m an UPPER, not a DOWNER. I’d love for you to read the guest post I wrote for Vim & Vigr about “Self-Love” and discover how I stay UP on myself. When my friends at this awesome active brand asked me to share, I’m pretty sure they scored the Queen of Loving Yourself – I mean, have you seen my Instagram Profile?!!
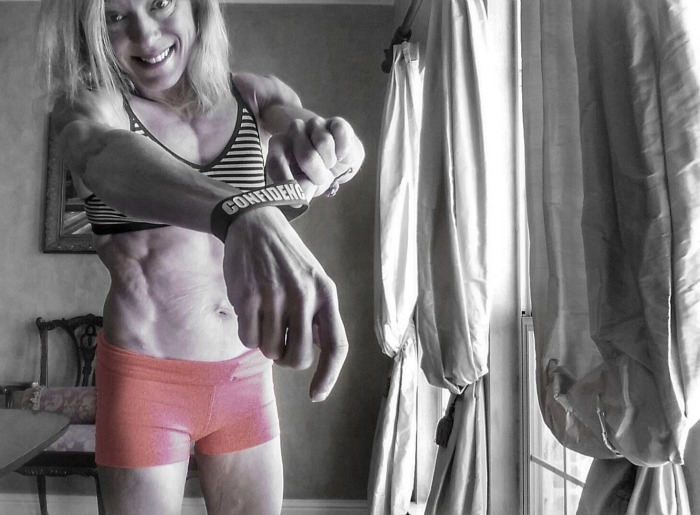
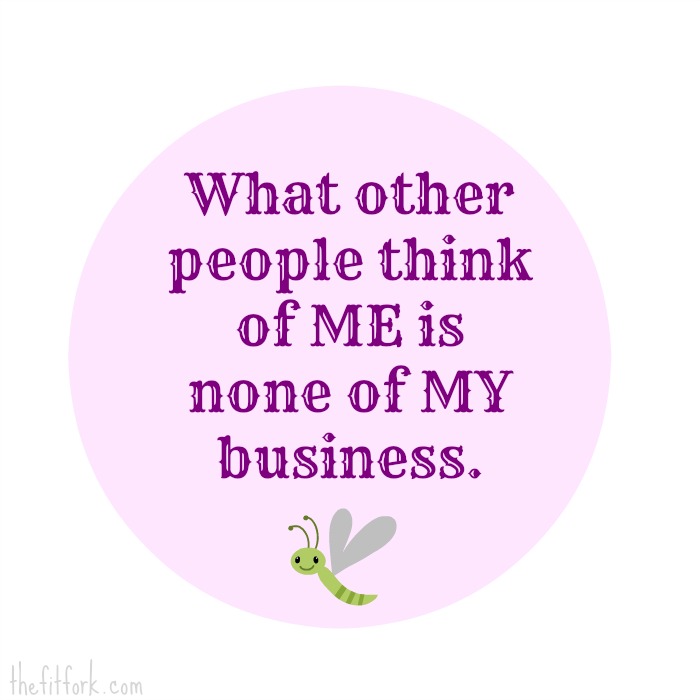 I’m half kidding when I say that and half not — it takes a good dose of chutzpah and big brazen cajones to put yourself out there for everyone to judge! But, it doesn’t really matter what other people think about me, just what I think about me. Of course, God’s opinion of me matters and then, to a degree, my family and very closest friends, but otherwise what other people think of me is none of my business (haha)! This once shy and self-doubting young girl is now an unabashed confidence queen – read the post “I’m Not Embarrassed to Say I LOVE Me” and find out how I get my mind and body in the right place to achieve my sports, family, work and life goals!
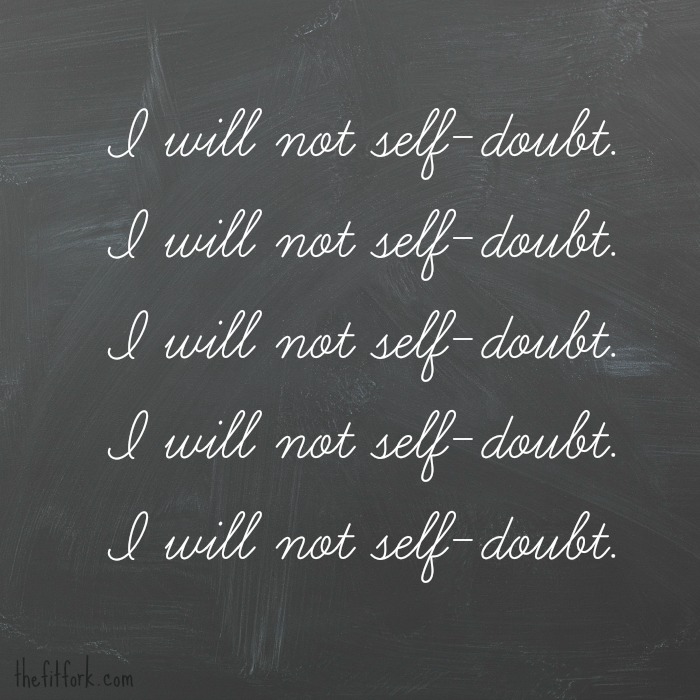 I have never been much of a sugar-coated quotes type of person or someone who wants to sit around all day and talk about feelings – especially when daylight’s burning and I want to run, workout or practice yoga. However, during these alone times my mind is freed up to reflect on personal mantras (this is one) and focus on popular motivational sayings – I find this to be a productive way to pull up my confidence when it is sagging.
Here is a collection of “Confidence Uppers” I curated for Mode Media – hopefully one or two of these quotes will inspire you as much as they did me!
Check out Confidence Uppers For Life, Sports & Self-Love
by The Fit Fork at Mode
What quote, mantra or what-have-you boosts you confidence? Do you have a favorite I didn’t mention? Who is the most confident (in a good way) person you know, what makes them that way? Please share in the comments below – XOXO, Jennifer
This post sponsored by Mode Media, but all opinions, thoughts, ideas and kick-butt awesomeness are my own.