When it comes to meal prepping or throwing together a quick lunch, sandwich salad fillings are a lifesaver. Whether you’re in a hurry or just want something simple and satisfying, these protein-packed, low-carb mixtures can be served in all kinds of ways—on bread, tucked into lettuce wraps, or scooped over greens. Bonus: they rely on pantry staples, are easy to customize, and can double as a snack or main meal!
Let’s talk about three go-to classics—tuna salad, egg salad, and chicken salad—but with a little twist. These versions are anything but boring, loaded with flavor and built to nourish.
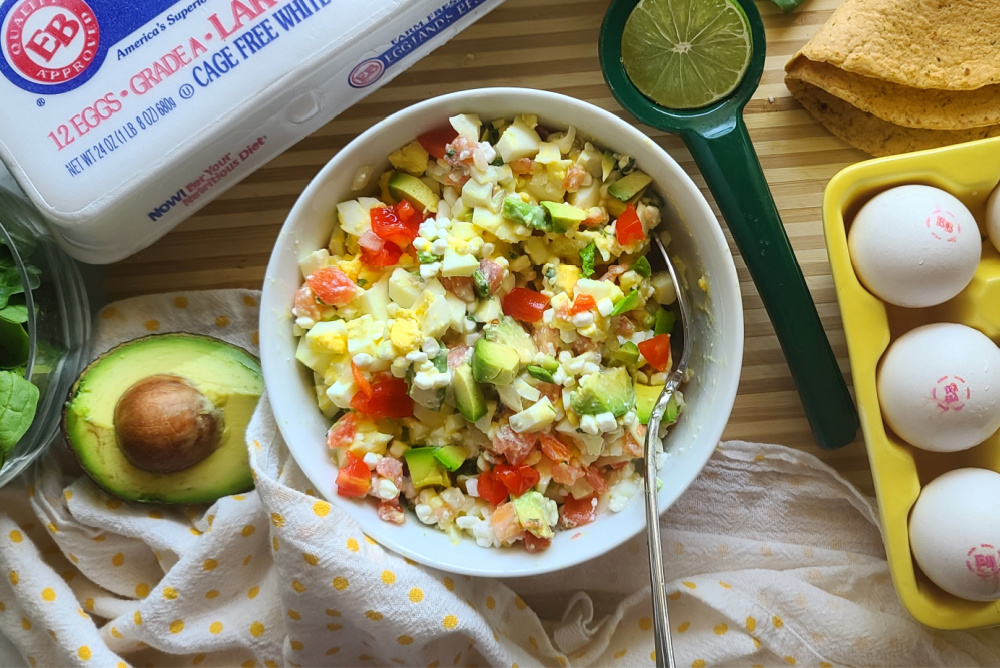
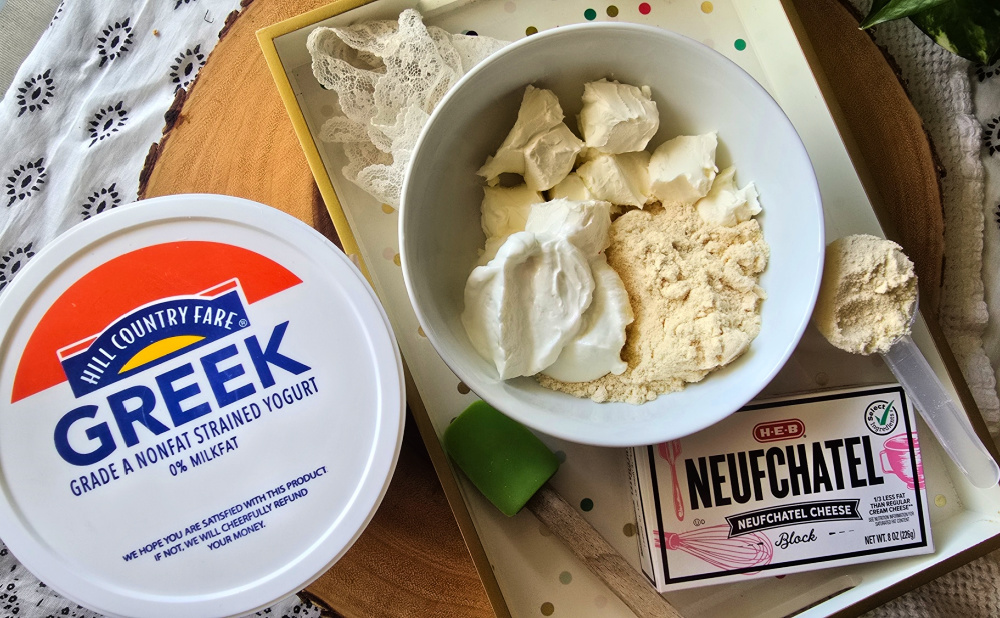
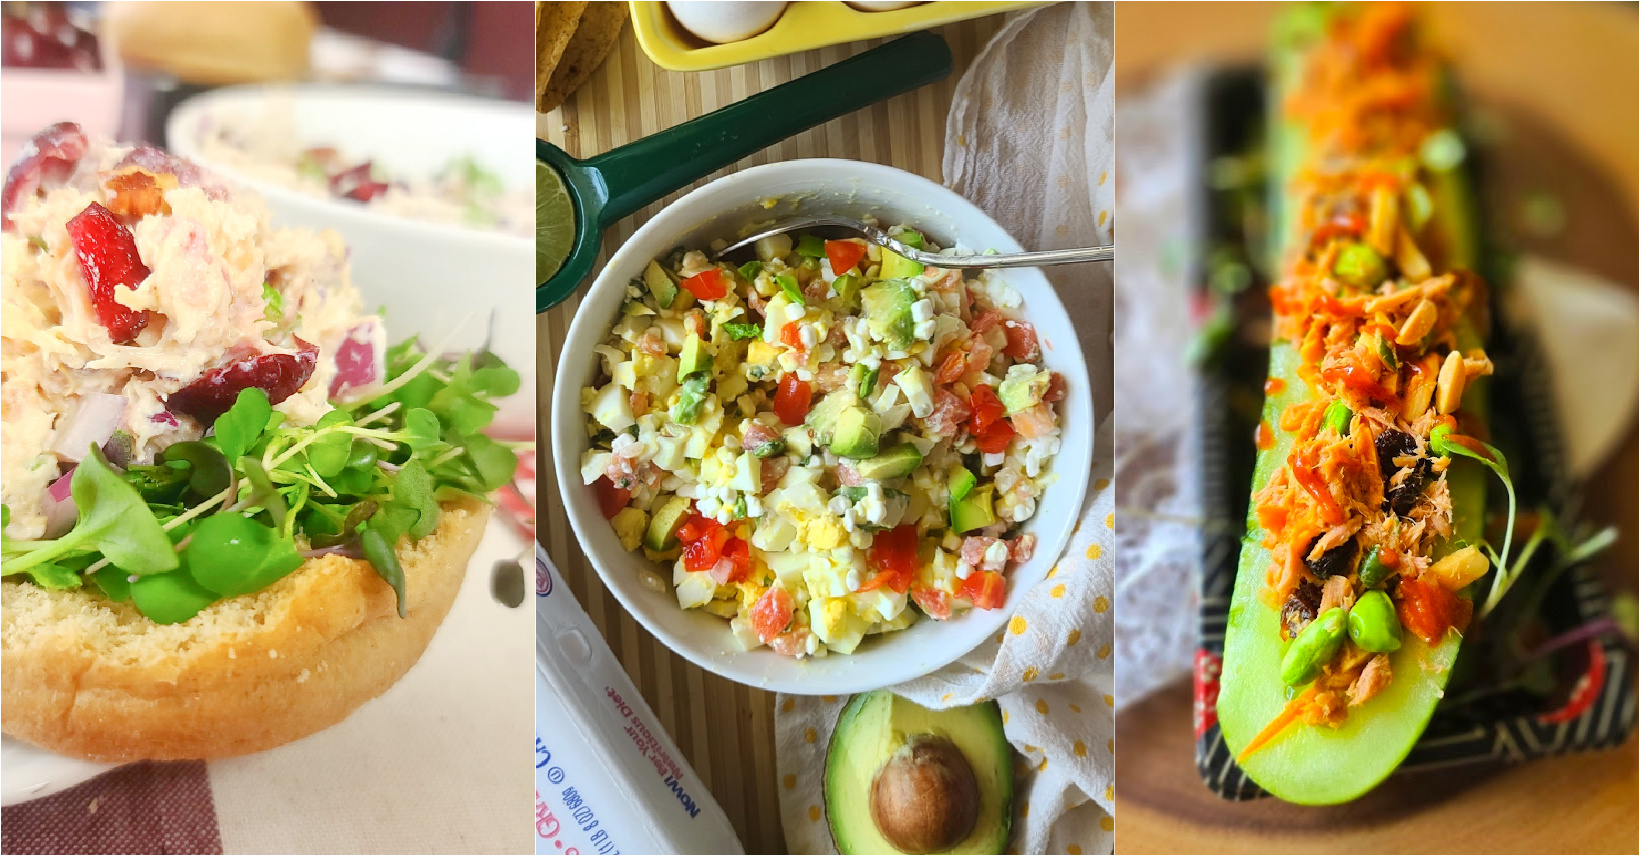
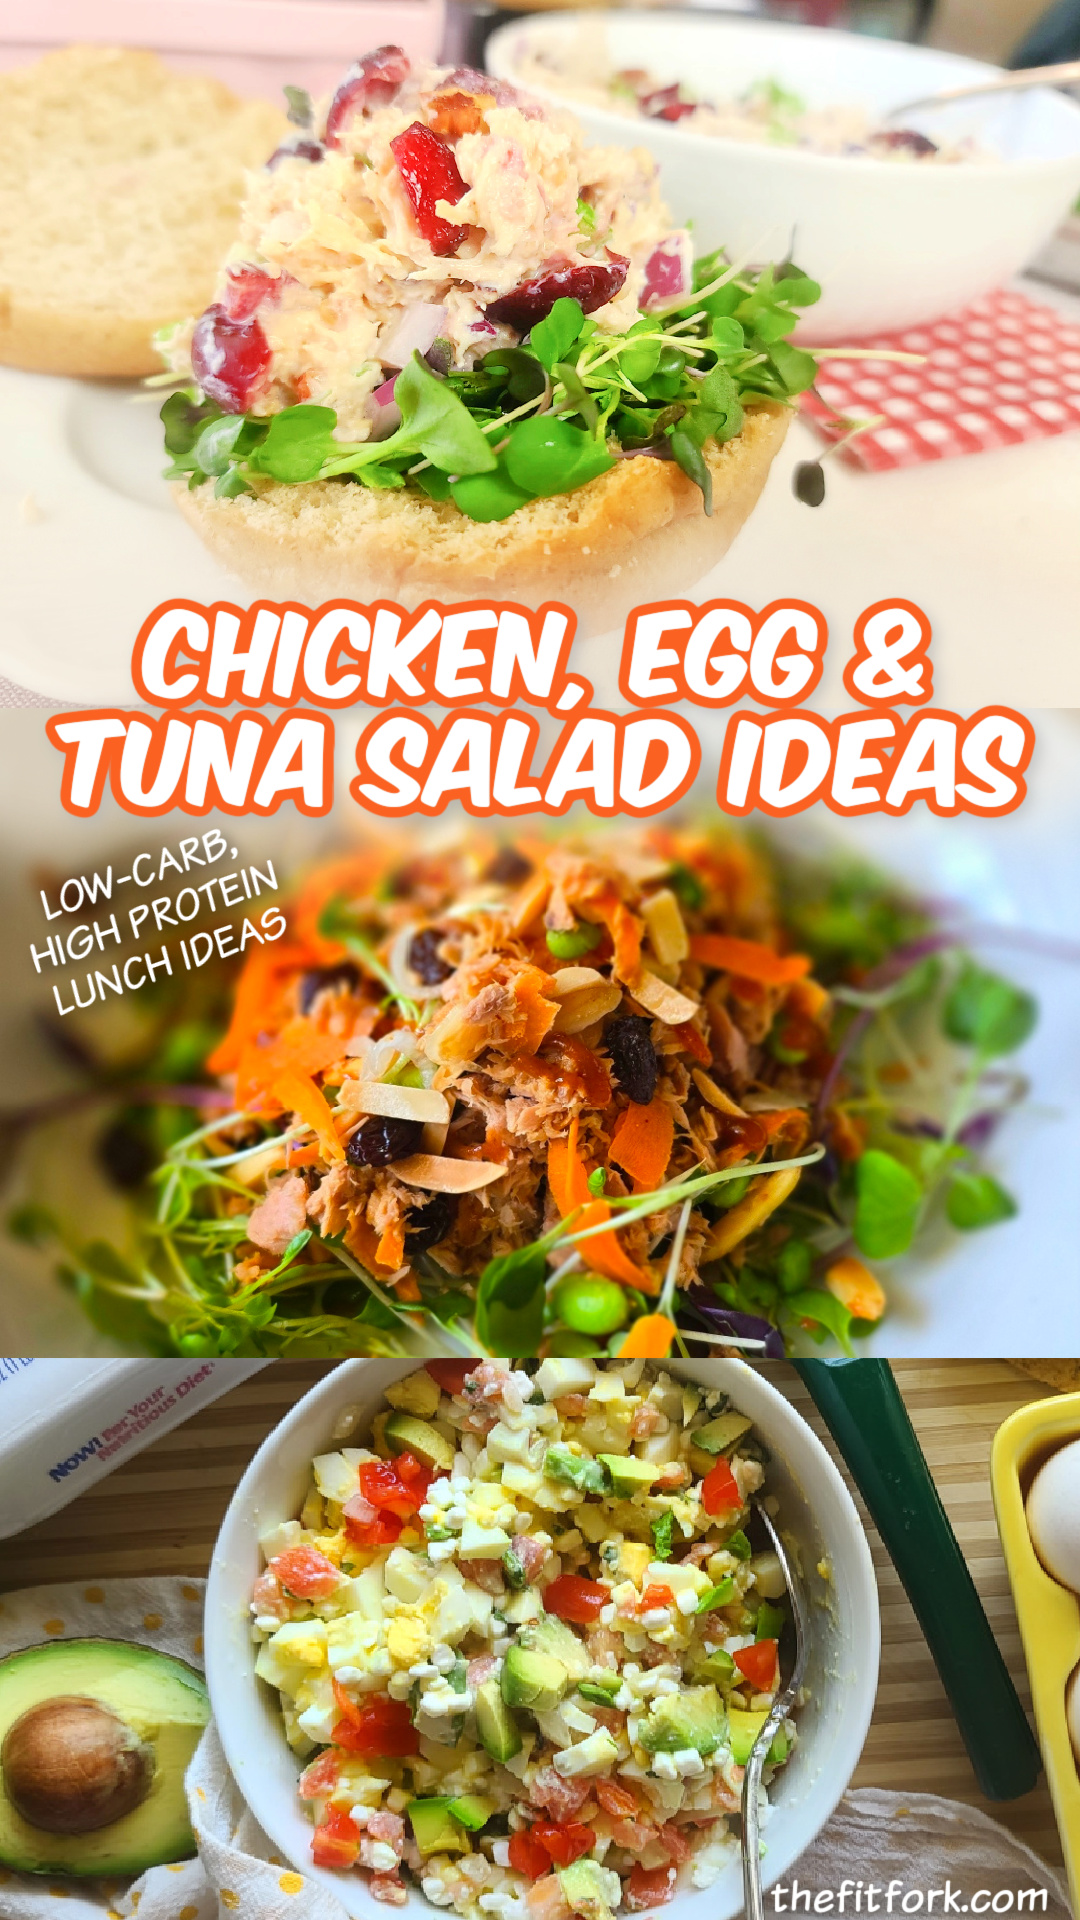
🥚 Southwest Cottage Cheese Egg Salad: Egg salad gets a macro-friendly makeover with this creamy, zesty twist featuring cottage cheese instead of mayo. The result is rich in protein, low in carbs, and packed with satisfying flavor thanks to a southwestern spice blend and optional add-ins like salsa or chopped veggies.
- Meal idea: Spoon it into avocado halves, pile it on cucumber rounds, or enjoy over a simple spring mix salad.
- Pantry staples used: Eggs, cottage cheese, salsa, spices
- Custom add-ins: Jalapeños, black olives, fresh cilantro, hot sauce
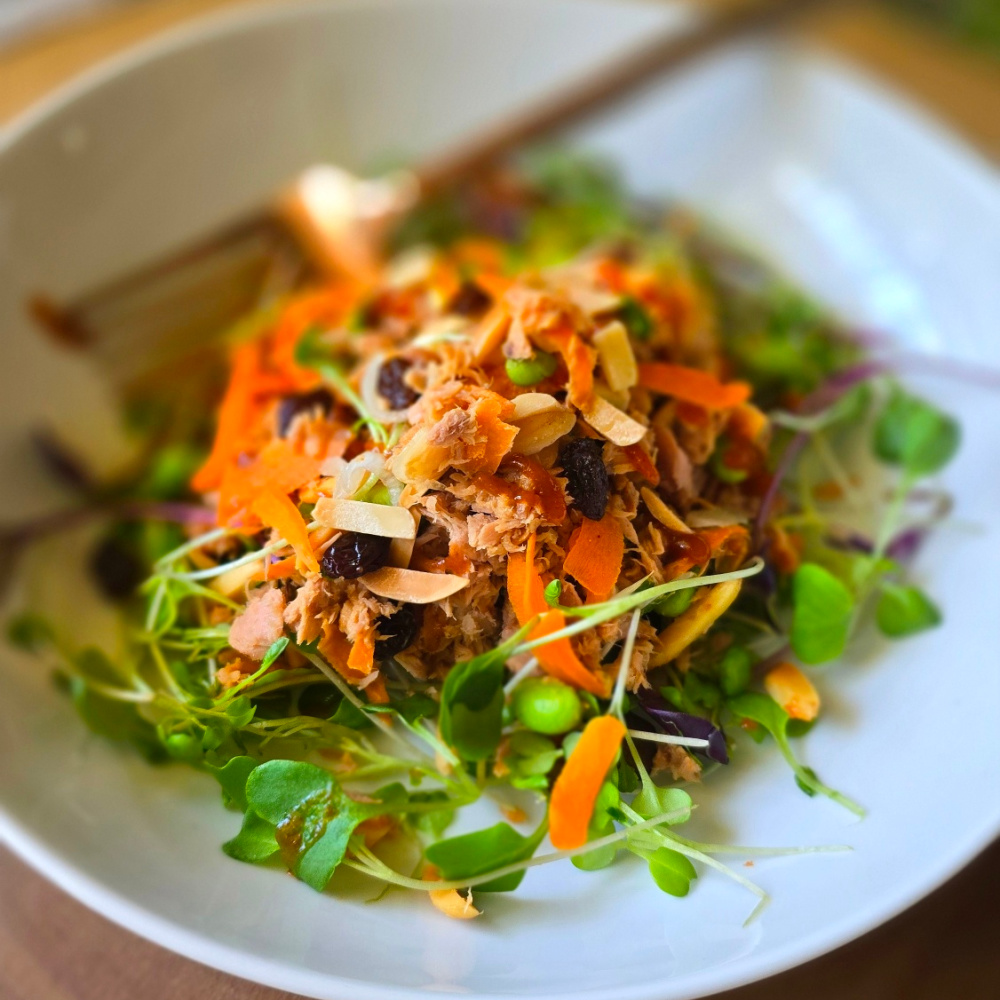
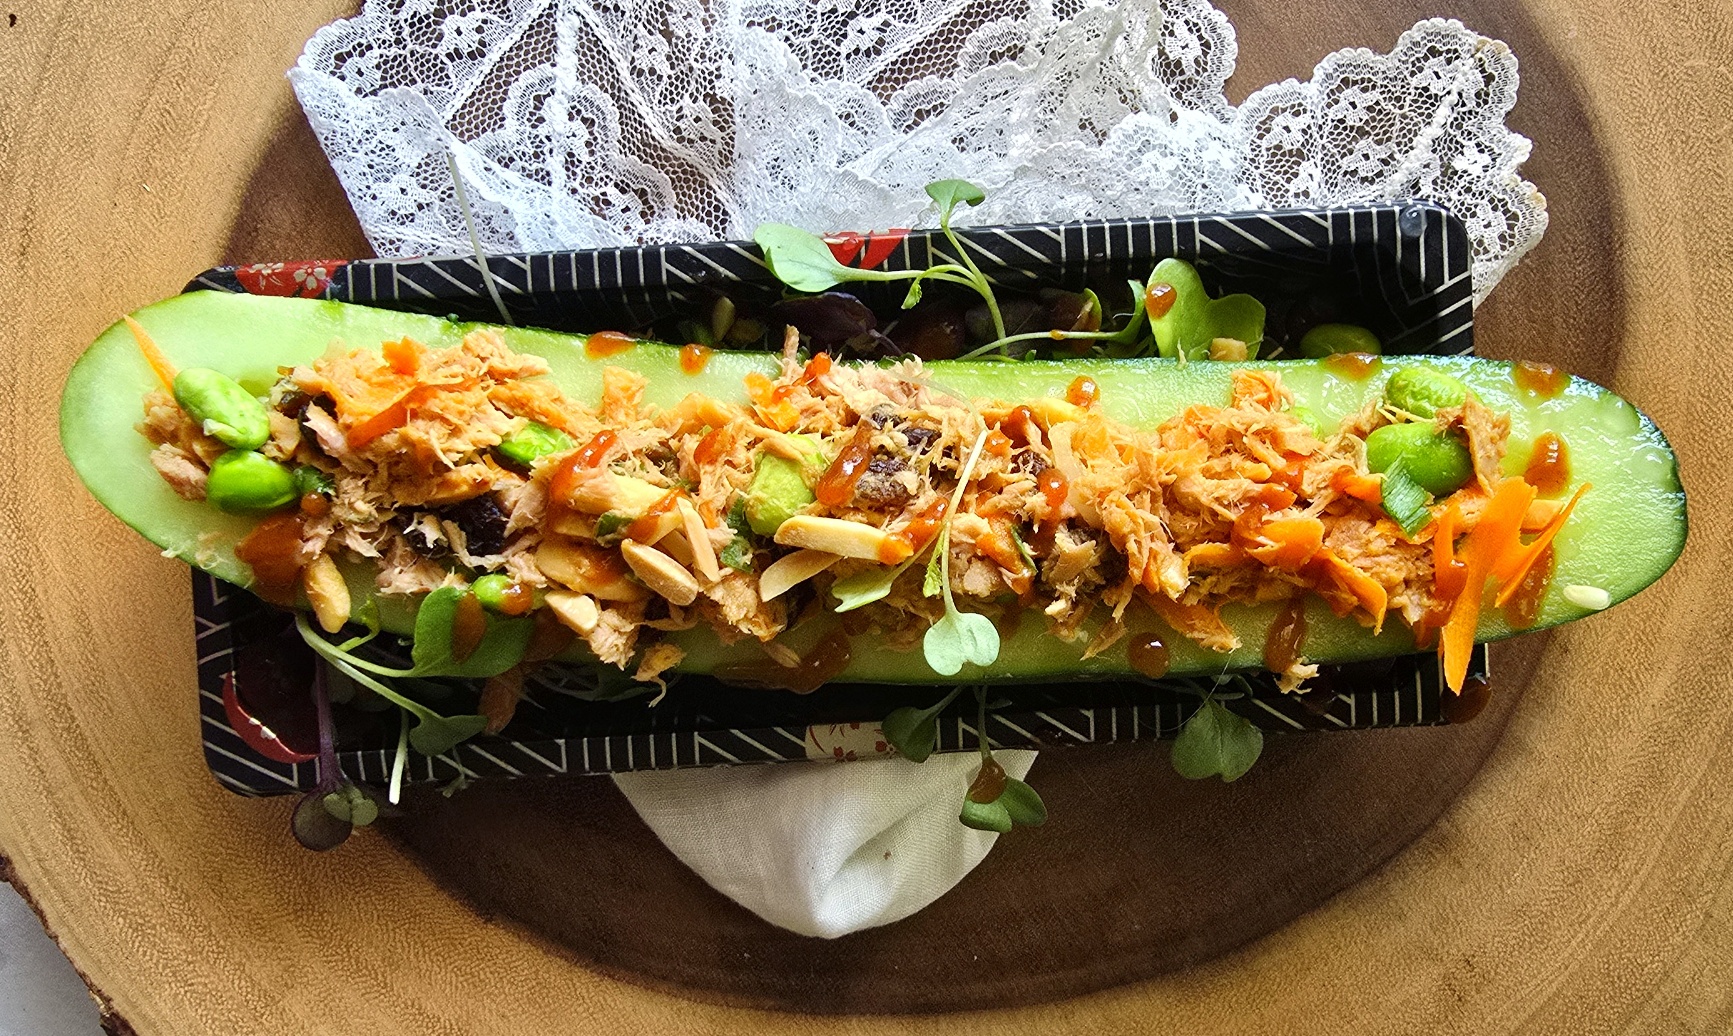
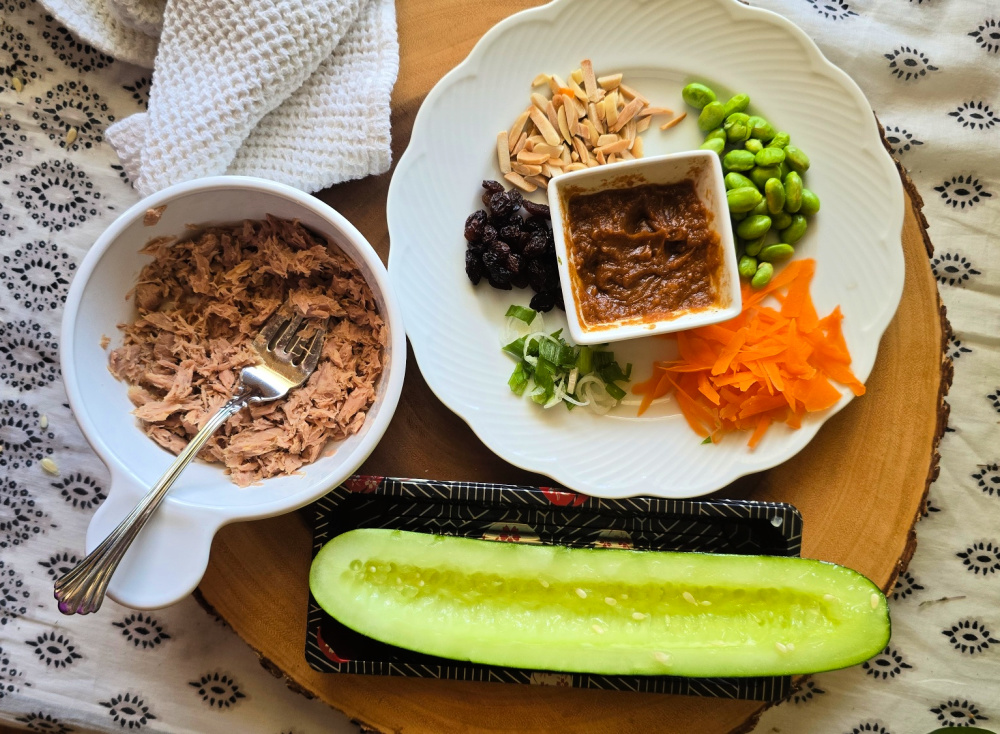
🐟 Asian-Inspired Tuna Salad: This isn’t your basic tuna salad. Think unhinged (but healthy) flavors: soy sauce, sesame, and a kick of chili garlic sauce bring this pantry-friendly protein to life. Instead of bread, it’s sandwiched between crisp cucumber slices for a refreshing, low-carb bite.
- Meal idea: Serve in a hollowed out cucumber – low-carb sandwich style. Or serve on a bed of shredded cabbage, baby spinach or even broccoli slaw.
- Pantry staples used: Canned (or pouch) tuna, sesame oil, soy sauce, chili sauce
- Custom add-ins: Sriracha, edamame, green onion, avocado
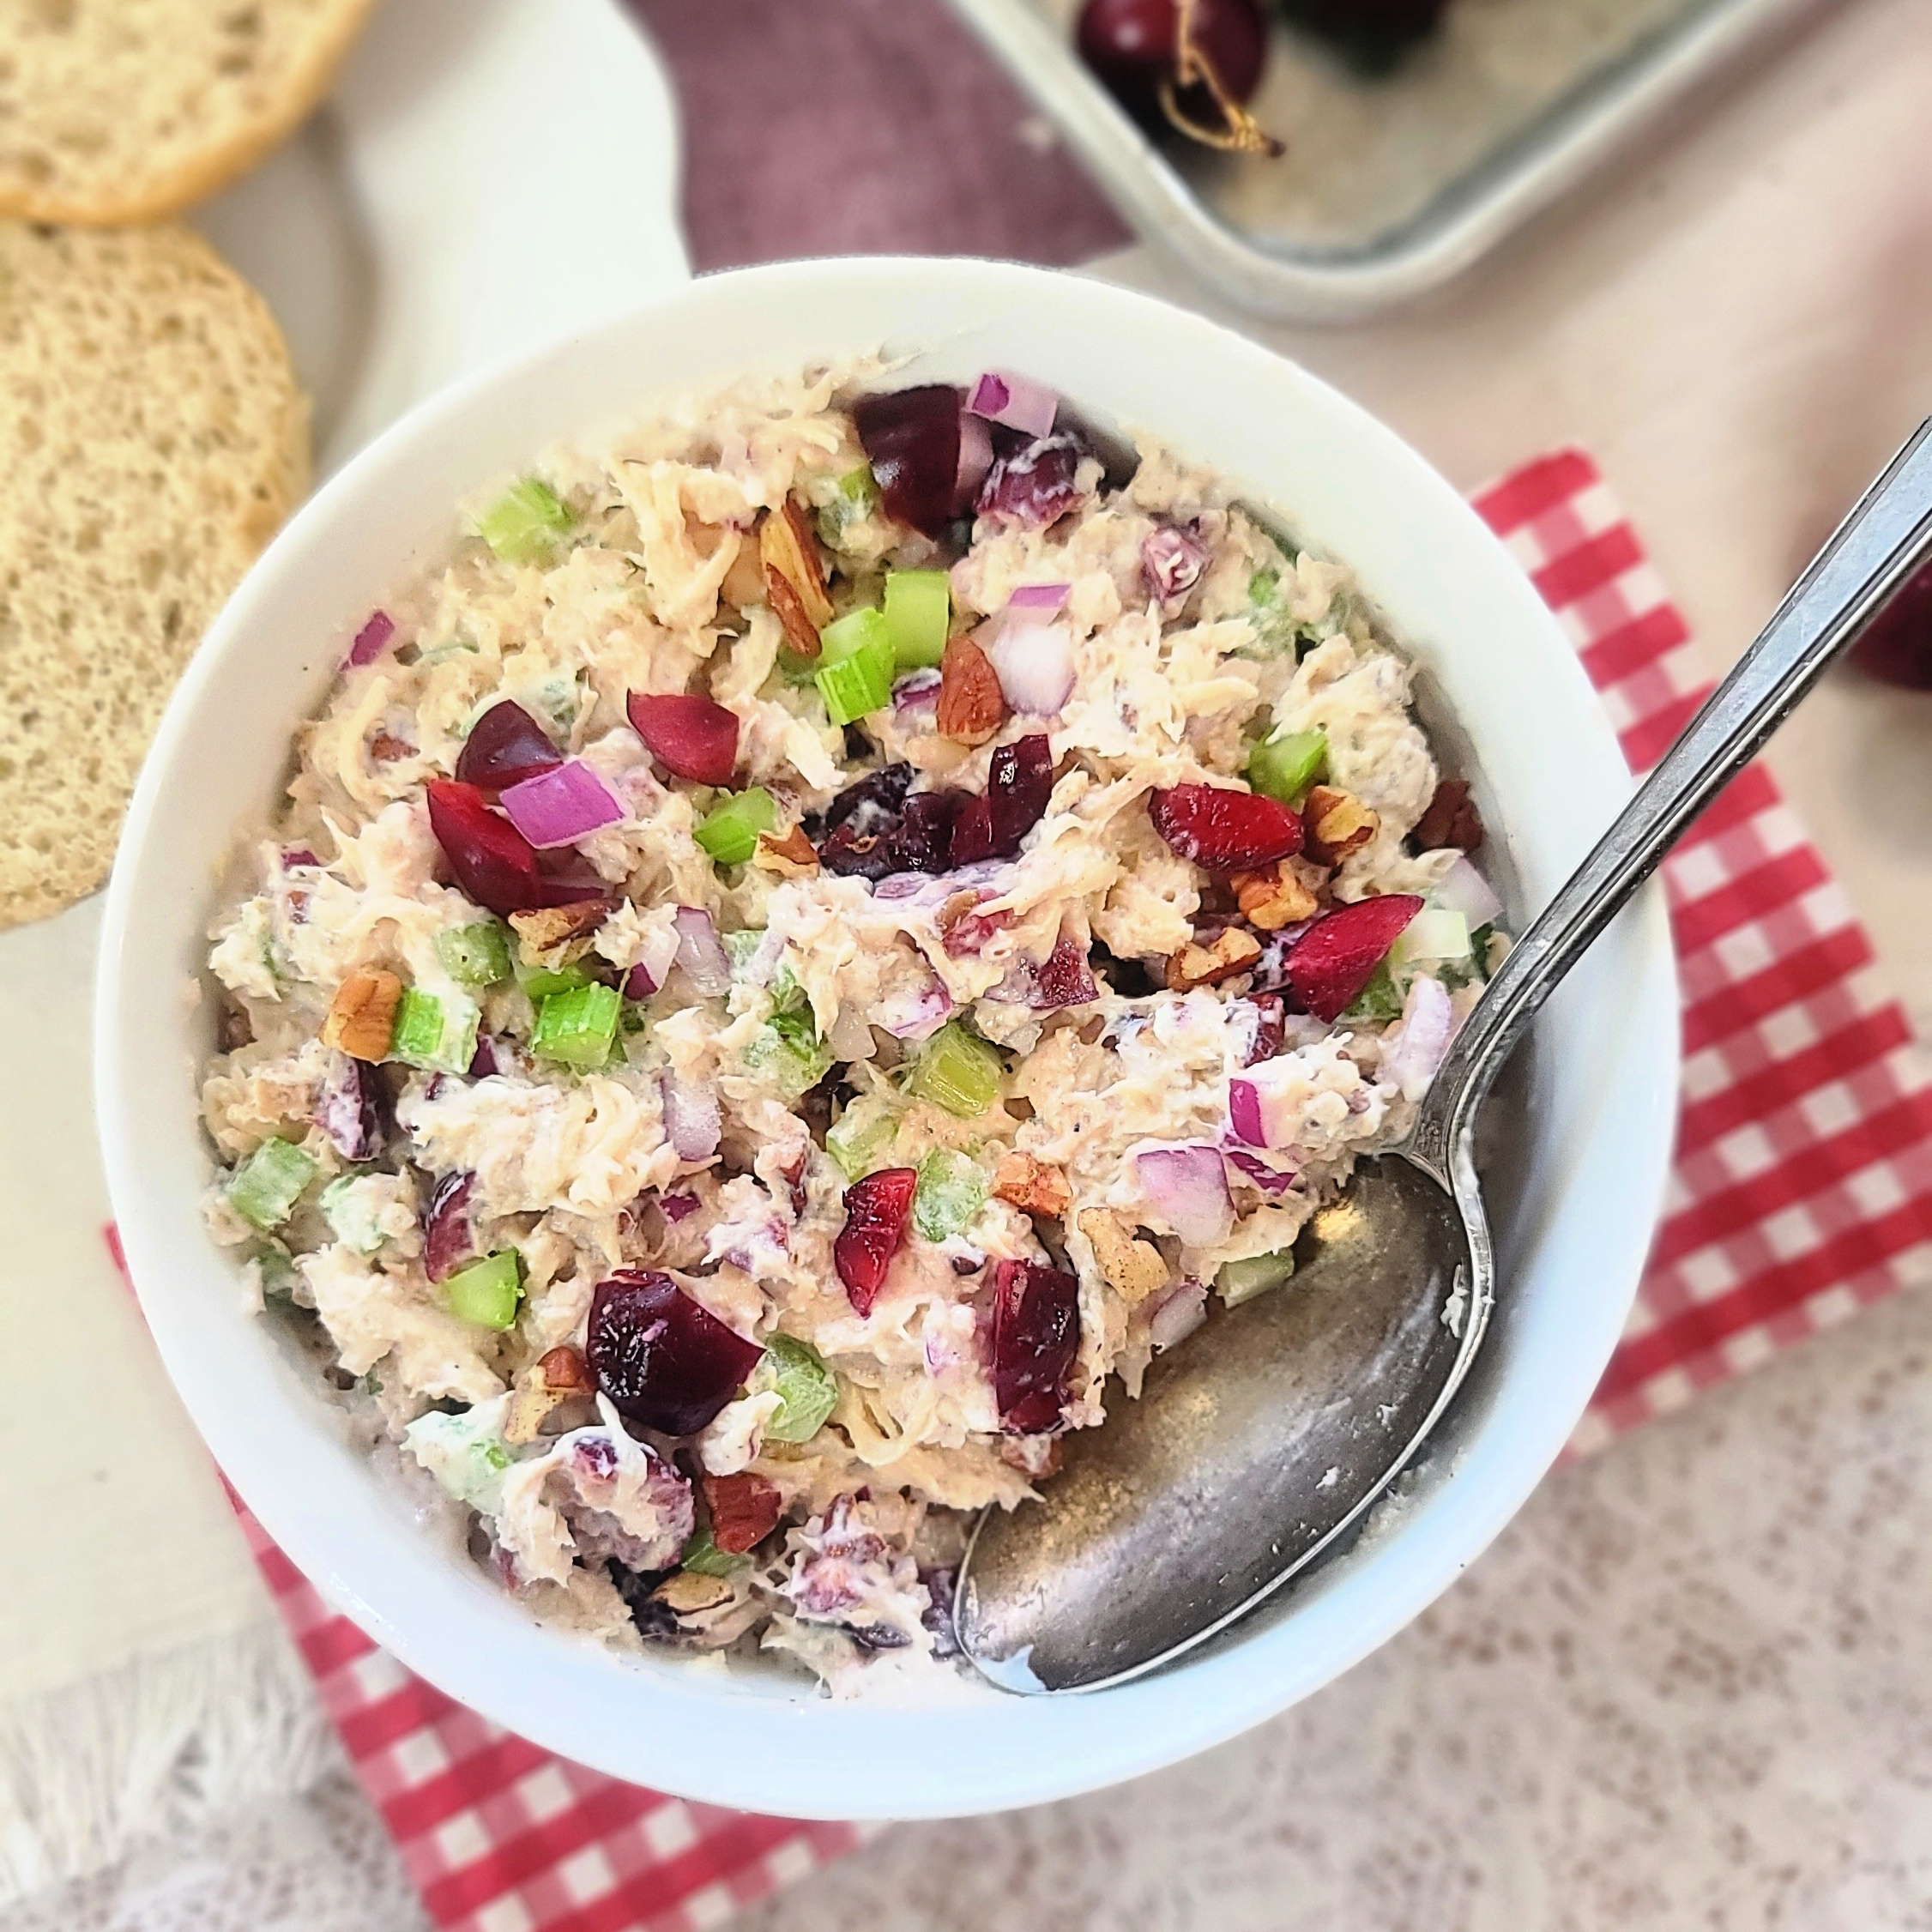
🍒 Cherry Chicken Salad with Quinoa & Pecans: This chicken salad skips the mayo and adds a sweet-savory punch with dried cherries, crunchy pecans, and a tangy vinaigrette. It’s hearty enough to keep you fueled for hours, thanks to a protein boost from chicken and optional quinoa.
- Meal idea: Spoon it into a hollowed bell pepper, serve in lettuce cups, or make a mason jar salad layered with greens on the bottom.
- Pantry staples used: Canned, chopped rotisserie chicken or meal-prepped shredded chicken breast, dried fruit, vinaigrette
- Custom add-ins: Celery, red onion, goat cheese, chopped apples
Pro Tips to Customize Your Salad Fillings:
- Go Greek: Swap in Greek yogurt or cottage cheese for creamy texture and extra protein.
- Spice It Up: Use everything bagel seasoning, curry powder, or smoked paprika to change the vibe.
- Add Crunch: Nuts, seeds, and diced crunchy veggies like bell peppers or pickles add texture.
- Switch Proteins: These same flavor combos work well with canned or pouch salmon, shredded turkey, or even tofu for a plant-based twist.
These quick and easy sandwich salad fillings prove you don’t need a lot of time—or fancy ingredients—to eat well. Keep them in your rotation for healthy lunches, high-protein snacks, or even lazy dinners when cooking feels like too much. Whether scooped into a wrap, stuffed in a pita, or simply eaten with a fork straight from the bowl (no judgment), they’ve got your back.
Note: This post contains affiliate links. I earn a small commission from purchases made through the link – proceed help offset operating costs for The Fit Fork. Thank you!