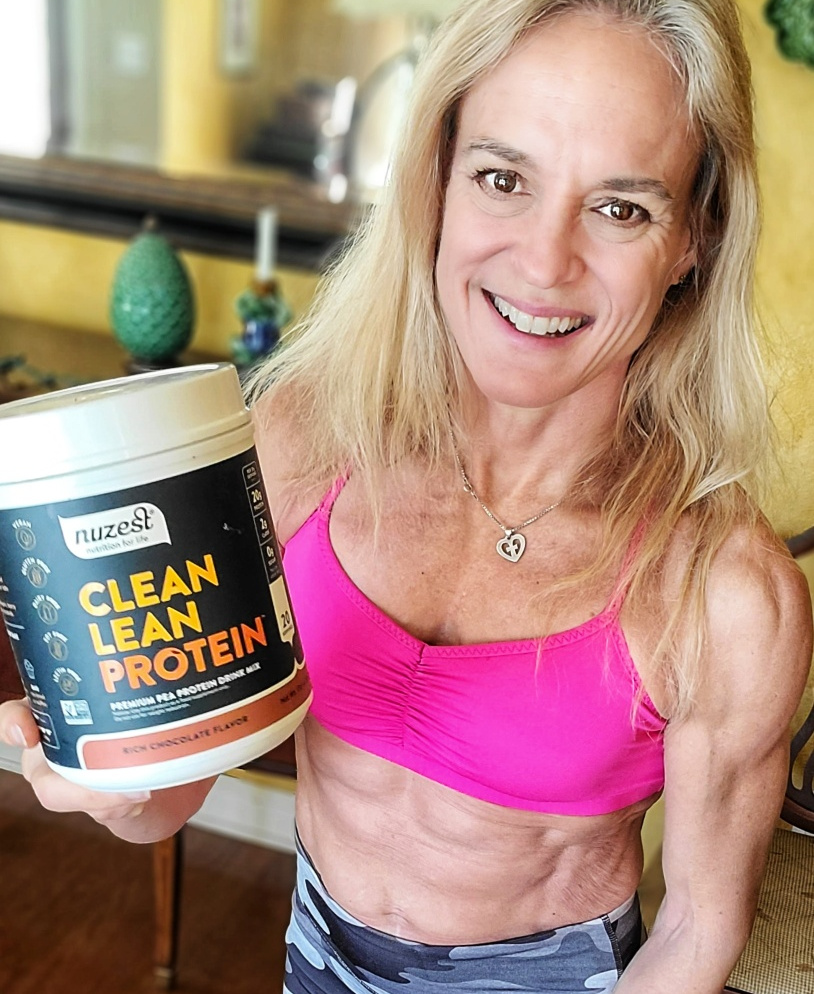
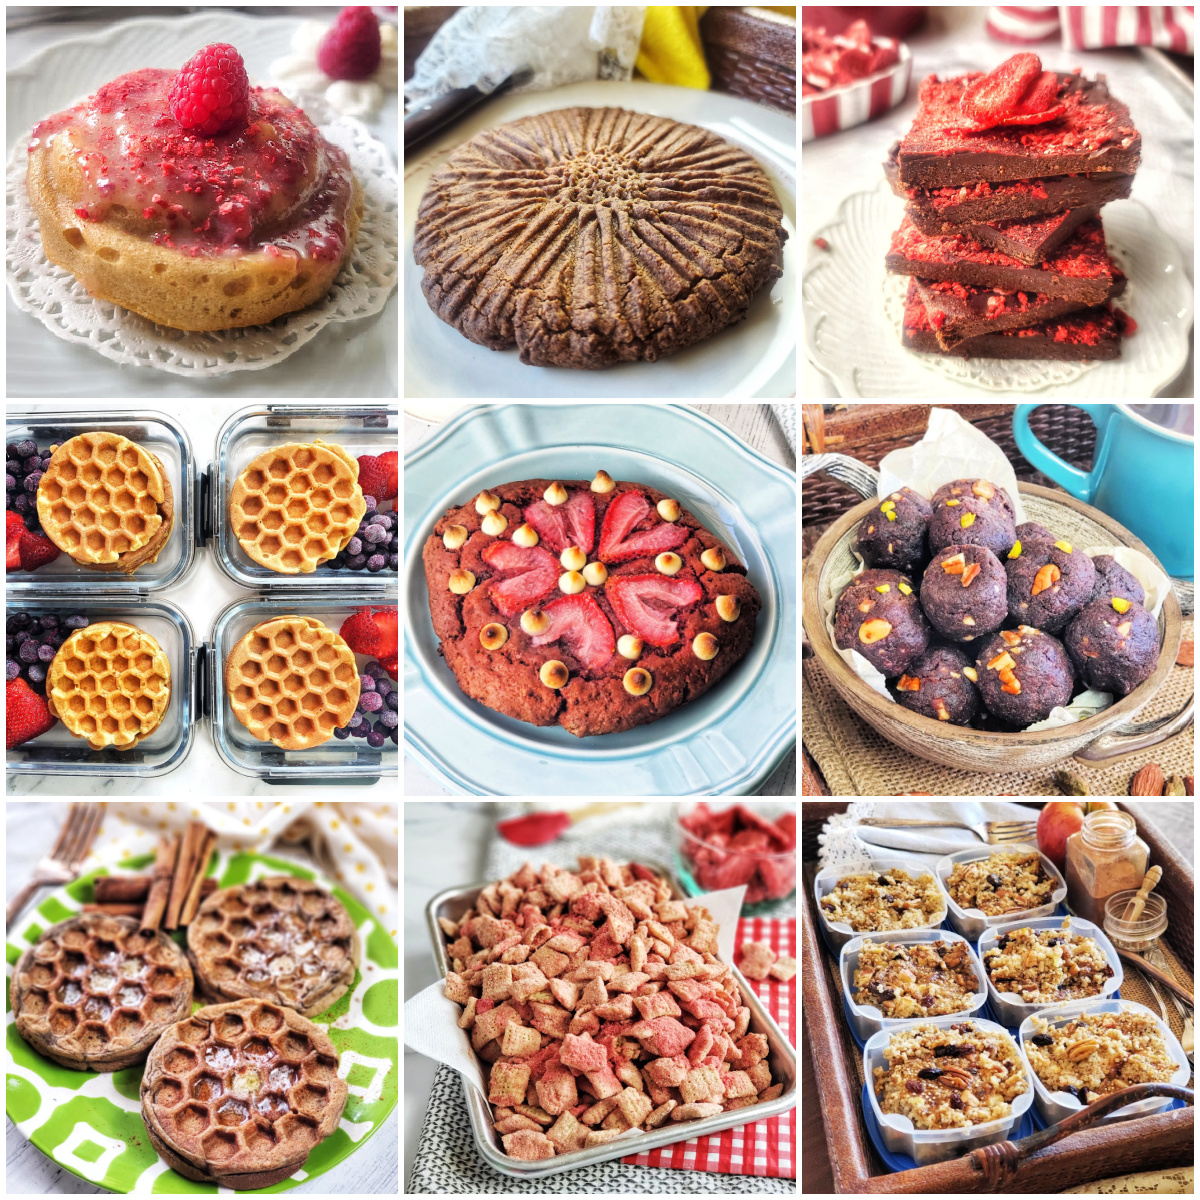
Today’s post is short (on time) and sweet (to your taste buds)! Lot’s of quick-to-make breakfast, dessert and sweet snack ideas made with my most favorite EVER, protein powder – Clean Lean Protein from Nuzest.
I’m I big stickler on getting enough protein throughout the day. For my activity level and healthy aging, I personally aim for 1 gram protein per pound bodyweight – that’s about 120g protein per day for me. An easy way to help me meet the goal is using a quality protein powder, and Clean Lean Protein from Nuzest has been a favorite I’ve used for years. And, YES, I do have a 15% discount code to share: FITFORK
Clean Lean Protein from Nuzest is plant-based and suitable for vegan, vegetarian, Paleo and many other dietary eating patterns. I eat all the foods, including meat, but I find that a plant-based protein powder is easier on my digestive system than other powders. Nuzest protein powder is the best of the best in terms of quality, macros, taste and texture (IMO) – and it comes in many flavors to suit your preference – or even unflavored.
It’s easy to use protein powder in smoothies or a shaker bottle with almond milk. But baking with protein powder is also very easy and smart – in fact, I use it in almost all my protein powder dessert and breakfast creations like protein waffles and pancakes; protein cakes, cupcakes and muffins; post-workout protein bites, bars and snacks; and more. Here are some of my favorite easy protein powder recipes from thefitfork.com
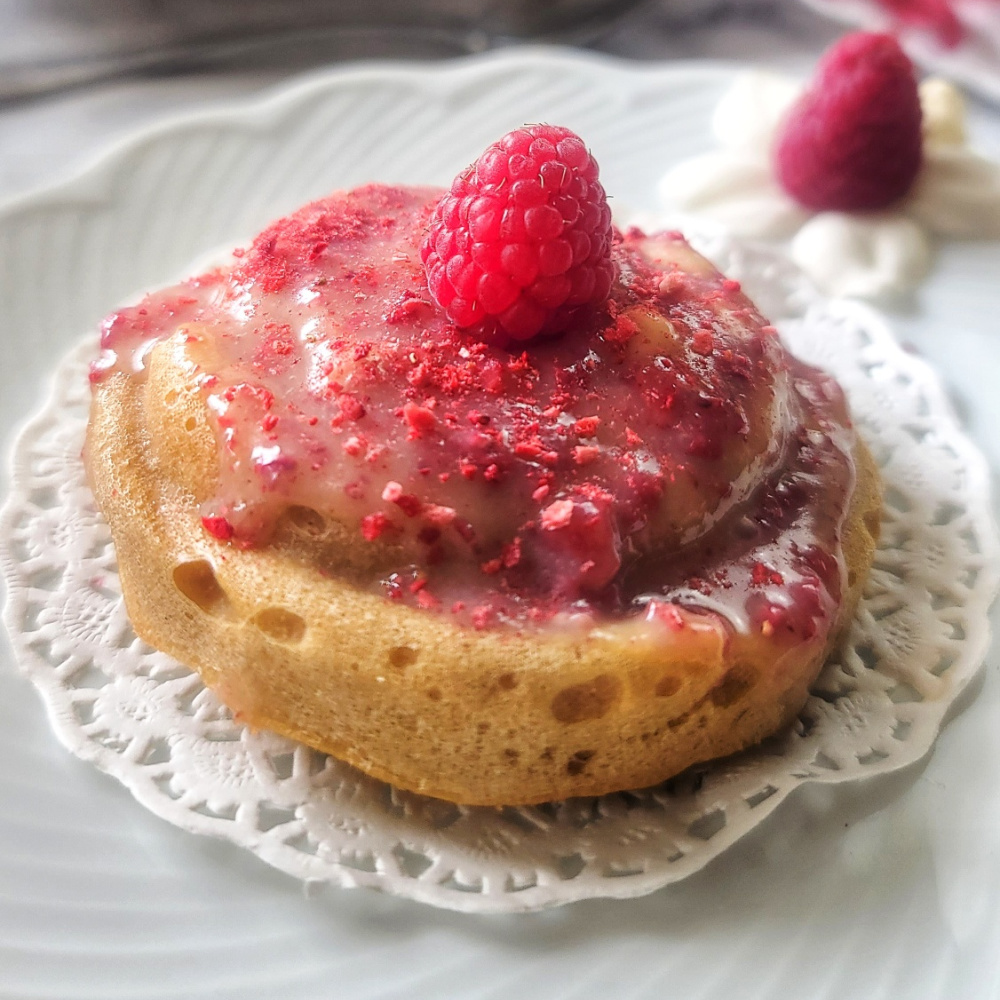
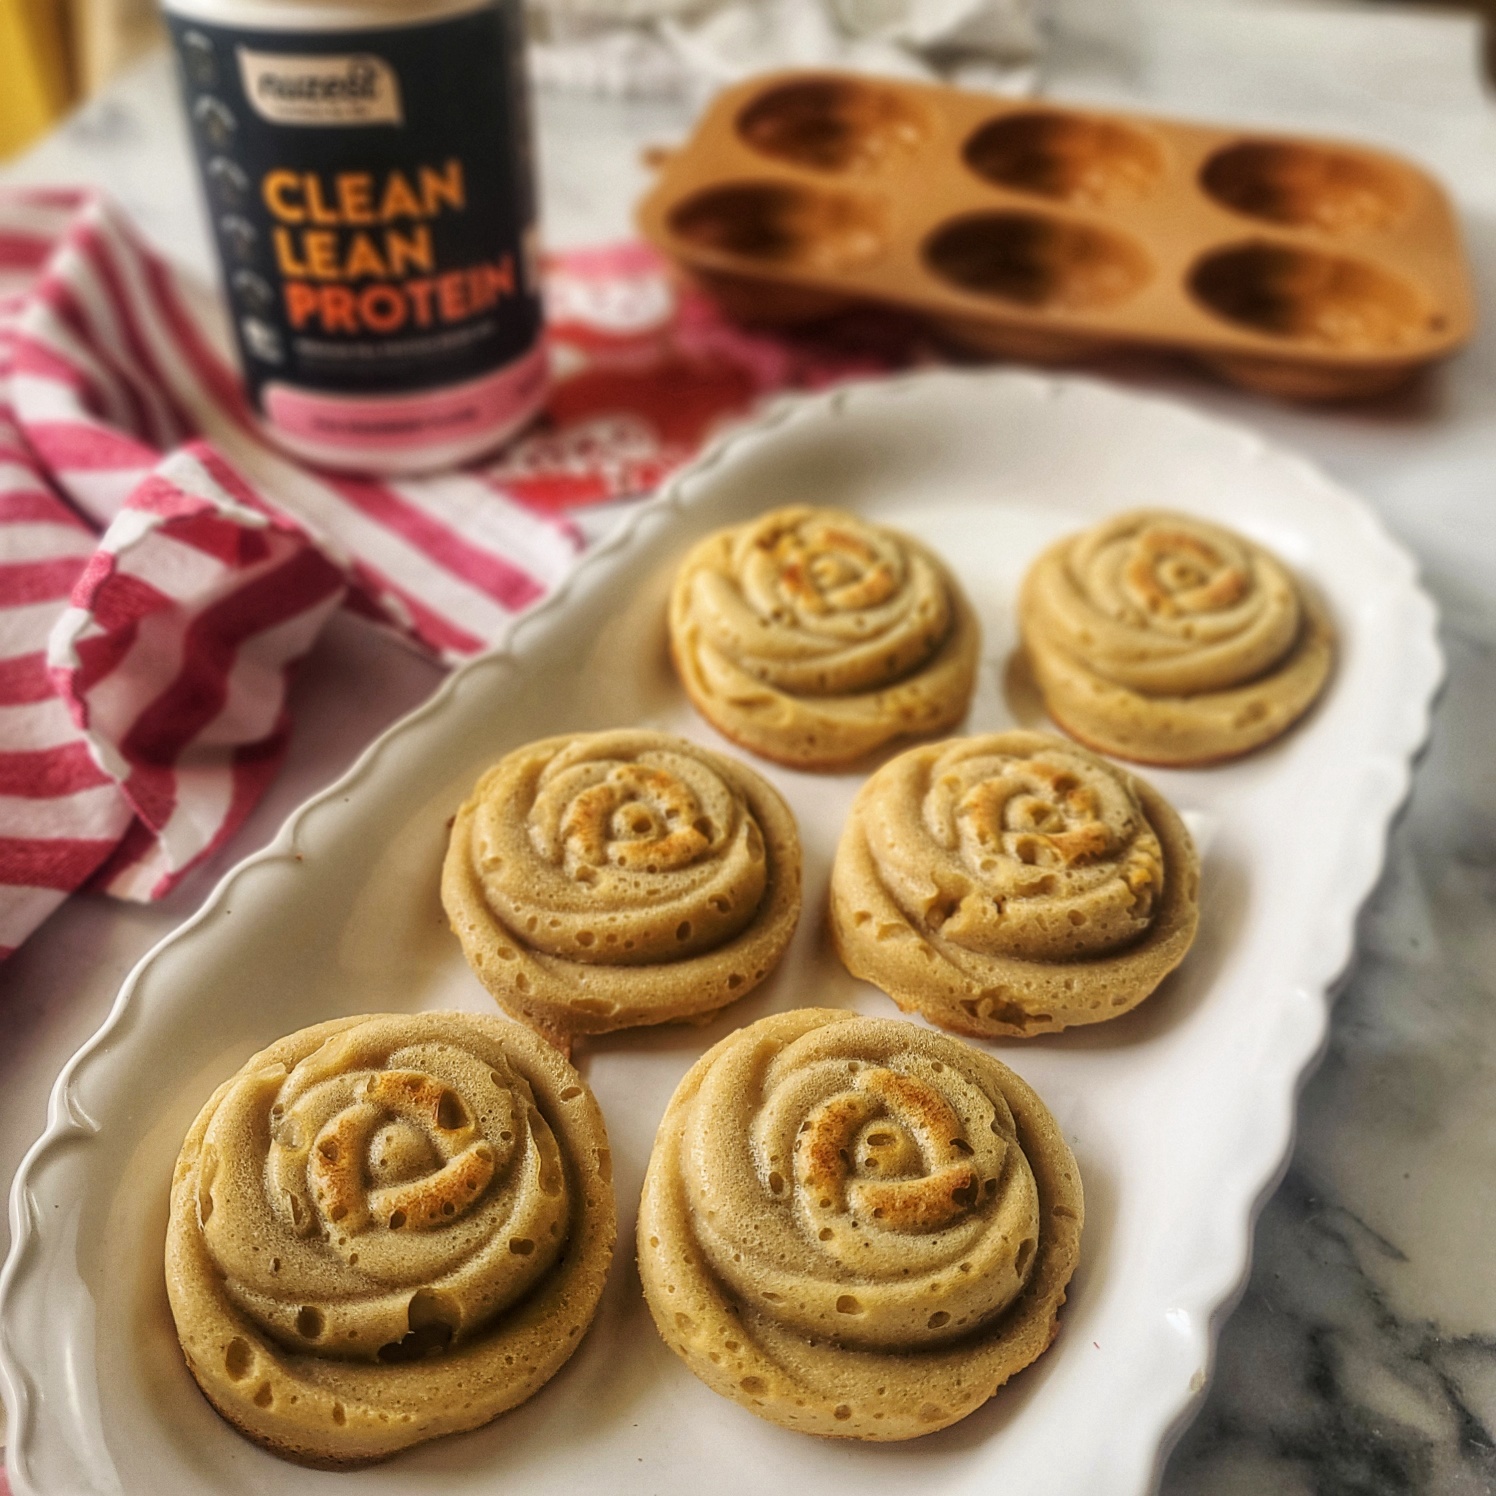
I “heart” strawberries, cupcakes, licking icing out of the bowl and all sweet things. But, I also love sugar free dessert recipes and avoiding traditional sugar and adding more protein into my diet to support my active lifestyle and workout recovery. My recipe for Sugar-free Strawberry Protein Cupcakes (or “protein cakelettes” if you will!) satisfies my cravings and feels like a special gourmet treat (although so simple to make).
I love to use protein powder and alternative sweeteners to create healthier dessert options that will satisfy my sweet tooth yet not wreak havoc on my (mostly) healthy diet.
Clean Lean Protein Powder from Nuzest is my favorite! Save 15% with code FITFORK
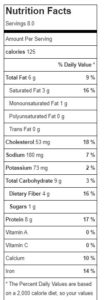
These little cupcakes with strawberry protein powder are fun and easy to make – and enjoy in your healthy lifestyle without guilt! Each cupcake has approximately 125 calories, 8g protein, 6g fat and 5g net carb. Honestly, I’ve had a couple for breakfast today, and I’m standing by that as a smart choice!
SUGAR-FREE PROTEIN CUPCAKES & VARIATIONS
The cool thing about this protein powder cupcakes recipe is that it can be tweaked here and there to suit your preferences!
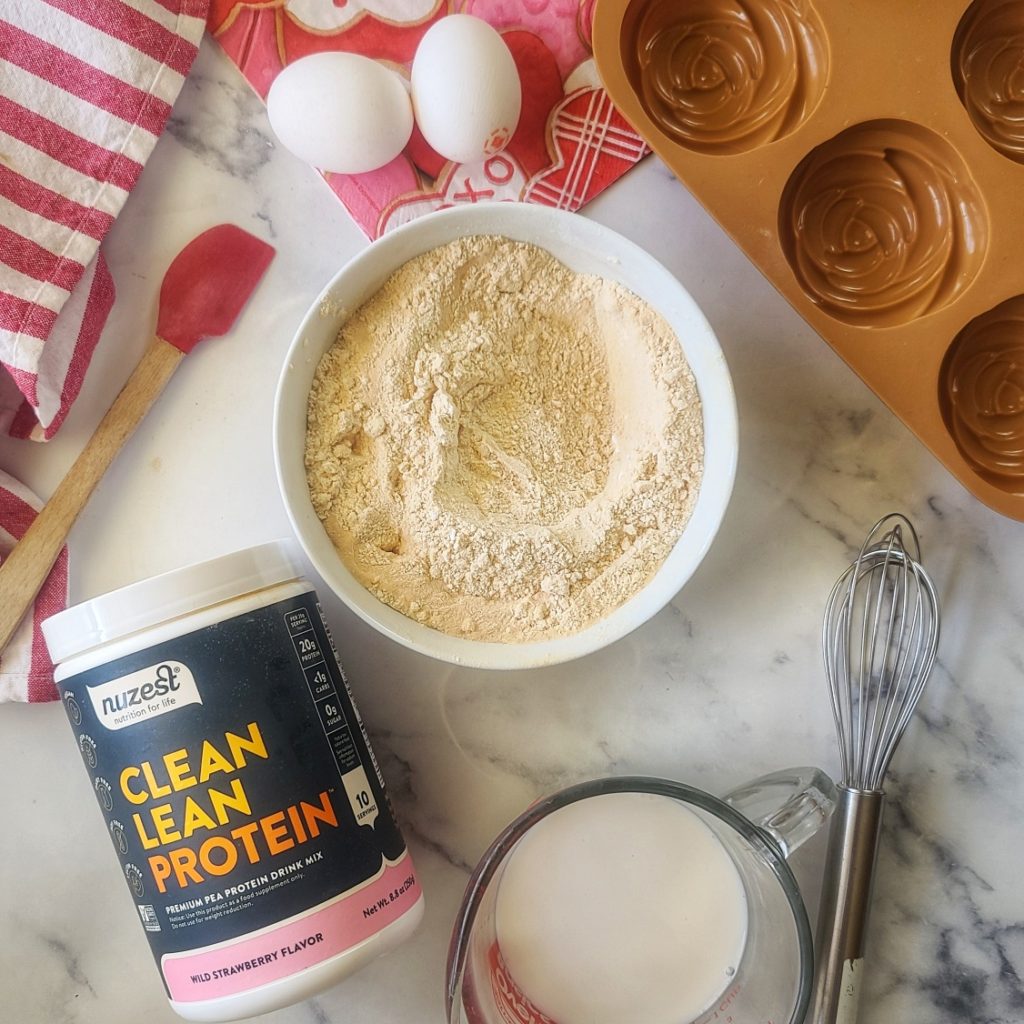
VARY the protein powder type: I used Nuzest strawberry protein powder (FITFORK is my 15% discount code). It’s a plant-based and easy to digest IMO, but you can also use a whey protein. I’m also thinking collagen powder would work too, but I haven’t tried that yet.
CHANGE the flavor: I have a fondness for recipes with strawberry protein powder, but you can also use vanilla, chocolate, birthday cake or whatever flavor you like! I used Strawberry Clean Lean Protein (plant-based) from Nuzest. Save 15% with code FITFORK.
SWAP the sweetener: I used erythritol, but any granulated sweetener that measures approximately 1-to-1 with regular table sugar will work. Look and stevia, monk fruit, xylitol, and blends. Coconut sugar will also work . . . or even traditional brown sugar or table sugar. No judgement.
LEVEL UP your baking vessel: Try a silicone cupcake mold like shown (3.5 oz. capacity), a standard muffin tin (also 3.5 oz), 4- to 5-oz ramekins, or even a 9” round cake pan.
SWITCH UP the icing: Instead of sugar-free vanilla chips, use any type of baking chip such as dark chocolate, milk chocolate, peanut butter, etc. All will work well to make a ganache-style icing.
ADD ON any type of topping: While the vanilla strawberry ganache icing is still warm, any type of small topping décor will adhere well – a different crushed dehydrated fruit options, chopped nuts, sprinkles, coconut shreds are all other yummy ideas!
Silicone molds make this protein cupcake feel fancy, but standard muffin tins or ramekins work too!
Sugar-Free Strawberry Protein Cupcakes with White Ganache Icing
Cook Time
20mins
Total Time
25mins
A pretty in pink dessert that is low carb and packed withprotein – and it tastes fabulous too! Recipe is super versatile to accommodate theprotein powder of your choice, flavor profile, and a variety of sprinkles ontop – You do You! 125 cal each, 8g protein,5g net carb and 6g fat! A no guilt treat for your gal-pal gathering – or ananytime protein snack.
Course:
Dessert, Snack
Keyword:
cake, cupcake, protein powder, strawberry
Servings: 8servings
Calories: 125kcal
Ingredients
⅔cupstrawberry or vanilla protein powderI used Nuzest Plant-based
⅓cuplow-carb sweetener like erythritolor xylitol (or another approx. 1:1 cup sugar sub equlivalent)
½cupcoconut flour
⅓cupgluten-free baking blend flour
2tspbaking powder
2large eggs
1 1/2cupsmilk of choice
¼cupsugar-free white chocolate or vanilla baking chips
3tbspheavy cream
optional 2 tbsp powdered dehydrated strawberries (if you want the icing to be pink)
Instructions
Preheat oven to 350F.
In medium bowl, toss together all dry ingredients including protein powder, sweetener, coconut flour, gluten-free flour, and baking powder.
In glass liquid measuring cup, whisk two eggs into milk and pour over dry ingredients. Stir into combined well.
Place a generous ¼ cup spoonful of batter into cooking vessel that has been coated with cooking spray or paper liners. This could be a silicone mold (doesn’t need spray), a standard muffin tin, a 5 to 6 ounce ramekin or even an 9” cake pan (cooking time will be a bit longer for cake).
Bake for 20 to 25 minutes or until top lightly browning and toothpick inserted into center pulls clean (not gooey). For a 9” cake pan, ad 5 to 7 more minutes and test for doneness the same way.
Remove from oven and let cool for 5 to 10 minutes. With a rolling pin, crush up dehydrated strawberries (if using them to make icing pink) in a small zip baggie.
Make white ganache icing by adding white chocolate or vanilla baking chips and cream to small, microwave-safe bowl and microwaving in 20-30 second increments, stirring between each until smooth.
Next, stir in crushed dehydrated strawberries (if using them) into vanilla ganache icing. Use a spoon to drizzle over each cupcake and use back of spoon to spread around. Sprinkle with more dehydrated strawberries or any other decorative topping of your choice.
This easy-to-make chocolate nut butter candy will have your heart at first bite! It’s a small batch dessert recipe, but there is plenty to share with your sweetheart (or not)! And, only three ingredients! Visit the 15-sec video HERE!
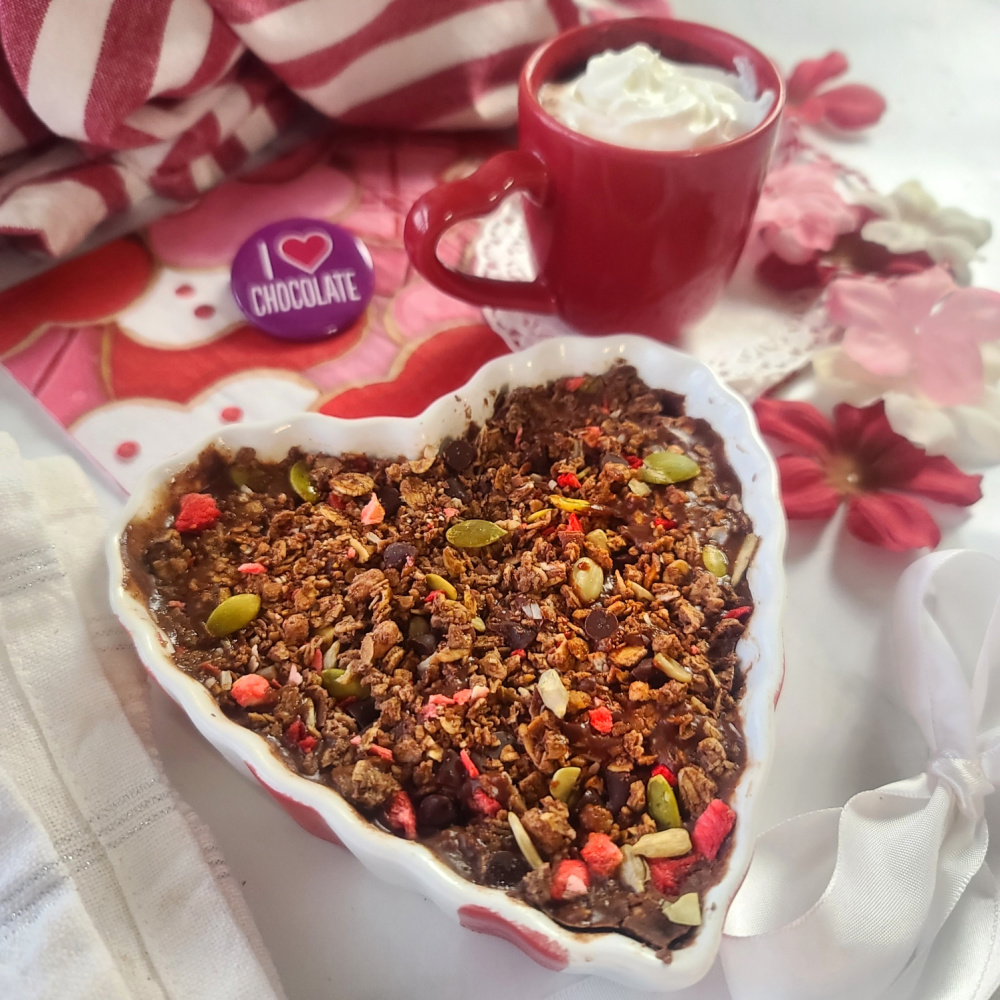
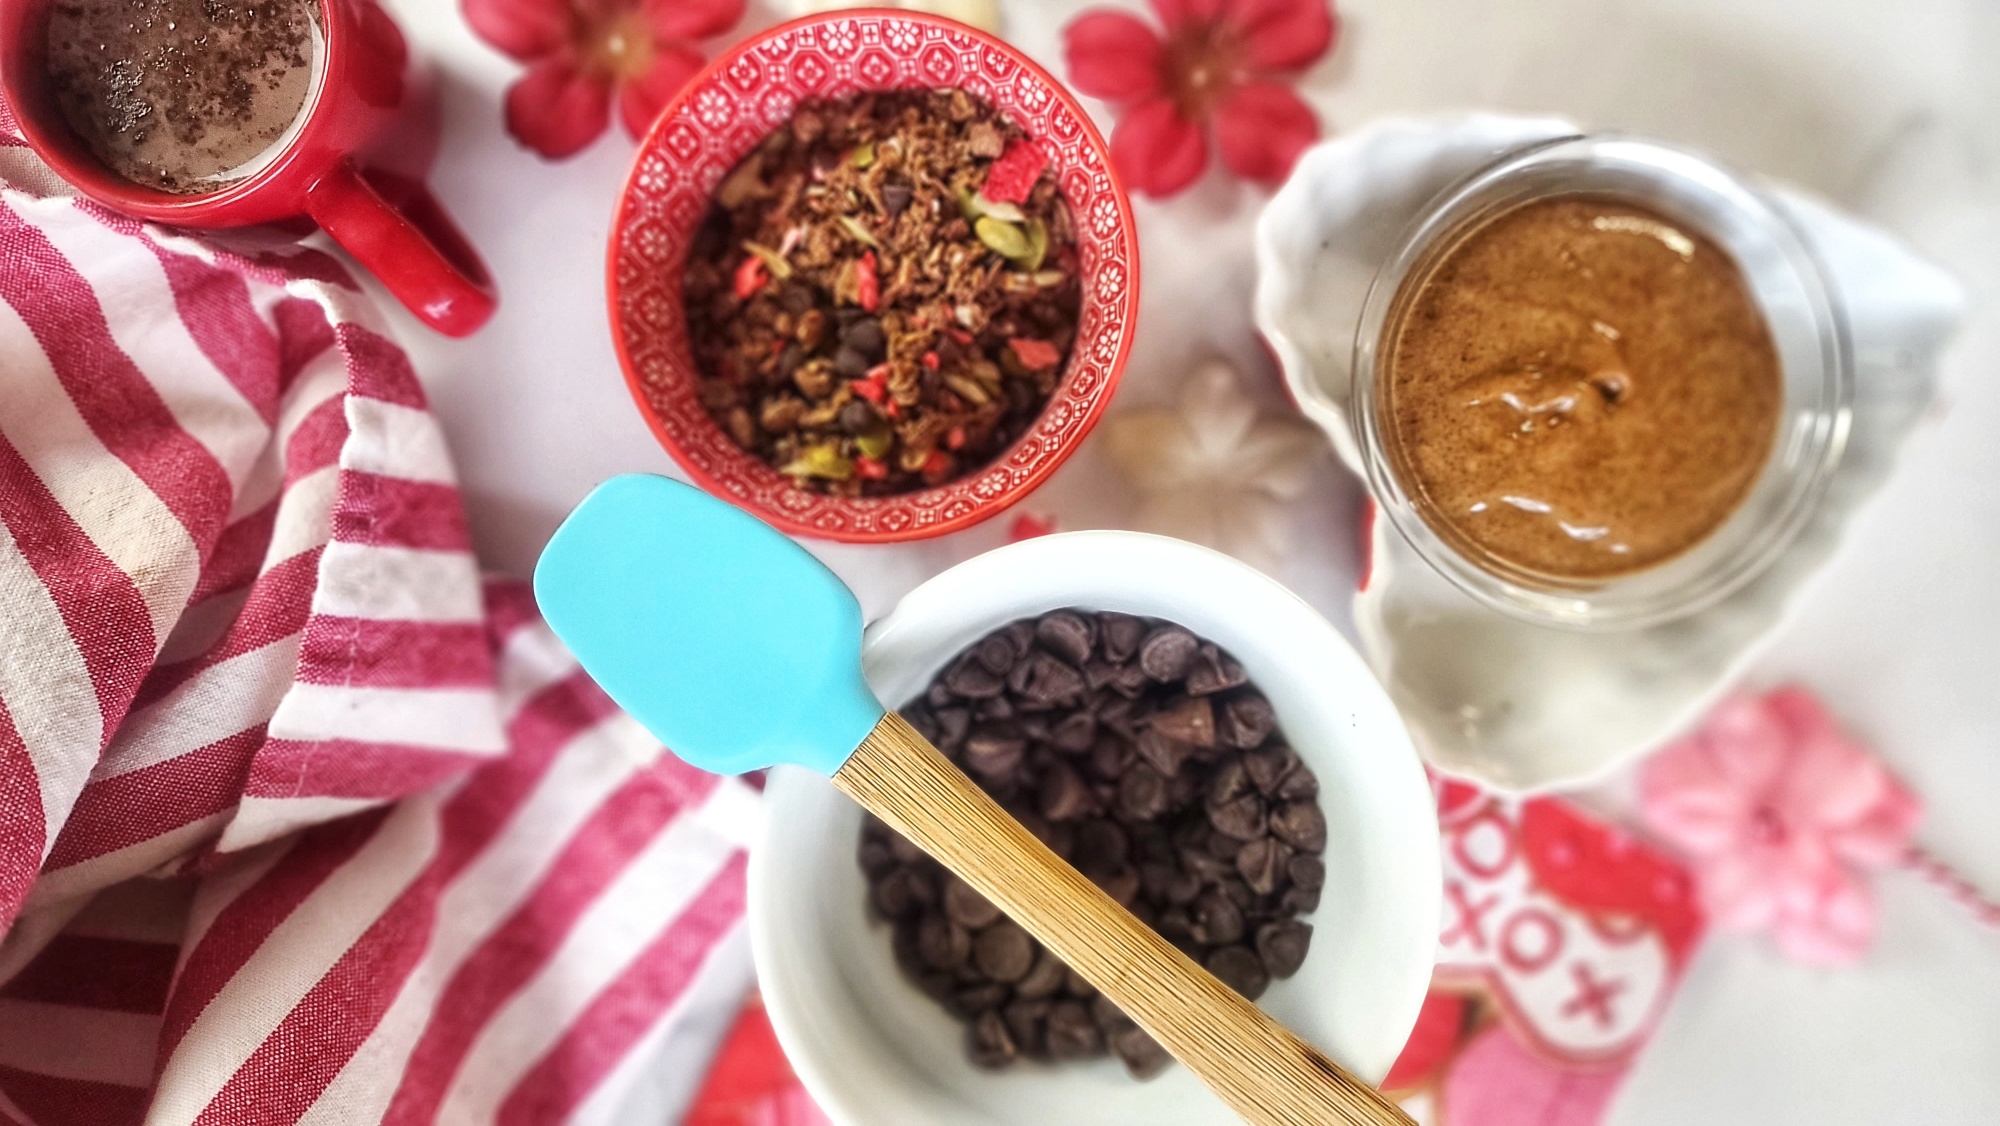
Rich, creamy, and studded with your favorite granola (use plain packaged granola, a fancy granola with all the fixings, or your special homemade granola recipe).
Basically, a no-bake dessert (except melting chocolate chips in the microwave for about 1 minute), you’ll find this is a quick, easy, and uncomplicated way to soothe a chocolate-lover’s sweet tooth. Plus, you may already have all the ingredients in your pantry!
This small-batch recipe is featured in my newest book, Cooking for One for Dummies (which can be pre-ordered NOW, and releases March 8, 2023).
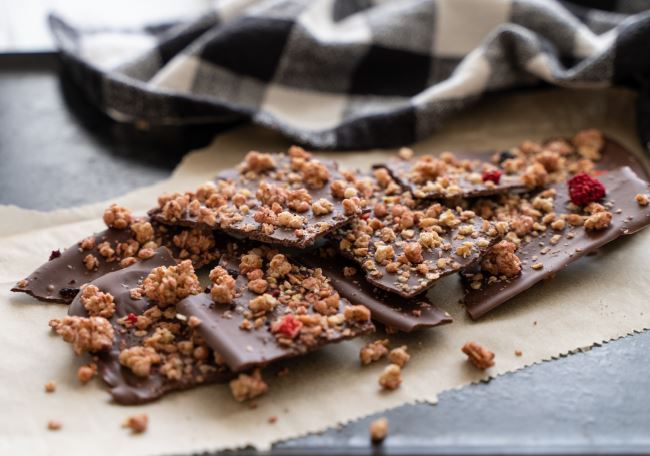
In the cookbook, I show the Granola Chocolate Bar spread out thinly, using a silicone sheet or parchment-lined loaf pan or free-form on a lined cookie sheet.
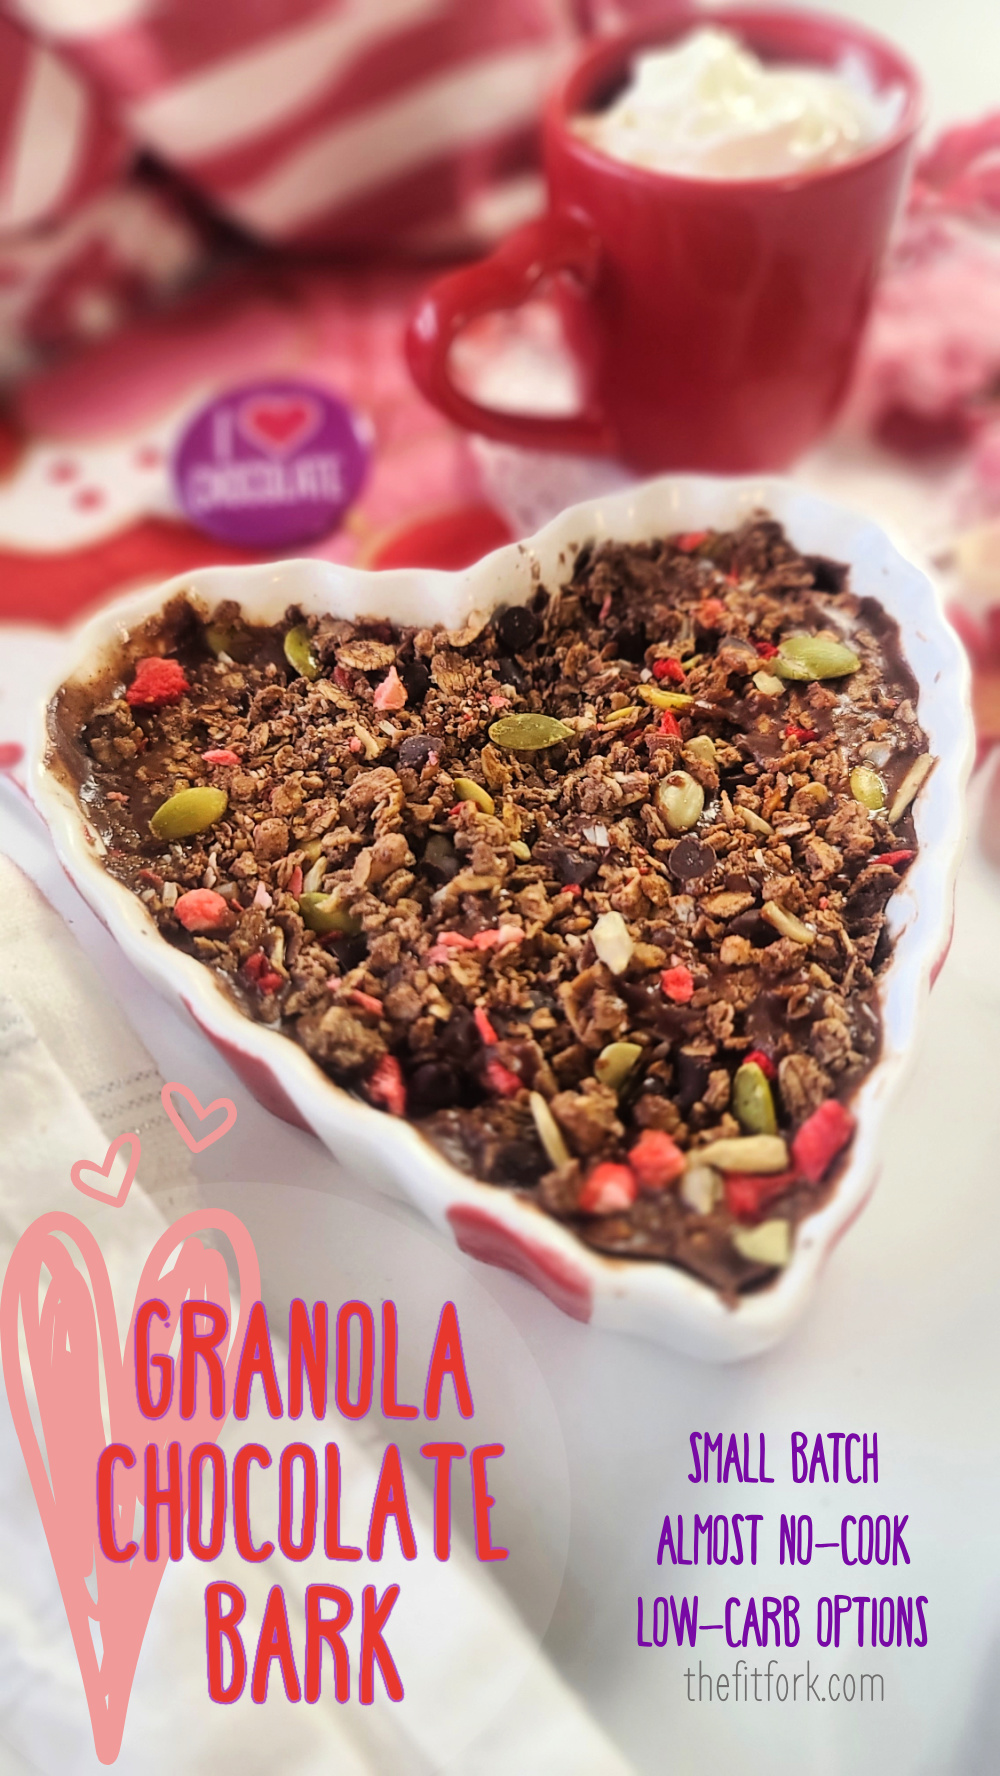
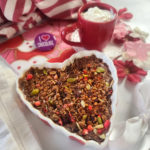
Today, for a Valentine’s treat, I thought it would be cute to do in a heart-shaped ramekin! This creates a “thicker” result. If going this route, use an approximate 10-oz Crème Brulé-style ramekin or two smaller 6-oz low-side ramekins. I’m kinda a ramekin collector freak, they are so fun and can be used for lots of smaller-scale recipes for one or two; using to hold prepped ingredients while making a recipe; for holding your everyday snacks for portion control.
Approximate macros for sugar-free chip version (will vary some based on nut butter and granola choices): 191 calories, 13g fat, 14g net carb, 3g protein
Pin this for later!
PRO TIPS FOR GRANOLA CHOCOLATE BARK
Tip 1: There is so much flexibility, you can mix and match ingredients to suit your dietary preferences (for example there are lots of swaps if looking for low carb dessert ideas):
Chocolate: I used sugar-free dark chocolate chips, but feel free to substitute traditional chocolate chips. Also, try milk chocolate, white chocolate, cinnamon chip and all the other flavors out there!
Nut Butter: The only real requirement is to use a natural-style nut butter and NOT the solid kind with hydrogenated fats and sugars. I used a cinnamon-flavored almond butter in my recipe today, but peanut butter, walnut butter, cashew butter, protein-boosted nut butters and most all types of blends will work!
Granola: For convenience, use packaged granola from your favorite brand. Of course, homemade granola is excellent too! If you don’t want to use granola, swap in an equal portion of things like coconut shreds, toasted chopped nuts, dehydrated or freeze-dried fruit pieces, little candies of choice, etc.
Tip 2: For less mess making granola bark, it’s highly recommended to oil the ramekin or, if using a baking sheet, use parchment paper or a silicone matt. You can also make in silicone candy molds, but I haven’t personally experiment with that.
Tip 3: Don’t skip the sticking in freezer step to firm up the chocolate bark before eating. Store leftovers in fridge.
Granola Chocolate Bark (Small Batch with Low Carb Options)
Prep Time
5mins
Total Time
35mins
Treat yourself (and a sweetheart) to this share-sized dessert that features only three ingredients (chocolate, nut butter, and granola)! Easy-peasy, the only ‘cooking’ is melting chocolate chips in the microwave! A fun Valentine’s Day treat, or for chocolate bark any day of the year! Low carb and sugar free options, very flexible.
Course:
Dessert, Snack
Keyword:
candy, chocolate, holiday, low carb, valentines day
Servings: 4
Calories: 191kcal
Ingredients
1/3cupchocolate chipssugar-free, if desired
¼cupnatural-style nut butterpeanut, almond, cashew, etc.
½cupof your favorite granolaany type or your own toppings
Instructions
In a small microwave-safe bowl, melt the chocolate chips on high in 30-second intervals, stirring between each, until the chocolate is melted and smooth.
Stir in nut butter until smooth. Pour the chocolate mixture into a 10 to 12-ounce low ramekin*
Sprinkle granola evenly over the top of the chocolate mixture and press down lightly so that it stays put. Freeze for 30 minutes to 1 hour, or until the bark has firmed up.
Slice into pieces; store the leftovers in the refrigerator.
Recipe Notes
* Instead of a ramekin, spread chocolate mixture out thinly on a silicone mat (on baking sheet) before topping with granola. After freezing, break up into free-form pieces. You can also use silicone baking and candy molds for a different effect.
Approximate macros for sugar-free chip version (will vary some based on nut butter and granola choices): 191 calories, 13g fat, 14g net carb, 3g protein
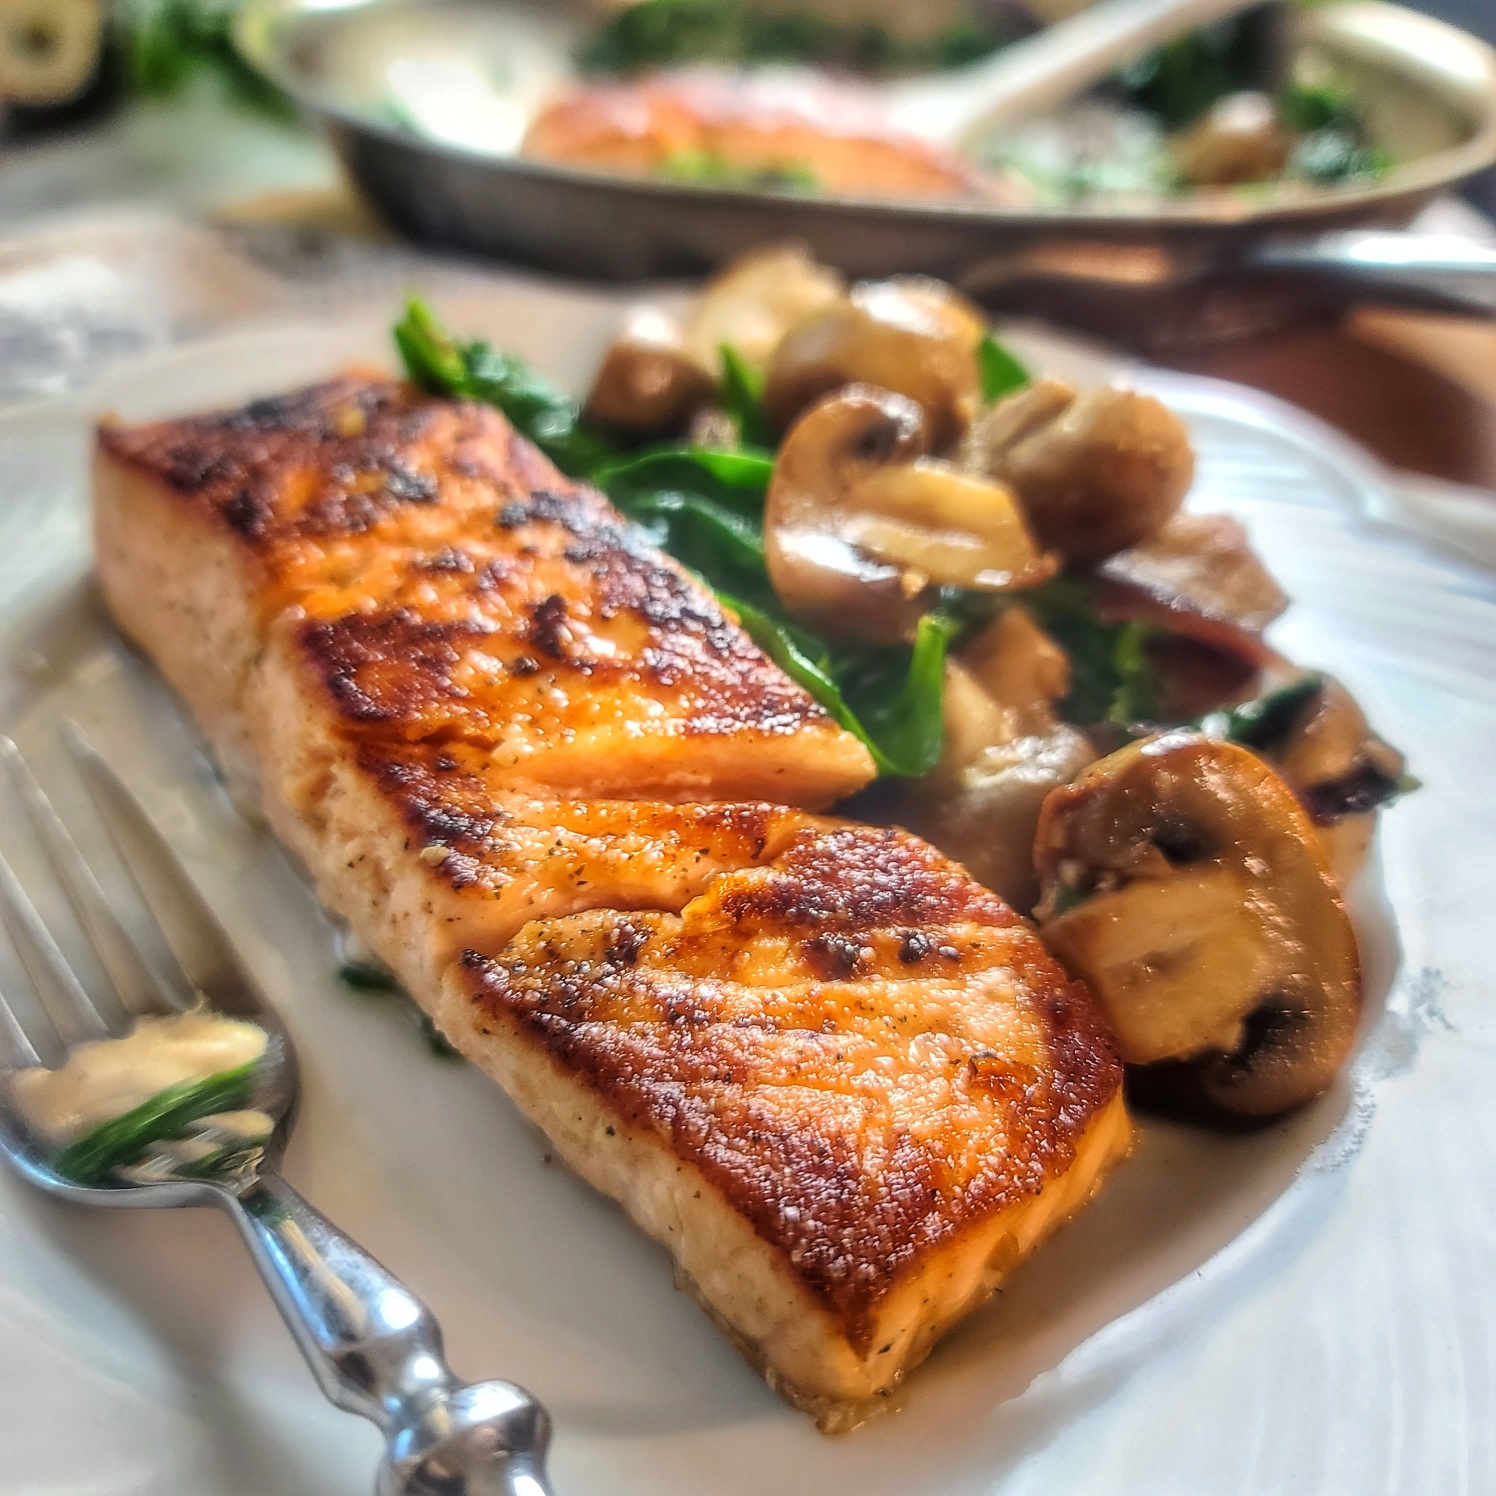
Salmon fillets are a mainstay on on my weekly dinner menu. Whether fresh or from frozen, salmon is a quality protein that makes the perfect blank canvas, ready to be “painted” with colorful vegetables and the seasonings that suit your mood of the moment!
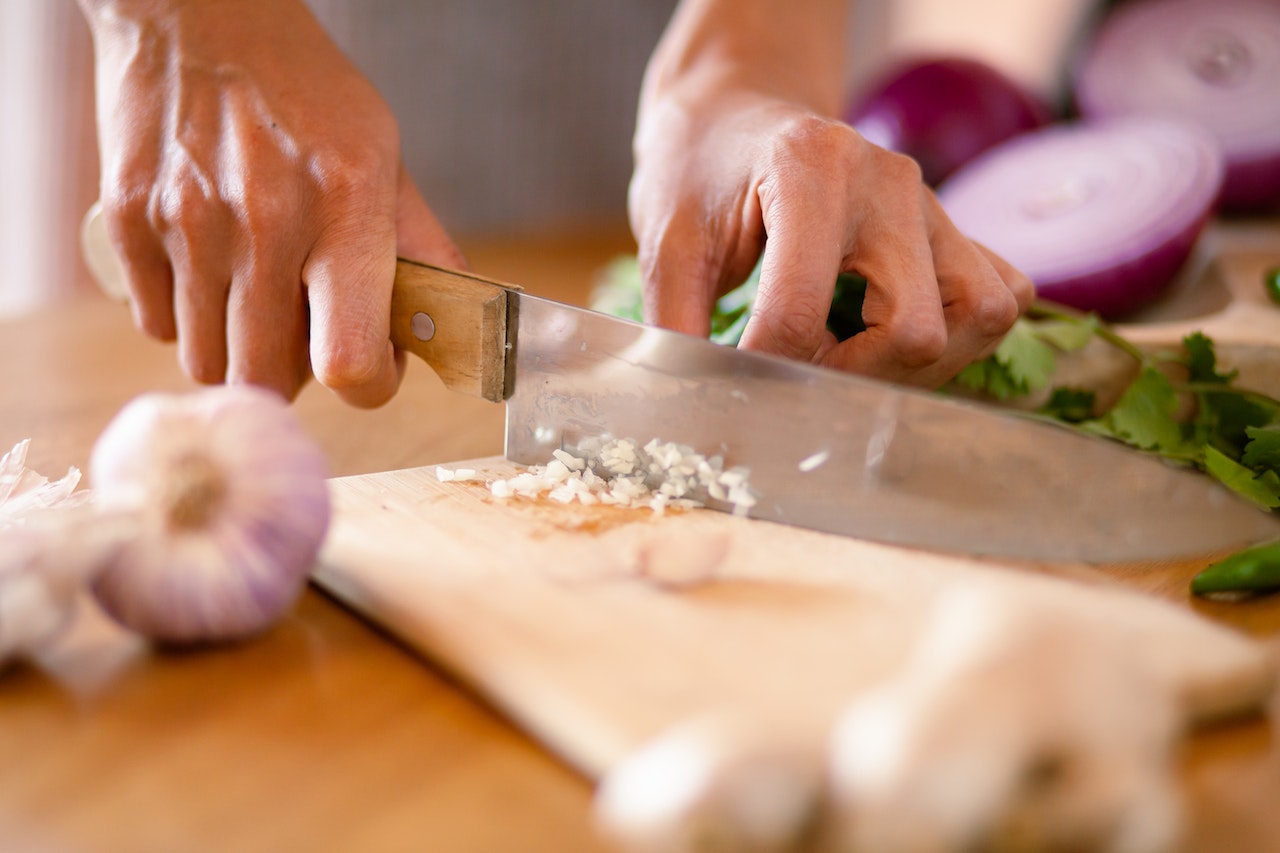
When it comes to seasonings and flavor, garlic can’t be beat. It has a host of functional health benefits, is umami-friendly and maximizes the flavor of everything it’s paired with, from veggies, to proteins, to grains, pastas and bread . . ahh, garlic bread. Distinctively pungent, yet more mellow upon cooking, garlic is probably the “first reach” seasoning in my kitchen. If I could only pick one seasoning (other than salt and pepper) for a dish, it would be garlic — that’s how I keep life easy! Fresh minced or crushed garlic is the best, but when I’m making a quick dinner recipe, I rely on the convenience of minced garlic in a jar, garlic paste in a tube, or pre-portioned frozen crushed garlic.
Minced fresh garlic if you have the time, but purchased garlic in jar, tube or frozen portions is convenient!
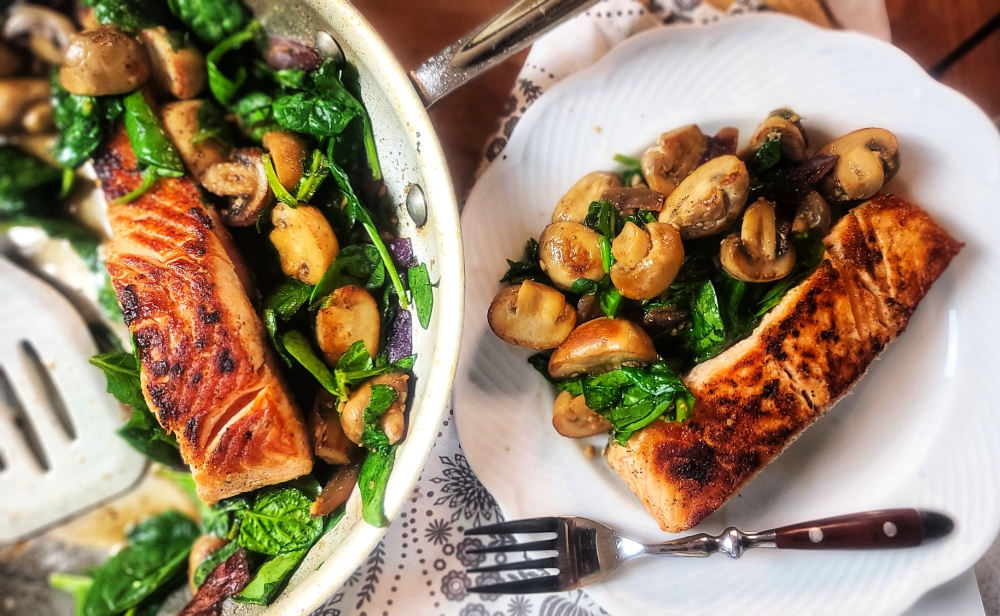
I drooled earlier about buttery garlic bread, but buttery garlic MUSHROOMS – ohhhhyeah! Low-cal and low-carb, can be a little bland on their own — but with just a little butter and garlic, any mushroom side dish becomes heaven! You can use white button mushrooms or baby bellas (cremini) mushrooms in this low-carb salmon recipe — both act like little sponges that soak up all the rich flavor.
A quick little 15-second tutorial!
Pro-Tips:
1) Leave bottom skin on salmon, this makes a richer recipe and makes the cooking process easier (less sticking). You can remove it later . . . but remember, the brown/gray “gunk” between the skin and salmon flesh is salmon fat and where most of the beneficial Omega-3 fatty acids reside.
2) Salmon is cooked in 2 steps. First a sear with the skin side up. Then the par-cooked salmon rests on a plate while the veggies cook. Second, the fish is finished off by cooking skin side down among the vegetables, with a lid on top of the skilled to expedite the process. Make sure to have the lid nearby.
3) You can substitute peeled, de-veined jumpo shrimp. Those will cook for 3 to 4 minutes UNTIL DONE on the first step, and then you add back into the recipe when the vegetables are finished. Don’t add cooking time after this, or they will become rubbery.
4) For this garlic mushroom salmon skillet recipe, a non-stick skillet/fry pan with lid (10″) works well to keep the garlicked up salmon from sticking to the pan on the searing step. However, if you don’t have a non-stick or don’t want to use a non-stick, and end up with some bits burned onto the pan, there is a solution. After removing fish to rest on plate, add a splash of water to the hot skilled to sizzle and then quickly scrape off with spatula.
5) This mushroom salmon recipe scales up easily. To make 4 servings, just double the recipe (fine to be loosy-goosey on vegetables) and use a 12″ non-stick skillet/frypan with lid.
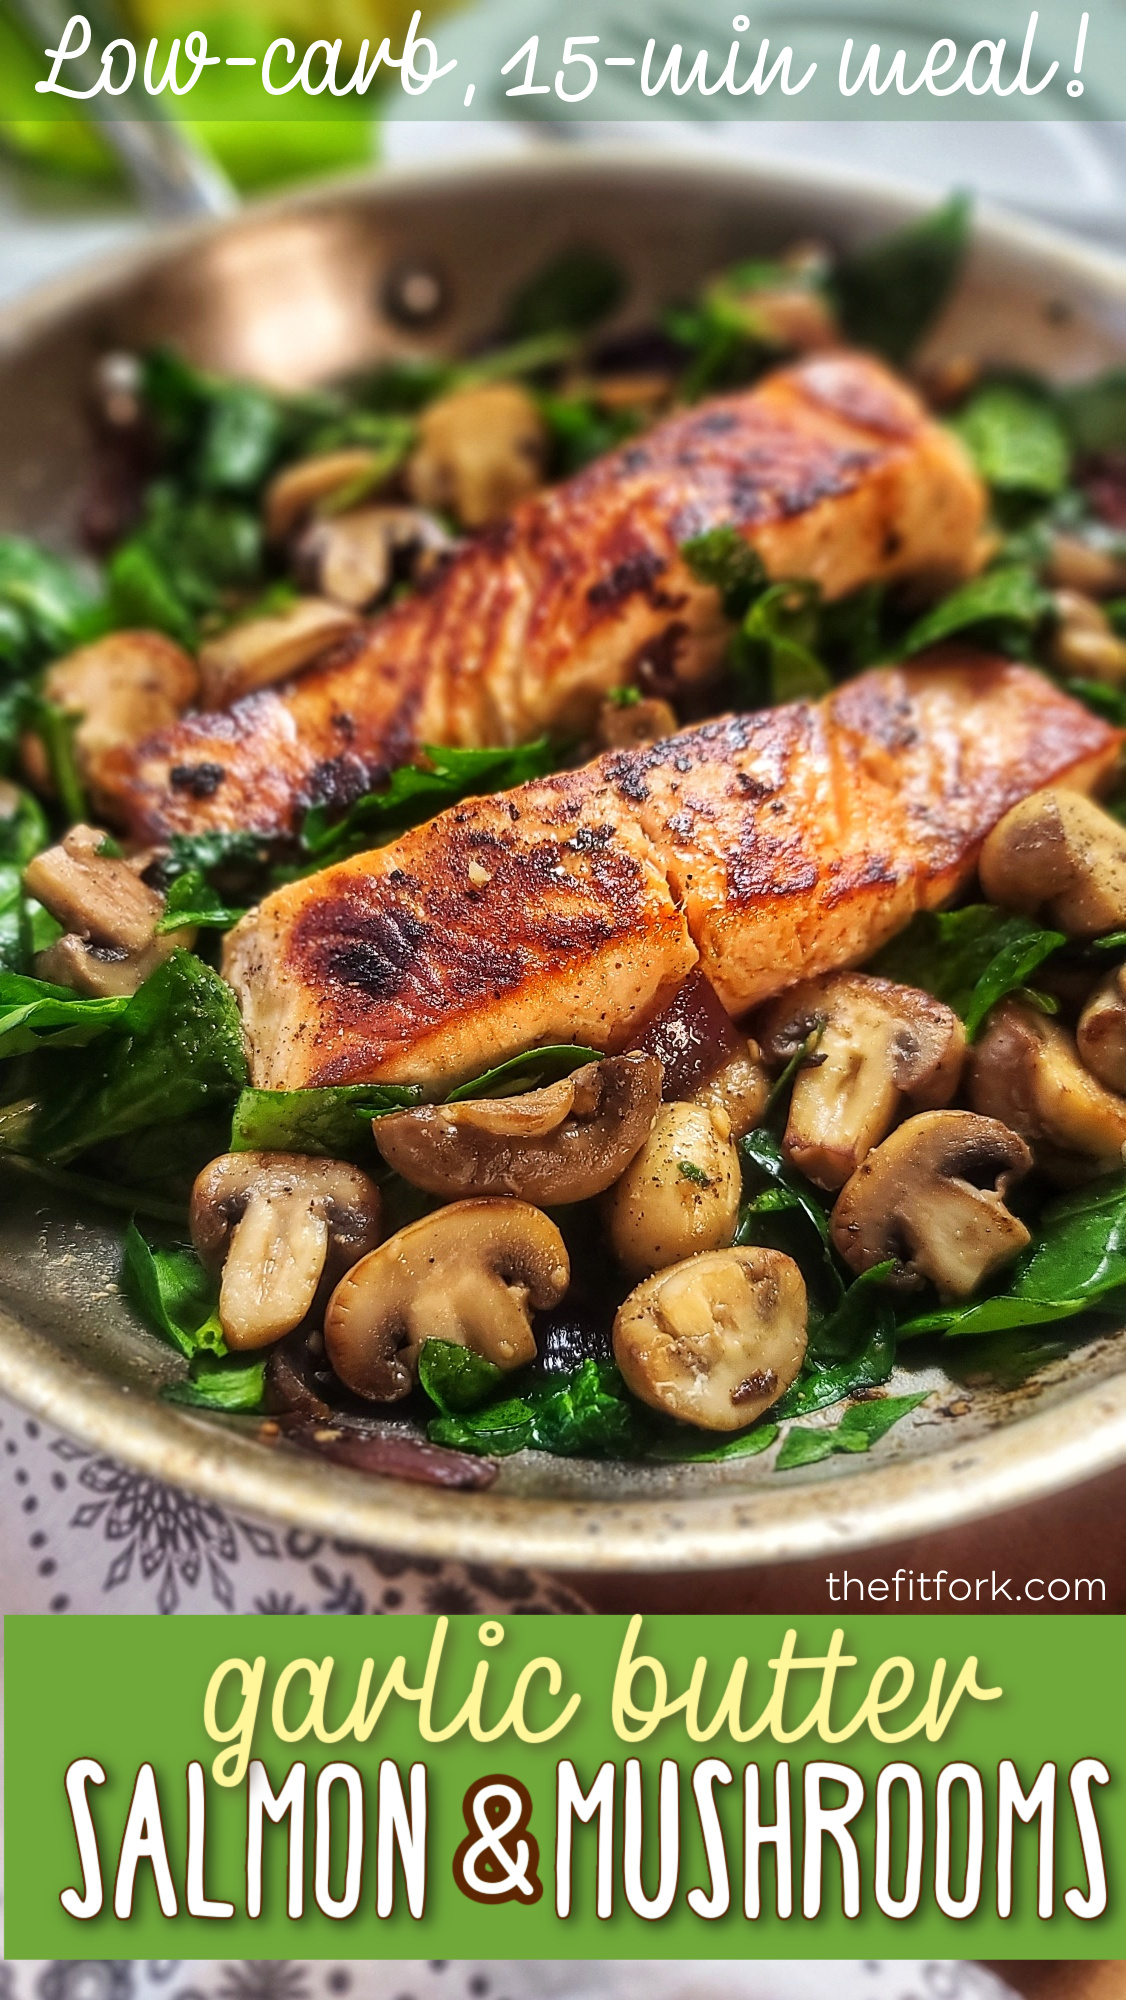
Pin this for later!Macros per serving: 469 cal, 34g fat, 6g net carb, 33g protein
What's better than garlic butter? Garlic butter all over salmon, mushrooms and delicious veggies! This easy one-dish salmon skillet is sure to become your favorite 15-minute meal.
Course:
dinner
Keyword:
garlic, mushrooms, one dish, salmon
Servings: 2
Calories: 469kcal
Ingredients
2 5-ouncesalmon filetsskin on
¼teaspooneach salt and black pepperplus more for seasoning at end, if desired
2tbsp.garlicdivided
1.5tbspssalted butter
8ouncewhite or cremini mushroomscleaned and halved ½ red onion, chopped coarsely
1/2cut coarsely chopped red onion
3cupsfresh spinachcoarsely chopped
Instructions
Season salmon with salt, pepper and 1 tbsp. of the garlic.
Heat olive oil in skillet over med-high heat.
Add filets skin side up; sear for 3 minutes or until crust forming on flesh. Set par-cooked fish aside on plate (will finish cooking later).
Melt butter in skillet over med-high, add mushrooms and onions and saute for about 3 minutes; add remainder of garlic and cook for another 30 seconds. Stir in spinach; set salmon back in skillet, skin side down this time. Cook on medium for about 3 to 5 more minutes (with lid on for several minutes to help speed process). Actual cook time will depend on thickness of salmon filets.
Season with additional salt and pepper, as desired.
Recipe Notes
2 servings. Each serving: 469 cal, 34g fat, 6g net carb, 33g protein
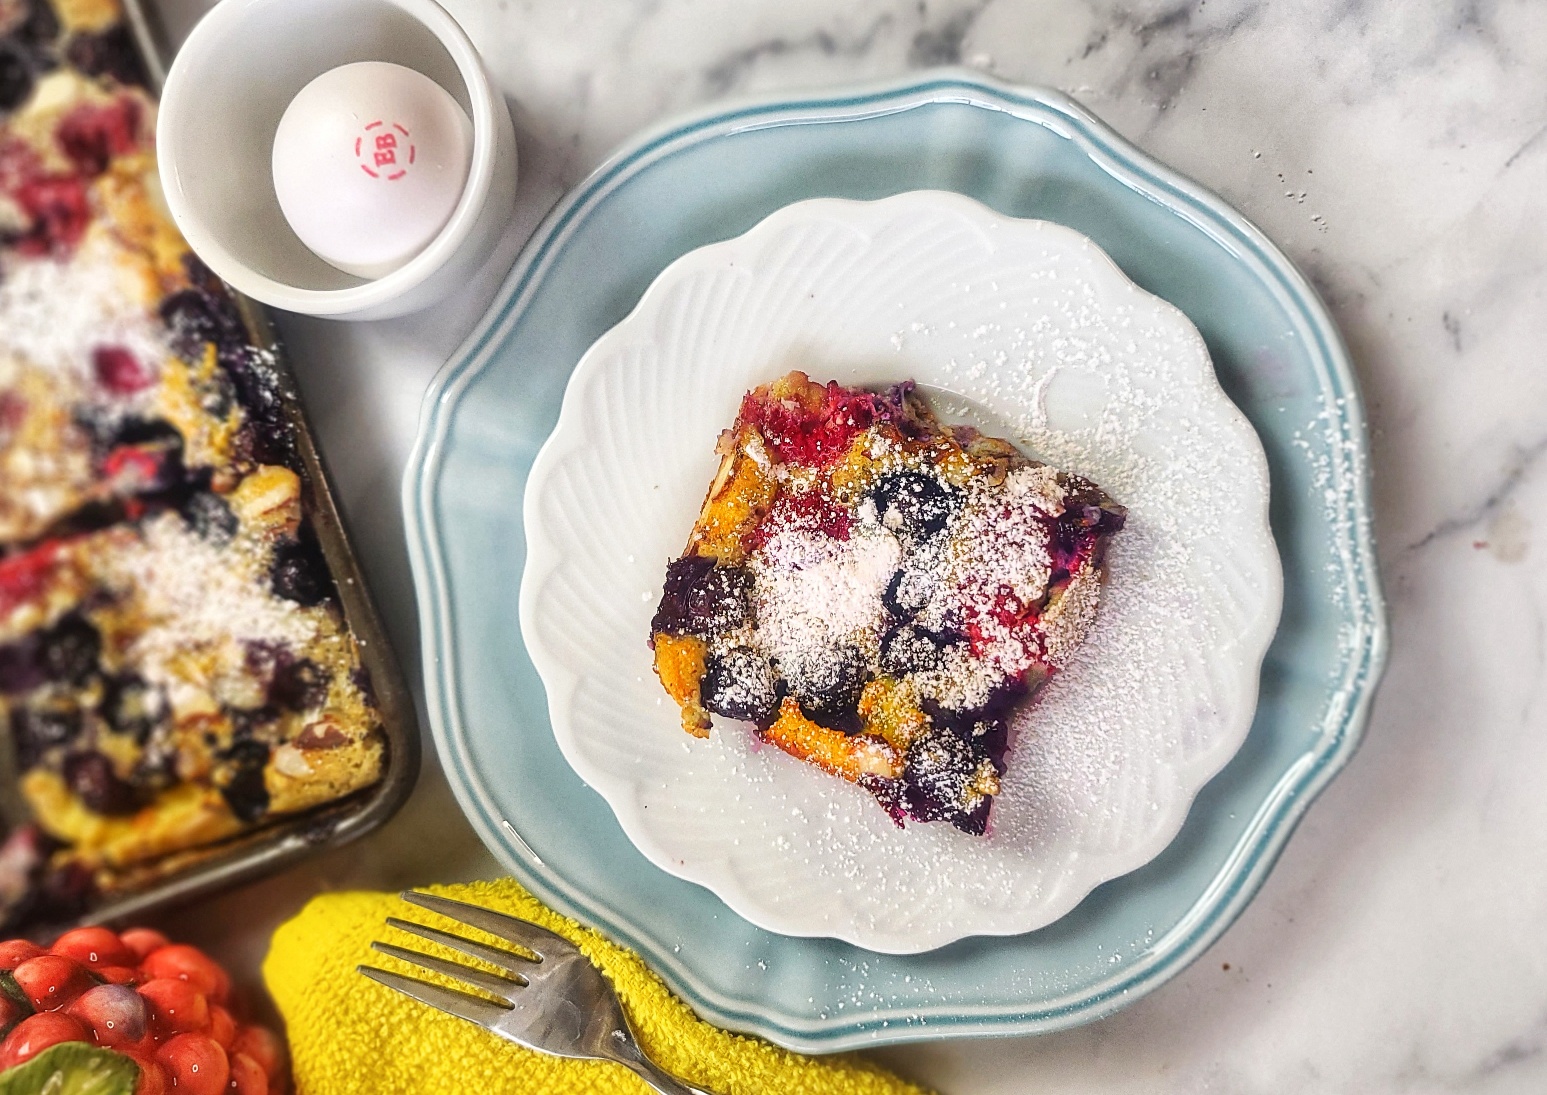
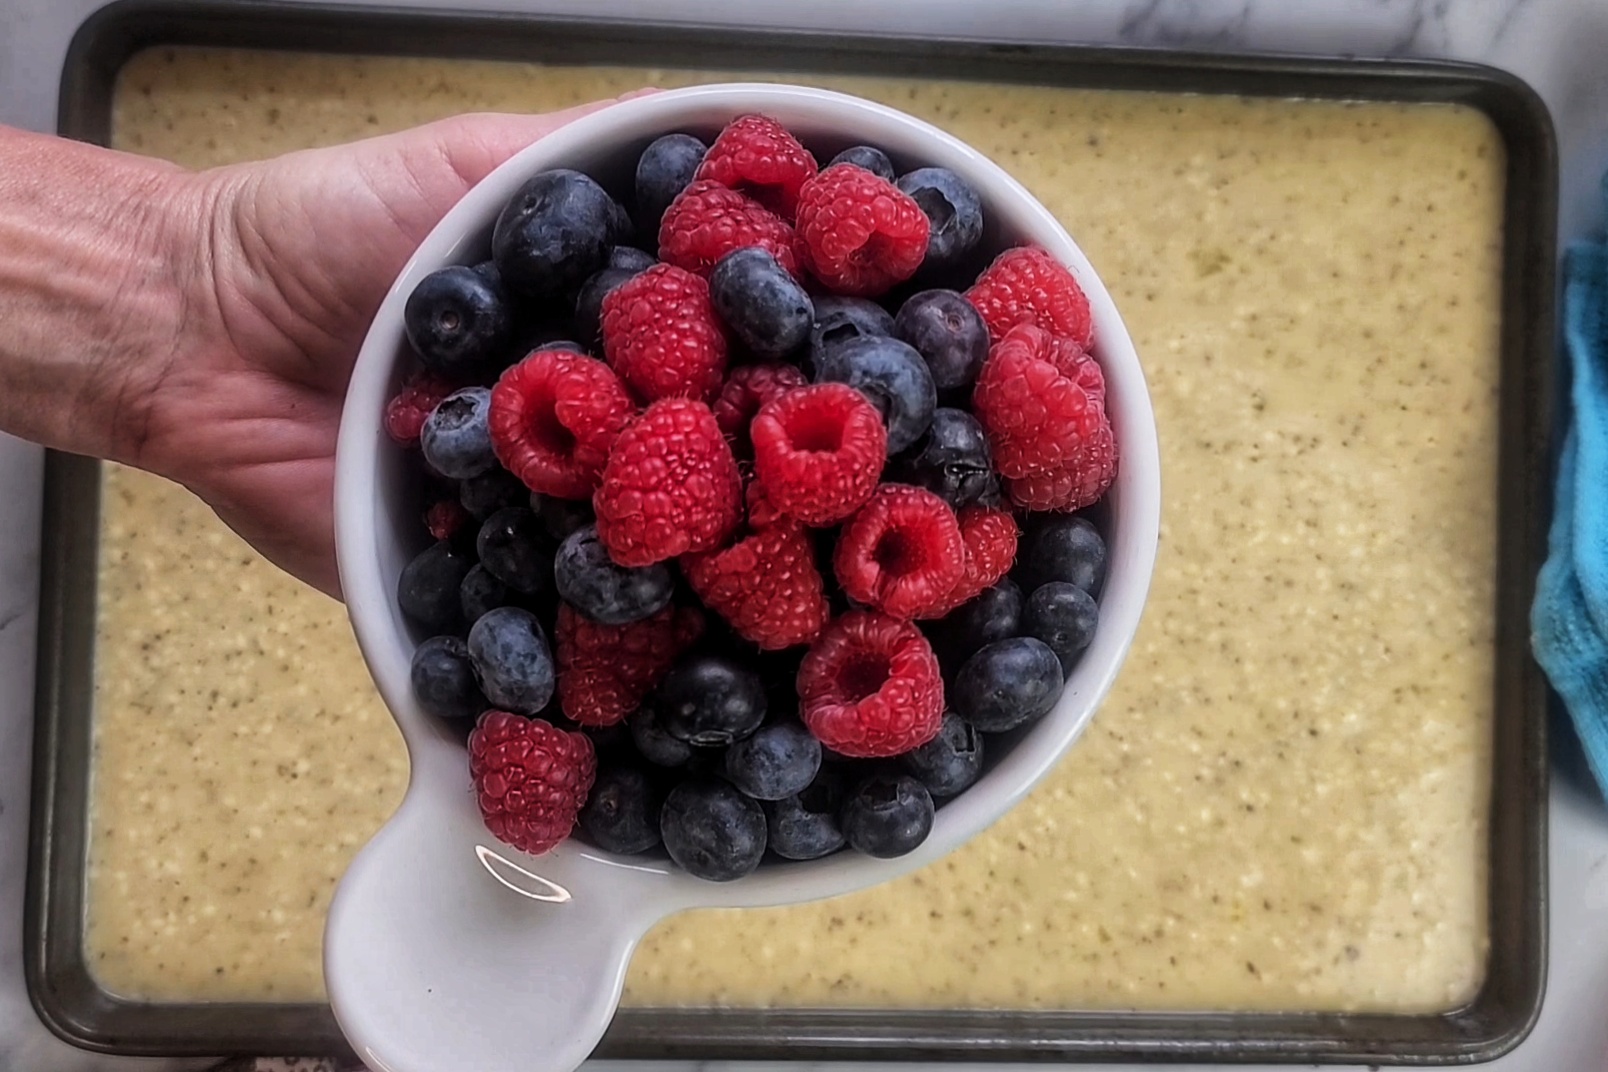
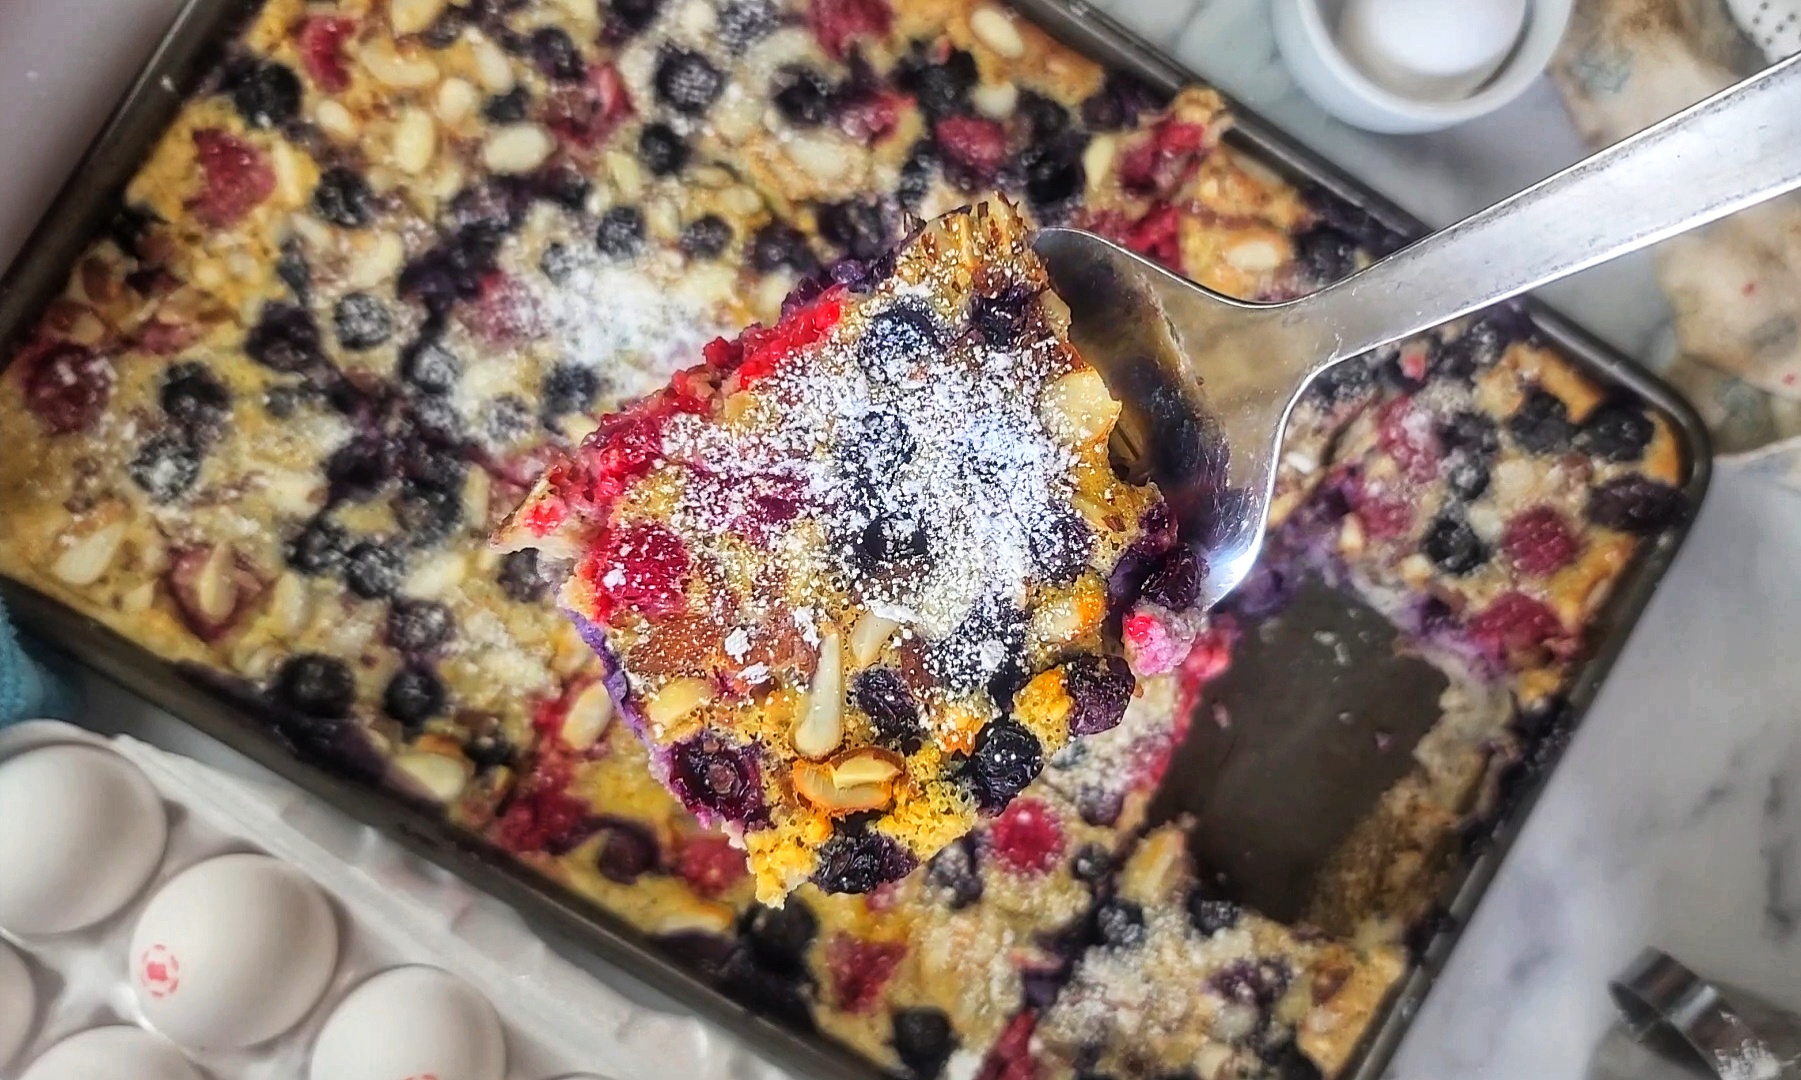
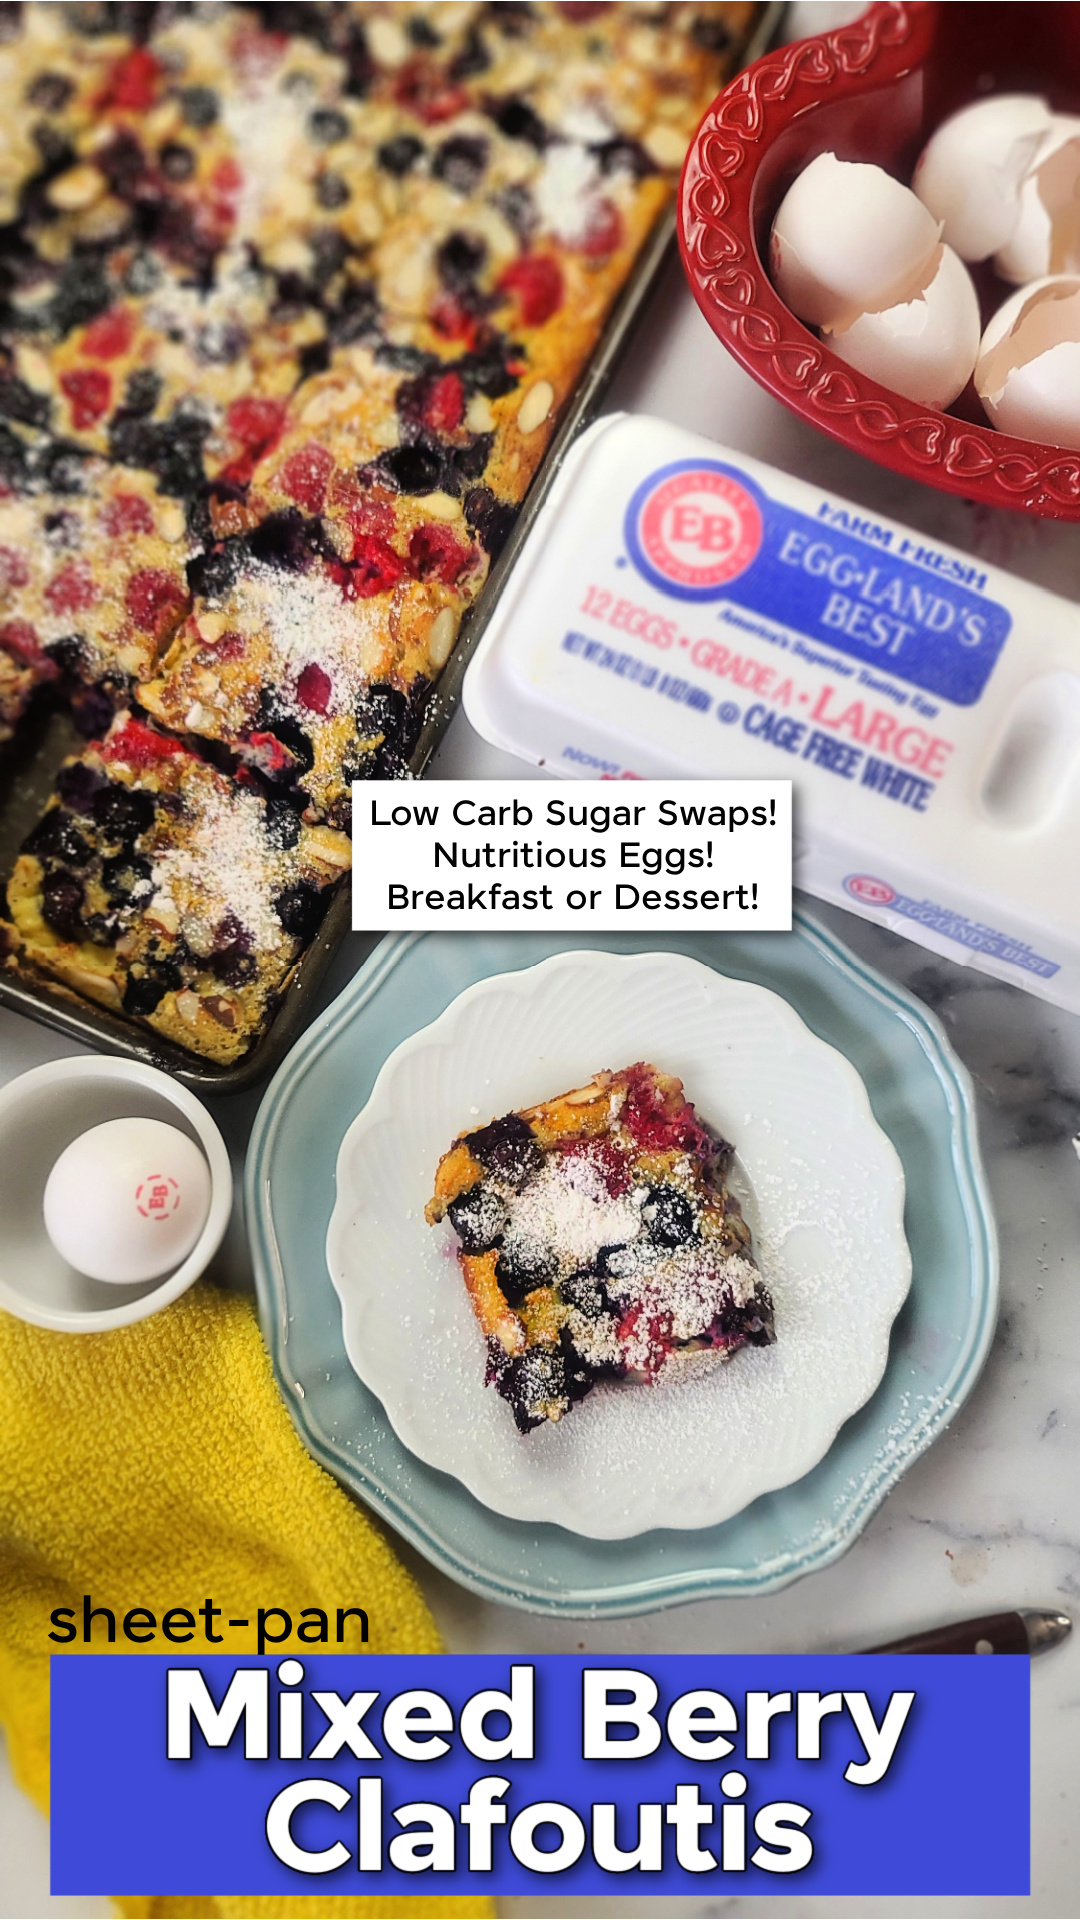
Ooh-la-la! I really love my easy Mixed Berry Sheet Pan Clafouti recipe. My take on the famous French dessert is easy, it’s bursting with beautiful berries, has been “low carbed” with sweetener alternatives and a portion of the flour with almond meal. This berry sheet pan breakfast also features a good amount of protein thanks to six eggs in the recipe.
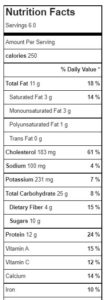
For all these reasons and more, I declare my Clafouti in a sheet pan suitable for breakfast or brunch, any day! Macros on a generous-sized serving come in at 250 calories, 12g fat, 24g carbohydrates, 4g dietary fiber, and 12g protein.
Use berries . . . or another favorite fruit!
If you’ve never heard of clafoutis, it’s one of those French things. Clafoutis (the “S” is silent) is a baked dessert classically featuring black cherries (but most any fruit will work) arranged in a buttered dish and covered with a thick flan-like batter. It’s served slightly warm or room-temperature, with a dusting of powdered sugar or whipped cream.
My version is baked up in a sheet pan (actually a Jelly Roll Sheet Pan (10.5″ x 15″ x 1″), for a larger scale dish that can serve a big hungry family – or be meal-prepped to eat for breakfast, brunch or dessert throughout the week. This sheet pan clafoutis also freezes beautifully – just thaw out and warm up in the microwave on busy mornings.
The batter is pretty thin, it’s just eggs, flour (or gluten-free alternative), almond flour, and a low-carb sweetener that measures as a cup-for-cup for granulated white sugar. I really just see the atter as the binder to hold the berries together! You don’t need a mixer or blender to make it, in fact, that would over work the batter– all you need is a whisk. I’m in love with this kitchen-drawer space-saving Collapseable Whisk.
PRO TIPS:
Let batter rest for 20 minutes to prevent a rubbery final product
Sheet Pan Mixed Berry Breakfast Clafoutis (Lower Carb)
Prep Time
5mins
Cook Time
40mins
Total Time
45mins
Based on a famous French dessert, but with mindful low-carb tweaks, this Berry Clafoutis makes a delicious brunch, breakfast or healthy dessert. It reminds me of a hybrid flan-pancake. Lower cal and lots of protein from eggs. Size up for a sheet pan to make a little more than the traditional recipe.
Course:
Breakfast, brunch, Dessert
Keyword:
blueberries, clafoutis, low carb, sheet pan
Servings: 6Servings
Calories: 250kcal
Ingredients
6large eggs
2tsp.vanilla extract
1/8tsp.salt
½cupbaking sweetener1:1 cup measuring equivalency, I used a stevia blend
½cupunbleached all-purpose flouror gluten-free alternative
½cuppacked almond meal
2cupswhole milk
Baking spray for baking sheet
1lb.mixed fresh berries such as blueberries, raspberries, blackberries, sliced strawberries (rinsed and dried)about 3 to 3.5 cups
1/2cupsliced almondsabout 2 ounces
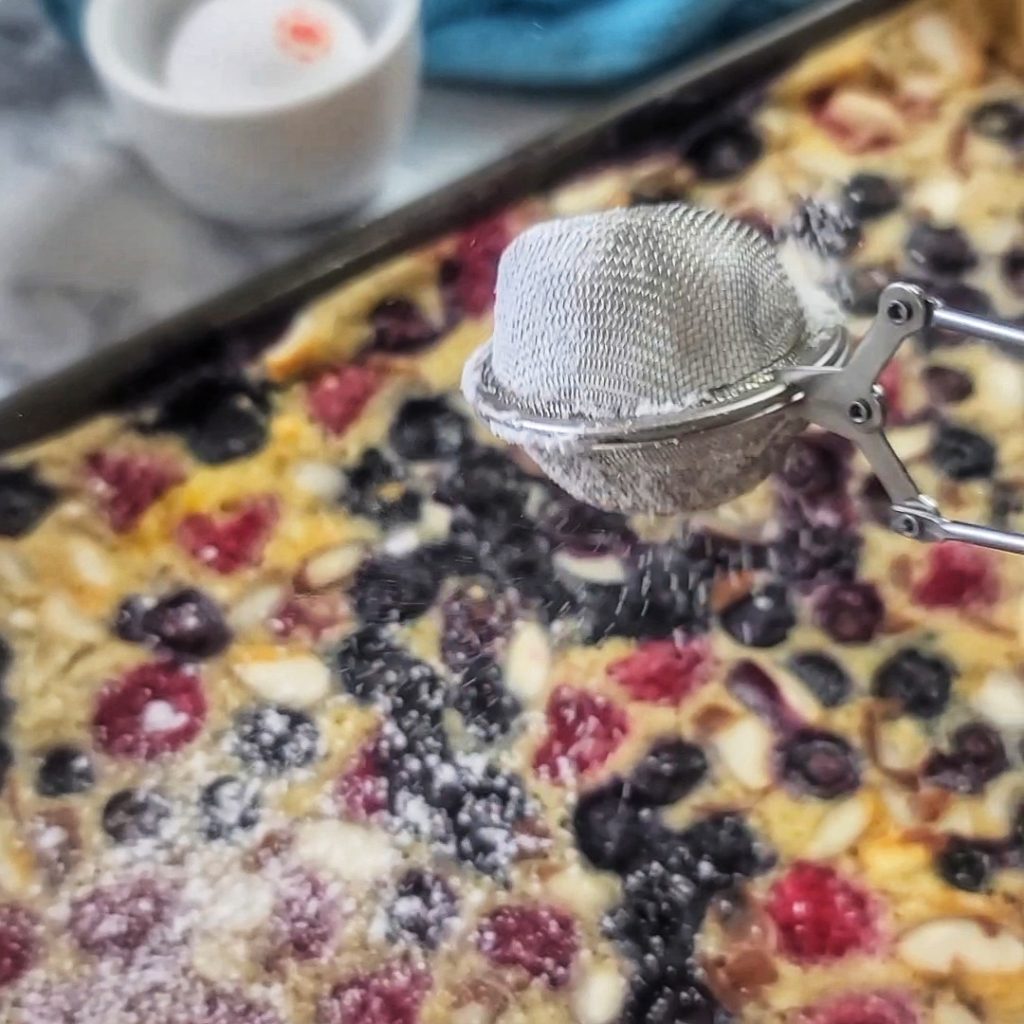
Optional Powdered sugar for dusting (I used a zero-carb powdered sweetener)
Instructions
Preheat oven to 350F.
In large bowl, crack open eggs and whisk smooth. Whisk in milk until incorporated.
Next, whisk in sweetener, flour, almond meal and salt until smooth.
Spray 10” x 15” “jelly roll” sheet pan with baking spray. Do NOT try to use a standard 9” x 13” low-rimmed sheet pan, it will be too small and overflow. As an alternative, you can use a 9” x 13” ceramic or glass baking dish with HIGHER sides (cooking time will need to be increased).
Pour egg batter into pan. Gently scatter berries as evenly as possible on top of batter. Next, sprinkle on sliced almonds.
Bake on center rack for 40 minutes, or until turning golden on top and set. If using the 9”x13” glass baking dish, the batter will be deeper, so add on 5 to 10 more minutes of cooking time (so 45 – 50 minutes cooking time).
Remove from oven at let cool 5 minutes. Dust with powdered sugar or alternative, if desired. Cut into either 6 large squares or 12 smaller squares (2 smaller pieces per serving).
Store leftovers in fridge for up to 3 days. Reheat in microwave for about 45 seconds.