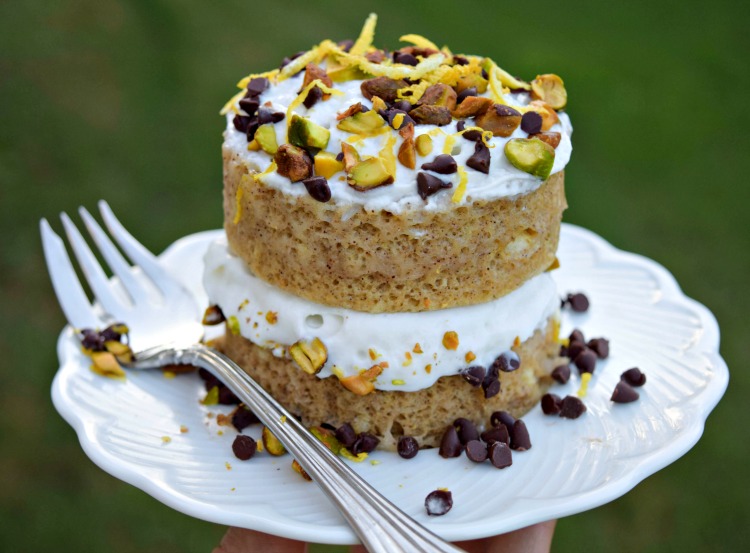
 Maybe I don’t do desserts as decadently as the Italians, but after digging into one of my Cannoli Protein Mug Cakes, your taste buds will be exclaiming, “Batta Bing, Batta Boom!” And, with 20 grams of protein per serving of cake (yay, the entire cake), so will your biceps – BOOM!
I keep the signature chocolate and pistachio garnish of cannoli, but ditch the custard-filed fried shells for a light and tender “cake” made with protein power, a bit of gluten –free baking mix, an egg, and skosh of coconut oil. It’s a healthy option for dessert, post-workout, or even breakfast – and, did I mention it takes less than 90 seconds to cook?
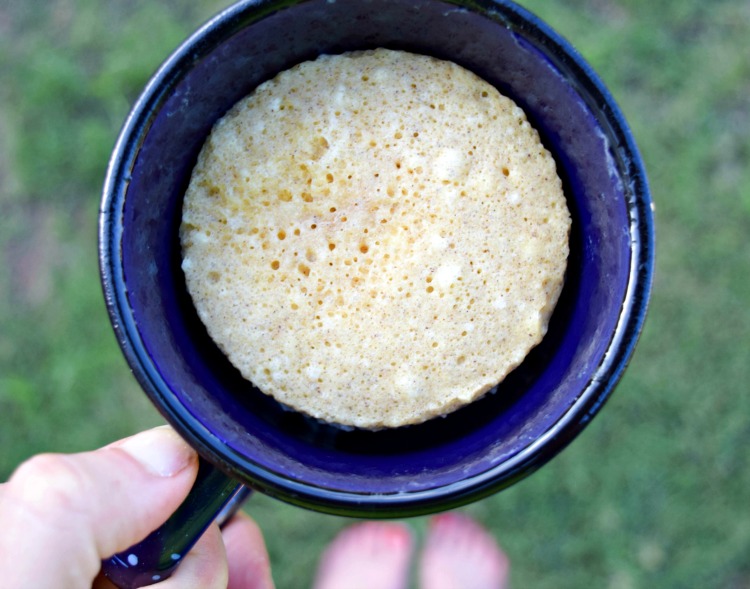 After “baking” in the microwave, your mug cake is going to look pretty “plain vanilla,” but that’s okay. It is vanilla, after all, made with Less Naked Vanilla Whey Protein from Naked Nutrition. The Cannoli Protein Mug Cake recipe at the bottom of the post, without the garnishes, makes a versatile basic mug cake base that other ingredients (like fruit or peanut butter) can be stirred into before cooking or sprinkled on afterward. But, today we are going healthy CANNOLI all the way, and you’ll soon forget about any diet-busting cravings you may be having – FUHGEDDABOUTIT!

So, as I just name-dropped, this recipe uses protein powder from Naked Nutrition. It’s definitely “nutrition with nothing to hide.” Naked Nutrition has a variety of products, but I’m focusing on the whey protein today, because that is what I use in my daily routine. This quality whey protein comes from grass-fed cows’ milk sourced from small dairy farms and state-of-the-art manufacturing process that ensures that the product has what it needs, and doesn’t have what it shouldn’t – it’s clean, lean protein with no artificial anything! For example, the Less Naked Vanilla Whey Protein is made with just three ingredients -grass fed whey protein, vanilla, and organic coconut sugar and each serving has 25 grams protein and 5.9 grams BCAAs. And, of course, it’s non-GMO, soy free, growth hormone free, and gluten-free.
I like that Naked Whey is sweetened with Organic Coconut Sugar, sometimes I need a bit of quality carb energy to fuel my workouts, but white table sugar is definitely out of the question for me and zero-calories substitutes don’t put any gas in the proverbial tank. Coconut sugar is a great option as an energy-providing sweetener because it is lower on the glycemic-index (preventing dramatic rises and falls in blood sugar) – refined white sugar has a glycemic index of 99 and coconut sugar only 35. In addition, coconut sugar (also called palm sugar by some) is inherently loaded with nutritional benefits, notably a high level of inulin (a dietary fiber) that serves as a prebiotic to support the growth of healthy bacteria in your gut. Studies have shown that a healthy digestive tract can reduce the incidence of certain cancers and diabetes while increasing fat metabolism and encouraging a healthy body weight. Sign me up.
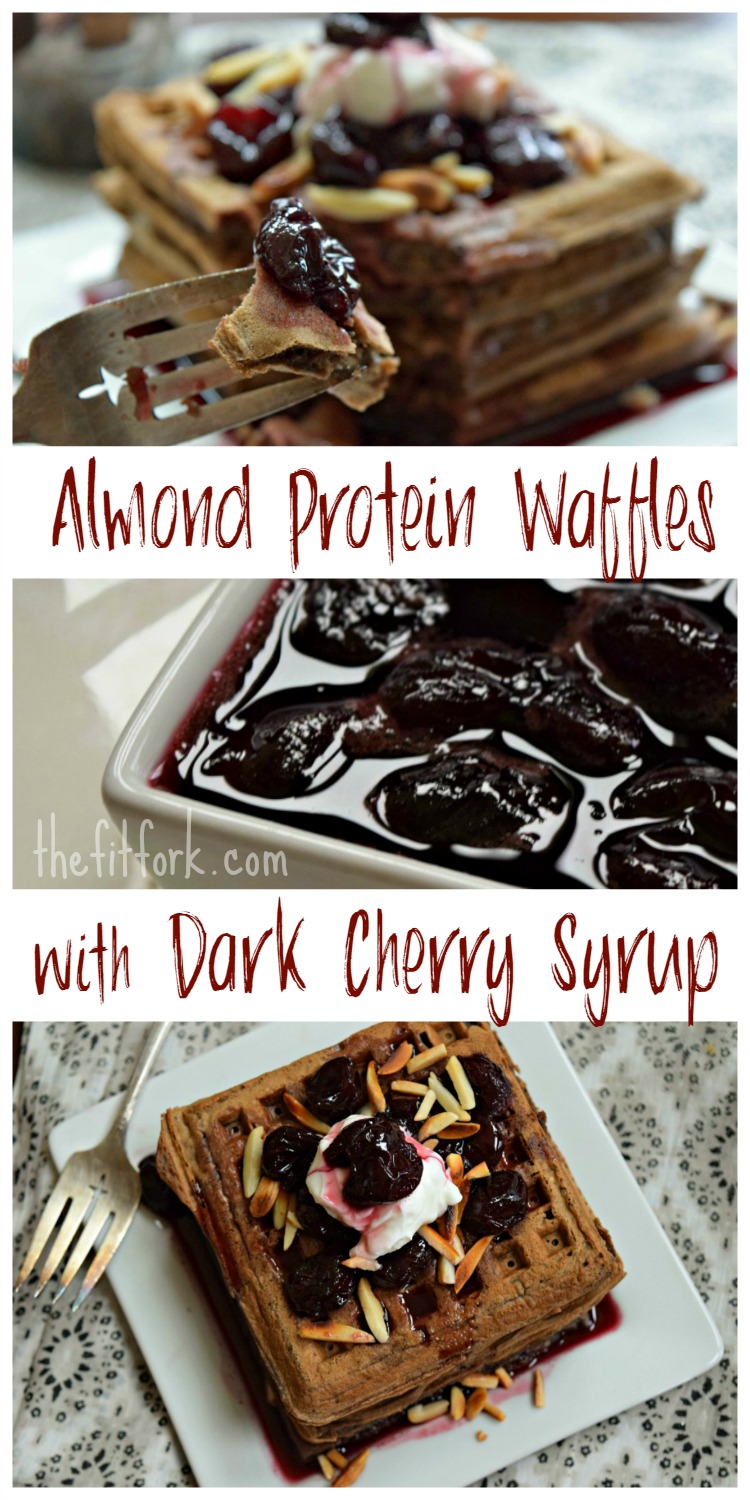
 I find the unflavored and vanilla whey proteins to be a great base for my protein-based baking, like protein pancakes, power muffins, and mug cakes like the Cannoli Protein Mug Cake I am sharing today. Oooh, but this girl sure does love chocolate, and a massive 5-pound tub of Less Naked Chocolate Whey Protein makes my mind start spinning with smoothie and healthy dessert-like creations, like protein brownies, protein pops, protein truffles, and more. Thanks to my stash from Naked Protein, I’m sure you’ll be seeing more chocolate protein recipes from me soon.

In the meantime, check out this Chocolate Protein Pudding recipe from the Naked Nutrition Instagram profile. Seriously simple and insanely delicious, just peel the lid off a 6-ounce Greek yogurt and stir in a scoop of powder. I ALWAYS take a protein-rich snack at bedtime because 1) I’m hungry and 2) muscle most muscle growth and repair happens while we sleep!
In addition to Vanilla and Chocolate whey protein powder, Strawberry and Unflavored are also available. Naked Protein also makes so many other quality protein options to meet a variety of dietary, recipe and taste requirements including Grass-Fed Whey, Goat Whey, Casein Protein, Pea Protein, Egg White Protein, Organic Rice Powder Protein, Peanut Butter Powder and more. CHECK OUT ALL THE PROTEIN OPTIONS HERE.
When you need something sweet, what do you usually grab? To you make mug cakes or mug muffins, what is your favorite mix-in or topping? Racing this weekend? Please share in the comments below – XOXO, Jennifer
Coconut oil cooking spray
2 tablespoons Vanilla Protein Powder
1 tablespoon + 1 teaspoon gluten-free baking mix
4 teaspoons zero-calorie measure-for-measure sweetener
1/8 teaspoon baking soda
¼ teaspoon cinnamon
1 large egg
1 teaspoon lemon juice
1 tablespoon water
1 teaspoon coconut oil
2 teaspoons chopped pistachios
¼ cup “coco whip” or non-dairy whipped topping
1 teaspoon mini chocolate chips
½ teaspoon lemon zest (optional)
Course:
Breakfast, Dessert, Worout
Cuisine:
American, Italian
Servings: 1 serving
-
Coconut oil cooking spray
-
2
tablespoons
vanilla protein powder
I used Less Naked Vanilla Whey from Naked Nutrition
-
4
teaspoons
gluten free baking mix
please note this is 1 tablespoon + 1 extra teaspoon
-
4
teaspoons
measure-for-measure sugar baking substitute
-
1/8
teaspoon
baking soda
-
1
large
egg
-
1
teaspoon
lemon juice
-
1
tablespoon
water
-
1
teaspoon
coconut oil
-
2
teaspoons
chopped pistachios
-
1
teaspoon
mini chocolate chips
-
1/4
cup
"coco" whip or dairy free whipped topping
-
1/2
teaspoon
lemon zest, if desired
-
Spray a large microwave-safe coffee mug with cooking spray, set aside.
-
In small bowl, combine protein powder, gluten-free baking mix, sugar substitute, cinnamon and baking soda. Stir together until combine well.
-
Mix in egg, lemon juice, water, and coconut oil until combined.
-
Pour into sprayed coffee mug and microwave 1 minute 15 seconds, or until cooked through. Microwave times may vary depending on your appliance.
-
Remove mug and invert onto plate, gently slide out cake. Let cool for 2 minutes.
Using serrated knife, carefully slice cake crosswise through center, remove top and set aside.
Put ½ of whipped topping on one cake piece, sprinkle with a few of the pistachios and chocolate chips. Add top layer of cake and add remaining whipped topping, sprinkle with remaining toppings including lemon zest, if desired.
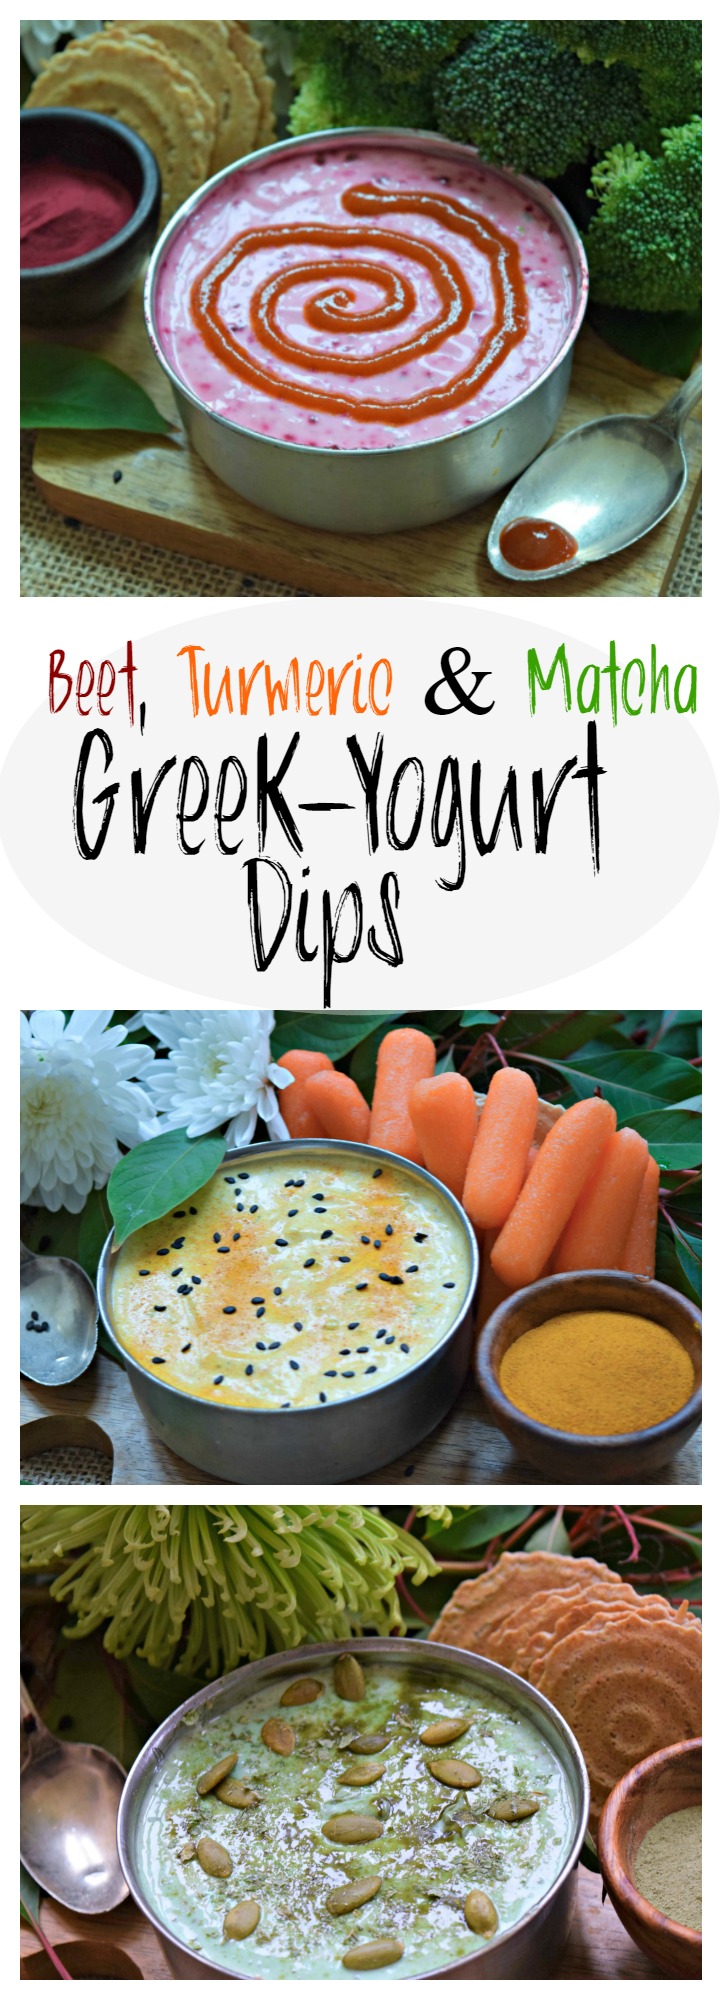
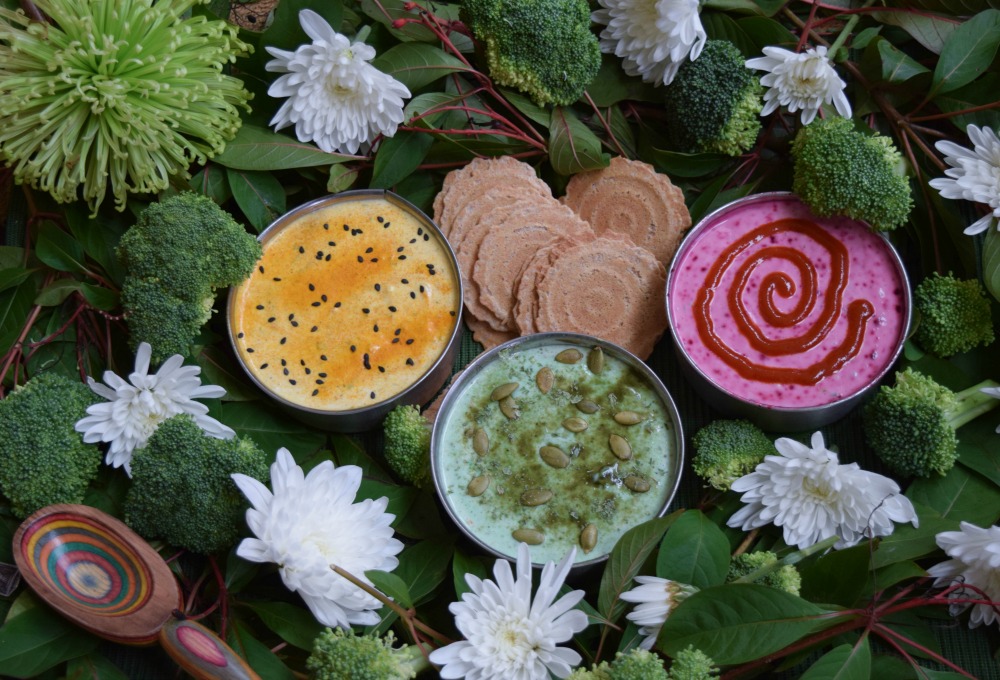 Brighten up any winter snack situation with these Vibrant Greek Yogurt Dips colorized with some of Mother Nature’s most vivid ingredients including beet powder, turmeric powder and matcha tea. No need to go all fake and freaky to create edible rainbow colors for your holiday appetizers and other fun recipes throughout the year. These natural ingredients are superfoods (typically found on the health food, spice and tea aisles) and not only pump up the pigment, but boost nutrition as well!
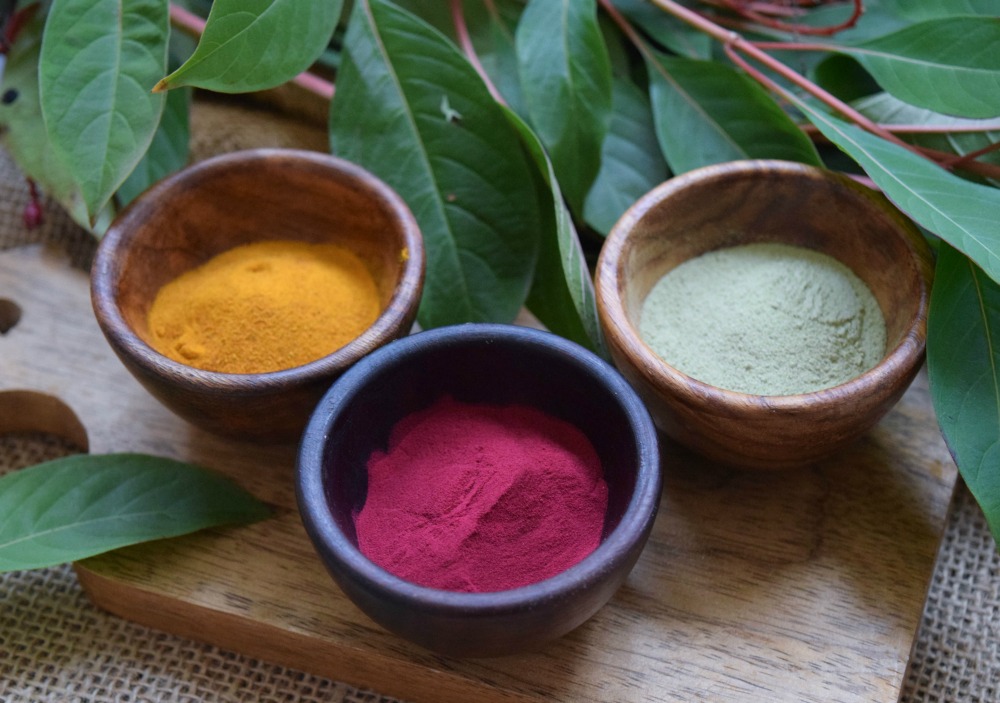 The other beauty of these three Vibrant Greek Yogurt Dips is how easy they are to make – I originally created the recipes for Litehouse Foods using first their Homestyle Ranch Dip, then later the OPAdipity Greek Yogurt Dips and finally with Greek yogurt from scratch. Using prepared dips (found in the refrigerated section of your produce department) is an “almost homemade” shortcut perfect when you need to pull together a party ASAP or at the 11th hour realize you didn’t bring a dish for the office shindig. I feel more than comfortable using the Litehouse Foods brand because they are VERY mindful to keep their products as fresh and preservative as possible.

