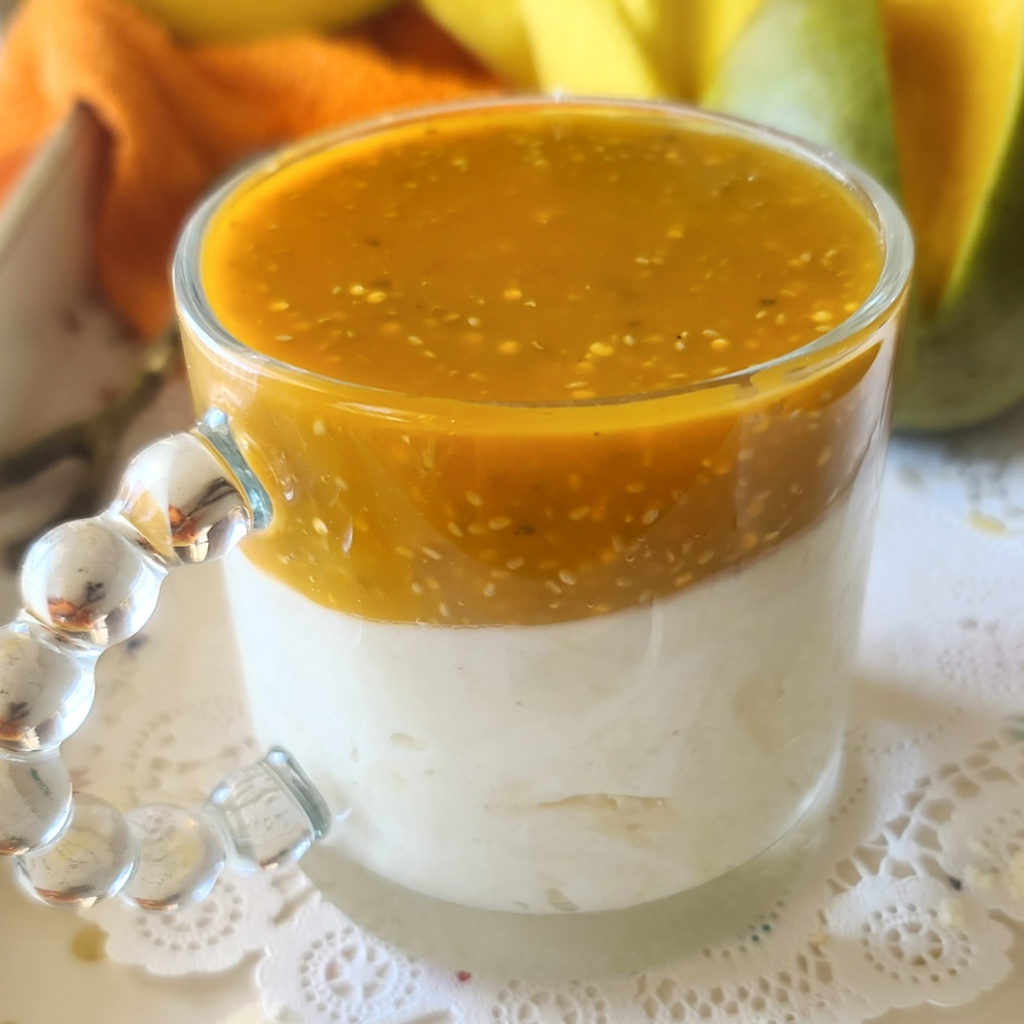
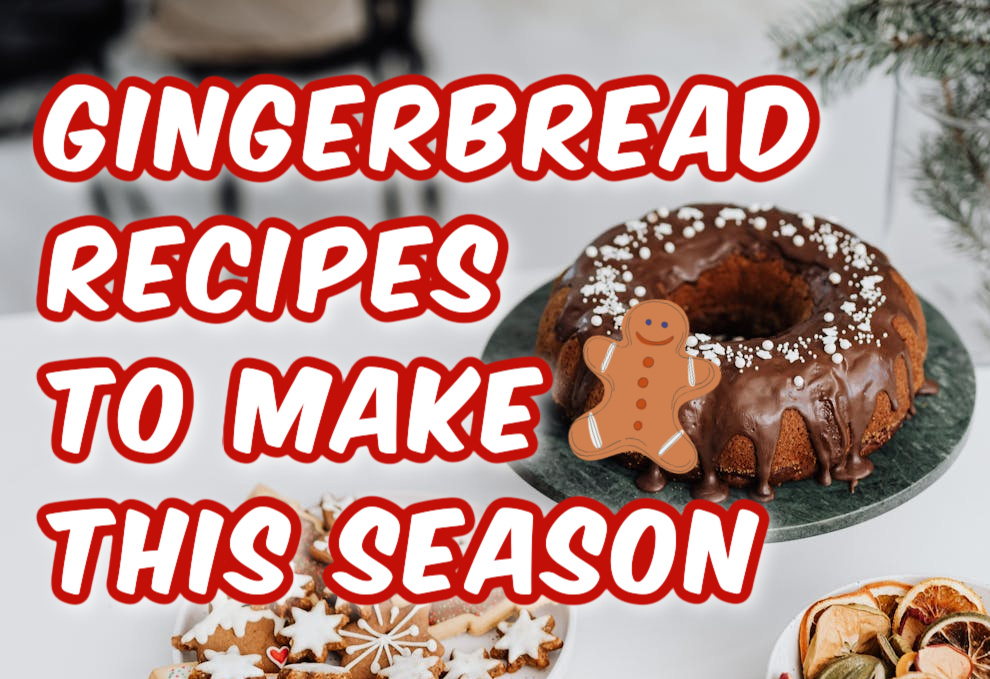
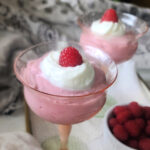
Looking for a high-protein mousse recipe that’s as easy as it is delicious? This Raspberry Cottage Cheese Mousse is the perfect no-bake raspberry dessert for Valentine’s Day or any time you crave something sweet. Made with just three simple ingredients—cottage cheese, protein powder, and fresh raspberries—with an optional splash of vanilla for extra flavor. No baking, no fuss, just blend it up and enjoy!
Why You’ll Love This Mousse
- Incredibly Simple – Three ingredients, one blender, and you’re done.
- No Cooking Required – Perfect for busy days or those who are less familiar with the kitchen!
- High in Protein, Low in Carbs – This cottage cheese mousse boasts impressive macros: 167 calories, 28g protein, and just 2g net carbs per serving.
- Ultra Creamy & Delicious – If you think you don’t like cottage cheese, just try this blended cottage cheese recipe! Whipping it up in a blender transforms the curds into a rich, smooth, and luxurious texture.
Cottage Cheese – The Secret Protein Powerhouse
Cottage cheese is one of the simplest, most affordable ways to add extra protein to your day. It’s packed with casein protein, which digests slowly and keeps you full longer. If the texture has kept you away in the past, blending it is a game-changer! It turns incredibly smooth and works perfectly in both sweet and savory dishes.
Check out some of my other popular cottage cheese-based recipes:
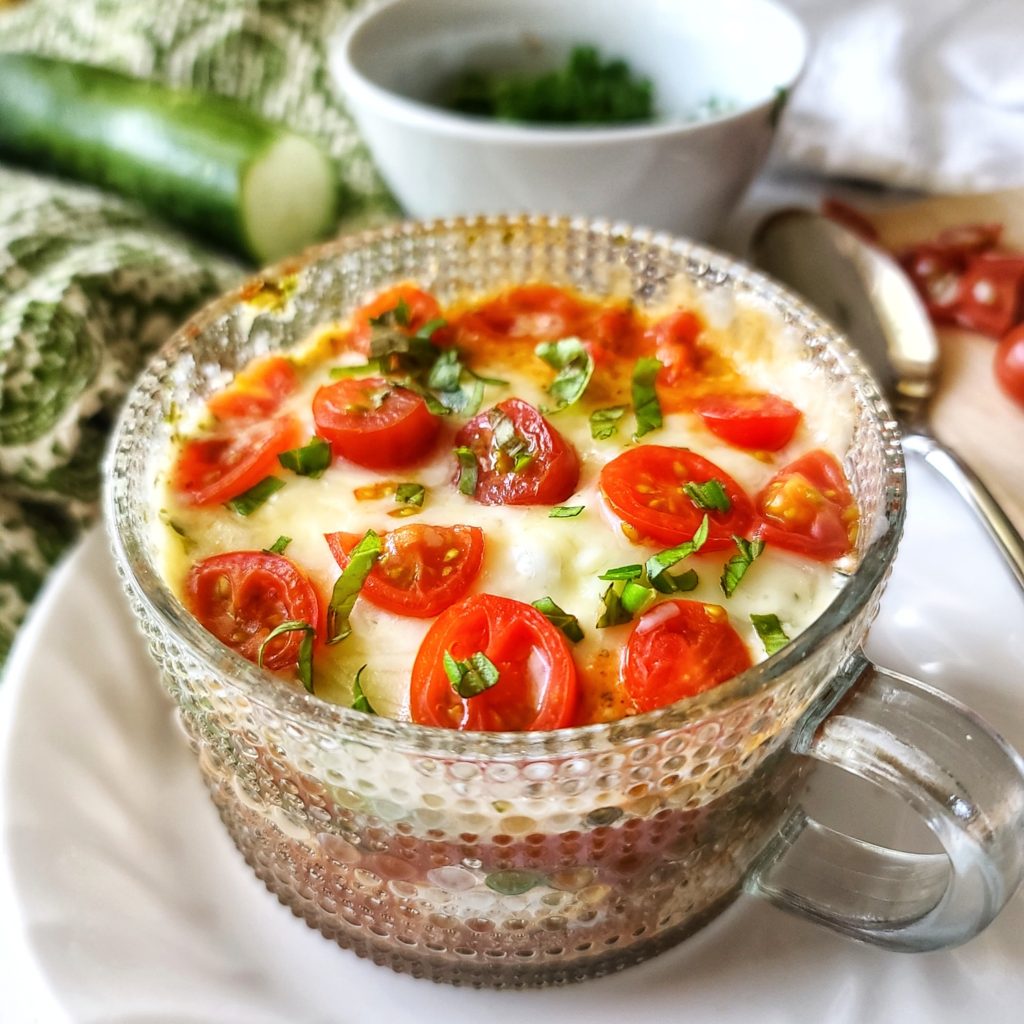
No-Noodle Veggie Mug Lasagna for One – A quick and nutritious single-serving lasagna packed with protein and veggies, perfect for a healthy meal in minutes.

High-Protein Banana Pudding with Cottage Cheese – A creamy, high-protein dessert made with cottage cheese for a healthier twist on the classic banana pudding.
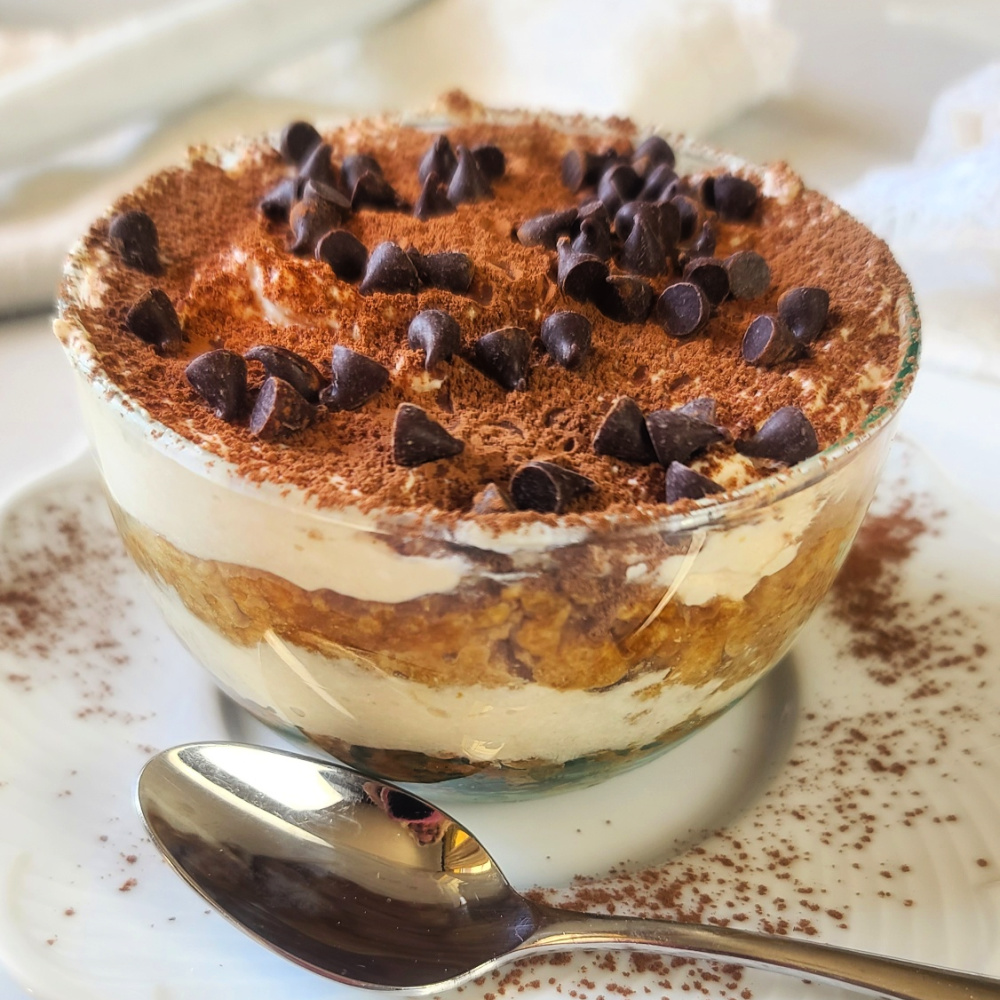
Caramel Protein Tiramisu with Rice Cake Layers – A lightened-up no-bake tiramisu featuring caramel protein, cottage cheese, and rice cakes for a satisfying treat.

For this easy high-protein dessert, I love using Nuzest Clean Lean Protein—it’s plant-based, easy to digest, and has a smooth texture that blends seamlessly into recipes. I’ve been using it for years! Want to try it? Use my discount code FITFORK for 15% off your order.
So grab your blender and give this raspberry protein mousse a try! It’s a healthy Valentine’s Day treat that loves you back with every bite.

- 1 cups 2% milk fat cottage cheese
- 2/3 cup fresh raspberries
- ½ teaspoon vanilla extract
- 1/3 cup vanilla whey protein powder or can use cake batter or similar flavor
- Optional garnish: Fresh raspberries and whipped cream
- Optional garnish: Fresh raspberries and whipped cream
-
In a blender or food processor, combine cottage cheese, raspberries, protein powder and vanilla extract.
-
Blend until smooth and creamy. Spoon the mousse into two serving glasses.
-
Chill in the refrigerator for 30 minutes before serving. Garnish as desired.