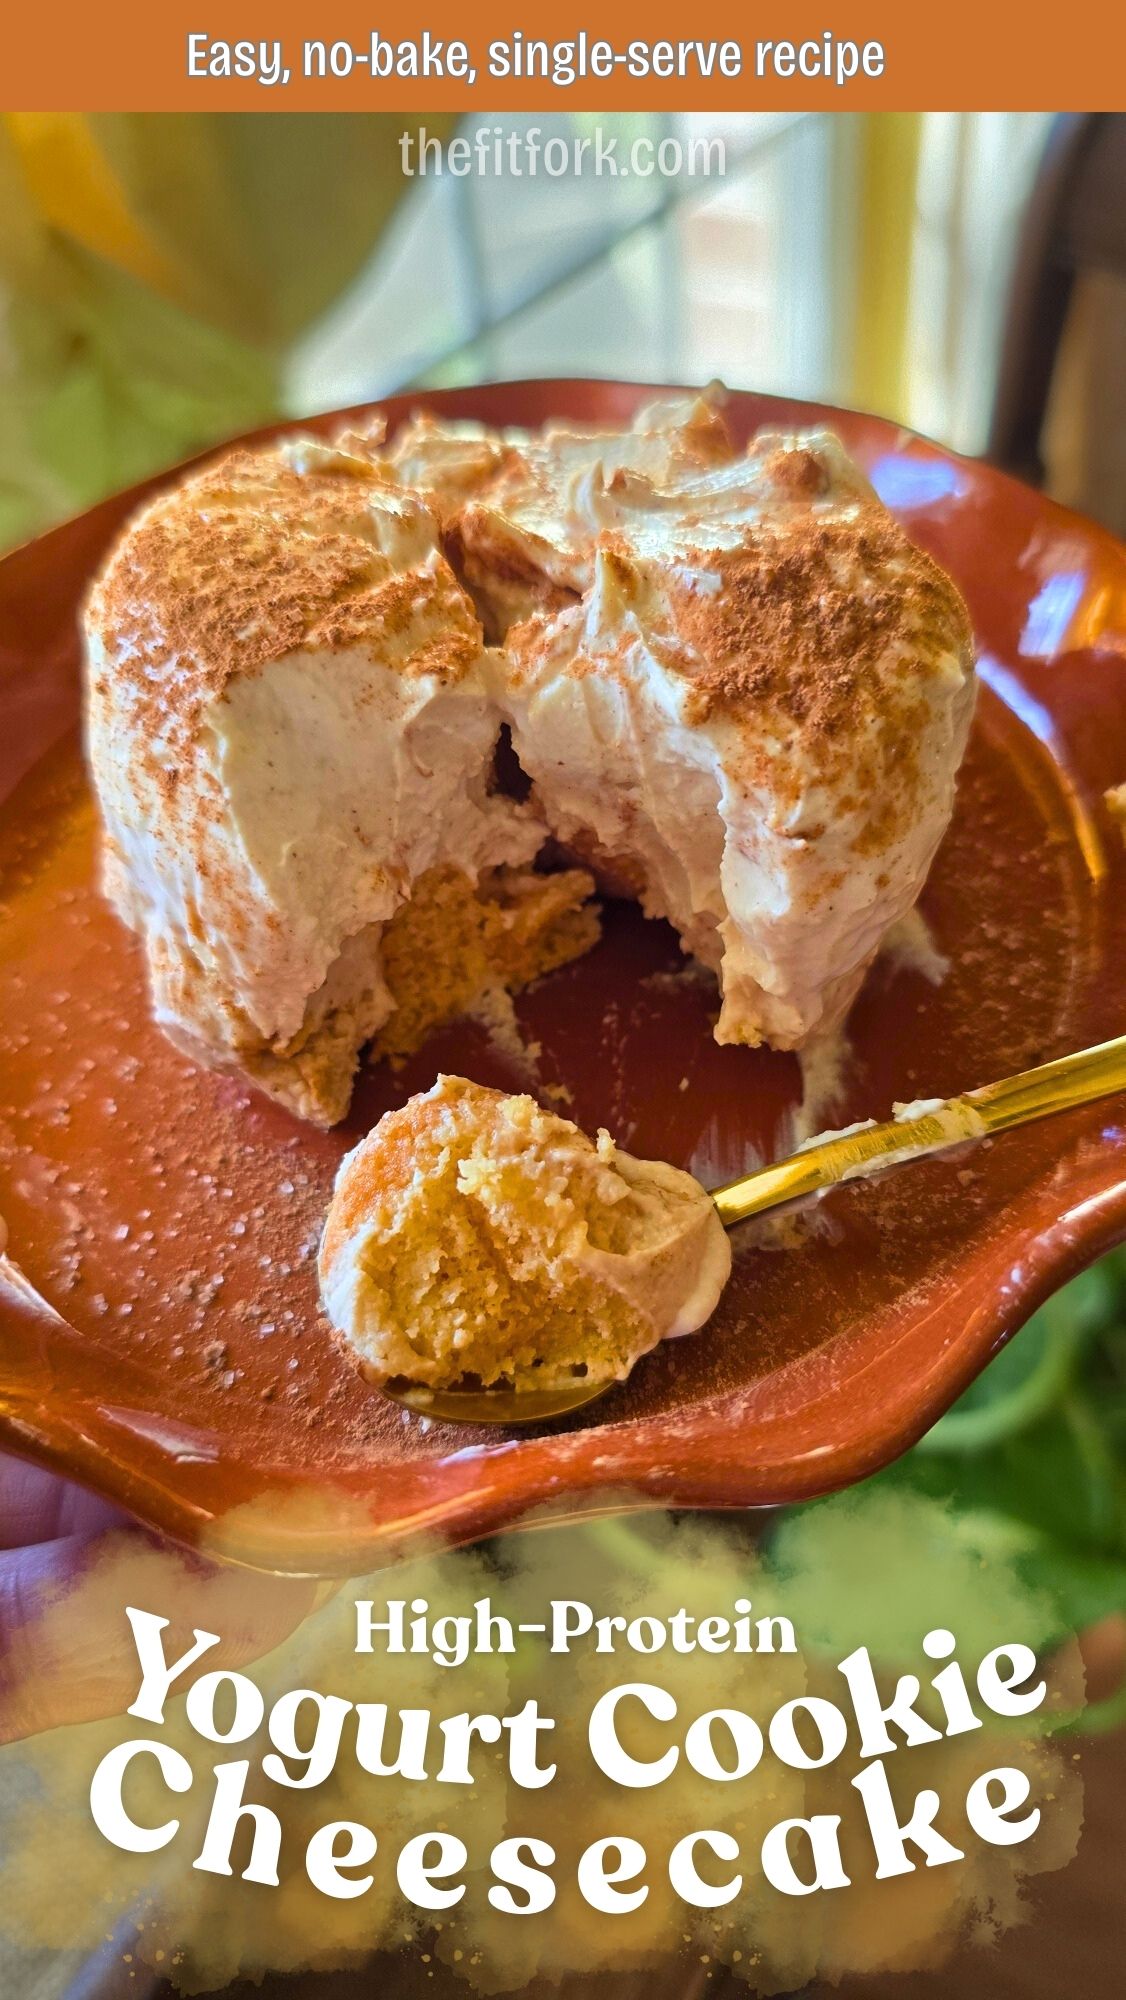
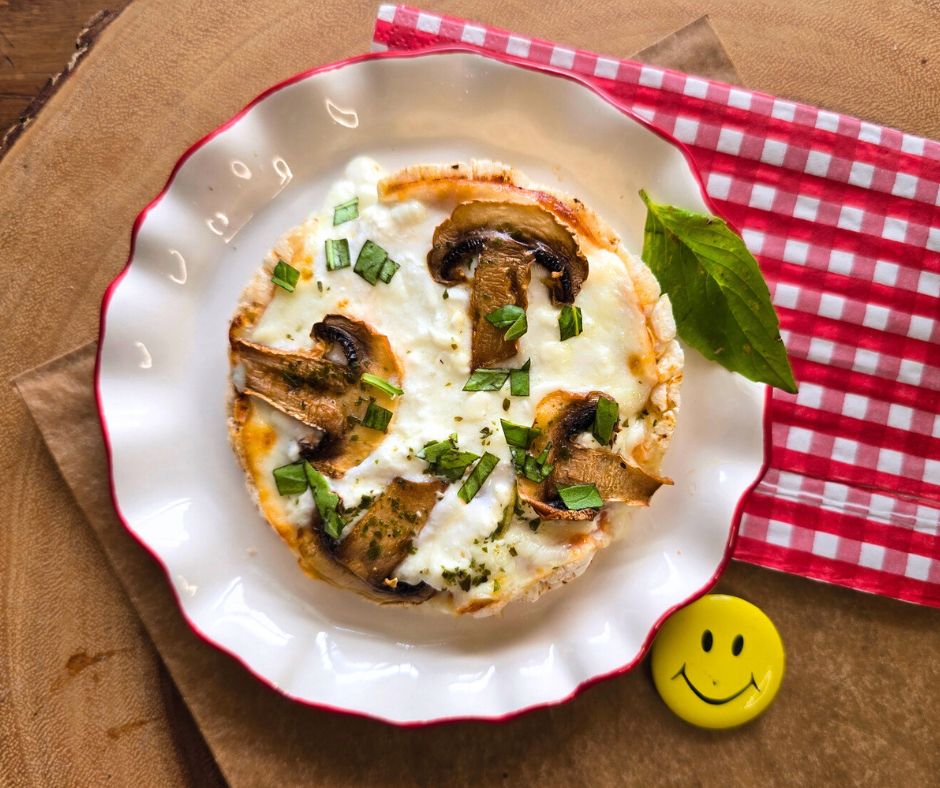
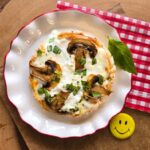
If you’re craving something savory, cheesy, and satisfying — but still want to keep things healthy — this Mushroom Rice Cake Pizza is about to become your new go-to snack.
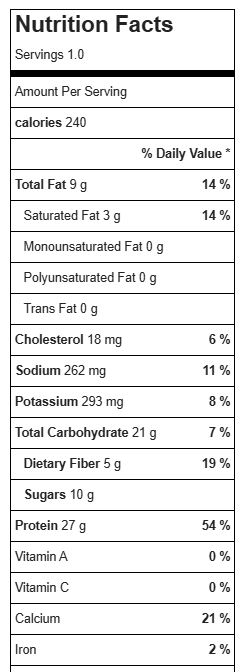
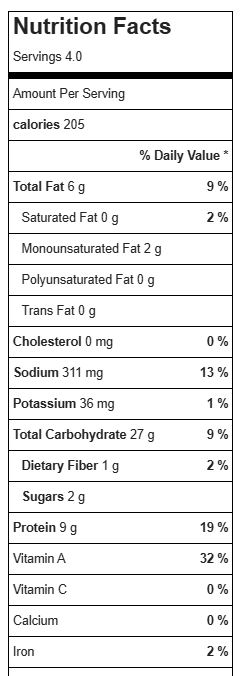
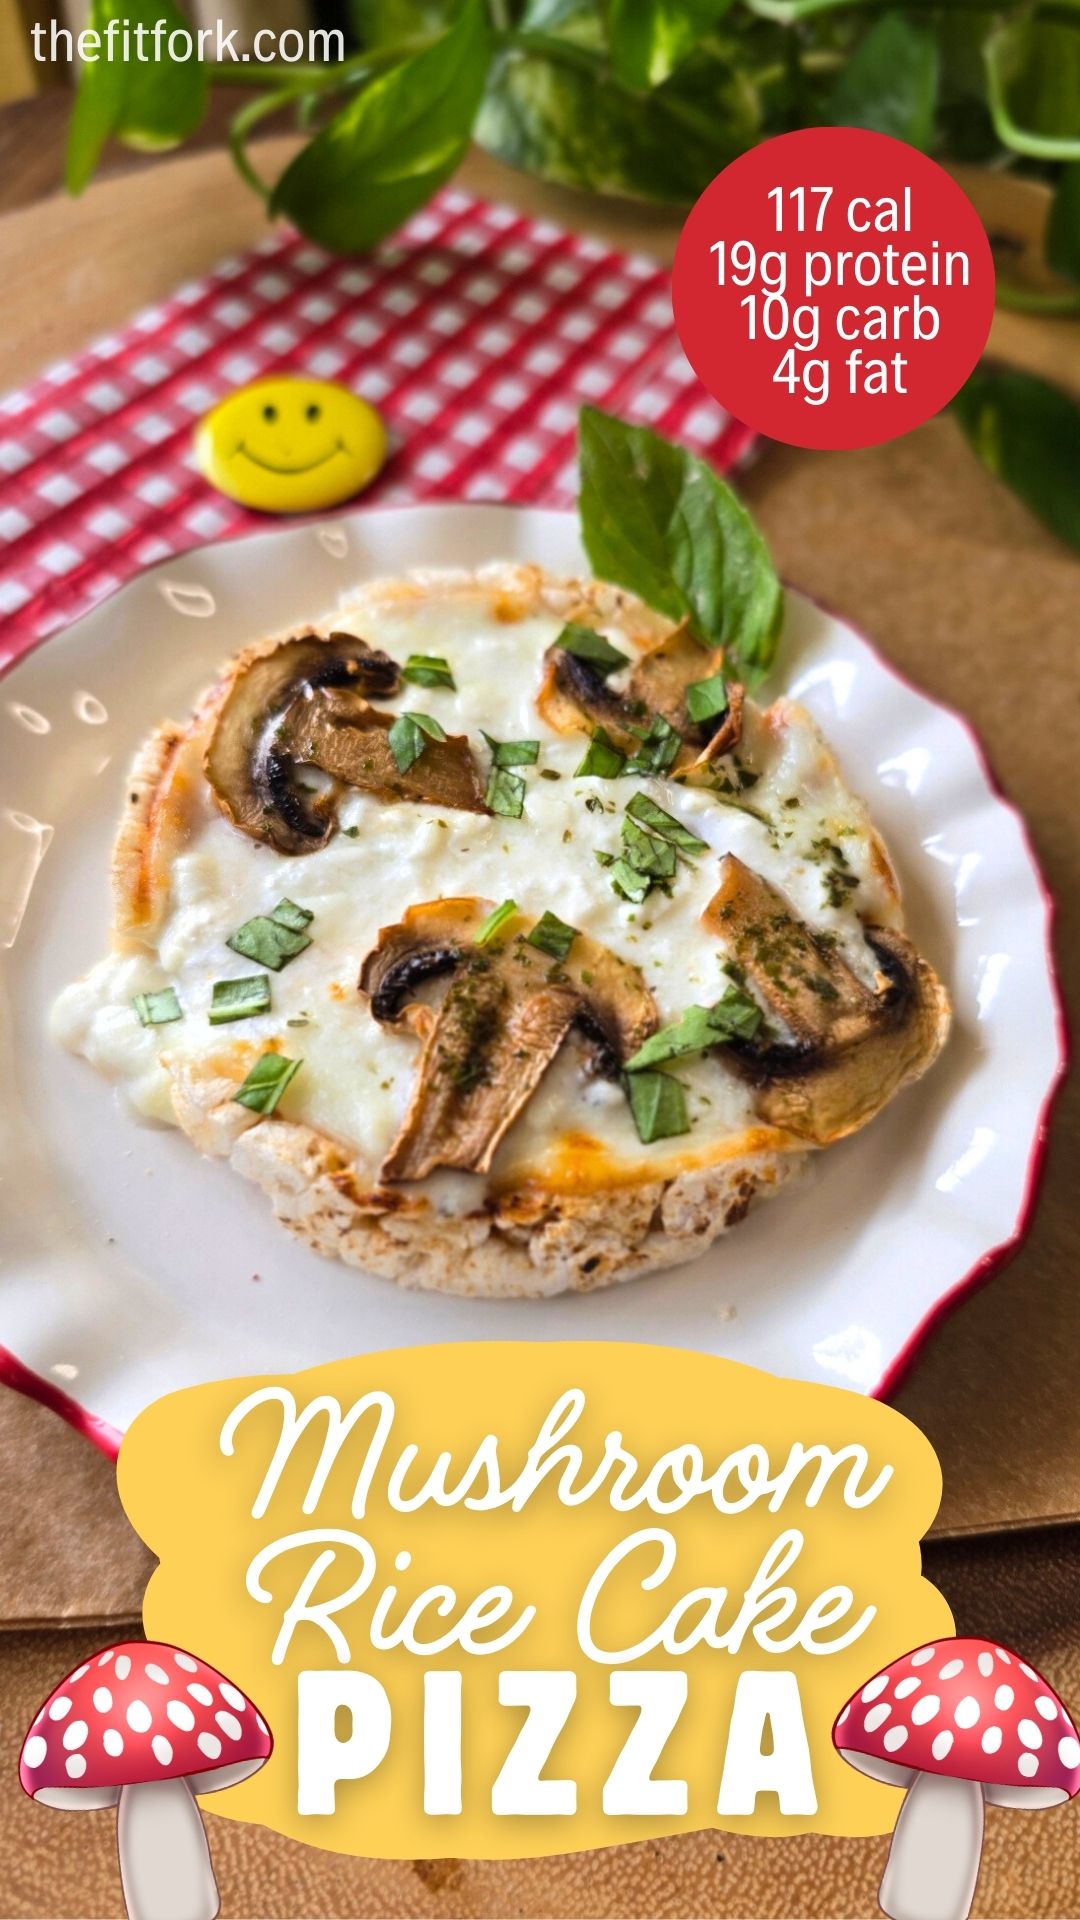
Made in the air fryer in just minutes, this mini “pizza” delivers big flavor with minimal effort. With 10 grams of protein and only 117 calories, it’s perfect for those in-between meals when hunger hits but dinner is still a way off.
Whether you’re fueling a workout, managing busy days, or simply trying to snack smarter, this recipe fits seamlessly into a balanced lifestyle.
Why You’ll Love This Mushroom Rice Cake Pizza
Unlike many “healthy” snacks that leave you wanting more, this creative mini pizza delivers real satisfaction and combines convenience, nutrition, and comfort food flavor:
- Ready in under 10 minutes
- High-protein and low-calorie
- Budget-friendly ingredients
- No complicated prep
- Crispy, cheesy, and filling
- Perfect for meal prep or quick snacks

High-Protein Secret: Cottage Cheese
In addition to the rice cake, the other secret ingredient in this recipe is 2% cottage cheese. This simple swap helps turn a basic snack into a protein-packed mini meal.
When drained and layered onto the rice cake, it warms to create a creamy texture while boosting protein. It blends seamlessly into the pizza, adding nutrition without affecting flavor. To keep the rice cake from getting soggy, make sure that you have drained off as much liquid as possible from cottage cheese and are layering on TOP of the provolone slice, not under it.
Easy Recipe Variations
Customize this rice cake pizza with your favorite flavors to keep things fresh and exciting.
Extra Cheese: Add a second slice of provolone, mozzarella or parmesan for a richer bite.
Spicy Version: Top with red pepper flakes or chili oil.
Meat Lover: Add turkey pepperoni or lean ham. Ground beef crumbles are delicious too.
Veggie Boost: Try chopped spinach, bell peppers, or zucchini.
Pesto Style: Replace tomato sauce with pesto.
When to Eat This High-Protein Snack
Mushroom Rice Cake Pizza is quick enough for busy schedules and satisfying enough to feel indulgent. Ideal for:
- Afternoon slumps
- Post-workout recovery
- Late-night cravings
- Light lunches
- On-the-go days
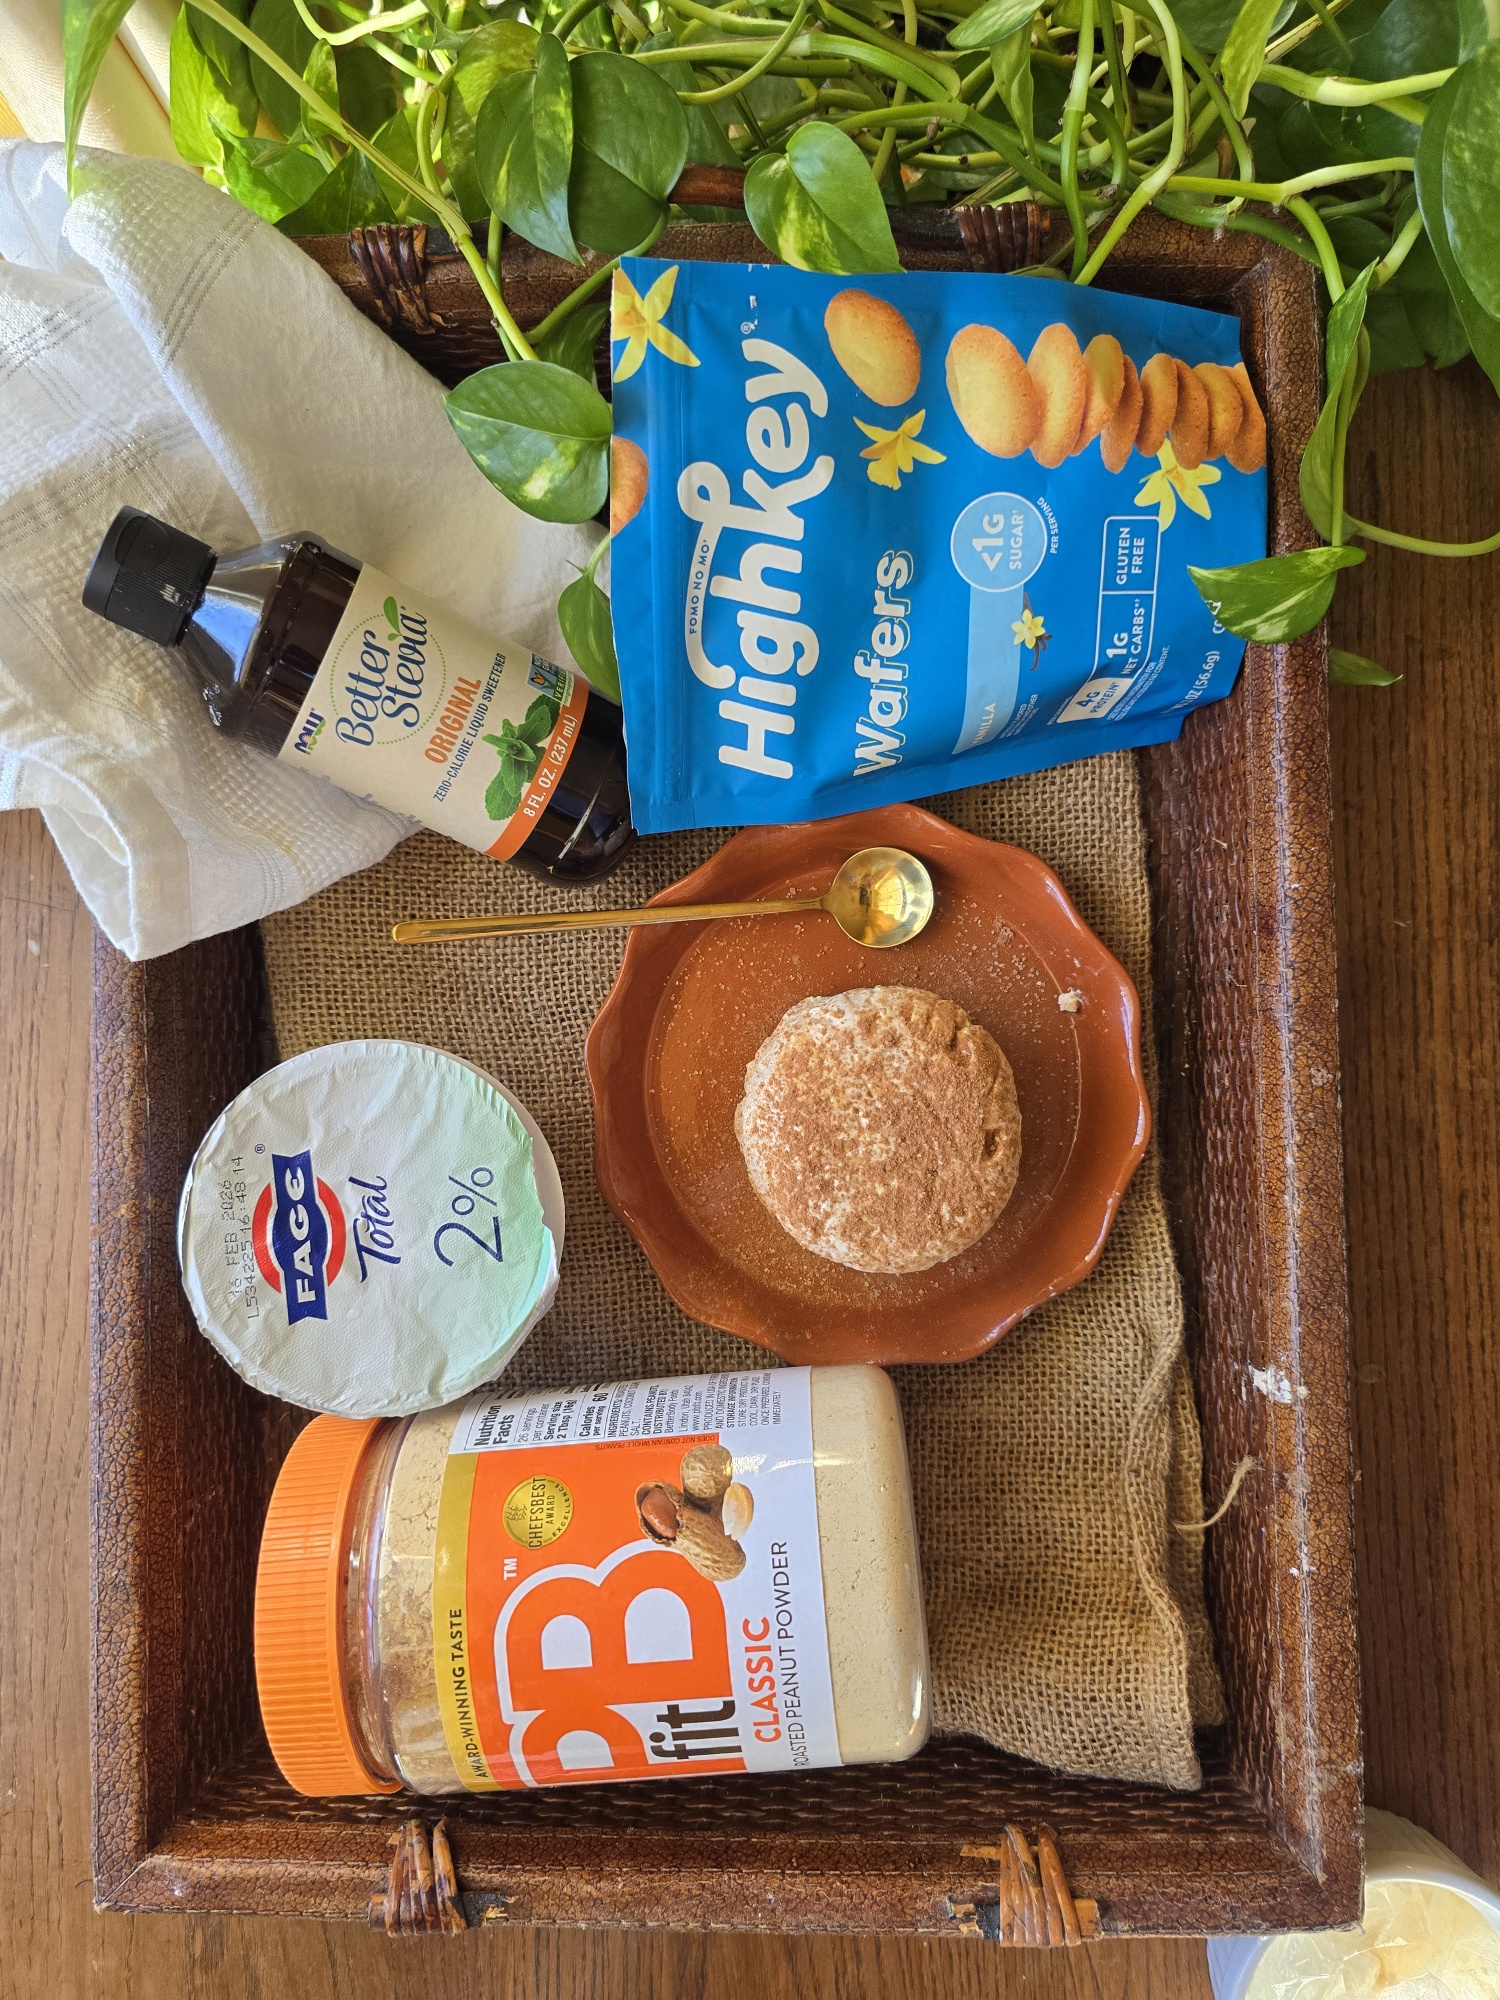
- 1 plain rice cake
- 1 tbsp tomato-based pasta sauce
- 1 ultra-thin slice provolone cheese
- 3 tbsp 2% cottage cheese drain off the excess moisture
- 1 white mushroom sliced
- pinch Italian seasoning
-
Pre-heat air fryer to 380F. Spread pasta sauce on rice cake, top with cheese slice. Add drained cottage cheese on top of this evenly. Top with sliced mushrooms, sprinkle with Italian seasoning and air fry for 4-5 minutes, or until cheese bubbling / browning some at edges and mushrooms are softened.
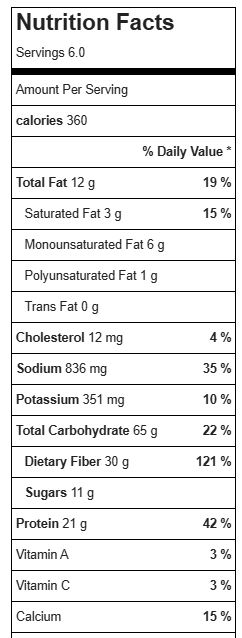
117 cal, 10g carb, 4g fat, 10g protein