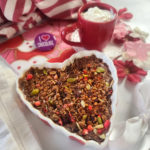
This easy-to-make chocolate nut butter candy will have your heart at first bite! It’s a small batch dessert recipe, but there is plenty to share with your sweetheart (or not)! And, only three ingredients! Visit the 15-sec video HERE!
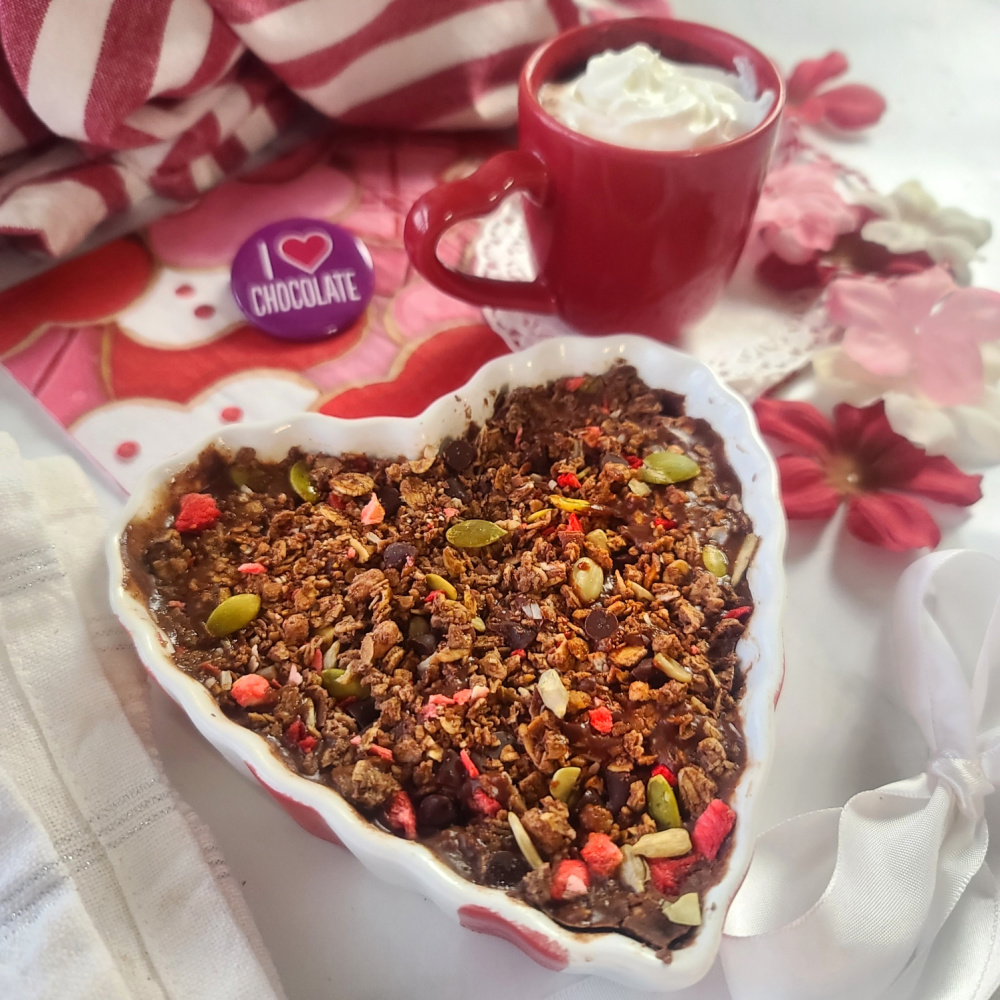
Rich, creamy, and studded with your favorite granola (use plain packaged granola, a fancy granola with all the fixings, or your special homemade granola recipe).
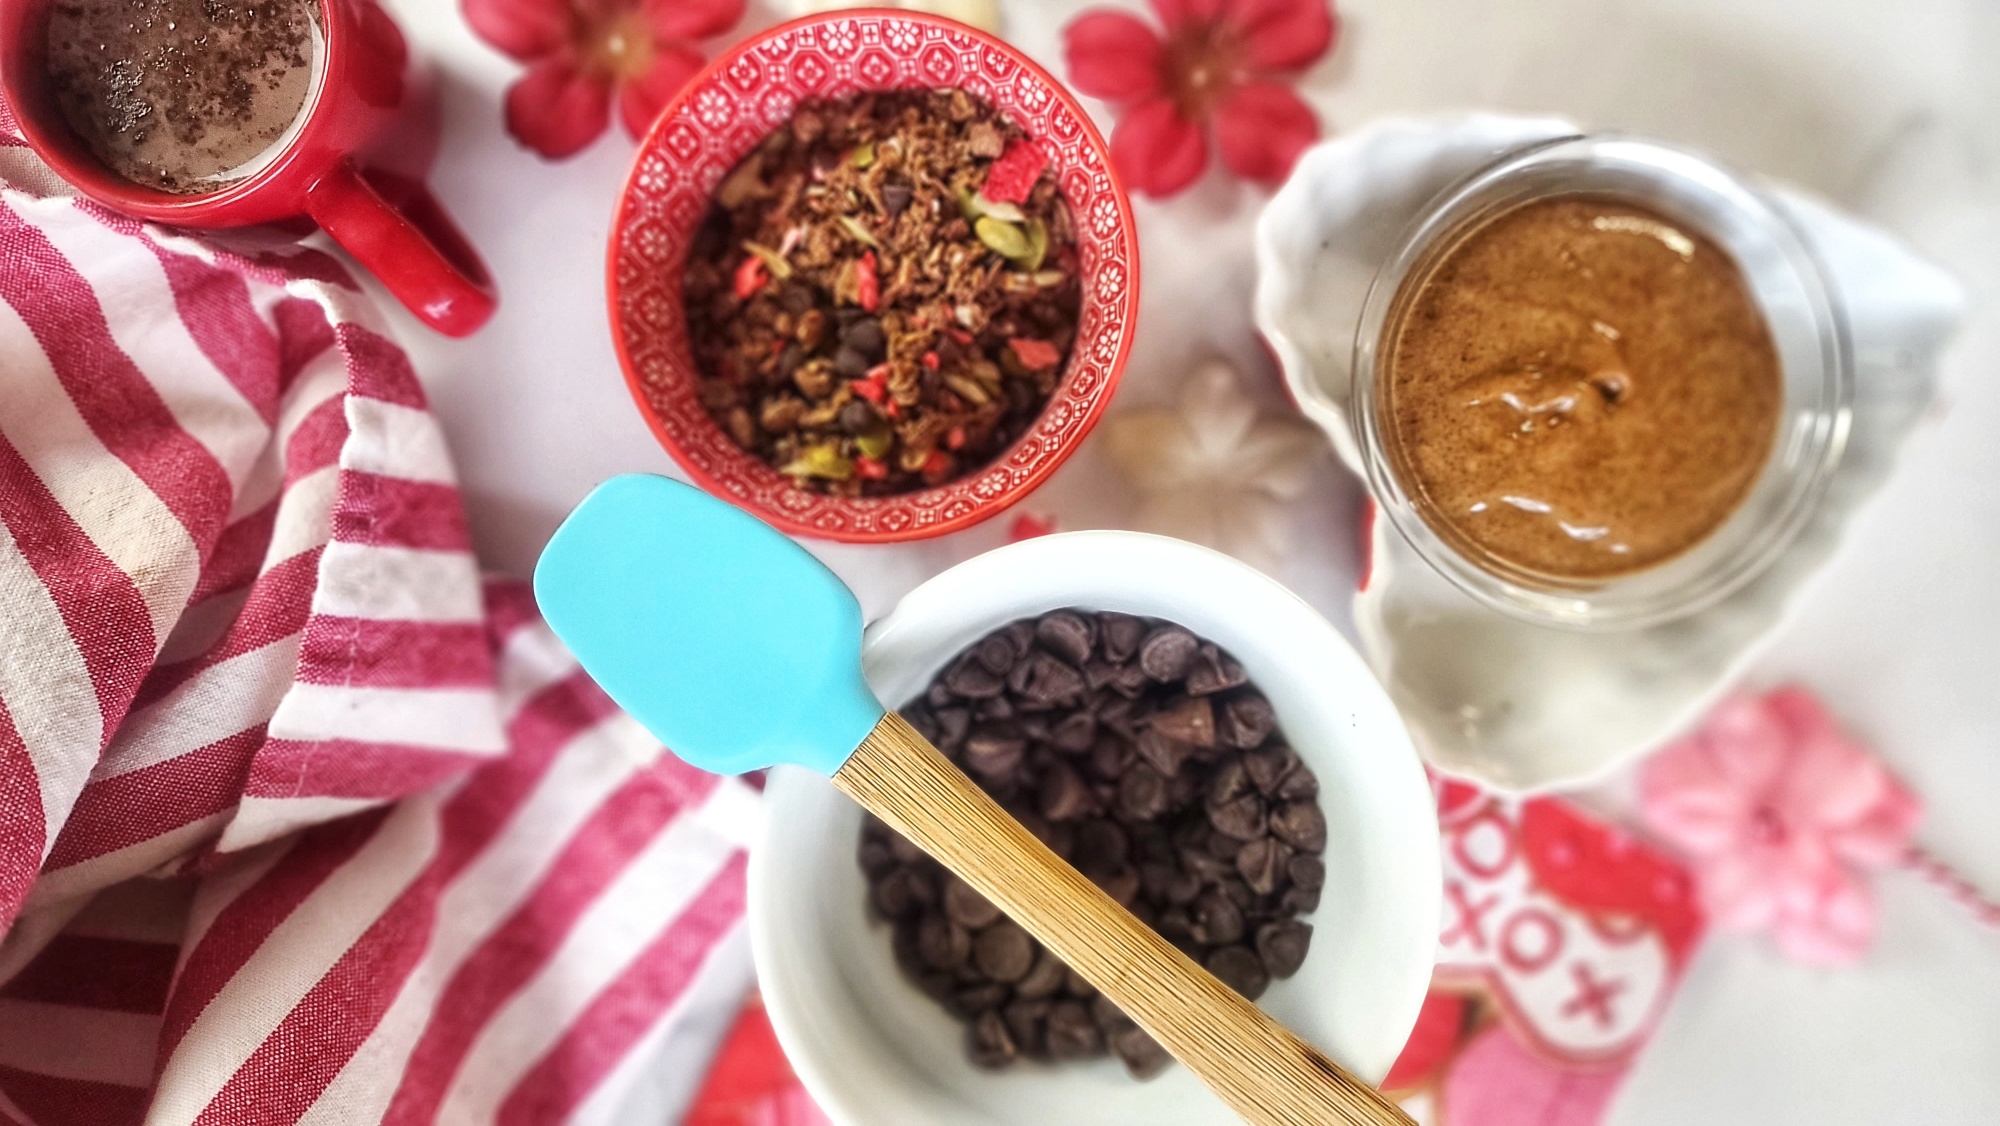
Basically, a no-bake dessert (except melting chocolate chips in the microwave for about 1 minute), you’ll find this is a quick, easy, and uncomplicated way to soothe a chocolate-lover’s sweet tooth. Plus, you may already have all the ingredients in your pantry!

This small-batch recipe is featured in my newest book, Cooking for One for Dummies (which can be pre-ordered NOW, and releases March 8, 2023).
In the cookbook, I show the Granola Chocolate Bar spread out thinly, using a silicone sheet or parchment-lined loaf pan or free-form on a lined cookie sheet.
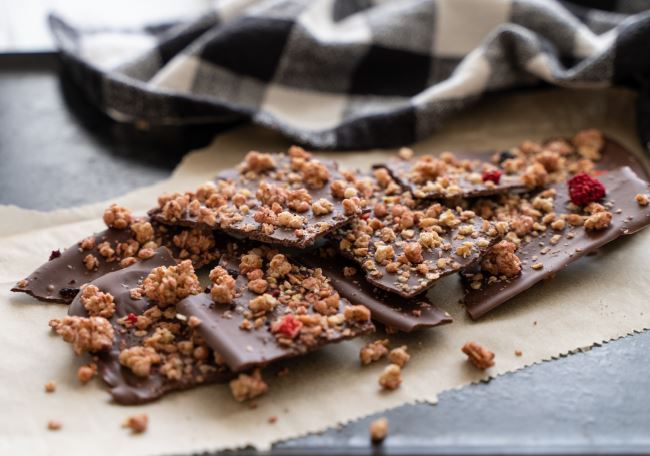
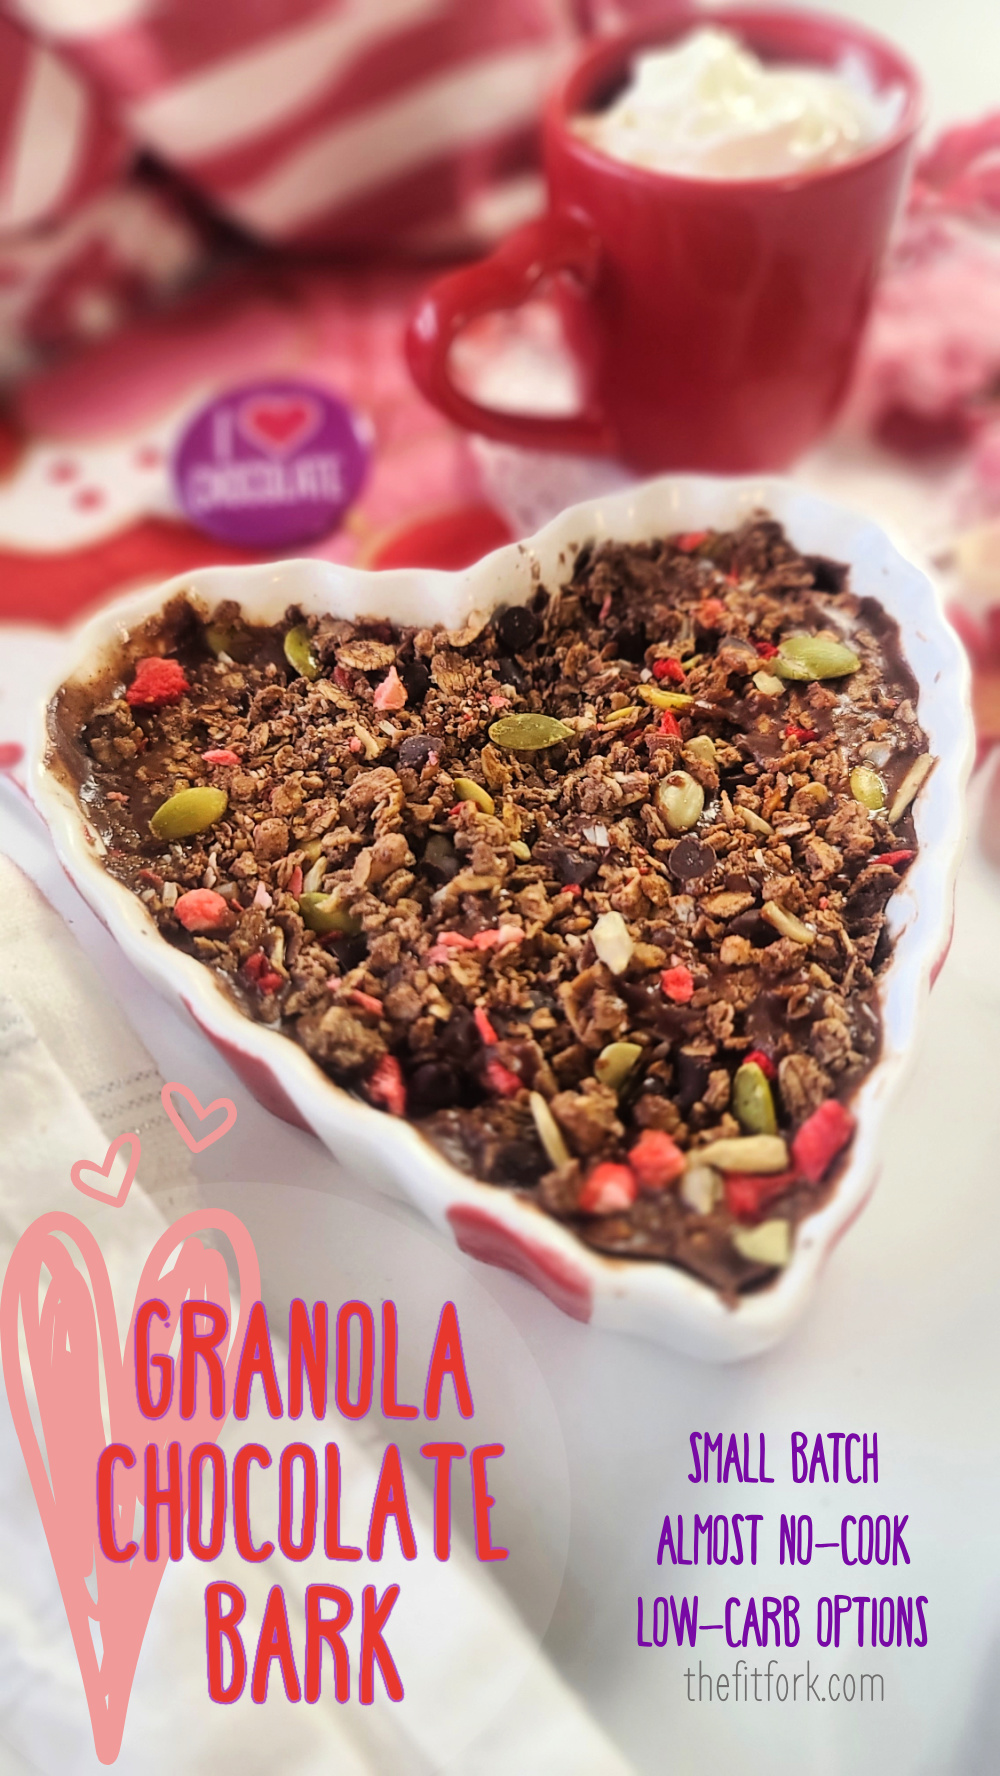
Today, for a Valentine’s treat, I thought it would be cute to do in a heart-shaped ramekin! This creates a “thicker” result. If going this route, use an approximate 10-oz Crème Brulé-style ramekin or two smaller 6-oz low-side ramekins. I’m kinda a ramekin collector freak, they are so fun and can be used for lots of smaller-scale recipes for one or two; using to hold prepped ingredients while making a recipe; for holding your everyday snacks for portion control.
Approximate macros for sugar-free chip version (will vary some based on nut butter and granola choices): 191 calories, 13g fat, 14g net carb, 3g protein
Pin this for later!
PRO TIPS FOR GRANOLA CHOCOLATE BARK
Tip 1: There is so much flexibility, you can mix and match ingredients to suit your dietary preferences (for example there are lots of swaps if looking for low carb dessert ideas):
Chocolate: I used sugar-free dark chocolate chips, but feel free to substitute traditional chocolate chips. Also, try milk chocolate, white chocolate, cinnamon chip and all the other flavors out there!
Nut Butter: The only real requirement is to use a natural-style nut butter and NOT the solid kind with hydrogenated fats and sugars. I used a cinnamon-flavored almond butter in my recipe today, but peanut butter, walnut butter, cashew butter, protein-boosted nut butters and most all types of blends will work!
Granola: For convenience, use packaged granola from your favorite brand. Of course, homemade granola is excellent too! If you don’t want to use granola, swap in an equal portion of things like coconut shreds, toasted chopped nuts, dehydrated or freeze-dried fruit pieces, little candies of choice, etc.
Tip 2: For less mess making granola bark, it’s highly recommended to oil the ramekin or, if using a baking sheet, use parchment paper or a silicone matt. You can also make in silicone candy molds, but I haven’t personally experiment with that.
Tip 3: Don’t skip the sticking in freezer step to firm up the chocolate bark before eating. Store leftovers in fridge.
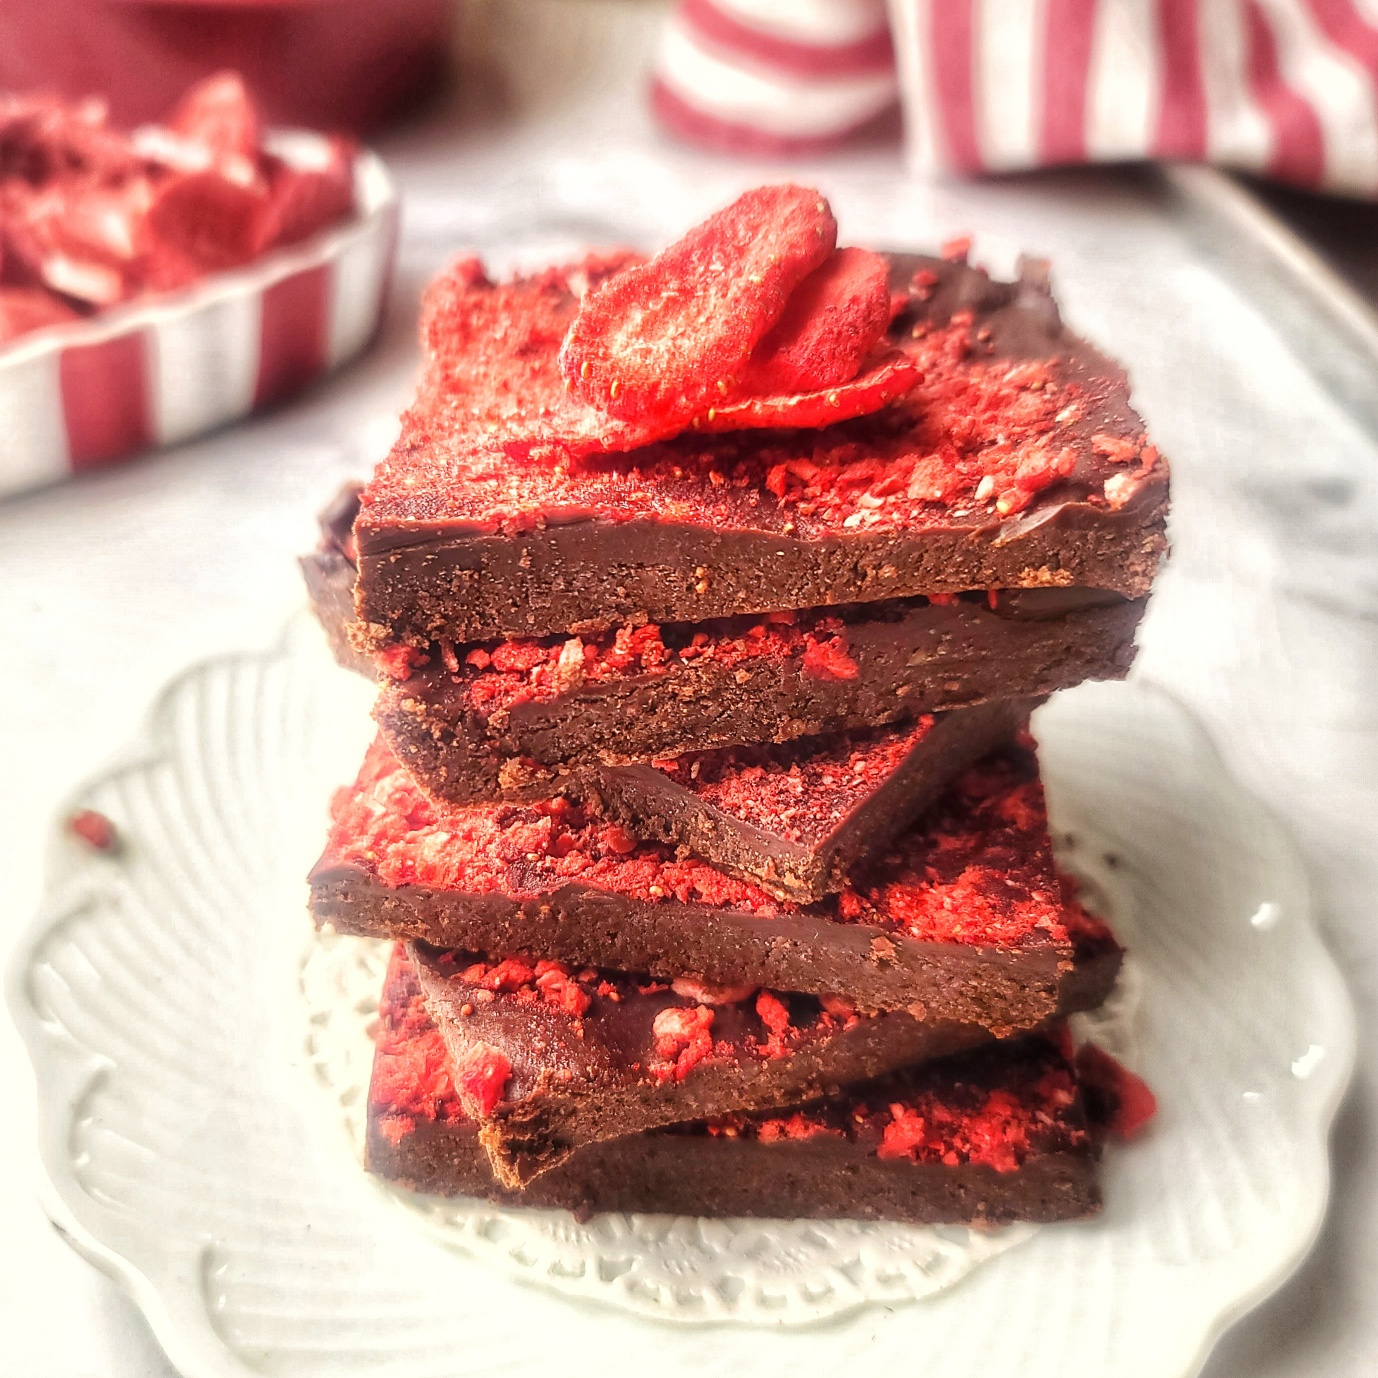
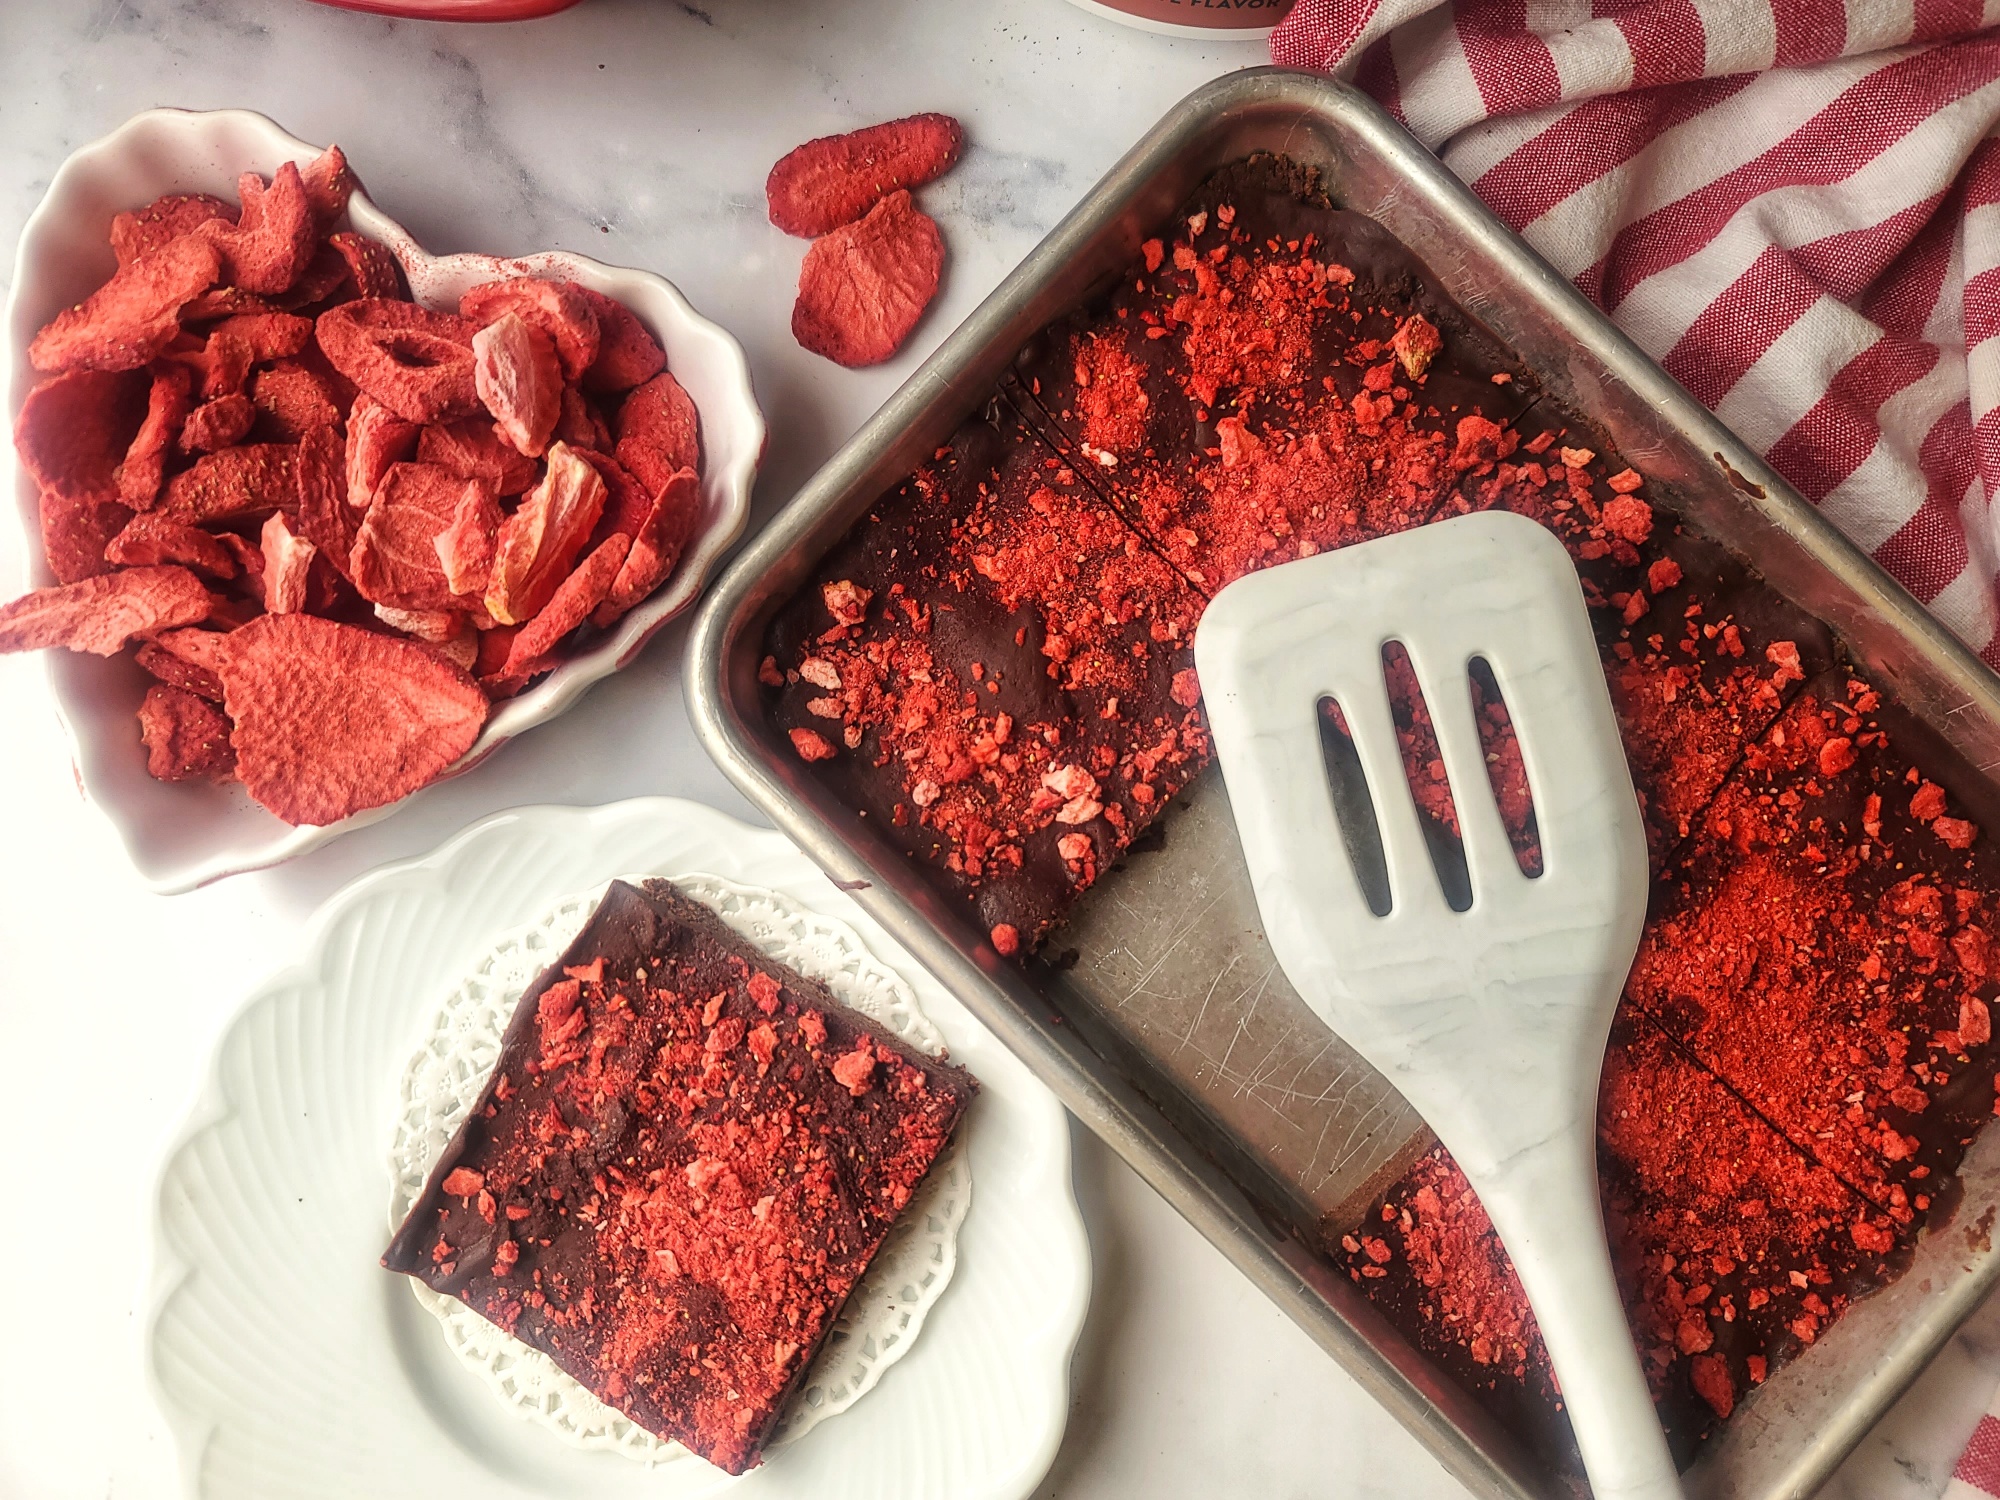
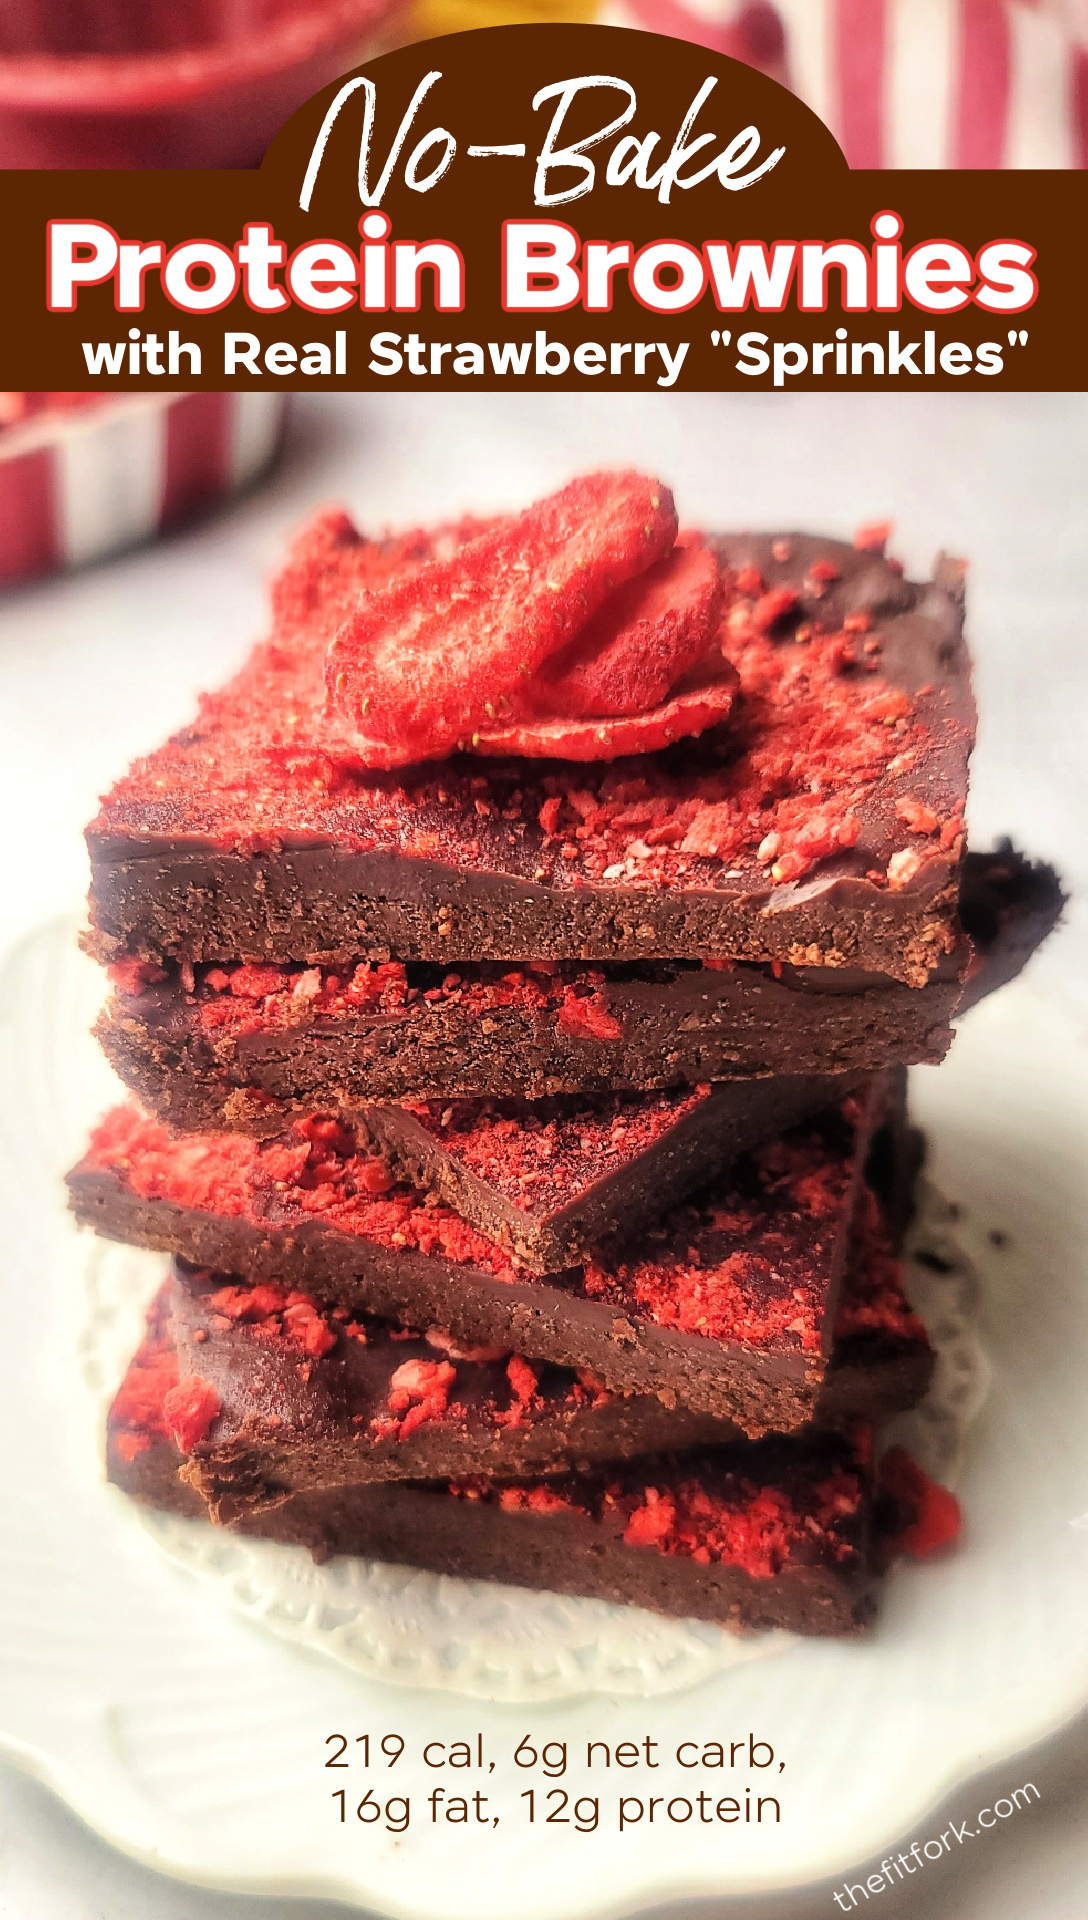
Satisfy your sweet tooth in a lower-carb and protein-boosted way with this easy recipe for No-Bake Protein Brownies with Real Strawberry “Sprinkles.”
It’s a seemingly decadent strawberry chocolate brownie is actually a homemade brownie protein bar that is low in sugar and higher in protein. Macros for each generous slice of this homemade protein brownie: 219 calorie, 16g fat, 14g carb (6g net carb), 8g dietary fiber, 12g protein.
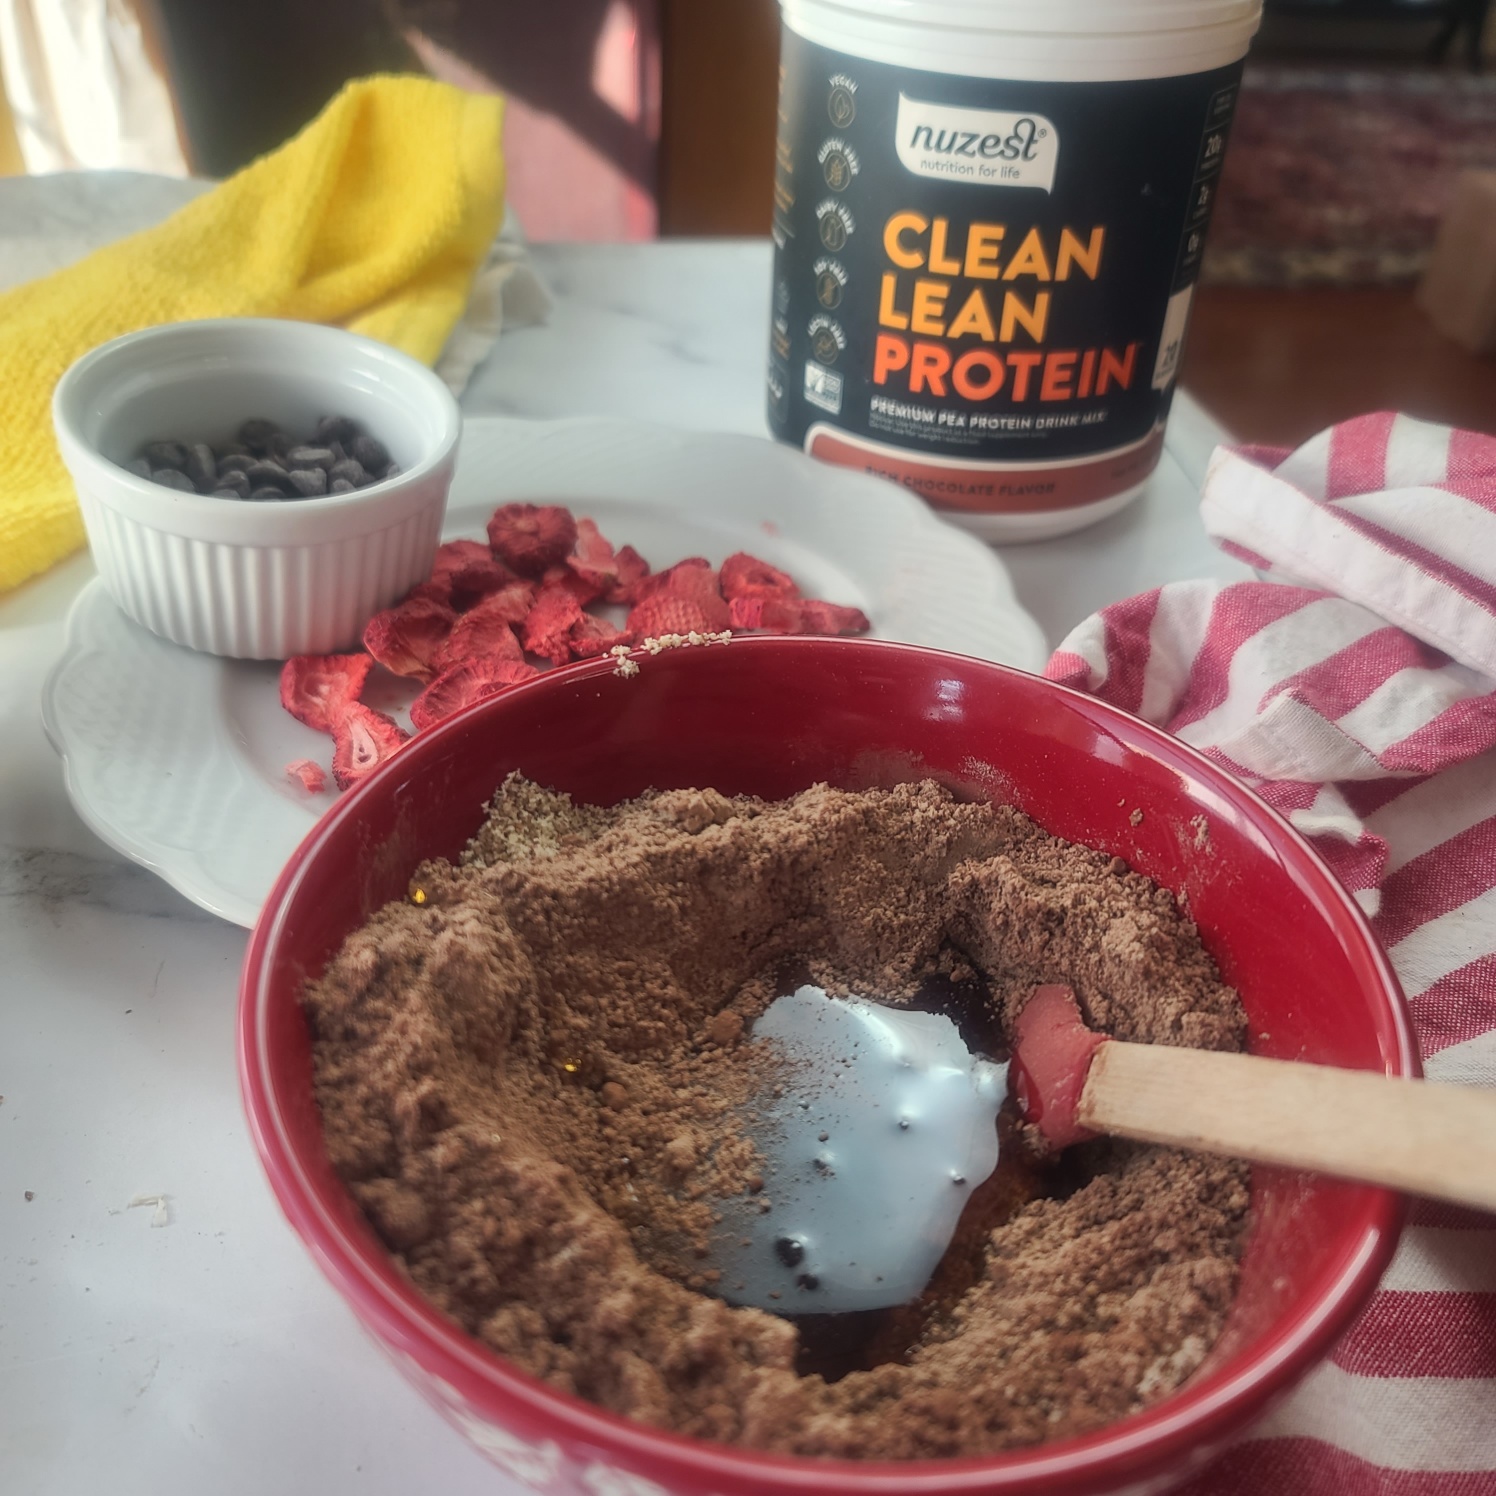
Almond meal, unsweetened cocoa powder, and protein powder make the low-carb, protein-rich base that is held together by sugar-free syrup (or the sticky sweetener of your choice like real maple syrup or honey). There is no need to bake this homemade protein brownie, you simply press into the pan (I used a 1/8th sheet pan size with dimensions of about 9” x 6” – you can also use an 8”-diameter cake pan).
I came up with this chocolate protein powder recipe idea at the beginning of the year, as I was clearing out all our holiday treats but still craving a healthy sweet treat – I’m a chocolate lover for sure! You can use most any variety of chocolate protein powder (for example whey or plant-based).
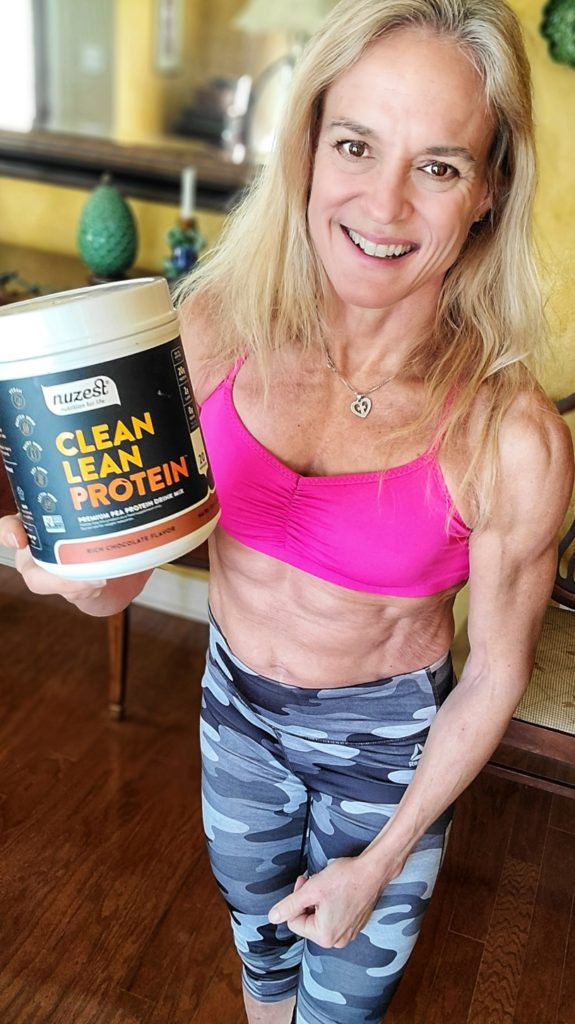
I use Clean Lean Protein in Rich Chocolate flavor, a plant protein powder from Nuzest that is easy to digest, has a great texture, and can work with most types of diets including keto, gluten-free, paleo and more.
Here’s a don’t-miss-deal: you can always save 15% at Nuzest HERE with my code FITFORK
What makes this fudgy protein brownie extra special is the rich chocolate ganache topping. Making a ganache (a shiny thin layer of chocolate icing) seems so fancy and like you need major chocolatier skills – but it’s easy. The standard ganache formula is 2:1 chocolate to heavy cream. So, for a heaping ¼ cup chocolate chips, that would be 2 tablespoons of cream. It’s as easy as putting both in a microwave safe small bowl and heating at 70% power for about 1 minute, and stirring quickly afterward until smooth and glossy (return to microwave in 15 second increments if not melted thoroughly).
And, the strawberries on top! I’m calling them sprinkles – I took freeze-dried strawberries and coarsely crushed them before sprinkling on top of the still-warm ganache. You could substitute any other type of freeze-dried fruit, or swap out for nuts, seeds, and/or coconut.
These no-bake protein brownies should be placed in the fridge for 30 minutes to set up before slicing. Store any leftovers in the fridge too, for up to 1 week. ENJOY!
No-Bake Chocolate Protein Brownies with Real Strawberry “Sprinkles”
Course:
Dessert, Snack
Keyword:
brownies, chocolate, fudge, protein powder
Servings: 6servings
Calories: 219kcal
Ingredients
1cupalmond meal
¼cupunsweetened cocoa powder
½cupchocolate protein powder
¼cupsugar-free maple syrupor can sub real syrup, just more carbs
3 to 4tbspwater
Topping
2ouncessugar free chocolate chipsabout heaping ¼ cup
2tbspheavy cream
½ to 1/3cupfreeze-dried strawberries*or other freeze dried fruit (or nuts, seeds and coconut for a swap)
Instructions
In bowl, mix together almond meal, cocoa powder and protein powder. Add syrup and 3 tablespoons of water. Stir until combined and making a cohesive dough. If too crumbly (like because of super thick syrup, mix in the additional 1 tbsp water).
Press dough into approximate 9” x 6” rimmed pan. In ramekin, add chocolate chips and cream. Microwave for 1 minute on High. Stir until smooth and spread over top of protein mixture. Place freeze-dried strawberries in plastic bag and crush with bottom of cup or rolling pin until coarsely powdered. Sprinkle of chocolate topping. Set in fridge for 30 minutes before cutting into 6 squares.
Store leftovers in air-tight container in fridge for up to 7 days
Happy 2023! A new year is a great reminder that watermelon can be incorporated into a fit and active lifestyle year-round! I’m sharing some fun ways to use watermelon to fuel workouts and even be part of your fitness routine during every month this year. Let’s get watermelon fit in 2023!
You might be wondering, “Is watermelon only a summer fruit?” No! The good news is that these days, a ripe watermelon is always nearby in any season – spring, summer, winter and fall. More than 30 states in the U.S. boast watermelon crops and the harvest timing starts on the East coast and rolls westward. When the U.S. season is finally over (it’s very long here in Texas, lucky me!), farmers in Mexico and other parts south of the border can deliver fresh watermelon plucked just a few days from the field. Also available markets are watermelon juice, watermelon seeds, and even frozen chunked watermelon flesh can be found in most stores on the freezer aisle. Read more about the Watermelon Year ‘Round story HERE!
WINTER WATERMELON FIT TIPS
Finding Watermelon in Winter: If your market doesn’t have fresh watermelon, check the freezer aisle for chunks (usually next to the frozen berries), or packaged watermelon seeds, or watermelon juice. If you have the planning gene, you can also meal prep all this watermelon goodness for the freezer when it is more abundant.
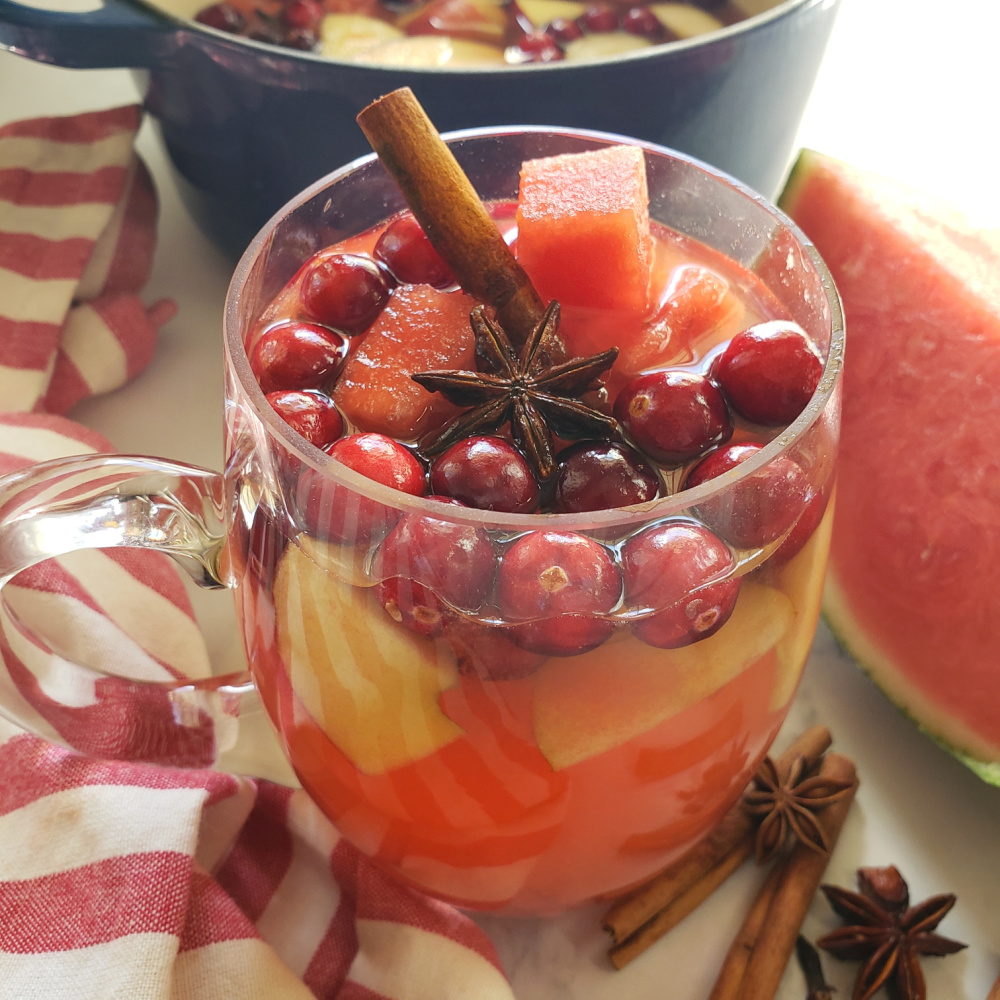
Good-for-you Watermelon Drinks: Make a mocktail for winter celebrations using watermelon juice, citrus juice and fresh ginger – or my recipe for Mulled Watermelon Cider is always welcomed with a crowd. Or, take the chill off cold days (or blustery outside runs) with warmed watermelon juice with a squeeze of lemon, fresh ginger and pinch of Himalayan Sea salt – it’s a homemade hot sports drink! My recipe for Hot Watermelon Lemonade is also a unique sports recovery drink.
Vitamin C: Not only is watermelon hydrating (over 92% water), it’s also high in vitamin C that may help you get through the winter season well.
Indoor Home Workouts: Stay inside and work toward your fitness goals. No weights? No worries, you can use a watermelon (from a few pounds to 20+ pounds) as your exercise equipment! I’ve shared lots of fun watermelon home workouts, here’s a watermelon workout to try this winter – WATERMELON HOME WORKOUT!
SPRING WATERMELON FIT TIPS
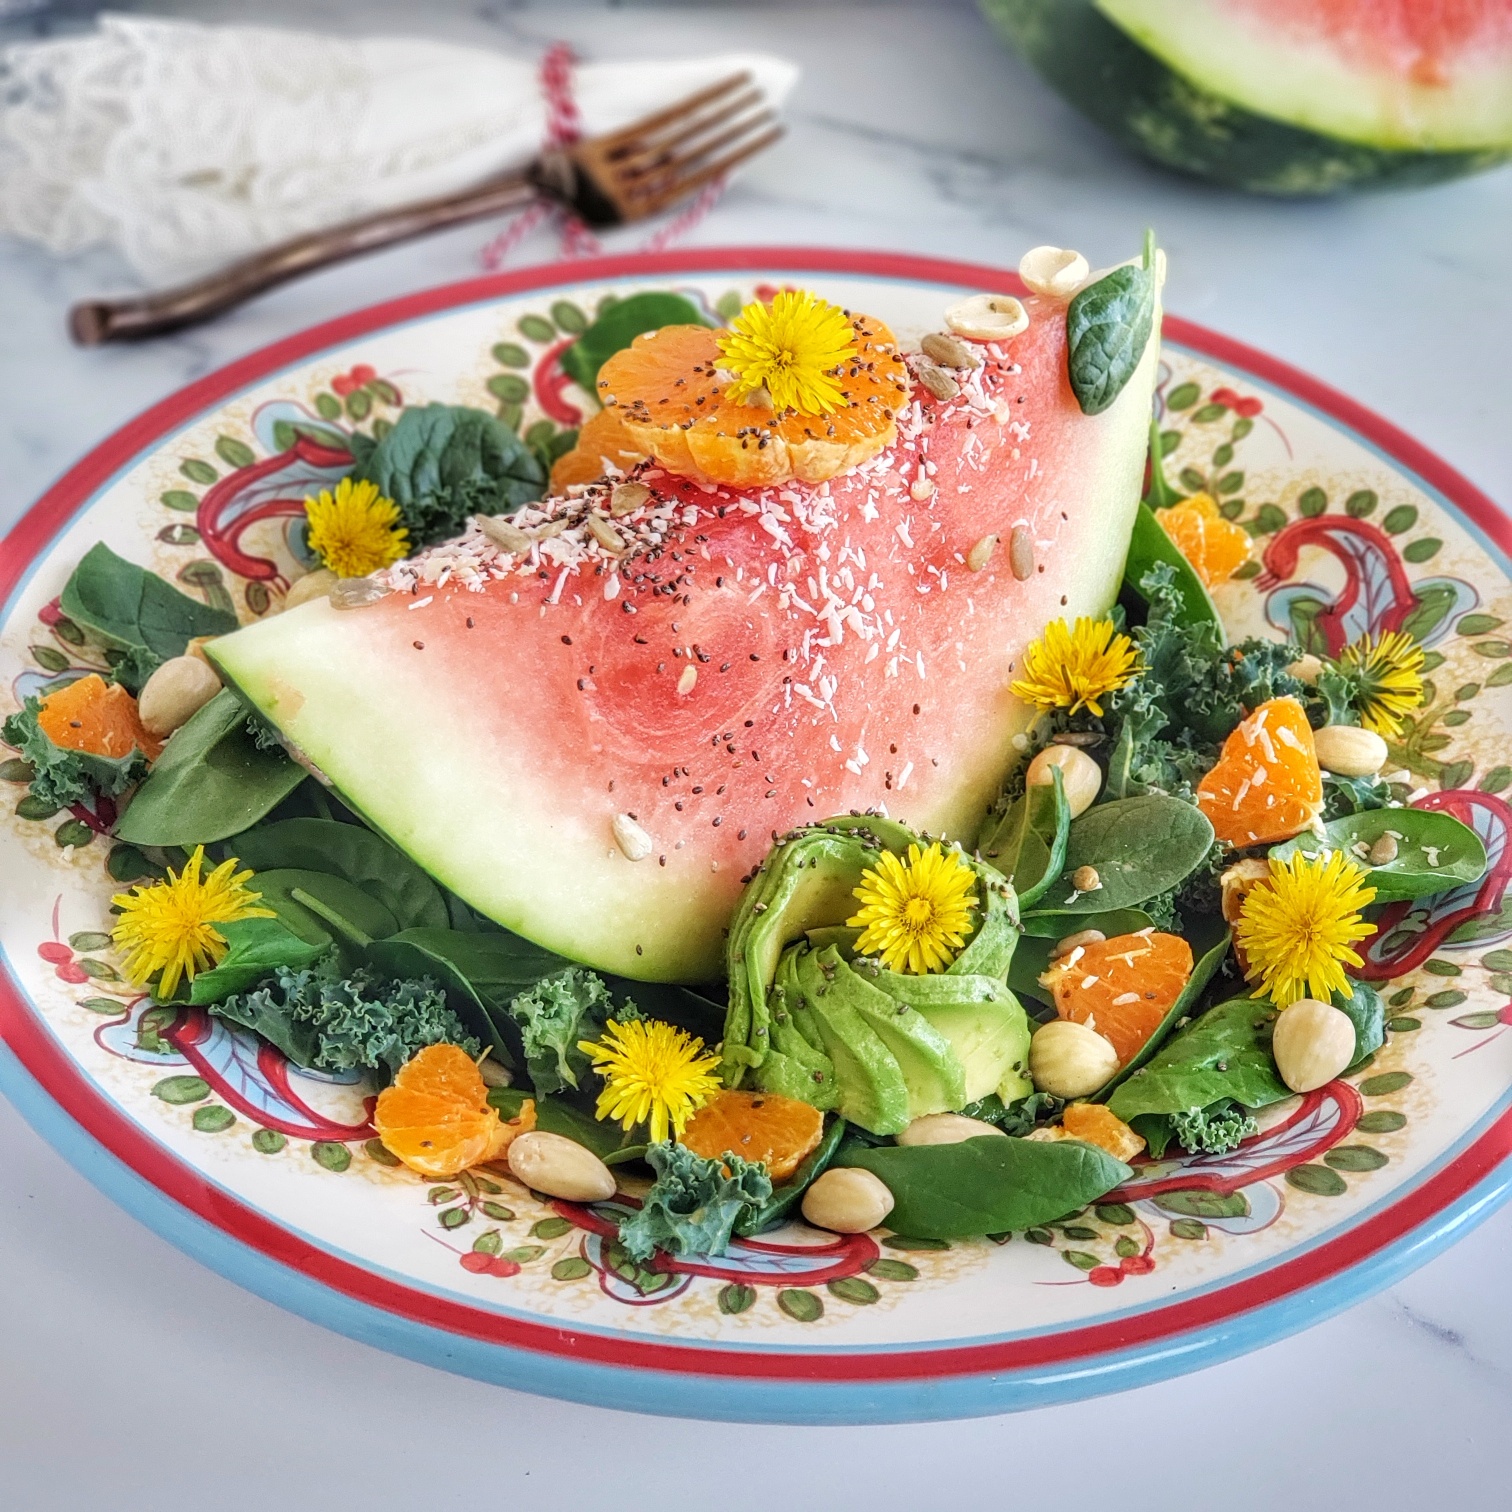
Spring Salads: Take advantage of watermelon benefits and toss chunks into your grain bowls and salads, heck – throw on an entire wedge! Adding watermelon is a great way to dress up boring salads with some unexpected color and sweetness. Check out a few of my favorite watermelon salad recipe I’ve come up with over the years:
Watermelon Holds for Fitness: This season, if you want to add a watermelon to your workout, try a static hold to complement your runs, walks or dynamic strength training sessions. Static holds are isometric exercises that hold the body in one position for a duration of time. This means your muscles don’t contract and change length as in dynamic exercises, but you still benefit from the “time under tension.” Here are some static holds to try: most variations of planks, v-sit (boat pose), squat hold (or wall sits), overhead hold, front hold, and glute bridge hold.
How to Pick a Ripe Watermelon: Look for the “field spot” where the watermelon was resting while it grew. The more yellow, even almost yellow-orange, the riper – quite white means not ripe! Also, this takes a bit of intuition, but if the watermelon feels “heavy” for its size, this typically means it will be juicer and sweeter. Some also say rounder watermelons are sweeter than elongated watermelons, but I’m not so sure of that! I’ve had great watermelons of every shape. Also, you can look for “sugar webbing” (the coarse, brown web texture on some watermelons)/
SUMMER WATERMELON FIT TIPS
Watermelon Floats: Yes, watermelon floats! This makes the fruit a fun item not just to eat in the summer but to play pool games with at a party. My kids always loved to stand on paddle boards and toss the watermelon back and forth to see who would fall off first! The buoyancy of watermelon also makes it useful for pool workouts by adding resistance when you push or pull it under watermelon.
Grilling Watermelon: Many of us are outside, grilling all the things in the warm weather months. Why not grill watermelon?! Grilling watermelon lends a smokey, savory vibe to the light sweetness that is oh-so magnificently summery. Check out my recipes for Grilled Watermelon with Cherry Balsamic Salsa and Spicy Sweet Watermelon Shrimp Kebobs for summer meals with watermelon inspiration.
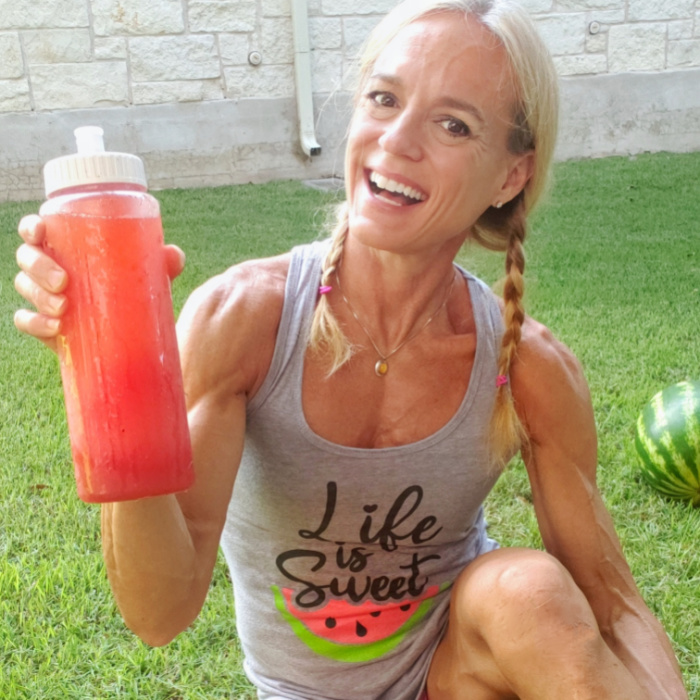
Watermelon Juice: Quench your thirst this summer with watermelon juice. I simply collect the juice from a watermelon while cutting it up. It’s easiest to do this if you cut it in a big rimmed baking sheet (so juices to spill out onto counter) and then pour juice out one corner of pan into mesh strainer over glass jar to remove any seeds and excess pulp. I also collect the juice that seeps out of cut watermelon and collects in my plastic storage container. This raw juice stays fresh for up to 72 hours in the fridge or can be frozen for several months. Learn more watermelon juice benefits at my post, Watermelon Juice – How to Prep, Store and More.
FALL WATERMELON FIT TIPS
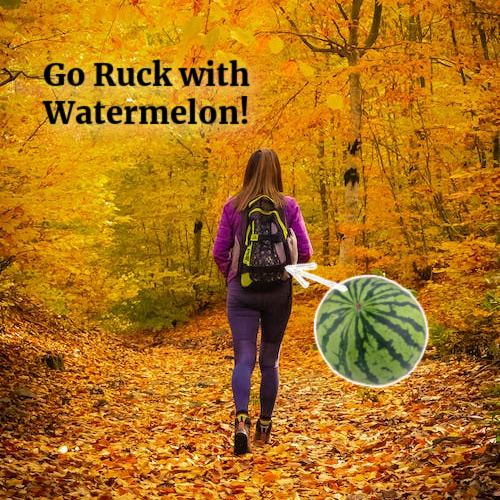
Watermelon Ruck: Rucking is a big fitness trend right now, but it’s actually ages old and really simple. A ruck is just a walk, hike, run, or other similar workout with a weight on your back. In simple terms, you wear a rucksack (aka backpack) and walk! Rucking and watermelon are a natural fit. Stick the watermelon in your backpack for weight to carry, and when you’re done, slice it open and enjoy as a refreshing, way to refuel.
How to Ruck-Cut a Watermelon: If you’re out on a ruck, then simple slices or wedges of watermelon with the rind on will be the easiest to prep and also to eat. You’ll want to carry a camping knife in a protective sheath for safety. If it’s a personal-sized watermelon, just whack it in half and dig the flesh out with a spoon (or an implement from your Swiss army knife). Also, it’s a smart idea to stash a big zip-top bag in your rucksack in case you need to carry leftovers home! If you’re not cutting the watermelon until you get home, check out my favorite way to cut and store a big watermelon in 5 minutes.
This post is sponsored by Kevin’s Natural Foods as part of a blogger recipe challenge.
Hmmm, how to save dinner on the craziest of pre-holiday prep days?! I had so much shopping, wrapping, decorating, and last-minute elf-ing around that “what’s for dinner” was the last thing on my mind. Plus, I was just plain tuckered out.
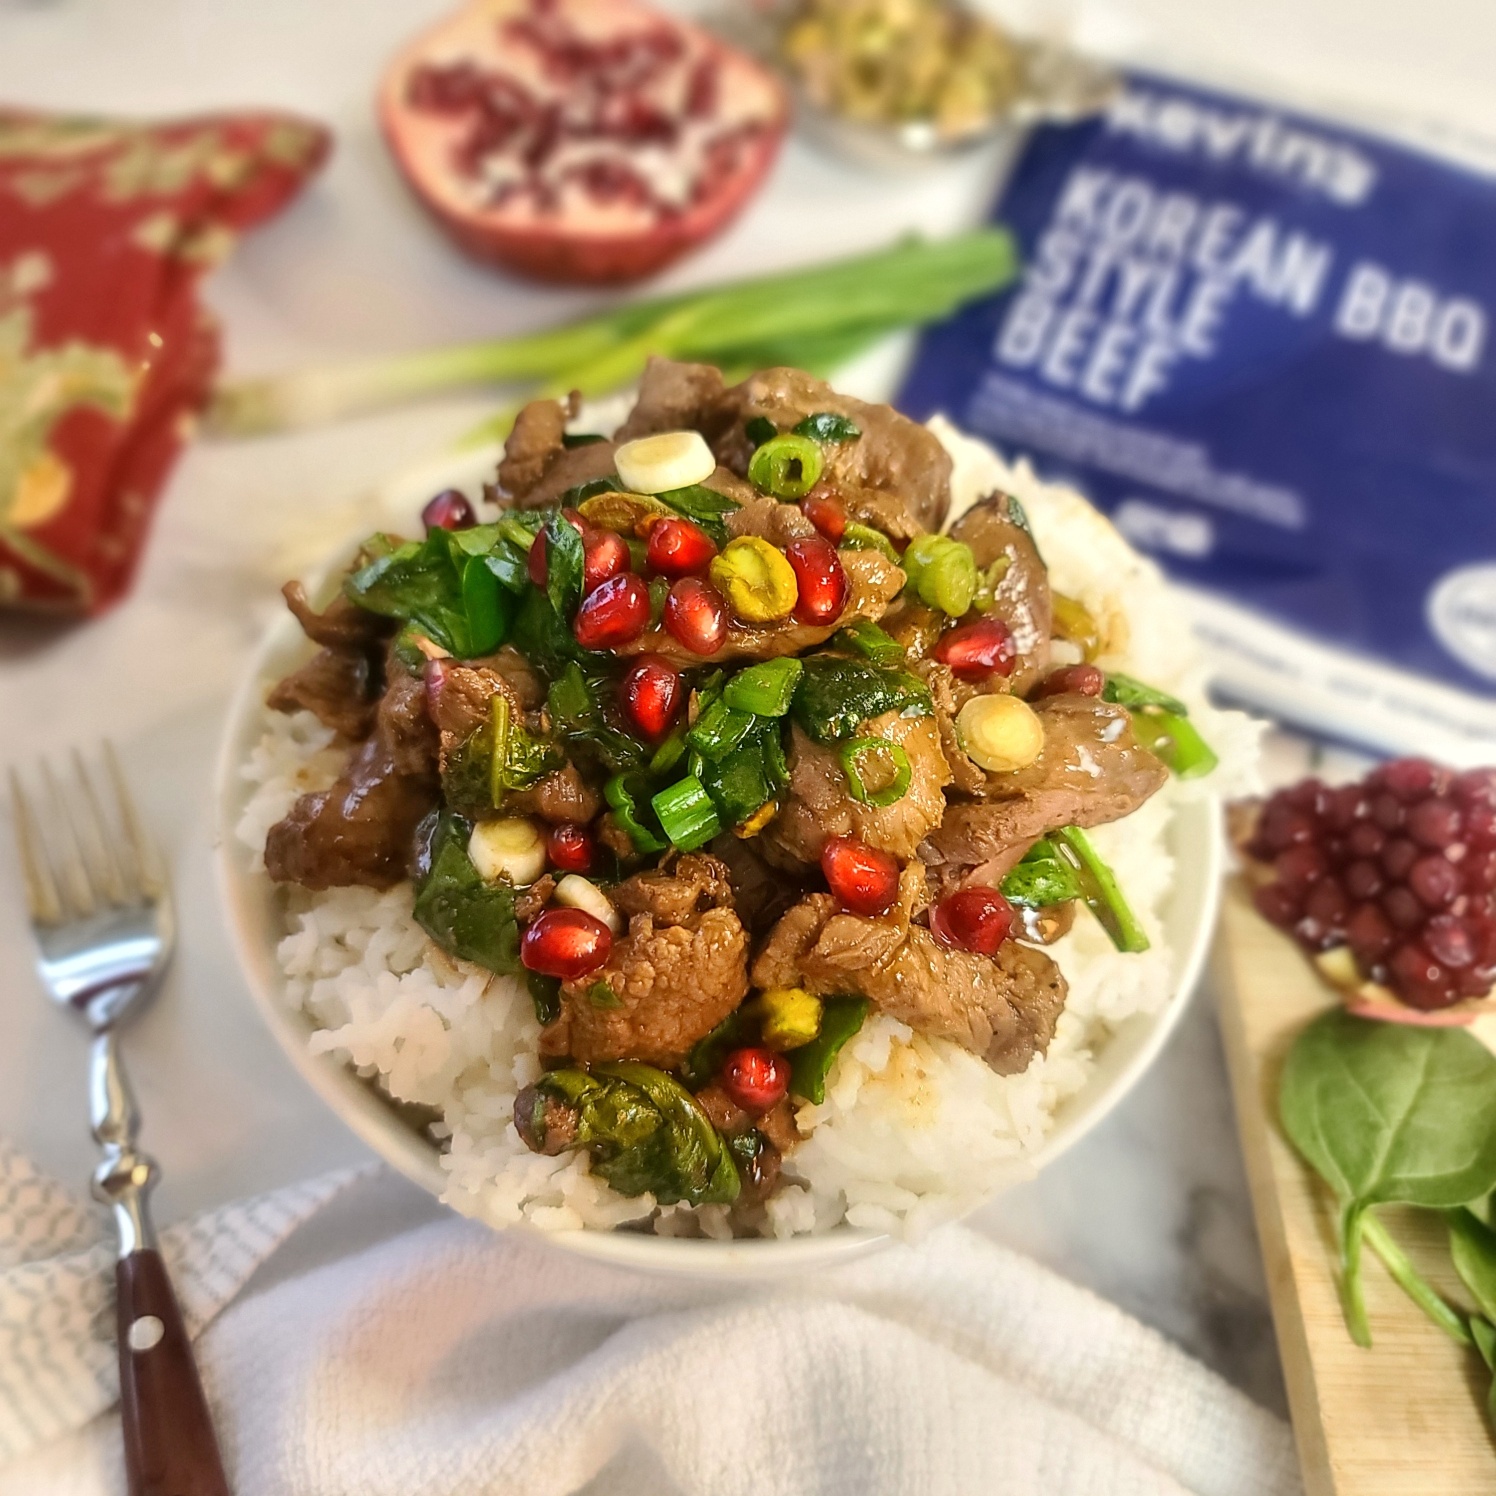
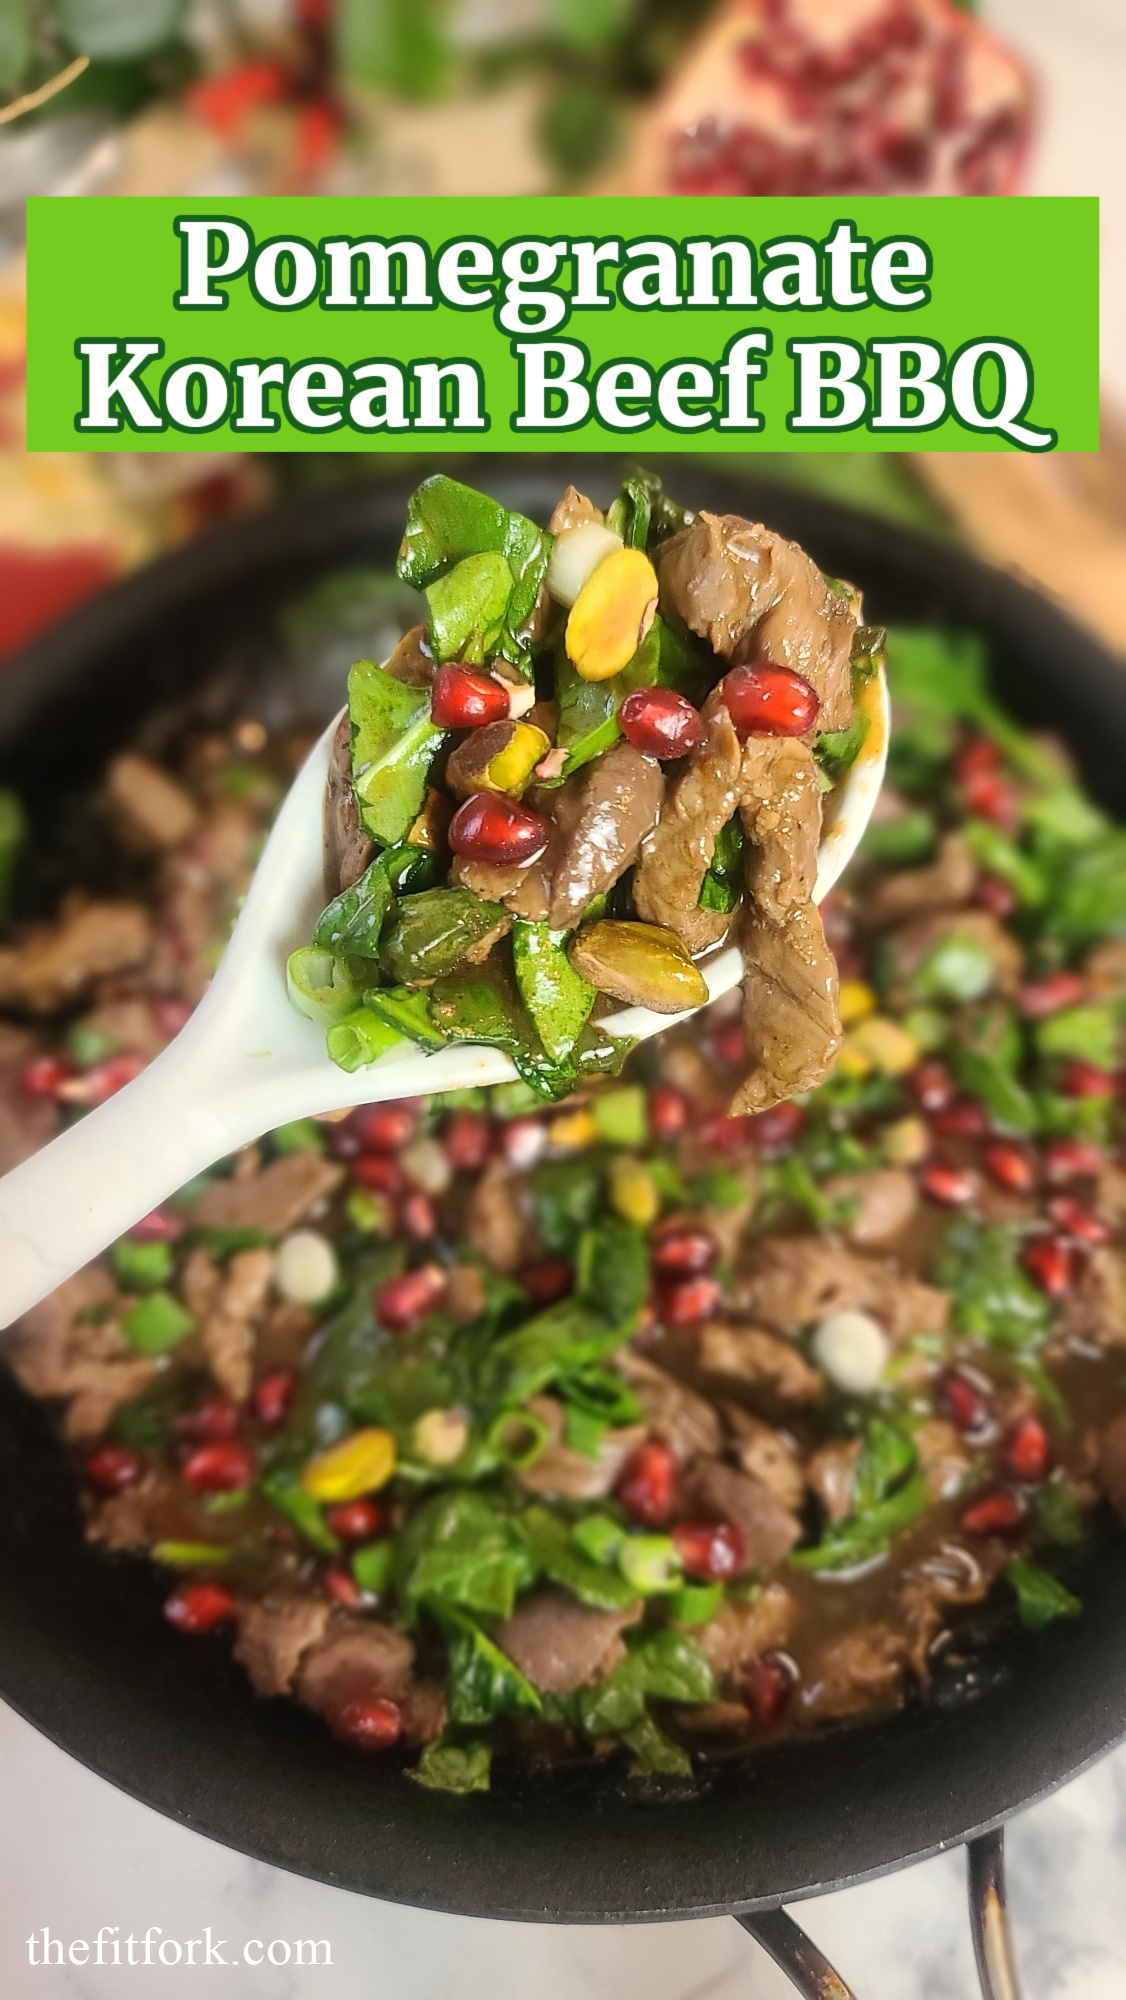
But the quick and easy meal pouches from Kevin’s Natural Foods were the fit foundation for some last-minute refueling and feasting! I used the Korean Beef BBQ to make a holiday-inspired meal — 10-MinutePomegranate Korean Beef BBQ.
Pin this for later!
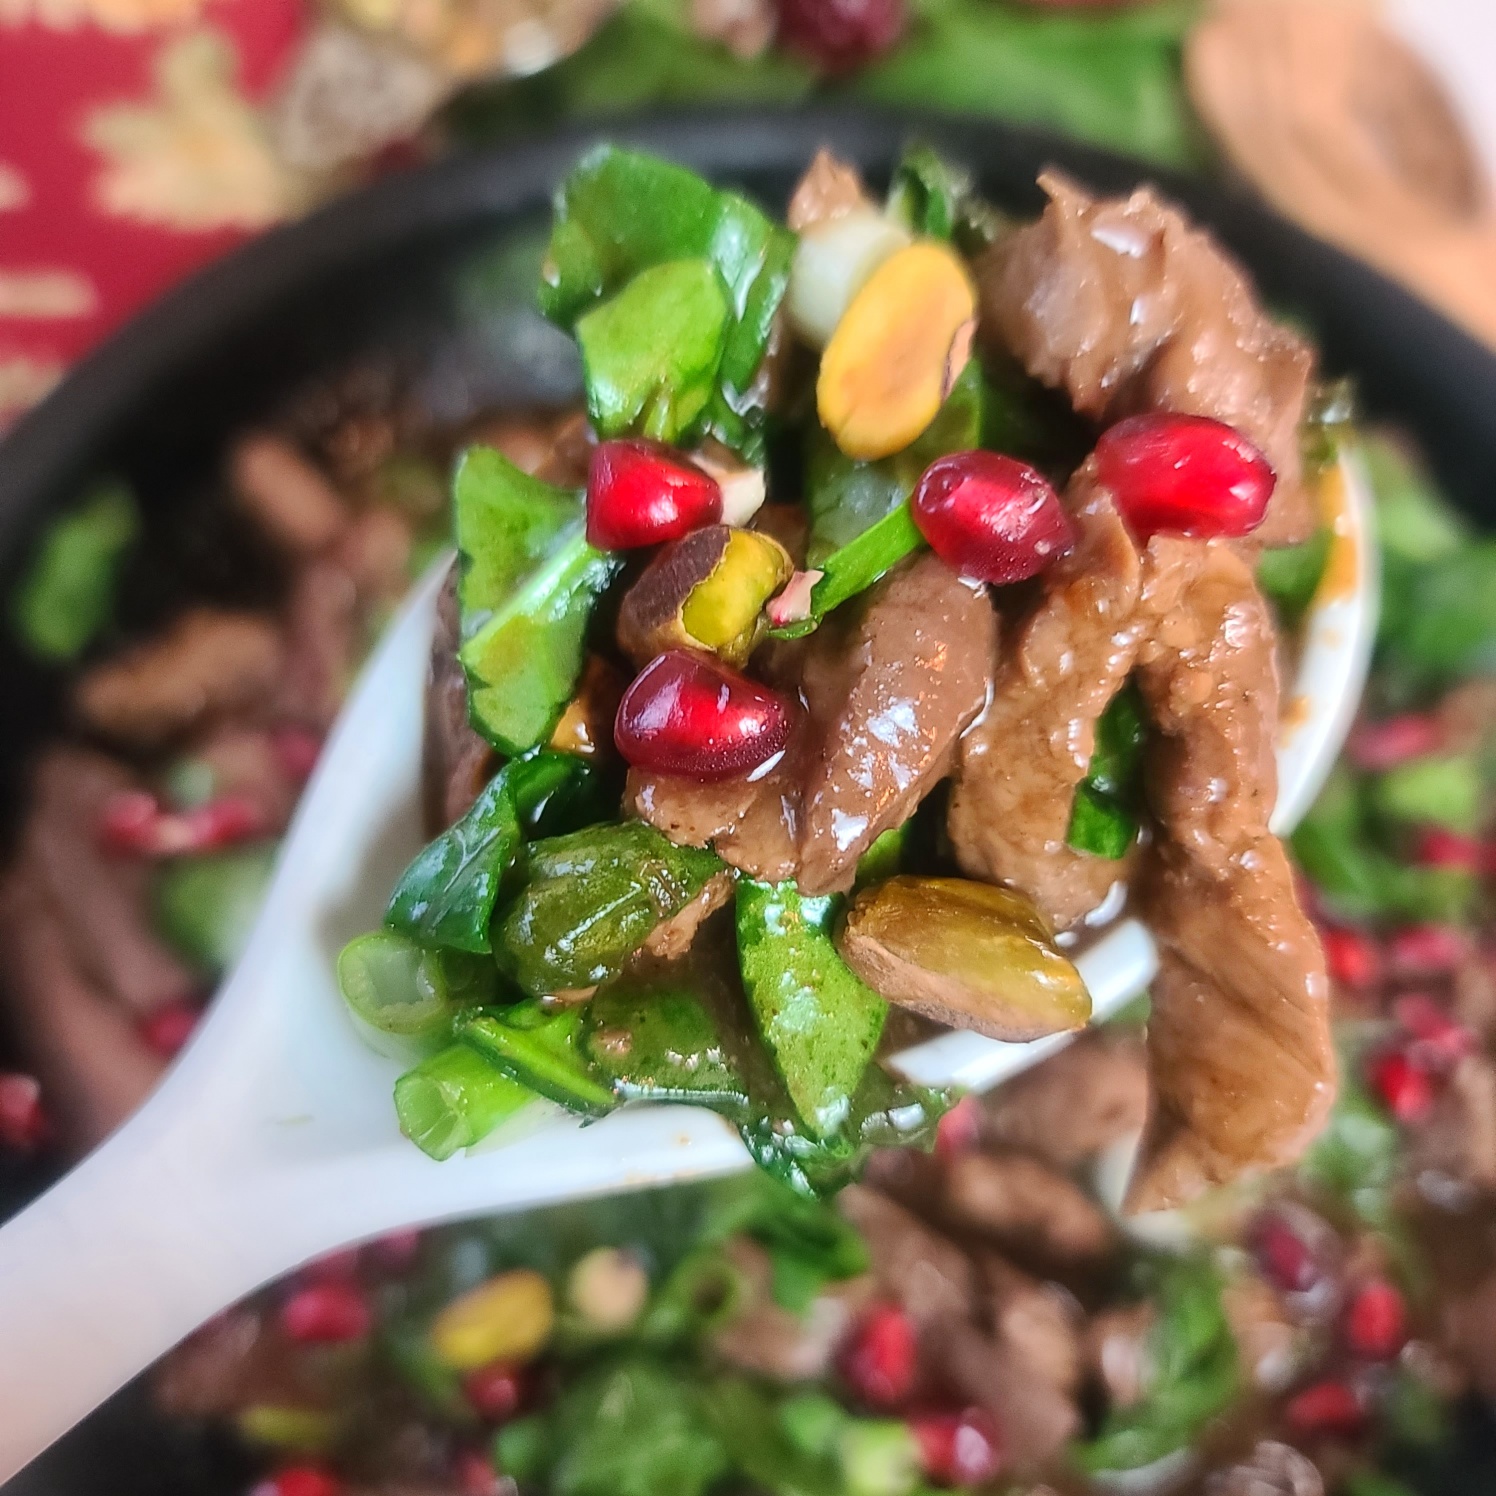
This 10-MinutePomegranate Korean Beef BBQ recipe is made with a Kevin’s Natural Foods meal pouch that includes sous vide cooked beef and Bulgogi-style sauce. I put my own spin on the already delicious meal by adding a little pomegranate juice and ginger to the sauce and adding pomegranate arils, spinach, and pistachios. SO DARN EASY and it makes an easy-peasy, beautiful, flavorful and festive holiday meal (which also makes dinner any day of the year). I served this pomegranate bulgogi inspiration on rice (use a frozen rice pouch to keep it quick – I actually batch cook my rice and grains and freeze in the portions I need to save time and $$). But, if you’re not into rice, this festive bulgogi recipe is also yummy on cauliflower rice, smashed sweet potatoes, or with veggie noodles of your choice.
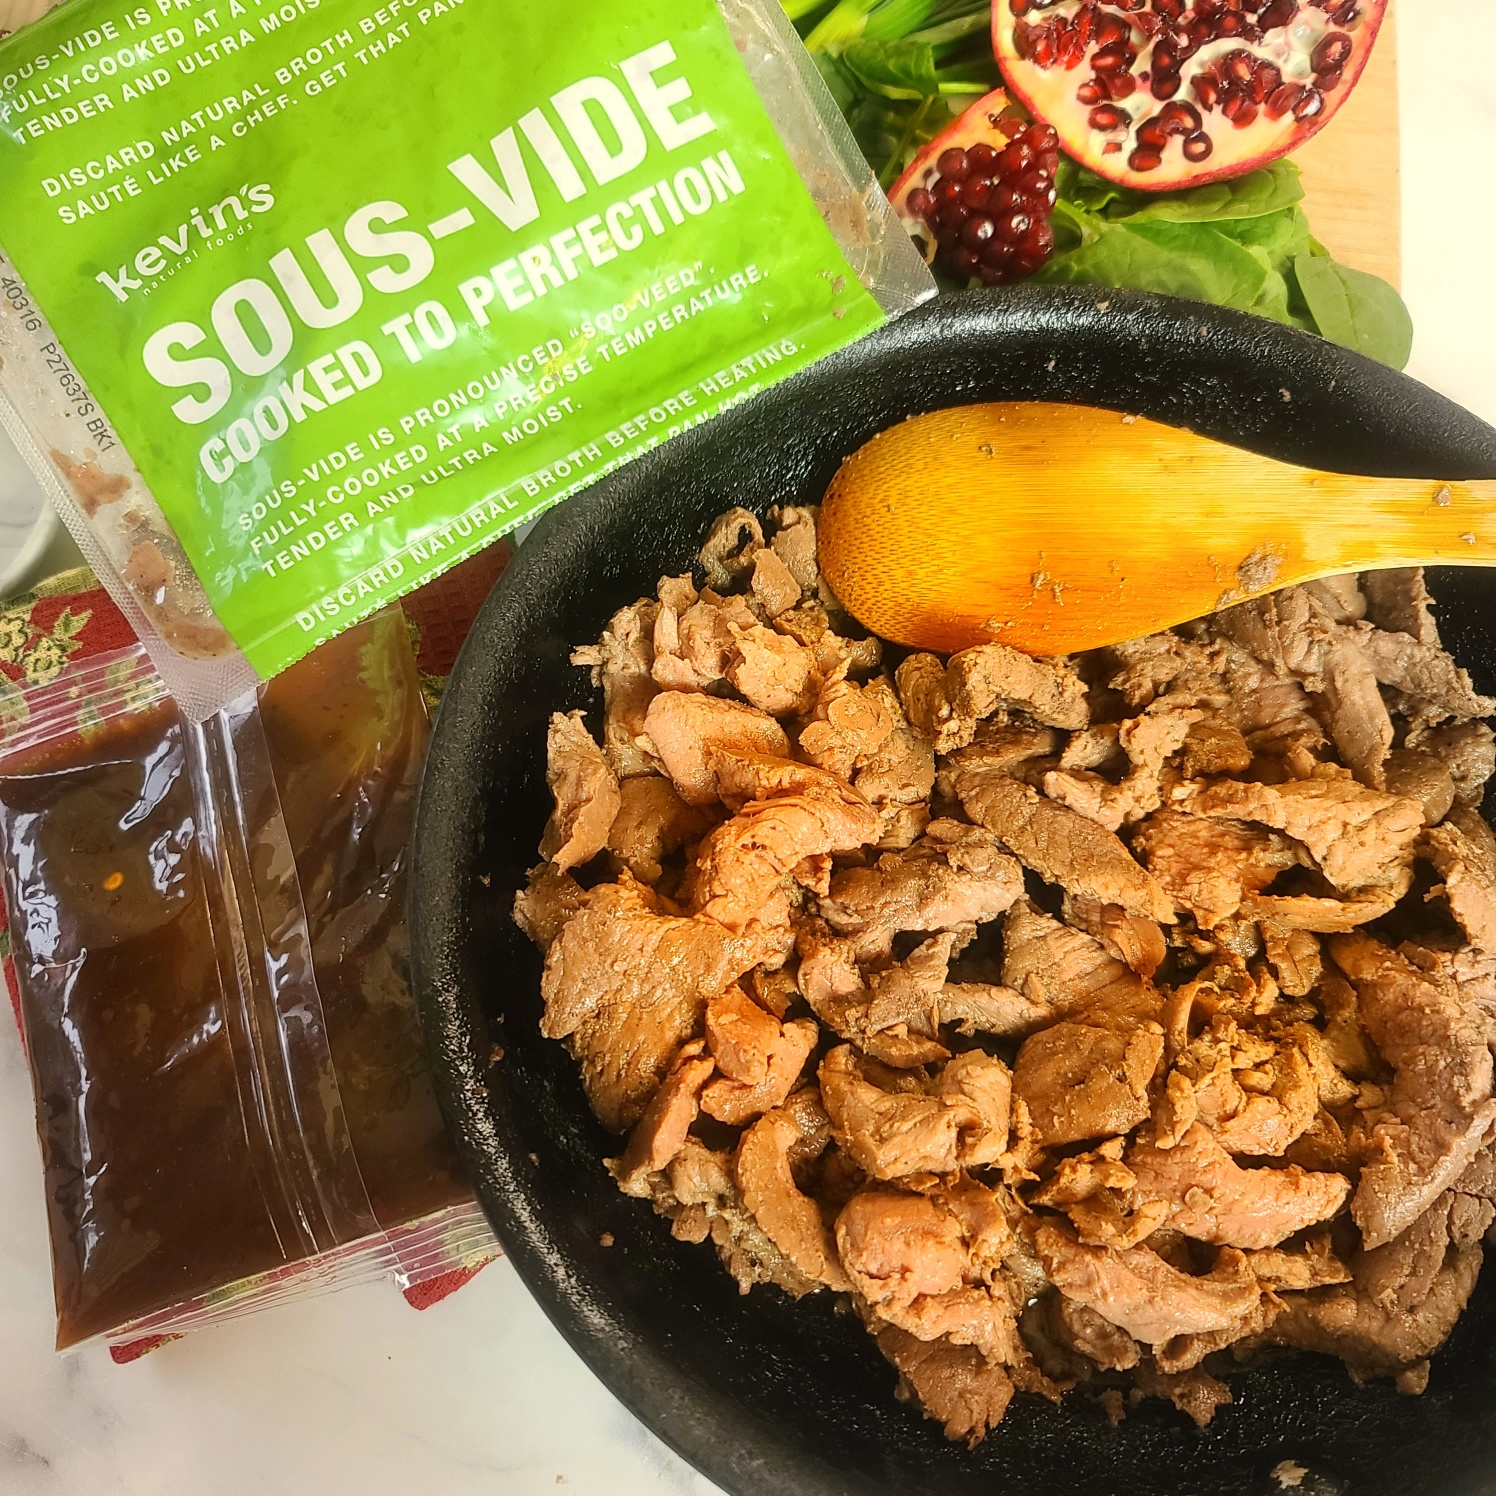
Beef is 100-percent pasture-raised, grass-fed, and grass-finished and cook in sous-vide method, so it stays super tender and juicy.
Real talk: I have been eating and enjoying the chicken meals from Kevin’s for a while but have shied away from trying a beef meal kit. Why? Because I’m definitely a beef snob and was worried that the beef steak tips would be stringy and chewy, as the beef cuts in these types of convenience meals usually are. But, color me IMPRESSED! The beef steak tips remain super tender thanks to the sous-vide cooking method that is used to prep them. Just a couple minutes in the skillet to warm up and they are still juicy and tender. The beef that Kevin’s natural foods recipes source 100-percent pasture-raised, grass-fed, and grass-finished.
In the past, I’ve picked up my meals from Kevin’s Natural Foods at my local grocery store. But now the meals can be ordered in bundled assortments from the comfort and convenience of your home online. And, actually you can order from whatever vacay adventure you may be crushing so that they are delivered straight to your door, frozen in a cooler, when you roll back from the airport or road trip. No worrying about getting to the grocery store STAT or caving into fast take-out food because you’re starving.
For convenience, use prepped pomegranate arils from a tub!
Today’s recipe used the Korean BBQ-style Beef meal pouch, but there are SO MANY varieties like and Creamy Coconut Chicken and Cilantro Lime Chicken. It’s never boring and ALWAYS easy and delicious. Plus, all meal pouches from Kevin’s are nutritionally built to be compliant with keto, paleo and gluten free diets too!
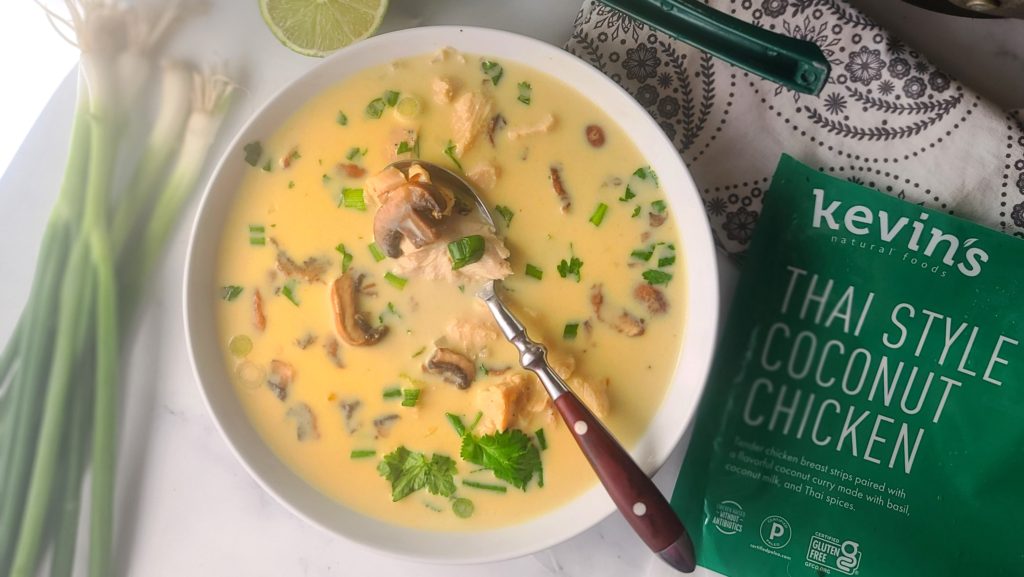
Check out the Creamy Chicken Coconut Soup (like Tom Kha Gai) recipe I came up with using their Thai-style Coconut Chicken meal kit.
Find additional details about Kevin’s Natural Foods their backstory, and their amazing clean-eating focused products (entrees, sides, sauces, stir-frys and more!) which can find a place in your diet – whether Keto, Paleo, Gluten-free . . or Mediterranean, like me! Order online or find in a store near you.
Also check them out on Facebook, Instagram and Pinterest! AND – give my 10 minute recipe for Pomegranate Korean Barbeque a try, it’s so delicious and festive!
Succulent beef tips with spinach in a slightly sweet, slightly spicy sauce that is bejeweled with pomegranate arils and pistachios! It's festive, flavorful and a fit for your clean eating meal.
Servings: 3servings
Ingredients
1pouch Korean Beef BBQ from Kevin’s Natural Foods
2teaspoonsolive oil
1teaspoonfinely minced or grated ginger
2tablespoons100% pomegranate juice*hack: if using a ready-to-eat tub of arils, just drain off the juice for this use.
3cupschopped fresh baby spinach
1/3cuppomegranate arils
3scallionsboth white bulbs and greens finely sliced
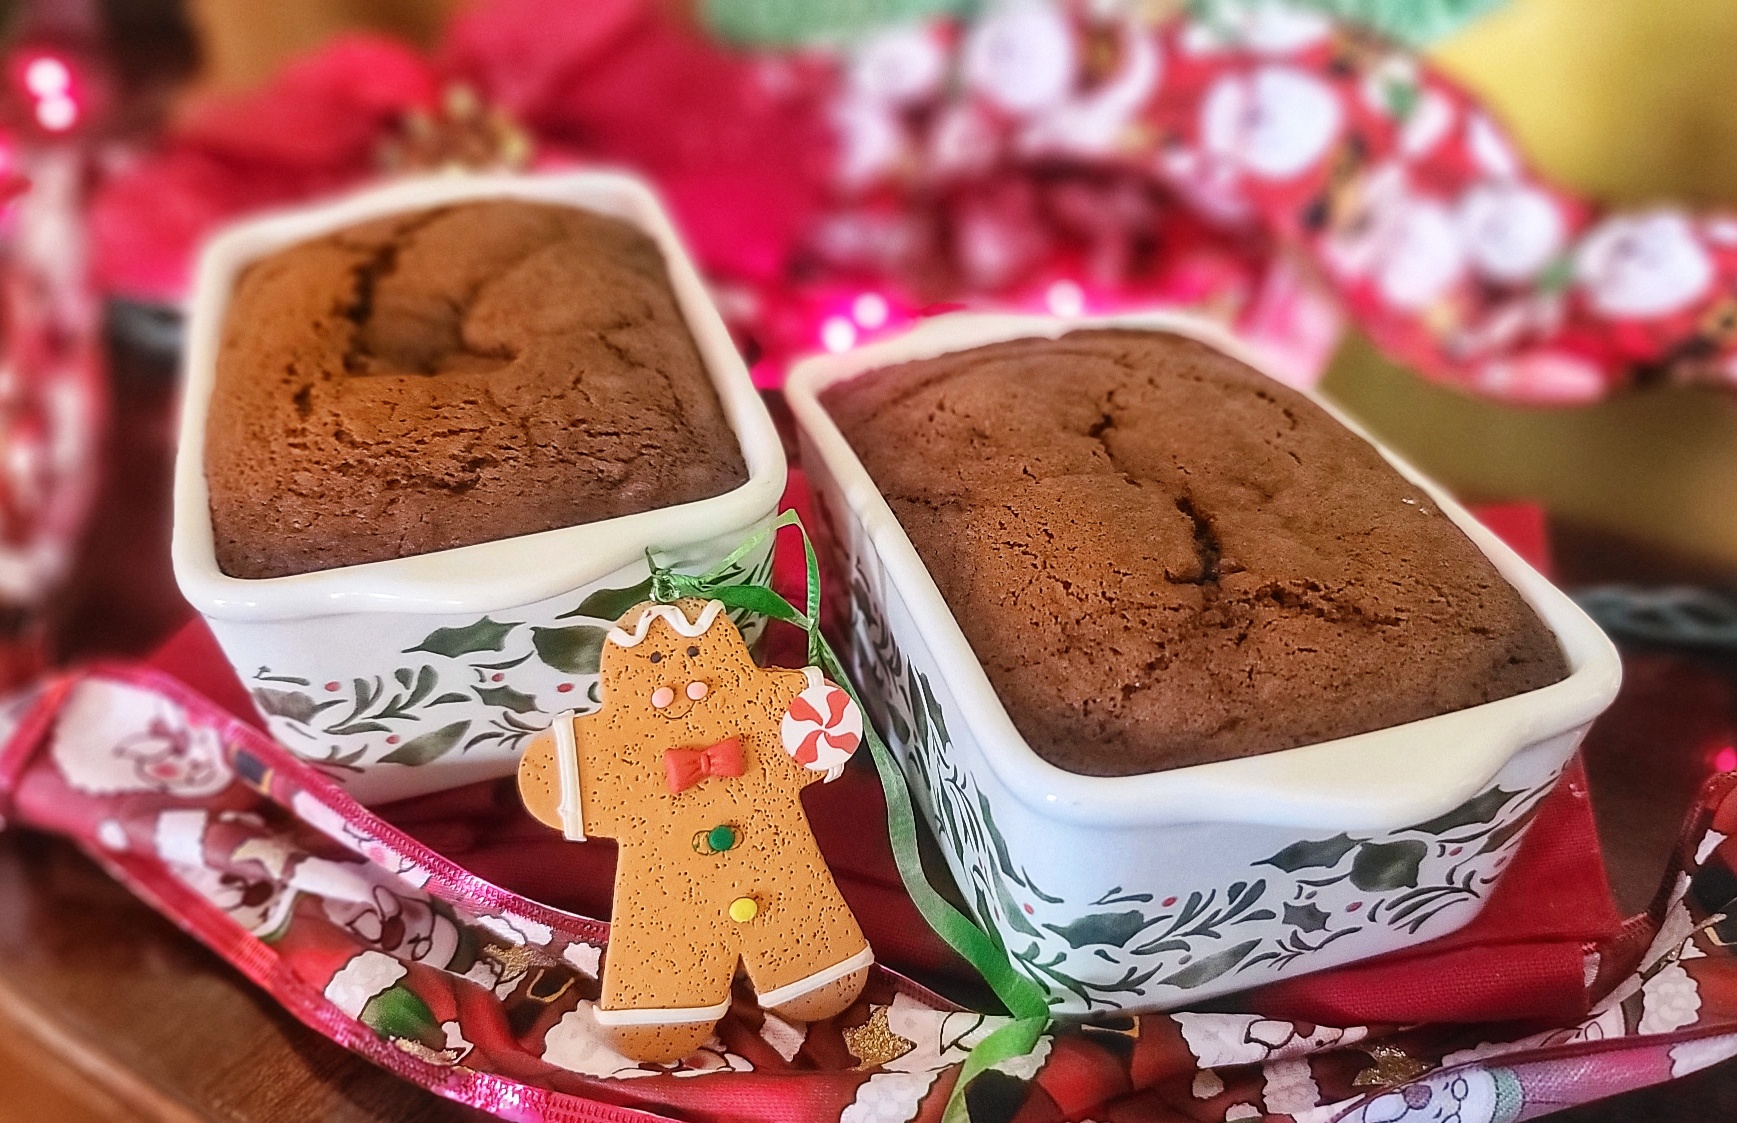
Gingerbread or chocolate . . .why choose? You’ll “loaf” the joining of these two popular holiday flavors in this recipe for Chocolate Gingerbread Mini Loaves.
Gingerbread is the quintessential holiday treat and most of have fond memories of the delicious aroma and warm, spicy taste of this flavor profile that is incorporated in cookies, cakes, and other yummy Christmas treats. Adding chocolate even deepens the flavor experience and speaks to a chocolate-lover’s soul!
This is a smaller-scale gingerbread recipe making two loaves in approximate-sized 5.5” x 3” loaf pans. You can also use all the batter in a single 6” diameter small cake pan. You can also half the recipe and make a single mini loaf and you can also double the recipe to make 4 mini loaves or fill a bigger 8” to 9” diameter cake pan.
Pin for later!
Slice them up and serve warm with ice cream or whipped cream, or the toppings of your choice. If you’d rather gift them to a friend or family present them in nicer, disposable mini loaf liners or, even better, a beautiful ceramic mini loaf pan (can be used long after the food gift is gone)! If you are wrapping in plastic wrap or a cellophane food gift bag, make sure the gingerbread loafs are completely cooled. You can also store in the freezer for up to 6 months, in wrapped in plastic wrap and sealed in a freezer bag.
Mini Chocolate Gingerbread is easy to make, sharable, delicious! Enjoy!
A chocolate-lover's twist on the quintessential holiday season treat – gingerbread! Simple and delicious, makes two little loaves, one for you and one for sharing!
Course:
bread, Breakfast, brunch, Dessert
Keyword:
cake, christmas, gingerbread, holiday
Servings: 2loaves
Ingredients
4tablespoonsunsalted butter
1/2cuppacked brown sugar
1large egg
1/2cupbuttermilkhack: whole milk + ½ tsp vinegar, let sit 5 min
1/3cupmolasses
1/2teaspoonbaking soda
2tablespoonsunsweetened cocoa powder
1teaspoonground cinnamon
1teaspoonground ginger
1/8tspground nutmeg
1/4teaspoonsalt
1cupflour or gluten free blaking blend
1/2cupmini chocolate chips
Instructions
Preheat the oven to 350F and lightly grease TWO mini loaf pans (about 5.5” x 3”) or one 6" round cake pan.
Cream the butter and brown sugar then beat in the egg. Mix the buttermilk and molasses into butter mixture. Stir in baking soda, cocoa powder, cinnamon, ginger, nutmeg and salt until combined. Next stir in flour until a smooth batter forms. Fold in chocolate chips.
Bake for about 25 or until a toothpick inserted in center pulls clean. Cool 10 minutes before slicing.