Cinnamon Churro Watermelon Rind Fries + Ways to Use the Whole Watermelon

This post is sponsored by Watermelon.org. All opinions, comments and enthusiasm remain my own!

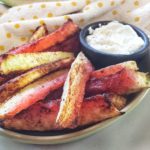
Trust me here, Churro Watermelon Rind Fries are a good thing. In fact, this easy watermelon snack recipe is a REALLY, REALLY GOOD THING that tastes yummy, reduces food waste, and can be made in the air fryer in minutes.
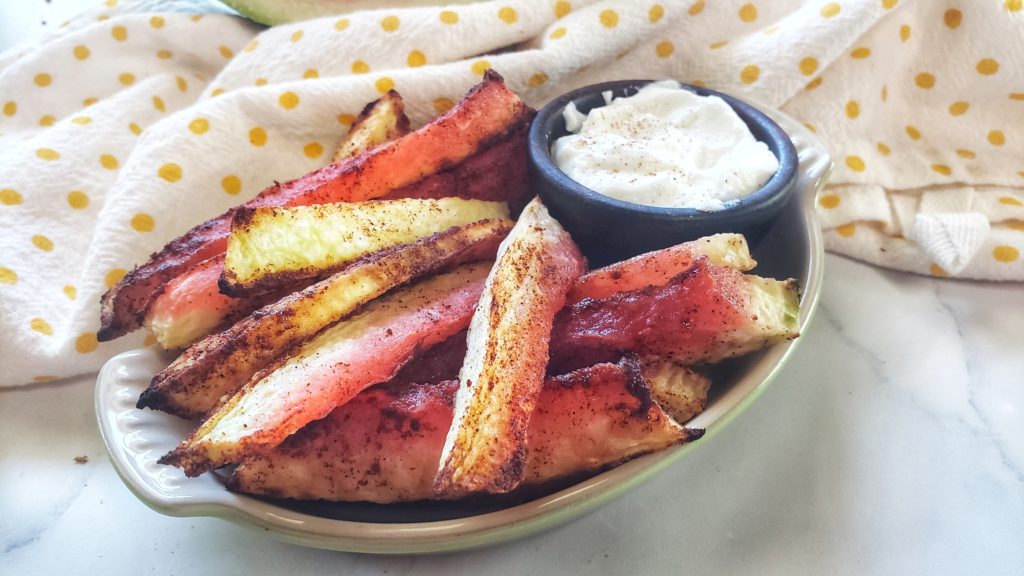
Cinnamon Watermelon Rind Fries in Air Fryer Cinnamon

Your mouth is probably hanging open for a couple reasons. The first is you may not have known you can actually (and should) eat watermelon rind. Sadly, watermelon rind is the most tossed away part of the fruit by far. Why not rescue it for a recipe and reduce watermelon food waste?! Just cut off the off the thin green skin layer and then chop, dice, slice, shred or otherwise prep the mild white part of the rind for use in recipes like smoothies, salsas, salads, appetizers and more.

Check out how easy it is to make watermelon rind fries!

You also might be surprised that cinnamon (the primary flavor in Mexican churros, those little fried cinnamon-sugar pastries) is AMAZING on watermelon. Something about the earthy, woody flavors of this warming spice adds something extra to watermelon – and watermelon rinds. Watermelon rinds are mild and play well with a variety of spices. 
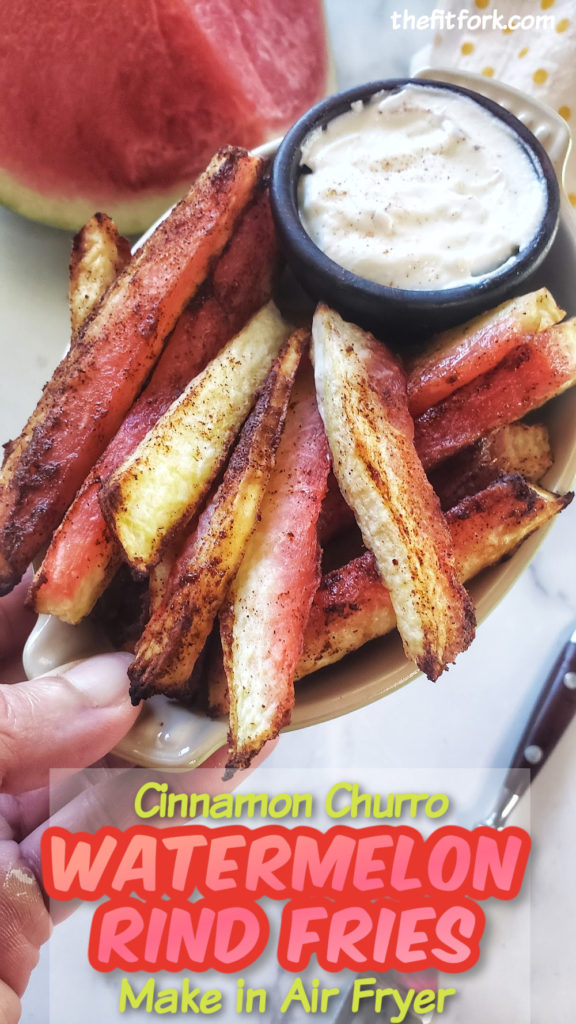
Cinnamon Churro Watermelon Rind Fries made in Air Fryer, a healthy snack that uses the whole watermelon. Economical and reduces food waste!
Pin this for later!

What surprised me was how easy these watermelon rind fries were to make in an air fryer with little mess. I simply sliced rinds into French fry-sized pieces and then rolled into cinnamon mixed with a stevia baking blend (you can also use regular table sugar, I’m moderating carbs over here).  After an 8-minute session in my air fryer (flipping once), these tasty morsels came out sweet and delicious with a pleasantly firm and slightly chewy texture – not soggy, or mushy or messy. Delicious served with vanilla yogurt as a dipping sauce!

Check out these other ways to use the whole watermelon – the rind, the juice, the flesh and (if your watermelon has ‘em), seeds.
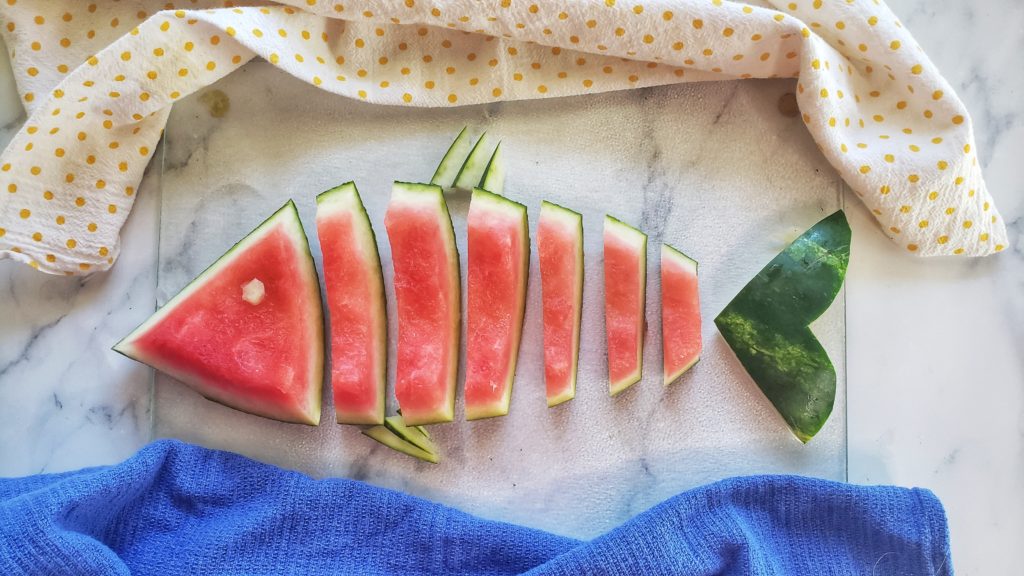
Use the watermelon rind to make a cheap centerpiece decoration for your summer entertaining.

Watermelon Rind: Rise and “rind,” put chopped up rind in your breakfast smoothies or use in a relish for dinner like watermelon rind kimchi. OR, how about something completely different – use a scooped out half watermelon rind (skin on) as a compostable vase or potting vessel.  After making my watermelon rind fries, I had even MORE scraps of rind, so I got crafty and made a quick centerpiece for a summer pool party – a fish!  Get creative – and check out my pin story <<insert link>> on other food hacks and ways to repurpose the rind!
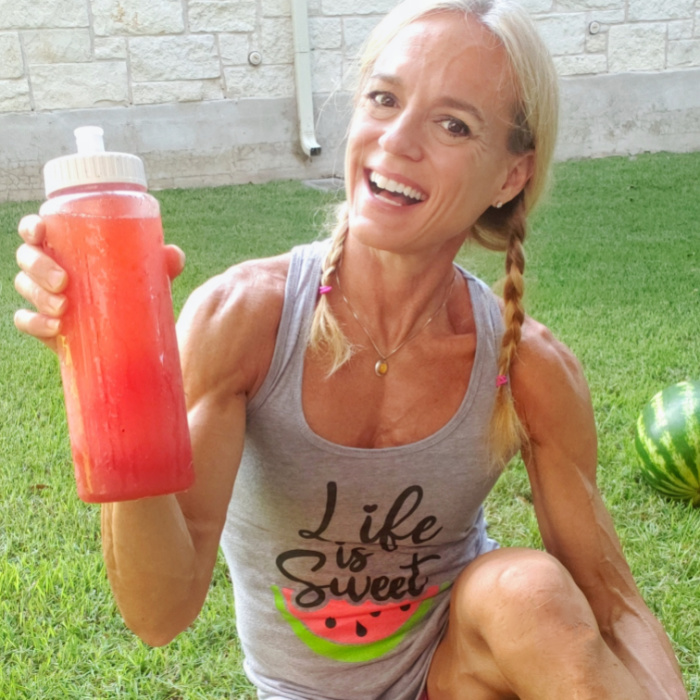
Watermelon Juice and The Fit Fork
All the watermelon juice in this sports bottle was drained off a large watermelon that was sitting cut-up in my fridge

Watermelon Juice: Comprised of 92% water, watermelons are prolific juice-makers and a smart choice for staying hydrated. There are a couple ways to get juice from your watermelon. The first way is to drain the seeped-out juice from a watermelon – both from the actual cutting up session, to the juice that seeps out overnight. I drain this juice off daily, and also think it helps the watermelon flesh stay fresher in the fridge. A plus of this method is that you get to enjoy all the flesh of the fruit to, but a negative is having to wait for juice to seep out. So, not the best method if you need a lot of watermelon juice at once. Blending up watermelon chunks and straining off the pulp is the second way to get watermelon juice (watch this watermelon juice tutorial) – it’s fast and makes a lot, but you lose the flesh. It’s a super solution to “save” a watermelon that’s become overly ripe. Use juice in smoothies, cocktails, popsicles and other sweet treats. It can also be used as a cooking liquid for quinoa or oats!
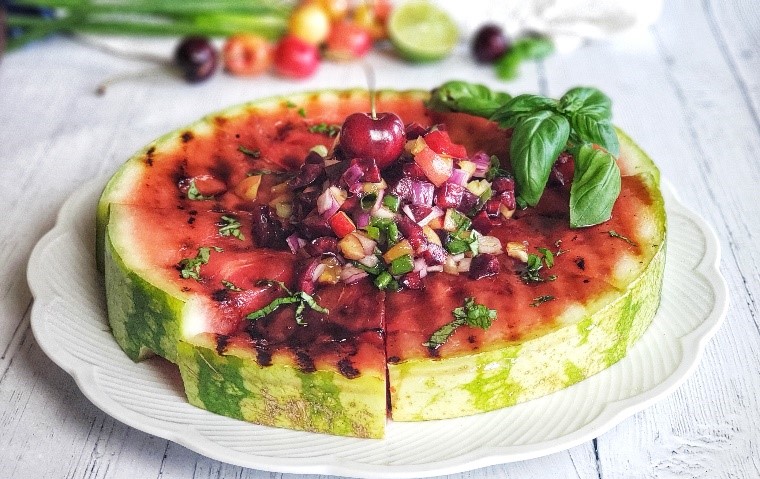
Grilled Watermelon Plank with Cherry Balsamic Relish
Grilled Watermelon Plank with Cherry Balsamic Salsa

Watermelon Flesh: Chunks, wedges, balls, fries, balls, diced – there are so many ways to cut up watermelon flesh. Of course, watermelon is delicious unadorned, but it’s also exciting dressed up with simple seasonings. Check out these four ways to season watermelon that will blow your mind. Watermelon is also adds nutrition and sweet yum to every recipe category in existence. Works in sweet OR savory recipes! Watermelon.org has a drool-worthy watermelon recipe collection and I’m pretty proud of my own creations too, like Grilled Watermelon with Cherry Balsamic Salsa, and lots of others — just type “watermelon” in my search bar!
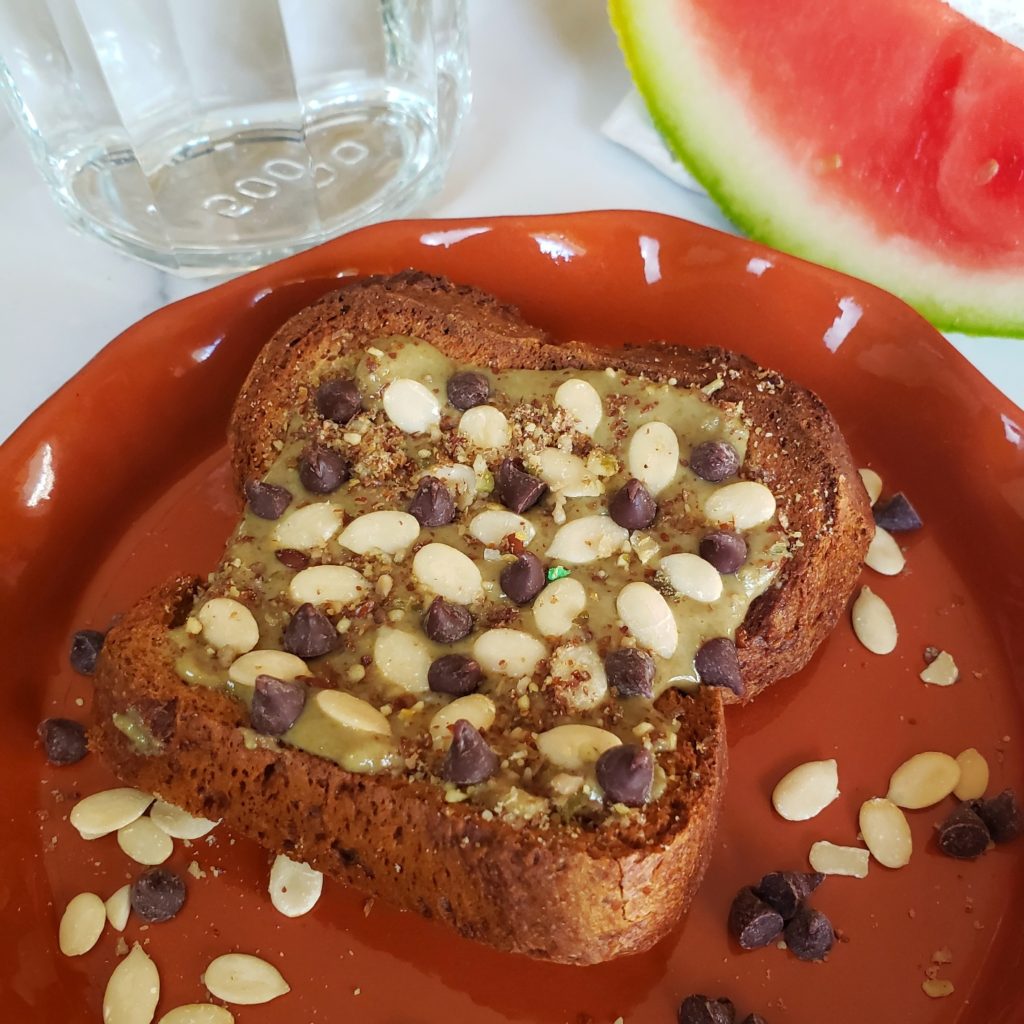
Watermelon seeds on watermelon seed butter toast!

Watermelon Seeds:  Most watermelons these days are the seedless variety. But, if you see those little white unmatured hulls, they are just fine to eat. And, so are the big black seeds for that matter, they are just like any other seed and offer plant protein along with other beneficial nutrients! If you have a bunch of black seeds, toss them with olive oil and a bit of salt before roasting in the oven at 325F for about 20 minutes. Then, crack open the hull and eat the tender seed in the center (like a sunflower seed eating experience) I’ve written and entire post singling about the wonders of watermelon seeds with recipe ideas too, check it out!
5 from 5 votes
Cinnamon Churro Watermelon Rind Fries
Prep Time
7 mins
Cook Time
8 mins
Total Time
15 mins
 

Don't toss away the watermelon rind! Use it to make an easy, nutrition and yummy snack that is also economical and helps prevent food waste.

Course: Appetizer, Side Dish, Snack
Keyword: air fryer, churro, cinnamon, food waste, fruit, pork rind, watermelon
Servings: 4 servings
Ingredients
  • 1 lb. watermelon rind
  • ¼ cup sugar or stevia baking blend
  • 1 teaspoon ground cinnamon
  • 1 6- ounce vanilla yogurt carton
Instructions
  1. Use paring knife to slice green skin off rind and discard.
  2. Cut rind into approximate finger-sized portions (like the size of a thicker fry)
  3. In shallow bowl, mix together sweetener and cinnamon.
  4. Roll each piece of rind through mixture, coating all sides a bit.
  5. Place in basket tray of pre-heated (375F) air fryer and air fry for approximately 8-9 minutes, flipping once after about 4 or 5 minutes.

  6. Serve warm vanilla yogurt as dipping sauce.

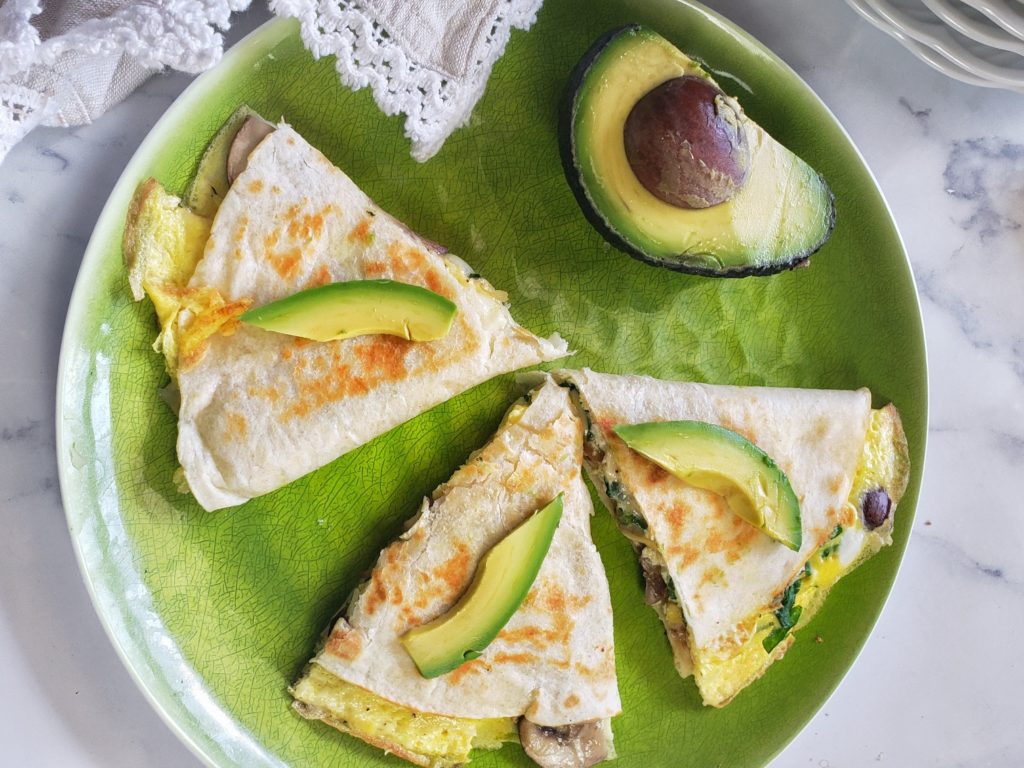
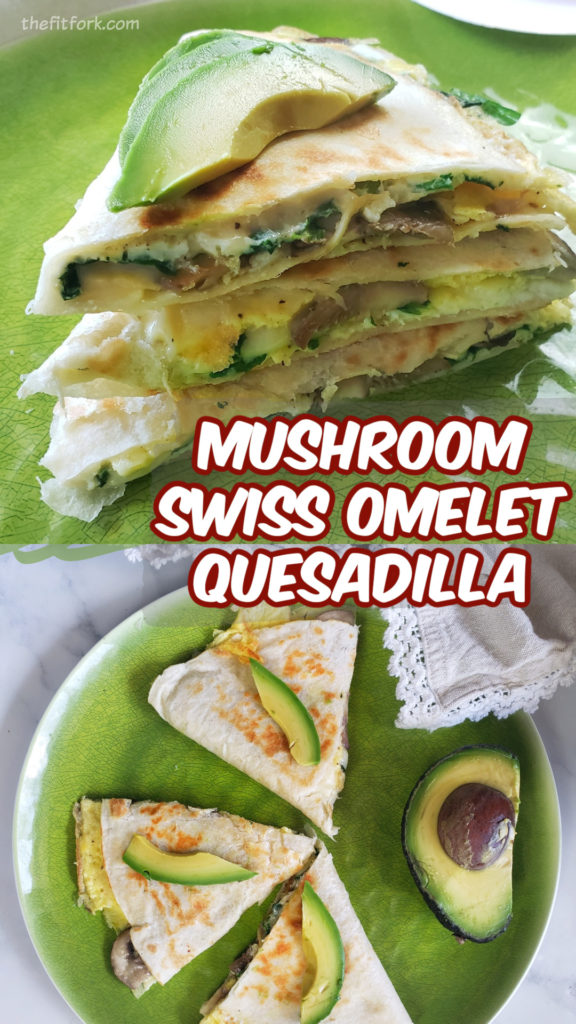
Mushroom Swiss Omelet Quesadilla | Easy Breakfast “Omelet-adilla”

True. I did see this viral egg and quesadilla hack on TikTok. But in reality, I’ve been making and eating egg quesadillas for decades. DECADES!  

Omelet meets quesadilla in this quick and easy egg recipe that is satisfying for any meal of the day -- breakfast, lunch or dinner!
This photo isn’t doing justice to how fun and clever this recipe is — watch the video below!

Growing up in the 70s, when it was my dad’s turn to cook a meal, he would usually make us an omelet or quesadilla. This was back in the day before dads really cooked OR people even knew what a quesadilla was. So, I thought he was pretty cool!  

It was only a matter of time before the eggs met up with the cheese and tortilla. Honestly, it’s a match made in heaven. As my taste buds grew up, my love for omelets and quesadillas didn’t wane. Total comfort food to me! I started adding a variety of veggies to jazz it up and make a little more balanced meal – that works for breakfast, lunch OR dinner, by the way!

Omelet meets quesadilla in this quick and easy egg recipe that is satisfying for any meal of the day -- breakfast, lunch or dinner!

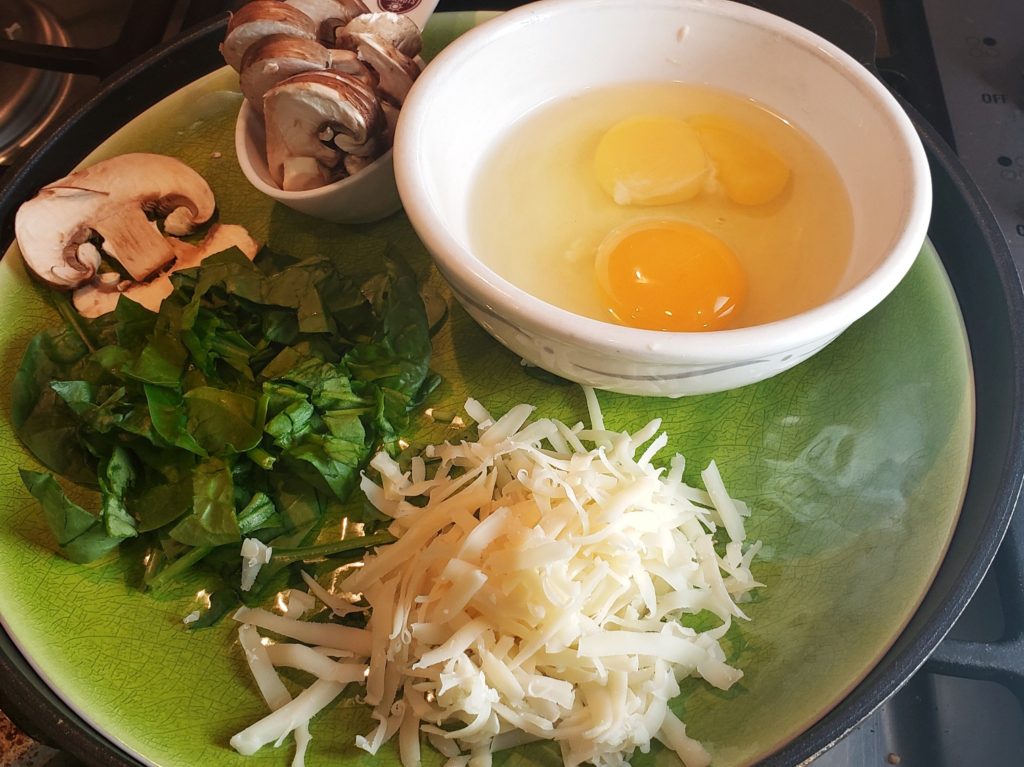
Spinach and mushroom are a classic veggie combo and one of my favorites. Something about mushrooms just plays so well with eggs – it’s a plant-based umami experience. If preferred, the veggies can be swapped out for others that soften up nice and quick in a sauté pan. Think of onions, leeks, grape tomatoes, bell peppers, shaved Brussels sprouts or cabbage, chopped kale, and such.

Omelet meets quesadilla in this quick and easy egg recipe that is satisfying for any meal of the day -- breakfast, lunch or dinner!
I love mushrooms & spinach, but you can swap out for other veggies in this adaptable recipe!

The two eggs, an ounce of cheese and a nine-inch tortilla offer about 22 to 25g protein (even more if you can find a protein tortilla). But, if you want even a bigger protein bump, add a small handful of shredded chicken, beef or diced ham. This quesadilla hack is very adaptable to your custom desires.

Omelet meets quesadilla in this quick and easy egg recipe that is satisfying for any meal of the day -- breakfast, lunch or dinner!
Pin it for later!

The Mushroom Swiss Omelet Quesadilla is such a great meal for anytime of the day, especially when you are pressed for time or fancy ingredients. Once you start making using this egg tortilla hack, you’ll never go back!   

5 from 3 votes
Mushroom Swiss Omelet Quesadilla

Omelet meets quesadilla in this quick and easy egg recipe that is satisfying for any meal of the day — breakfast, lunch or dinner!

Course: Breakfast, lunch
Keyword: egg, omelet, quesadilla
Servings: 1 serving
Ingredients
  • 2 large eggs
  • 1 tablespoon water
  • 1/8 tsp salt
  • 1/8 tsp pepper
  • 1 teaspoon olive oil
  • ½ cup slice mushrooms
  • ½ cup chopped fresh spinach
  • 1 to 2 oz grated Swiss cheese
  • 1 large 9” to 10” tortilla sized to fit your skillet
  • Garnish: Avocado slices
Instructions
  1. Whisk two eggs, water, salt and pepper in bowl; set aside.
  2. Bring 9 to 10-inch non-stick skillet up to medium heat; add oil.
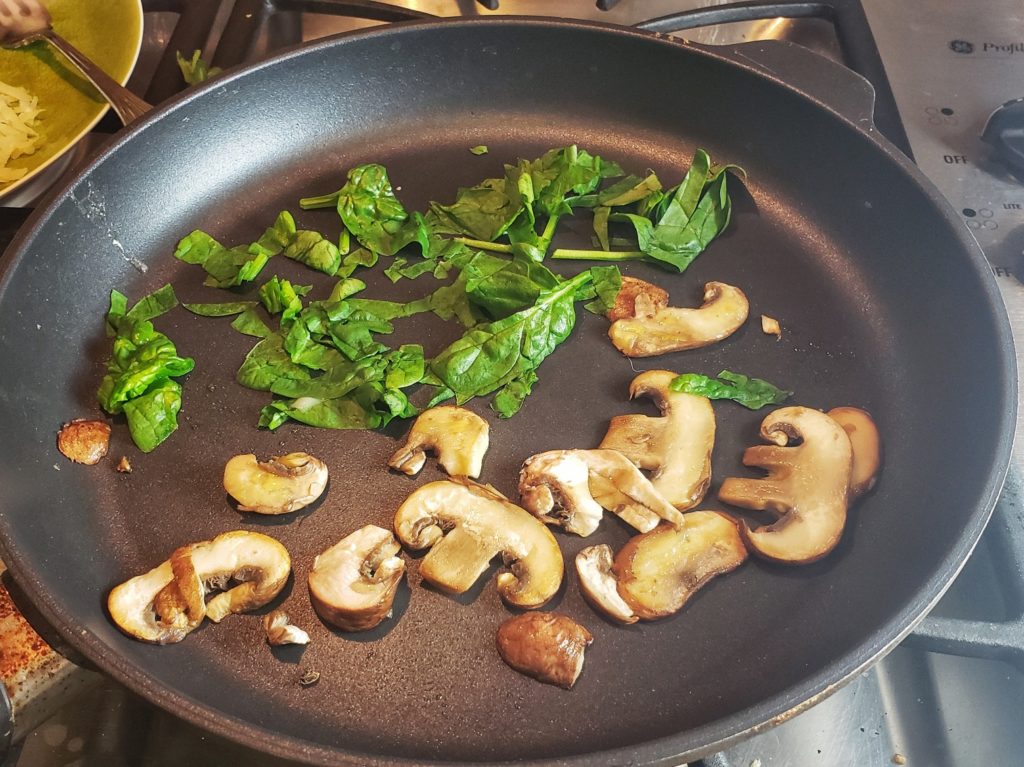
  3. Add mushrooms to skillet and saute for about 2 to 3 minutes until softened. Add spinach and stir around for another 30 seconds or until wilted a bit. Spread out evenly in bottom of pan.
  4. Pour whisked egg over vegetables, tilting pan and swirling egg a bit to cover entire skillet.
  5. Cook for about 2 minutes (without stirring) until almost set; just very lightly wet still on top.
  6. Top with half the cheese and tortilla.
  7. Carefully shimmy spatula under egg mixture to flip entire thing tortilla side down.
  8. Add remaining cheese to top egg side and cook an additional 1 minute.
  9. Flip tortilla in half (for a half-circle) and cook for another 1 minute on each side until tortilla golden brown.
  10. Cut in three wedges and serve with avocado.

Veggie & Labne Pizza with Pull-Apart Crust

This post is sponsored by Karoun Dairies as part of a blogger recipe contest.

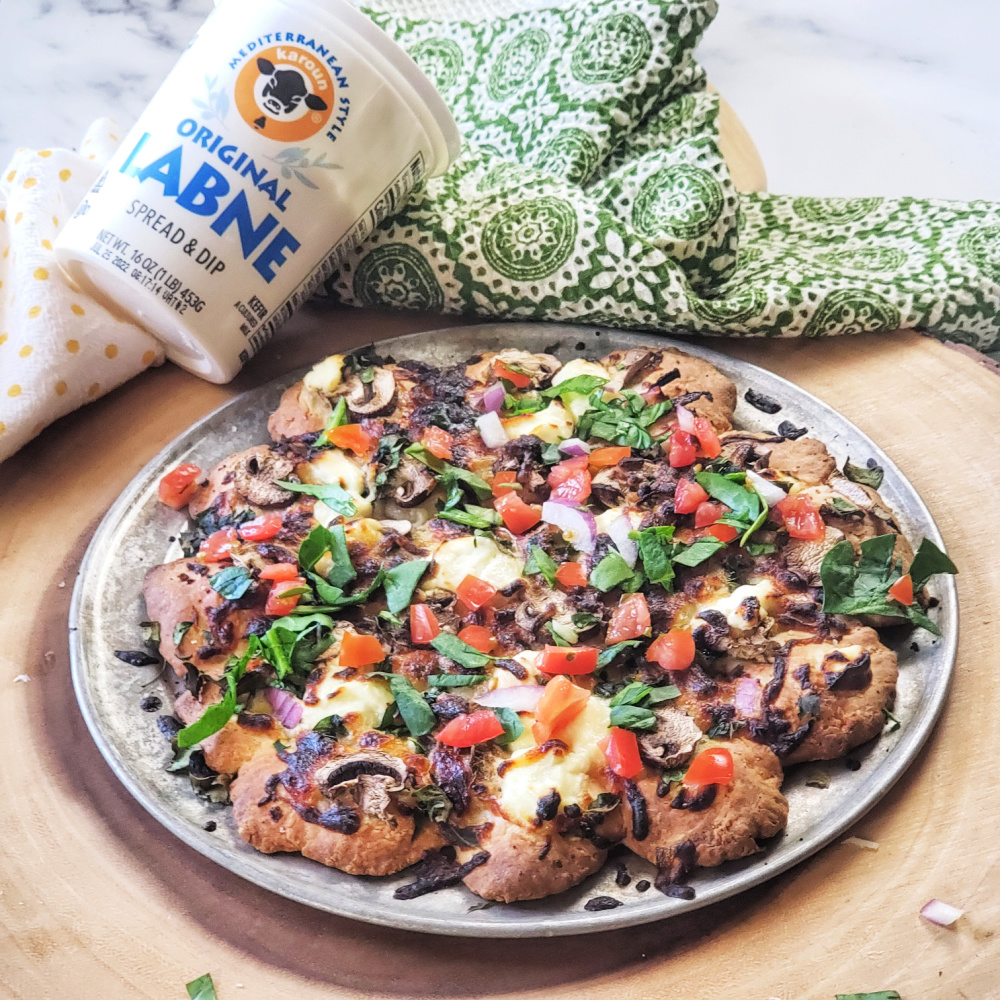
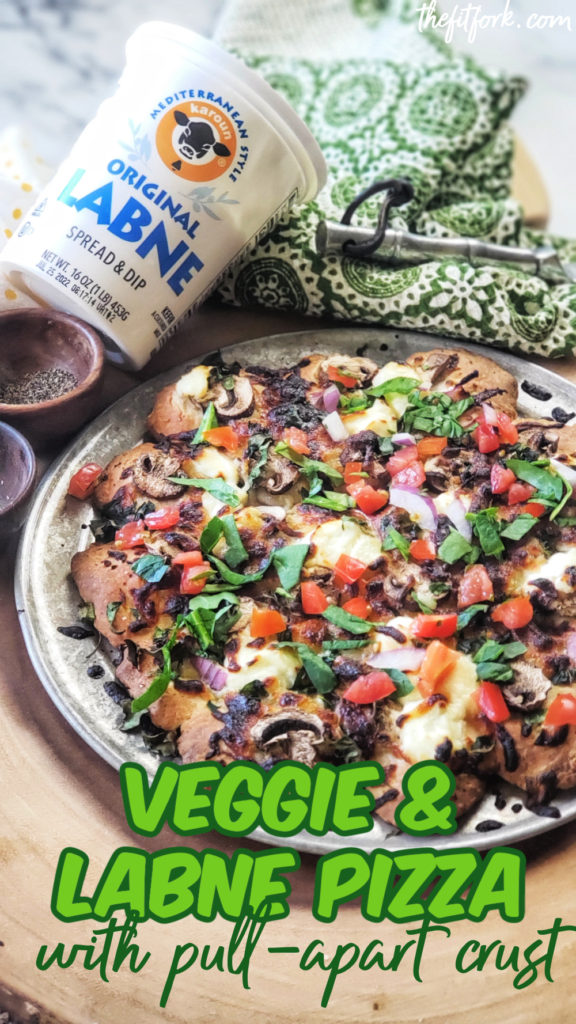
Treat yourself to pizza night, but don’t you dare resort to frozen or consider take out.! That’s because I have something even easier and so much better — My Veggie & Labne Pizza with Pull-Apart Crust.


Veggie & Labne Pizza with Pull-Apart Crust is a quick and easy dinner or appetizer solution that is ready in less than 30 minutes. The no-rise, three-ingredient crust features labne, a creamy kefir cheese, that keeps the quick crust tender yet crispy. Try the genius tip to make a “pull apart” crust so no pizza cutter or knife required. Top with your favorite veggies.  So fun for a quick dinner or appetizer to share.

Ready in just about 30 minutes (can delivery beat that?!), this simple pizza for two (or one, if you’re real hungry) even features a homemade crust!

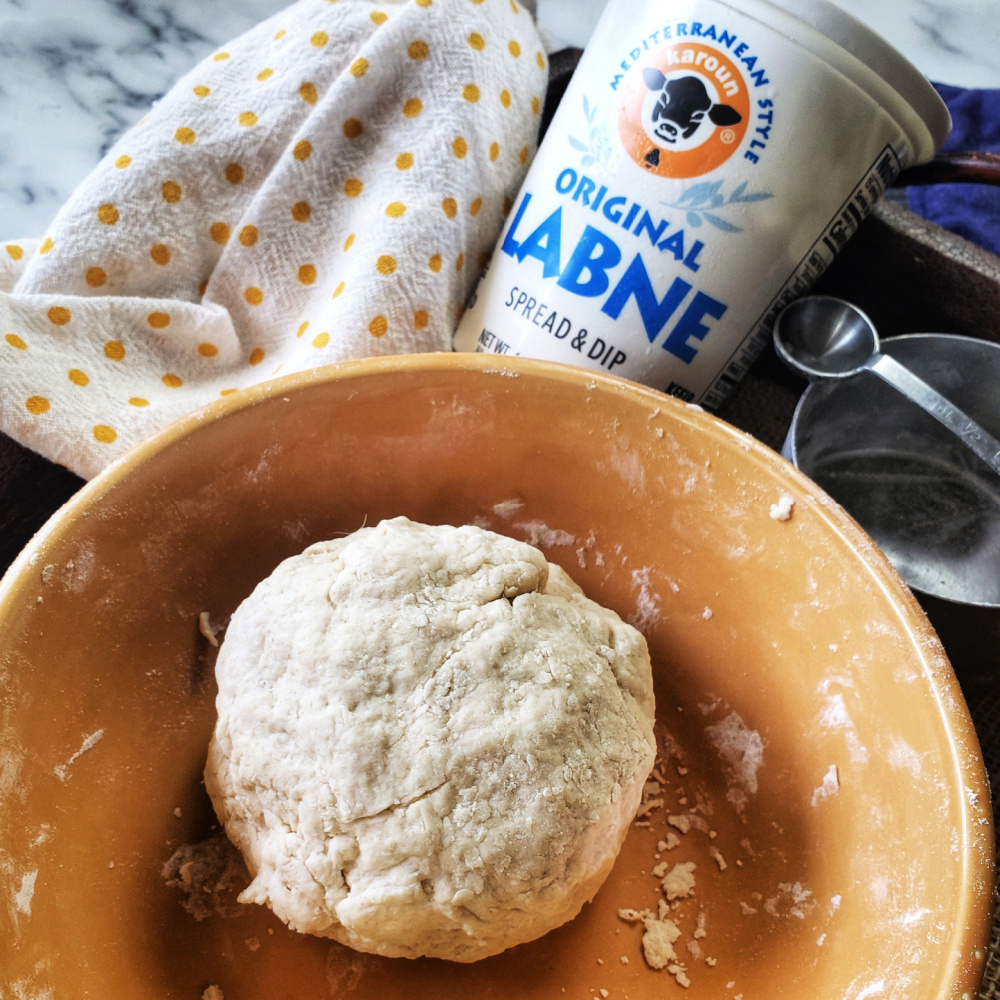
So much to say about this homemade crust. In need no rising, you just mix together three simple ingredients including flour (can swap in a gluten-free flour blend in needed), baking powder and labne (a thick, creamy, tangy kefir cheese resembling Greek yogurt, my opinion).  The labne helps keep the 3 ingredient crust delicious and tender on the inside, but crispy on the outside.

The flour-labne mixture will be a little crumbly, just ditch you spatula after a while and knead it together with your hands. Then, THIS IS NEAT, instead of doing a traditional crust rolled out and pinched up around the edges, make a pull-apart crust so that you (or you and a friend) can pull off a little pizza nibble at a time.

Labne Mediterranean style Kefir cheese from Karoun Dairies makes is the star in this three-ingredient, no-rise crust.

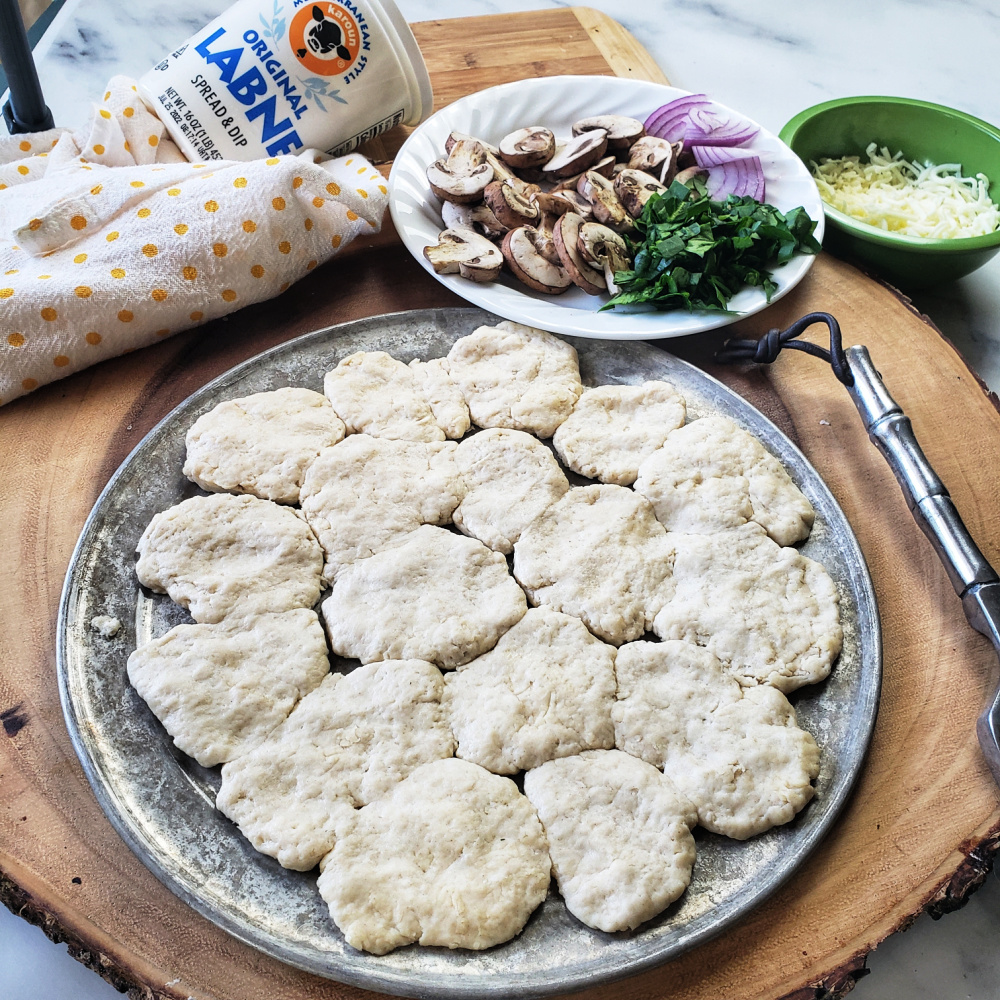
To do this, the big pizza dough ball is formed into smaller (about 1”) dough balls. This recipe yielded about 18 dough balls for me, but it doesn’t have to be a precise science. Those little balls are pressed down onto the pan (a 9” to 10” pan) until flattened into about ¼” thickness and the edges mostly meet. There may be a few places were a tiny bit of pan peeks through edge-to edge, that’s okay!

Labne Mediterranean style Kefir cheese from Karoun Dairies makes is the star in this three-ingredient, no-rise crust.

After the dough balls are pressed into the pan, top with cheese and veggies. Also, to make this pizza next level delicious and creamy, I like to dollop up to 1/2 cup more Labne Mediterranean Kefir Cheese. Then maybe a little more shredded cheese, because can you really have too much cheese on a pizza?!

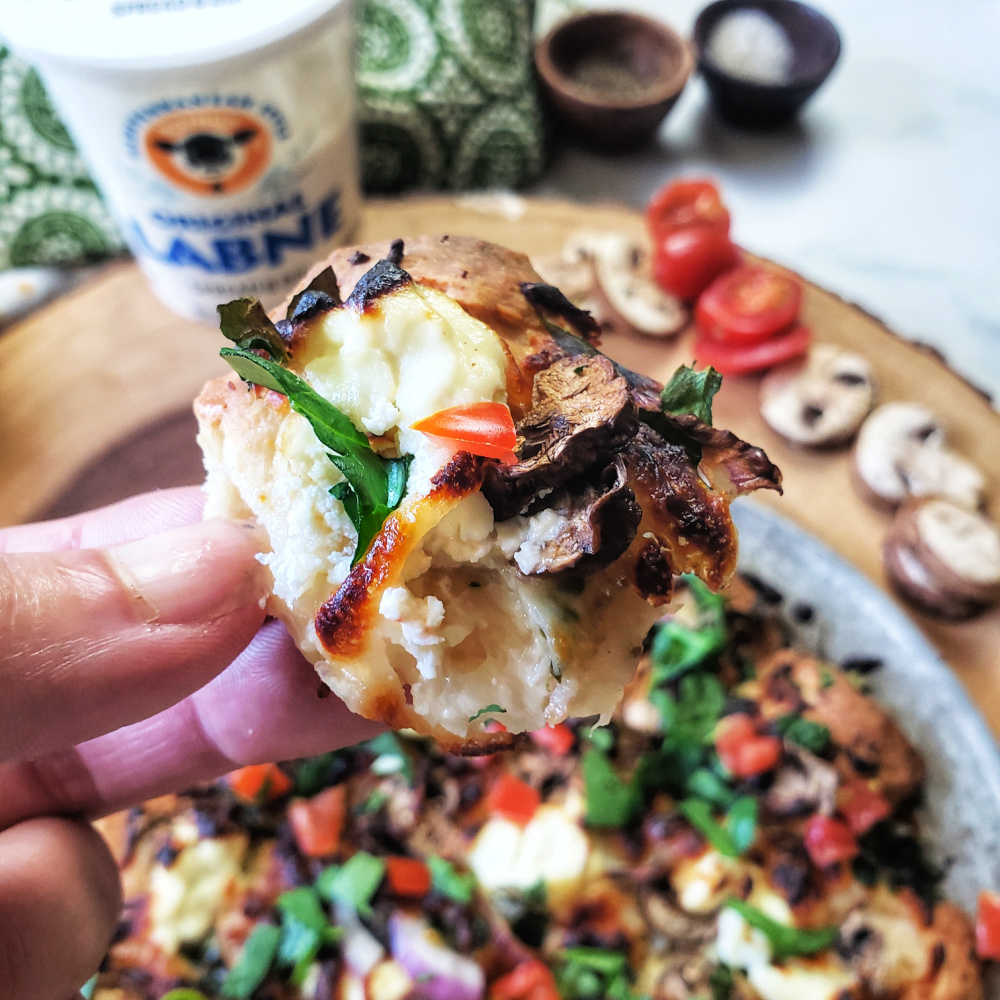
Bake for about 15-20 minutes, top with extra garnishes as desired, and enjoy! You don’t even need a knife or pizza cutter to enjoy this pull-apart crust pizza recipe.  Just grab the edge and give a little tug and you will be rewarded with a bite-sized morsel of creamy, cheesy, veggie loaded goodness. I love a labne pizza!


Veggie & Labne Pizza with Pull-Apart Crust is a quick and easy dinner or appetizer solution that is ready in less than 30 minutes. The no-rise, three-ingredient crust features labne, a creamy kefir cheese, that keeps the quick crust tender yet crispy. Try the genius tip to make a “pull apart” crust so no pizza cutter or knife required. Top with your favorite veggies.  So fun for a quick dinner or appetizer to share.

I’m so glad I found this Labne Mediterranean kefir cheese. In the past I’ve made a similar crust with plain yogurt, but I don’t think it turned out as tender and satisfying.  


Veggie & Labne Pizza with Pull-Apart Crust is a quick and easy dinner or appetizer solution that is ready in less than 30 minutes. The no-rise, three-ingredient crust features labne, a creamy kefir cheese, that keeps the quick crust tender yet crispy. Try the genius tip to make a “pull apart” crust so no pizza cutter or knife required. Top with your favorite veggies.  So fun for a quick dinner or appetizer to share.
Pin this for later!

 Since this may be a new type of cheese to you, let me tell you more about it. Labne Mediterranean Kefir Cheese from Karoun Dairies is a centuries-old, Mediterranean-style spreadable kefir. The taste is distinctively tangy, but pleasing! It’s smoother and thicker than yogurt and reminds me of a cross between Greek yogurt and cream cheese – oh my, so good and creamy!  It’s lower in fat than cream cheese and makes great alternative for a healthy lifestyle. Plus you also benefit from live probiotic cultures in every spoonful.

Visit Karoun Cheese to learn more or check them out on Facebook, Instagram, and Twitter for the latest news and recipes! #karoun, #karoundairies, #karounlabne, #labne

5 from 4 votes
Veggie & Labne Pizza with Pull-Apart Crust is a quick and easy dinner or appetizer solution that is ready in less than 30 minutes. The no-rise, three-ingredient crust features labne, a creamy kefir cheese, that keeps the quick crust tender yet crispy. Try the genius tip to make a “pull apart” crust so no pizza cutter or knife required. Top with your favorite veggies. So fun for a quick dinner or appetizer to share.
Veggie & Labne Pizza with Pull-Apart Crust
Prep Time
10 mins
Cook Time
12 mins
Total Time
22 mins
 

 Veggie & Labne Pizza with Pull-Apart Crust is a quickand easy dinner or appetizer solution that is ready in less than 30 minutes. Theno-rise, three-ingredient crust features labne, a creamy kefir cheese, thatkeeps the quick crust tender yet crispy. Try the genius tip to make a “pullapart” crust so no pizza cutter or knife required. Top with your favorite veggies. So fun for a quick dinner or appetizerto share.

Course: Appetizer, dinner, dinner, entree, pizza, starter
Cuisine: Italian, Mediterranean
Keyword: appetizer, blue cheese, labne, pizza
Servings: 2
Ingredients
  • ½ cup Karoun Mediterranean-style Labne Kefir cheese
  • 1 ½ teaspoons of baking powder
  • 1 cup flour or gluten-free flour baking blend
  • ¼ teaspoon garlic salt
  • 3/4 cup shredded mozzarella divided
  • 1/2 cup Karoun Mediterranean-style Labne Kefir cheese
  • 1/2 cup sliced mushrooms
  • 1/2 cup shredded spinach
  • ¼ cup red onion slices
  • ¼ cup chopped tomato
Instructions
  1. Preheat oven to 400F.
  2. In medium bowl, mix together Labne, baking powder and flour with spoon. Will be crumbly, then use hands to knead it together into a cohesive dough ball.
  3. Pinch of 1-inch dough balls (I got approximately 18) and place on a 9-inch to 10-inch pizza pan.
  4. Press balls down with fingers until flattened and edges mostly touching. It’s okay if there are a few spots of pan showing through.
  5. Sprinkle dough with garlic salt. Sprinkle with ½ cup shredded mozzarella and vegetables.
  6. Dollop up to ½ cup additional Karoun Mediterranean-style Labne Kefir cheese on top of veggies. Sprinkle with remaining ¼ cup of reserved mozzarella.
  7. Bake for approximately 12 minutes or until crust browned and cheese bubbling.
  8. No need for a knife or pizza cutter, just pull apart into pizza bites!

Air Fryer Banana with Oatmeal Cookie Crumble Topping

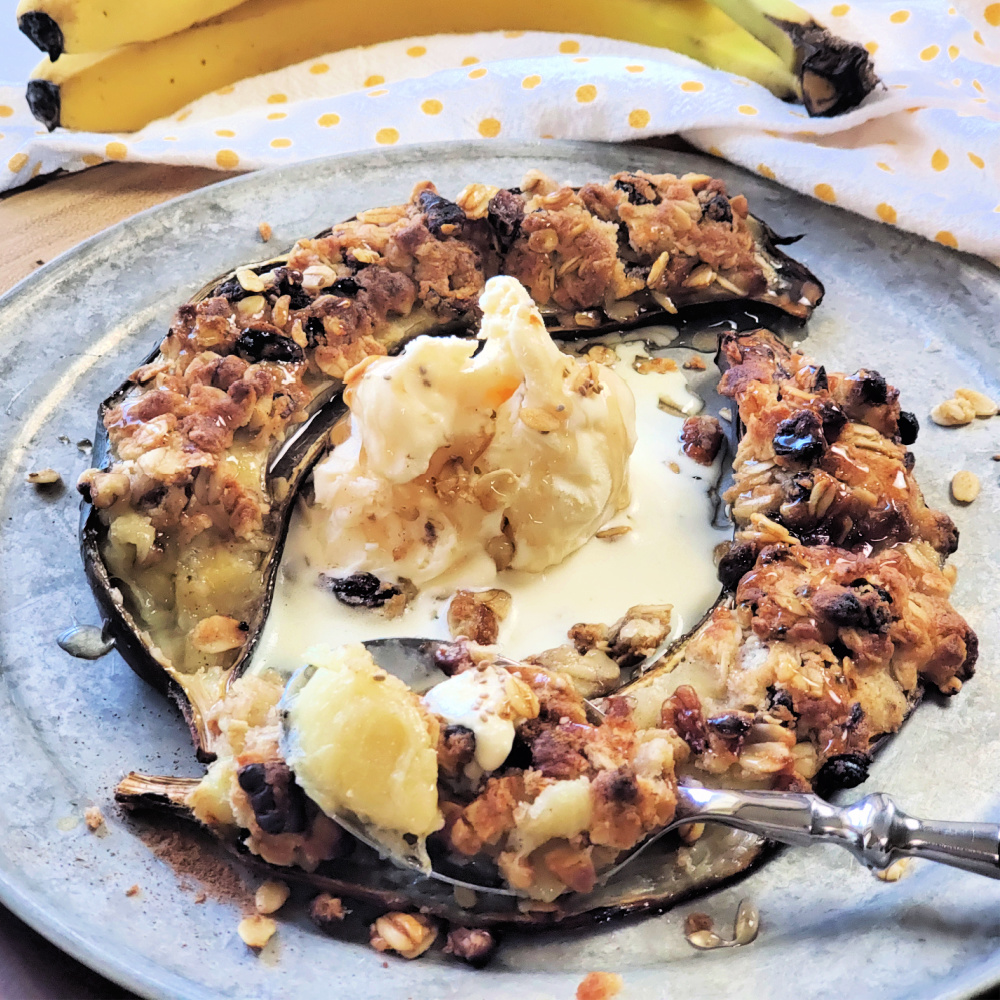
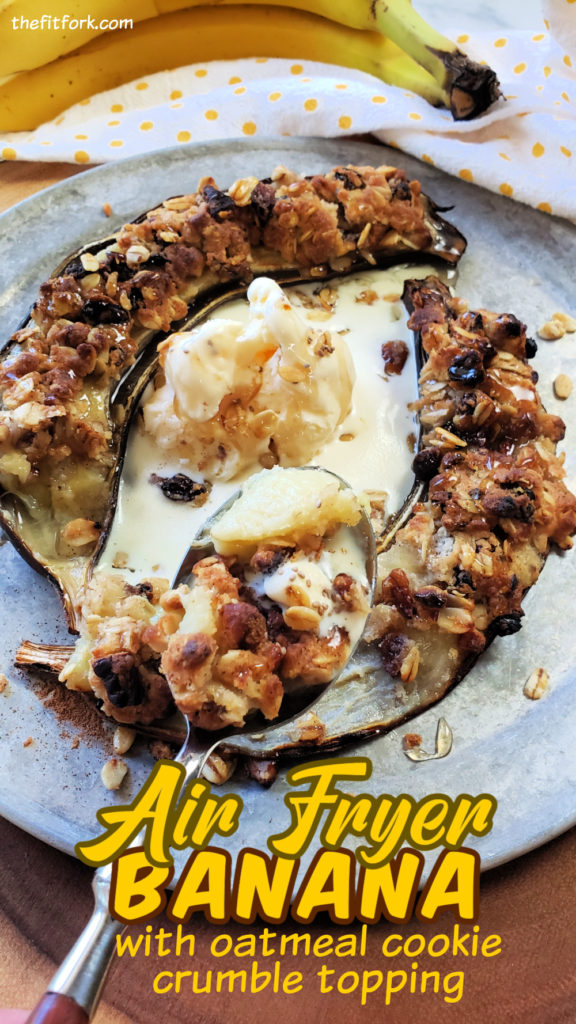
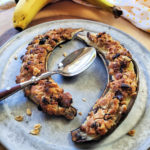
Air Fryer Bananas are the latest trend going around with the recipe crowd on social media . . . and I can see why this banana dessert recipe is so “a-peeling.” LOL!  In minutes, you can make an amazing banana dessert that cooks right in the skin, has almost no prep or clean-up, can be scaled up easily depending on the size and appetite of your crowd, and is incredibly delicious.

Banana dessert recipe, Air fryer bananas, Simple dessert recipe, banana recipes

When my kids were little, we used to frequently grill banana “boats” in foil and this air fryer banana recipe seemed like a similar concept to me!

Banana dessert recipe, Air fryer bananas, Simple dessert recipe, banana recipes

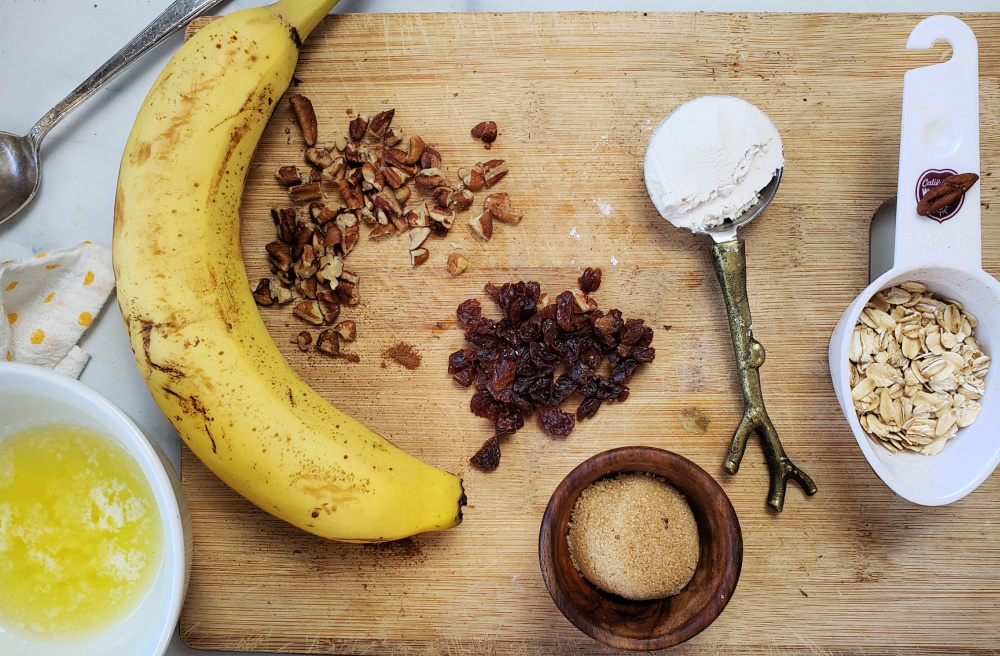
I decided to dress up my version of Air Fryer Bananas with a crumbled topping (reminiscent of a fruit crisp topping) but with the vibe of a comforting homemade oatmeal cookie!

The banana flesh softens quickly in the air fryer into a spoonable delight, and the buttery topping with oats, raisins and pecans browns up into a yummy crust.

Air Fryer Bananas are so EASY to make!

An Air Fryer Banana with Oatmeal Cookie Crumble Topping is ah-mazing served warm, as is – or pair up with something creamy like Greek yogurt, ice cream, or cottage cheese blended with a few drops of stevia.

Banana dessert recipe, Air fryer bananas, Simple dessert recipe, banana recipes
Pin this for later!

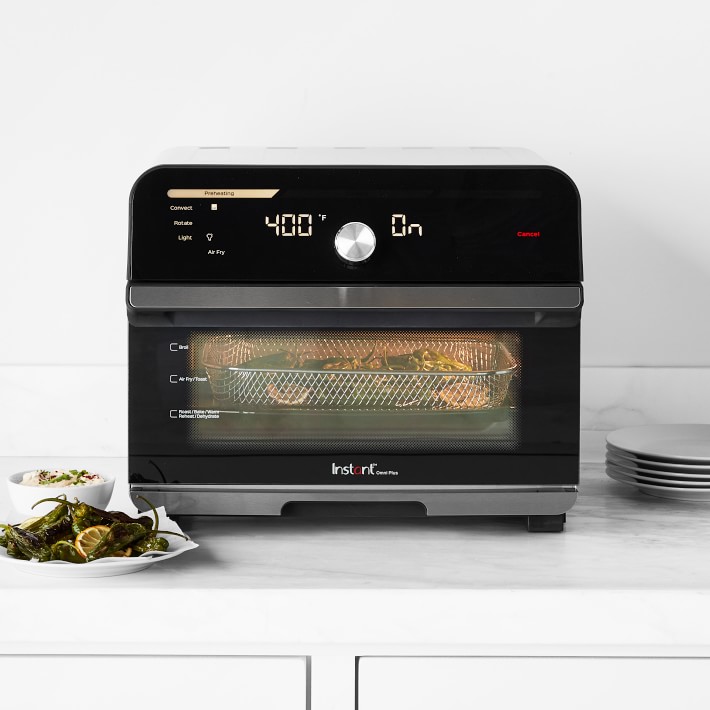
P.S. I use the Omni Plus XL Air Fryer Toaster Oven from Instant Pot — it’s like a little oven for my countertop — it broils, roasts, bakes air-frys and more plus I love the larger capacity and how the door and shelves work similar to my traditional oven set up. It’s just easy!

This is the toaster over – air fryer I use , the Omni XL from Instant.

Disclaimer: This post contains affiliate links. I may earn a small commission for purchases made, however the price to you remains the same. Proceeds are used to offset operating expenses for The Fit Fork. Thank you!

5 from 6 votes
Air Fryer Banana with Oatmeal Cookie Crumble Topping
Prep Time
2 mins
Cook Time
8 mins
Total Time
10 mins
 

Quick, easy and absolutely delicious, this simple dessert recipe features a banana air-fryed right in the it's skin. A healthier option for dessert — serve with Greek yogurt for extra "a-peel"!

Course: Dessert, Snack
Keyword: air fryer, banana, dessert
Servings: 2 servings
Ingredients
  • 1 large banana
  • 1 ½ Tbsp. butter melted
  • 1/8 tsp ground cinnamon
  • 1 Tbsp. coconut sugar date sugar or brown sugar
  • 2 Tbsp rolled oats
  • 2 Tbsp gluten-free baking blend
  • 1 Tbsp chopped raisins
  • 1 Tbsp chopped pecans
  • Toppings of choice
Instructions
  1. Pre-heat air-fryer to 350F .
  2. Slice banana in half crosswise and place in basket.
  3. In small bowl, mix up remaining ingredients (except toppings) into a “dough” and press onto each half of banana. Cook in air-fryer for about 5 to 8 minutes or until top golden brown.
  4. Serve hot with toppings of choice like whipped cream, ice cream, yogurt or whatever pleases you.
Recipe Notes

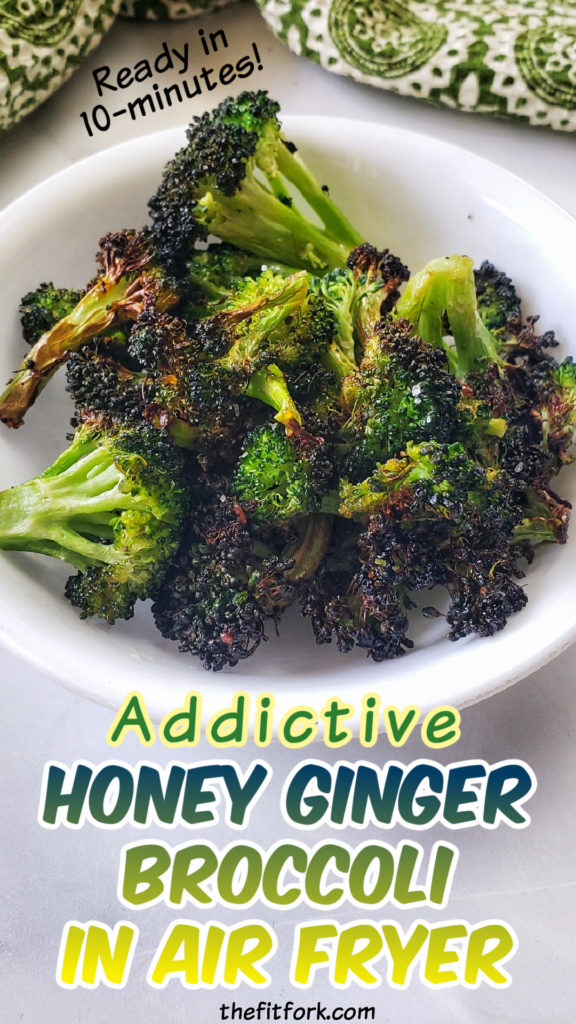
Addictive Honey Ginger Broccoli for Two in Air-Fryer

When I’m looking for a fast vegetable side dish, this easy broccoli recipe is a winner. A quick roast in the air fryer makes those little buds on the top “tree” part of the stalk deliciously crispy and lightly salty-sweet, while the stalk remains mostly tender. So delicious, it is seriously addictive!

A quick vegetable side dish in the air fryer that the whole family will love!  Slightly salty-sweet, crispy so delicious it's addictive!

This air fryer broccoli recipe only requires a few simple ingredients, takes less that 15 minutes prep to plate, and pairs deliciously with everything from fish, beef, chicken or to pile up in a nourishing grain bowl. My family thinks it’s the best broccoli recipe ever and will often eat it as a snack!

This broccoli recipe is SO EASY!

Choosing Broccoli for this Air Fryer Side Dish

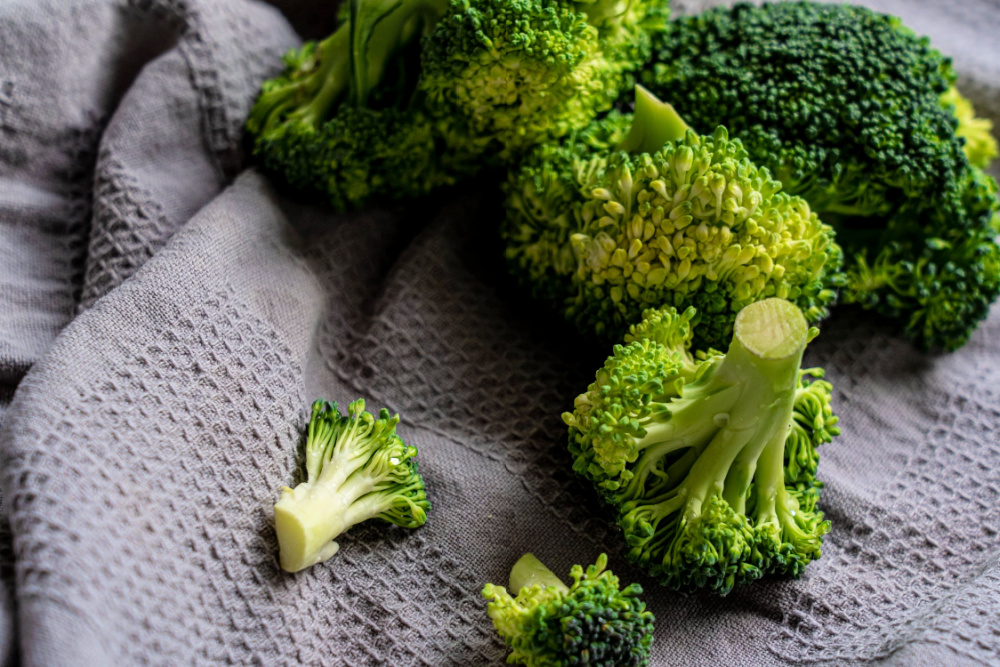
Select broccoli with for tightly closed, dark green florets and firm, thinner stalks. Thick stalks mean the plant is older and can yield a woody texture. Also, skip over heads of broccoli with yellowing or tiny yellow flowers, this also means they are over-mature and not the best for eating. Fresh broccoli will last about 3 to 5 days in the fridge, properly stored.

One shortcut I use on busy nights is to use pre-washed and bagged broccoli florets from the produce department, rather than cutting up the whole thing. Also, in a pinch, you can grab fresh broccoli florets off the salad bar offerings if your grocery store has one. However, I definitely don’t recommend using frozen broccoli for this air fryer broccoli recipe – that just won’t work. You’ll get a soggy, mushy result.

Can I Swap the Ginger Paste?

Another convenience I use in this air fryer broccoli is ginger paste, making my own rather than using the microplane grater on fresh gingerroot (although that’s a very fresh and vibrant option if you have a few extra minutes). Ginger paste is simply finely blended or minced ginger with a bit of oil and usually comes in a toothpaste-like tube or squeeze bottle so it’s easy to portion what you need. I would not recommend using dried ground ginger in this recipe, it just doesn’t lend the same zip! For another flavor option, you can also swap out the ginger for garlic! Or, for picky eaters, simply olive oil, salt and pepper.

What Air Fryer is Best for this Broccoli Recipe for Two?

Because this makes a small-batch of crispy broccoli intended for two people, it will fit in a standard, smaller “drawer” type air-fryer. I’ve also made it in my Instant Pot Duo Crisp (which has an air fryer function). If you are looking to double up the recipe to make more, then I would suggest using a larger toaster-oven style air fryer. I have the Instant Pot Omni Pro XL Air Fryer Toaster Oven, it has a large capacity cooing space, trays pull in and out like a traditional oven; and bakes, broils, air-frys, roasts, toasts and does nearly everything but wash dishes. Seriously, I love that think. However, if you don’t even have an air fryer at all, just bake at 400F degrees in a traditional oven for about 12-14 minutes, turning once with a spatula.

Storing Leftover Honey Ginger Broccoli

Store leftovers (if any!) in an air-tight container in the fridge for up to 3 days. However, it will lose its crispness to a degree. The best way I have found to reheat is to pop in microwave on “defrost” for up to a minute to take the chill off, and then crisp back up in a pre-heated air fryer for 2 or 3 more minutes, taking care not to burn the already browned parts.  This air-fryer broccoli isn’t suitable for freezer meal prep – it’s best enjoyed immediately.

Pin this for later!

Disclaimer: This post contains affiliate links. I may earn a small commission on purchases generated through links, however price to you remains the same. Proceeds help offset operating costs for The Fit Fork. Thank you!

5 from 5 votes
Honey Ginger Broccoli (for two) in Air Fryer
Prep Time
5 mins
Cook Time
10 mins
Total Time
15 mins
 

A simple, speedy, and super-tasty wat to prepare broccoli in the air fryer that the whole family will love!

Course: side, Side Dish, Snack, Vegetable
Keyword: air fryer, broccoli, paleo
Servings: 2 servings
Calories: 120 kcal
Ingredients
  • 6 ounces broccoli florets
  • 1 Tbsp olive oil
  • 2 tsp honey
  • 1/2 tsp ginger paste
  • 1/8 tsp salt
  • Dash pepper
Instructions
  1. Pre-heat air fryer to 390 F degrees.
  2. Wash, dry and chop broccoli into approximate 1-inch florets. Try to keep florets about the same size to promote even cooking.
  3. In bowl, whisk together olive oil, honey, ginger, salt and pepper
  4. Add florets and toss until well coated.
  5. Spread coated broccoli florets out into single layer in air fryer basket or tray.
  6. Air fry for 7 to 10 minutes, turning once, until “tree” part of broccoli is turning light brown and crispy.
Recipe Notes

Notes:

  • For a short cut, use bagged, pre-washed florets or purchase from the salad bar.
  • Smaller florets will cook faster than large florets.

Nutrition:

  • 120 cal, 8g fat, 25g carb, 3g fiber, 3g protein per serving