
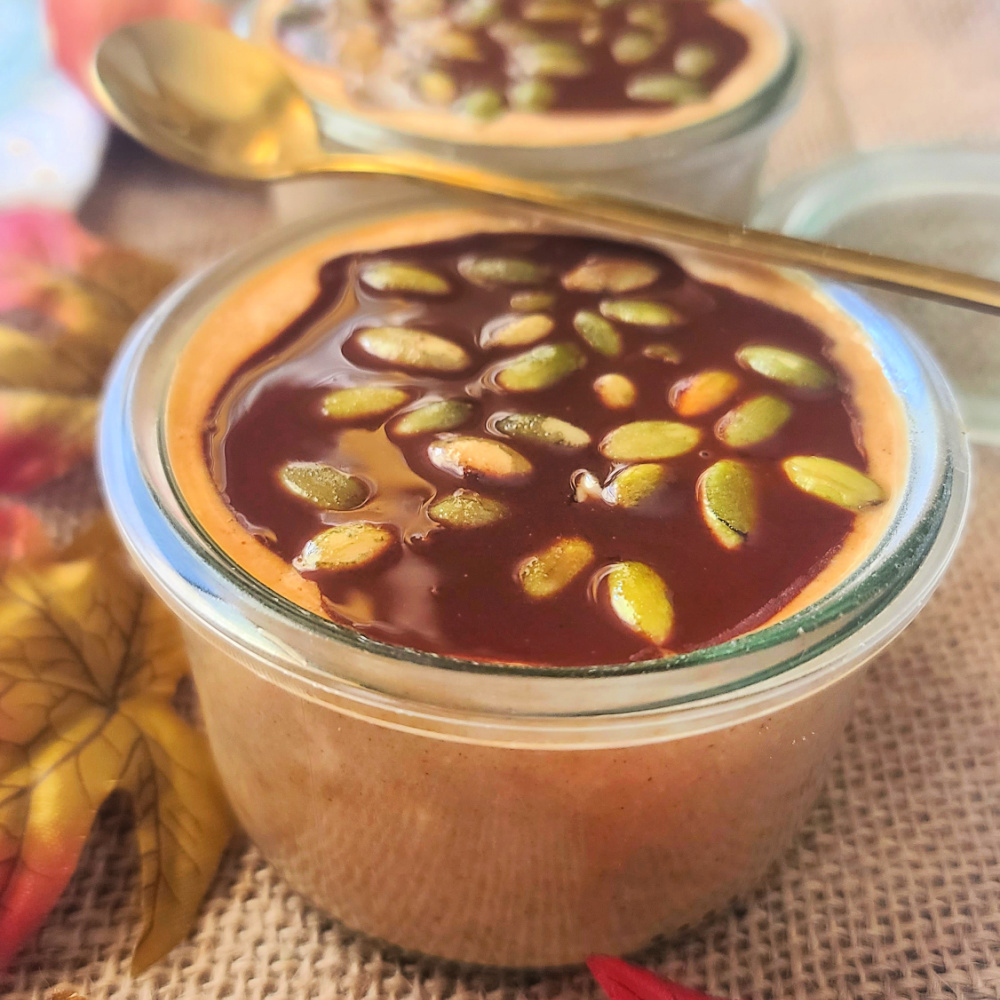
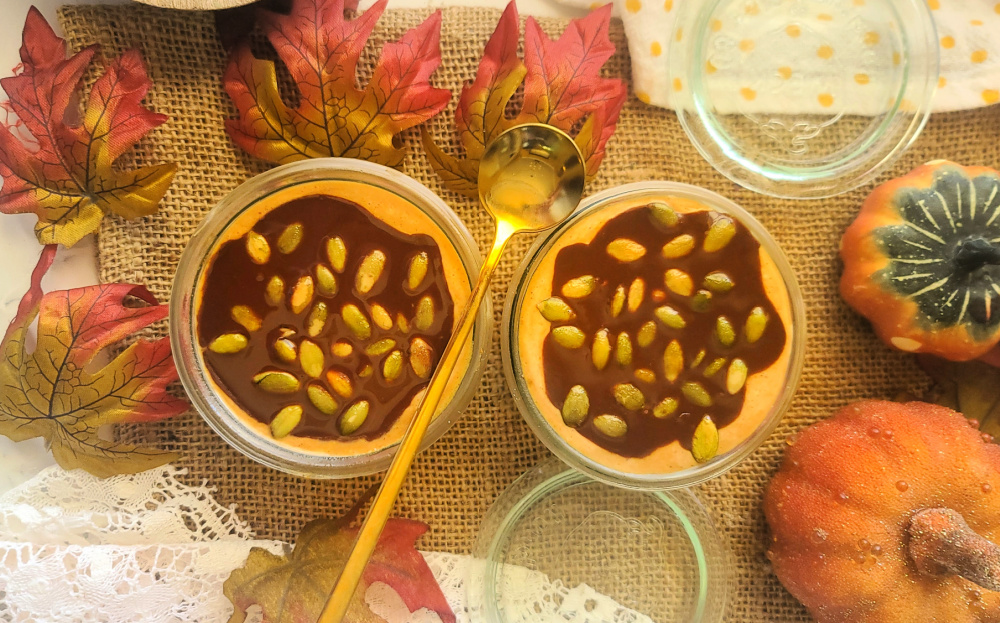
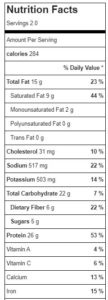
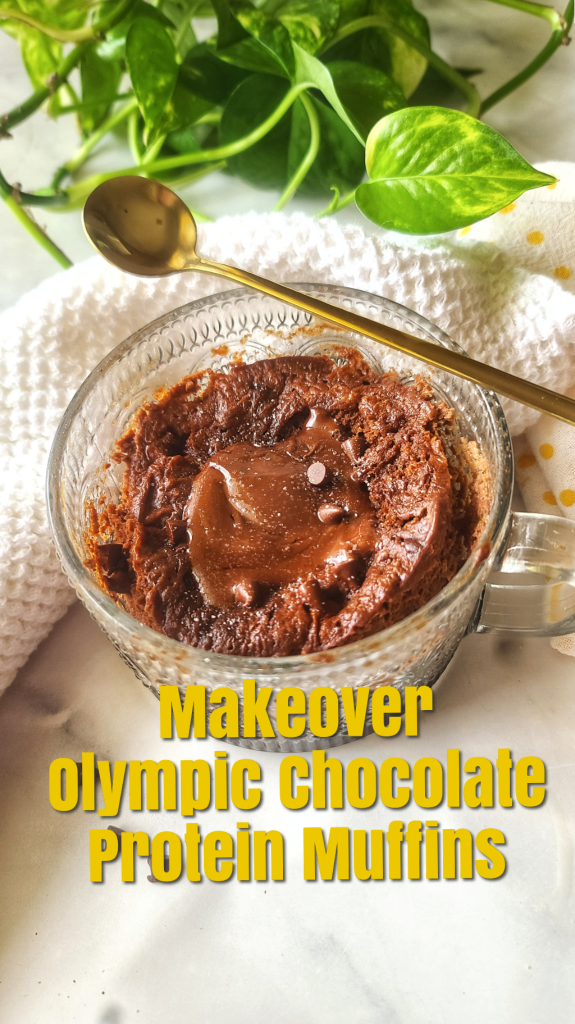
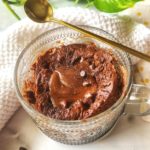
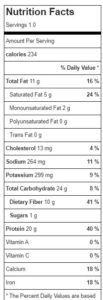
Fall is officially here, which means it’s time to indulge in all things pumpkin spice! But what if you could enjoy that iconic fall flavor in a healthy, protein-packed treat? Well, say hello to my Pumpkin Spice Latte Protein Cheesecakes—a no-bake dessert that you can whip up in minutes and is perfectly portioned in single servings! Makes two; each with 284 cal, 15g fat, 17g net carb, 26g protein
These cheesecakes are perfect for when you’re craving something sweet but want to keep it light and nourishing. Made with smooth blended cottage cheese and a whey-protein coffee mix, each cheesecake offers a serious protein boost while keeping things creamy and delicious. Plus, you’ll get a little caffeine kick, about the same as half a cup of coffee, to keep you energized throughout the day.
BENEFITS OF PUMPKIN SPICE LATTE PROTEIN CHEESECAKES
Healthy Ingredients: Cottage cheese and whey protein coffee mix create a nutrient-dense base that’s high in protein and low in sugar.
Energy and Focus Boost: Thanks to the whey protein coffee mix, you get a modest kick of caffeine in each serving (equivalent of about ½ cup coffee) to help you smash goals through they day.
Fall Flavors: With canned pumpkin and pumpkin pie spice, you’ll get that cozy autumn vibe in every bite.
Easy to Make: These cheesecakes are no-bake, single-serving, and can be prepped in just a few minutes. They’re ideal for busy mornings, a post-workout snack, or a guilt-free dessert.
Chocolate Shell Topping: Sugar-free chocolate chips melted with a touch of coconut oil create a rich, crunchy shell that hardens in the fridge. It’s the perfect contrast to the creamy filling!
WHEN TO ENJOY PUMPKIN SPICE CHEESECAKE WITH PROTEIN
Post-Workout: High in protein, these cheesecakes will help refuel, support muscle management, and satisfy hunger after a workout.
Dessert: Indulge in a sweet treat and satisfy cravings that won’t derail your health goals.
Breakfast: Yes, these pumpkin coffee cheesecakes are healthy enough to start your day with! No sugar crash, just lots of sustained energy here! Plus, the caffeine from the coffee mix adds a nice little morning boost.
TIPS FOR MAKING PSL PROTEIN CHEESECAKES
Blending: This recipe calls for blending cottage cheese for a smooth and creamy texture. For the small amount required, I find that using a personal-sized blender works best – or blending the entire container and using what you need, and saving the rest for another use.
Leftover Pumpkin: You will have leftover canned pumpkin from this recipe. If you don’t have another use for it in the next couple days, freeze in portions (I like ¼ cup in muffin tins) to thaw out and use later in smoothies, oatmeal, baked pumpkin protein recipes and more!
No-Caffeine Version: Swap out the protein coffee mix for an equal amount of vanilla, cake batter, or pumpkin-flavored whey protein. Continue with the rest of the recipe as directed.
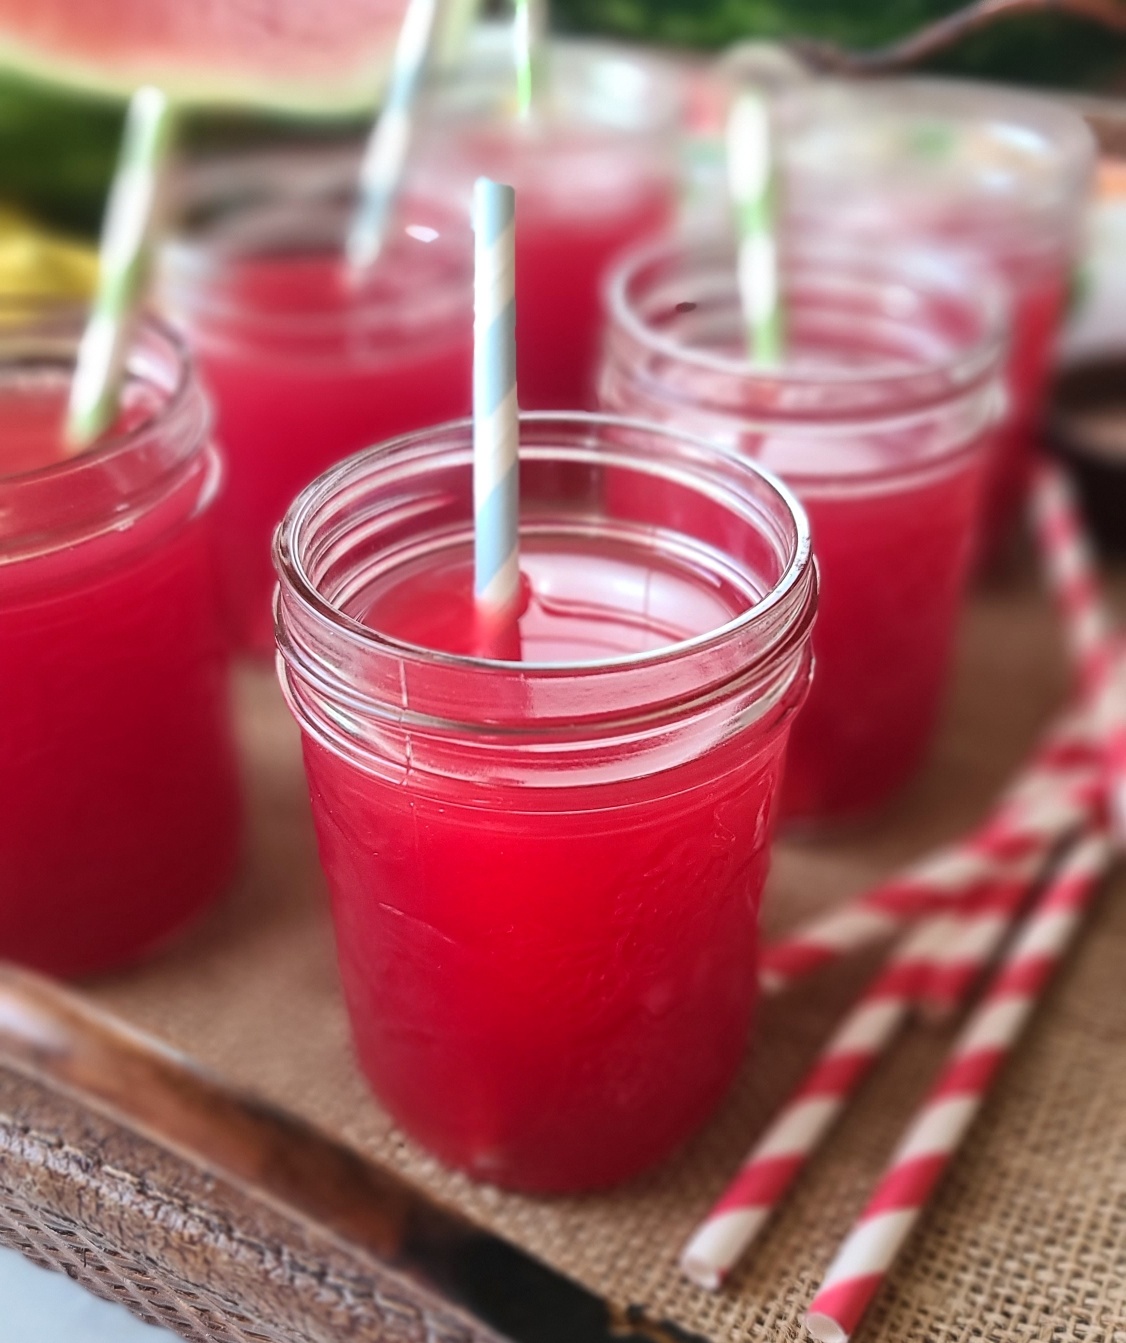
Containers: I like to use 6-8 oz. container with air-tight lid, like a canning jar — like these wreck jars in photos.
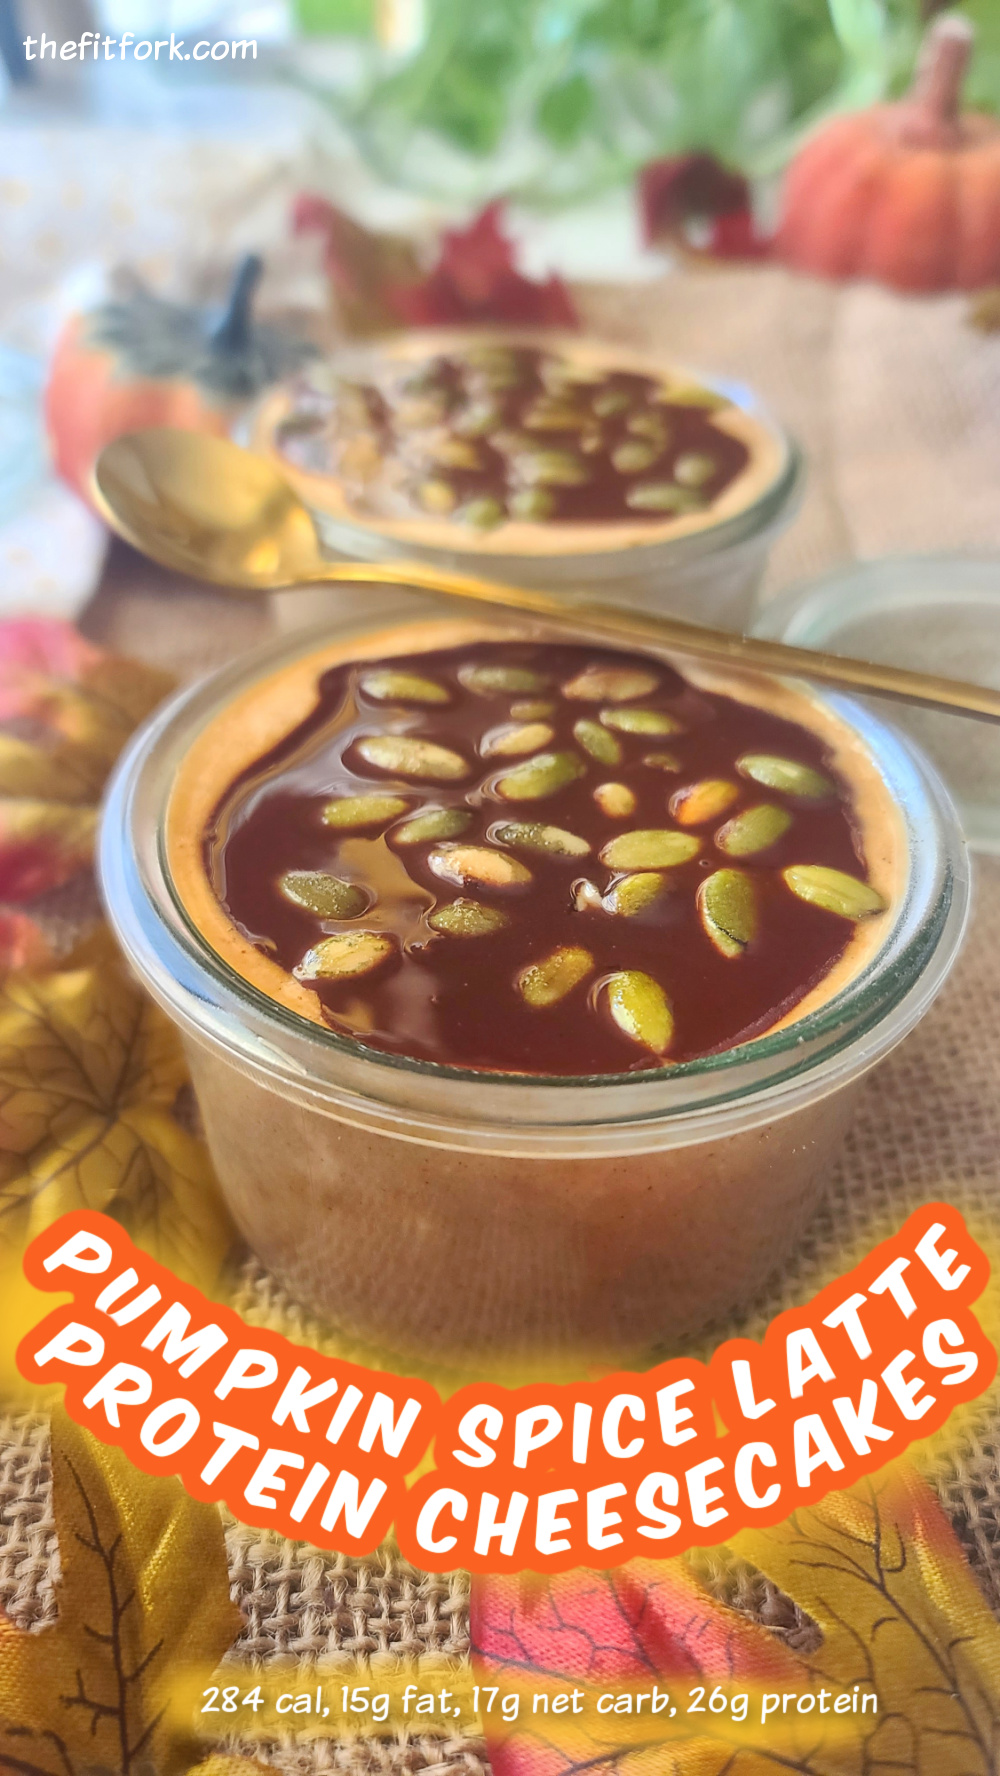

Pumpkin Spice Latte Protein Cheesecakes—a fall-flavored no-bake dessert that you can whip up in minutes and is perfectly portioned in single servings! Makes two. each with 284 cal, 15g fat, 17g net carb, 26g protein
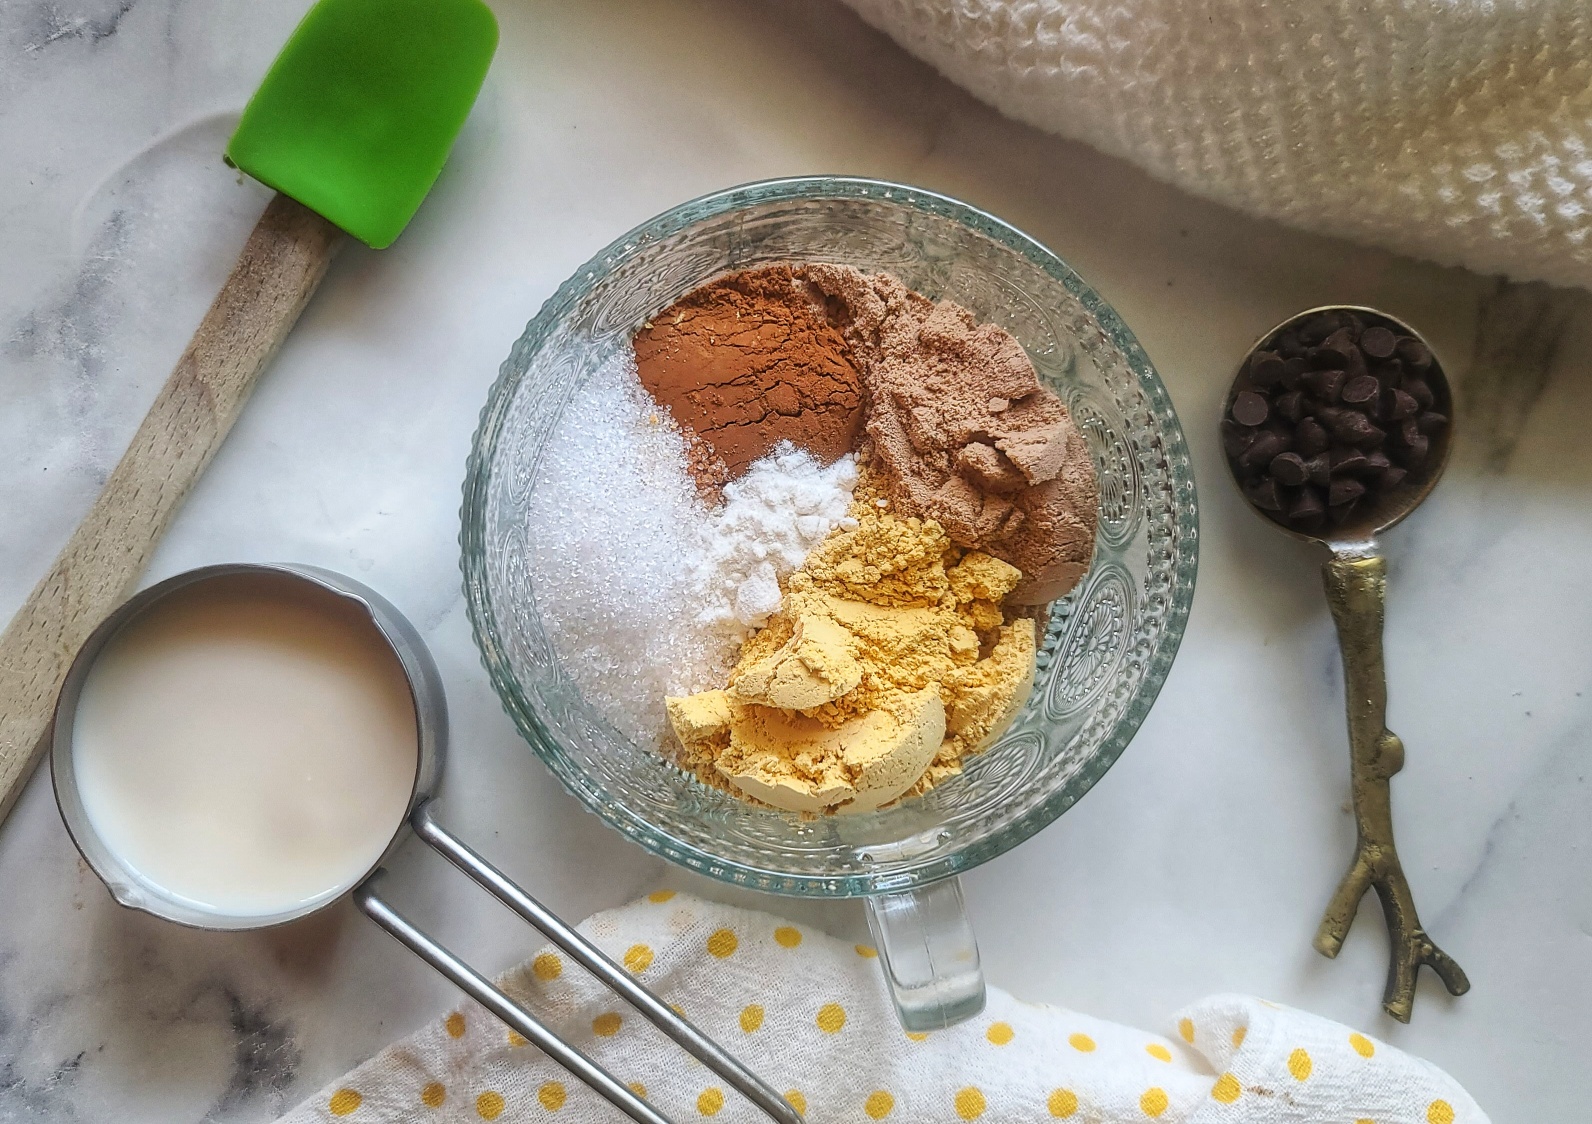
- 1 cup 2% cottage cheese, blended
- 0.33 cup mashed, pumpkin puree
- 0.25 tsp ground cinnamon
- .25 tsp pumpkin pie spice
- 2 scoops coffee whey protein (equals 32 grams) (I used Chike)
- optional a few drops of liquid stevia or monk fruit if not sweet enough for you.
- 3 Tbsp sugar-free chocolate chips
- 1 tsp coconut oil
- 1 tsp pumpkin seeds
-
Add blended cottage cheese, pumpkin, spices, and coffee whey protein mix
-
together and stir until smooth.
-
Taste, and if not sweet enough for your liking, add 5-10 drops of liquid stevia or monk fruit.
-
Divide mixture among two small bowls, approx. 6-8 oz.
-
In small microwave safe dish, melt chocolate chips and coconut oil together for 45 to 90 seconds (stirring up every 20 seconds or so, until smooth and glossy). Pour evenly in a layer between the two cheesecakes.
-
Sprinkle with a few pumpkin seeds, let set in the fridge 15 minutes to s
This post contains Amazon affiliate links.


