High Protein Banana Pudding with Cottage Cheese

Every time I eat a bite of my High Protein Banana Pudding recipe, it’s like a nostalgic trip down memory lane – except with less sugar, less fat, and more protein! That’s very “a-peeling” to my fitness nutrition goals!

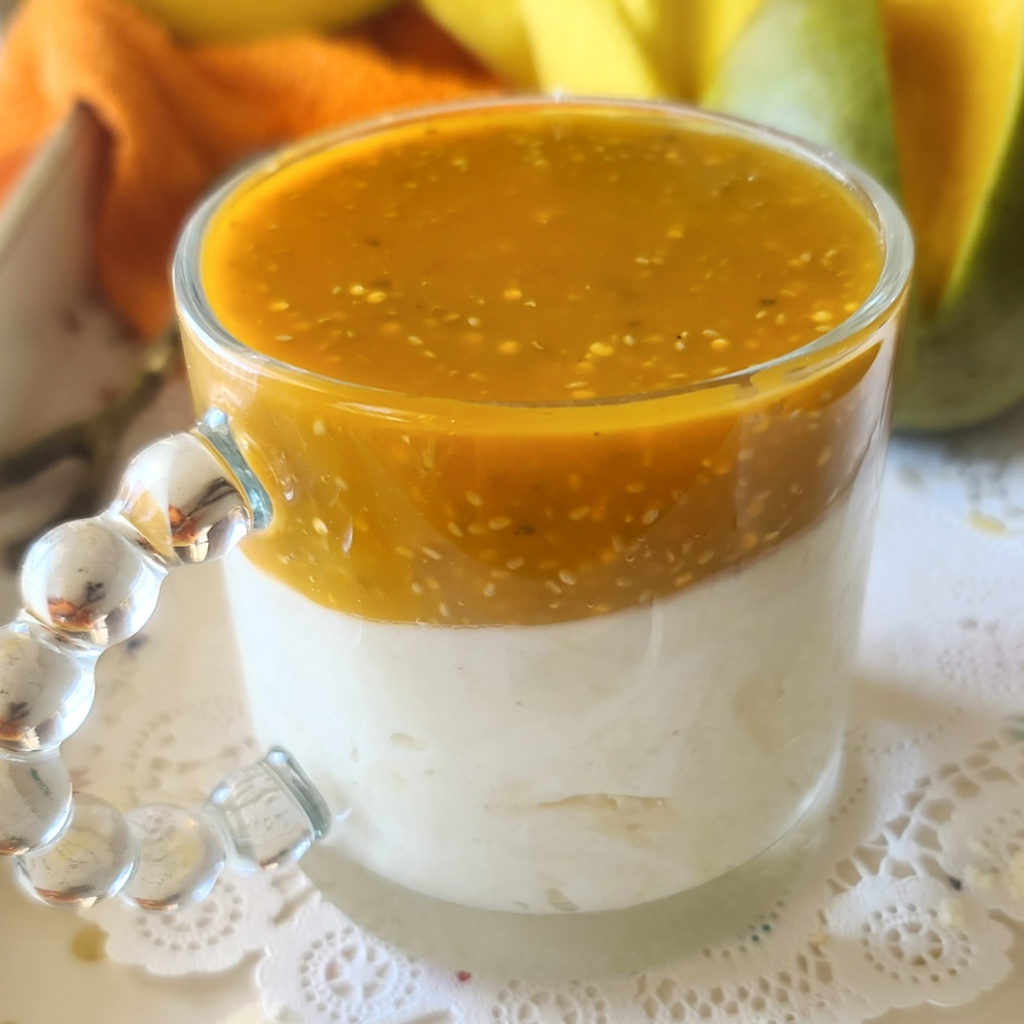
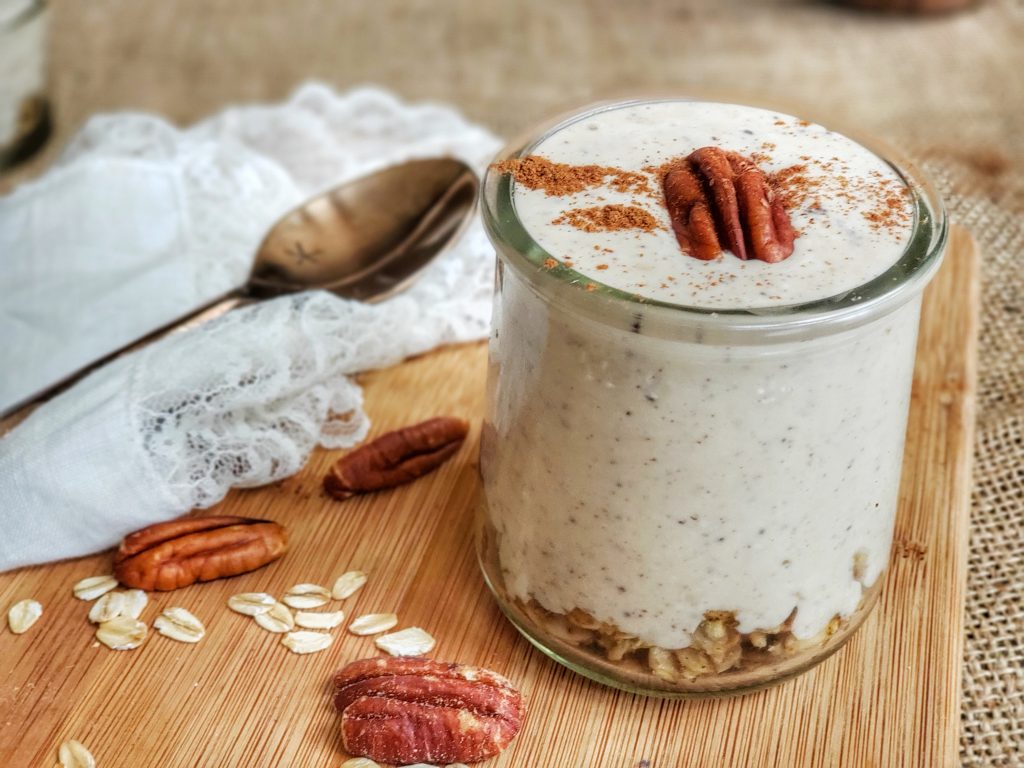
High Protein Banana Pudding: A healthy twist on this classic comfort food allows you to enjoy dessert with no guilt while making gains on your daily protein goals! Only 285 calories per serving, with 30g protein! Lower carb, lower, sugar, gluten-free.

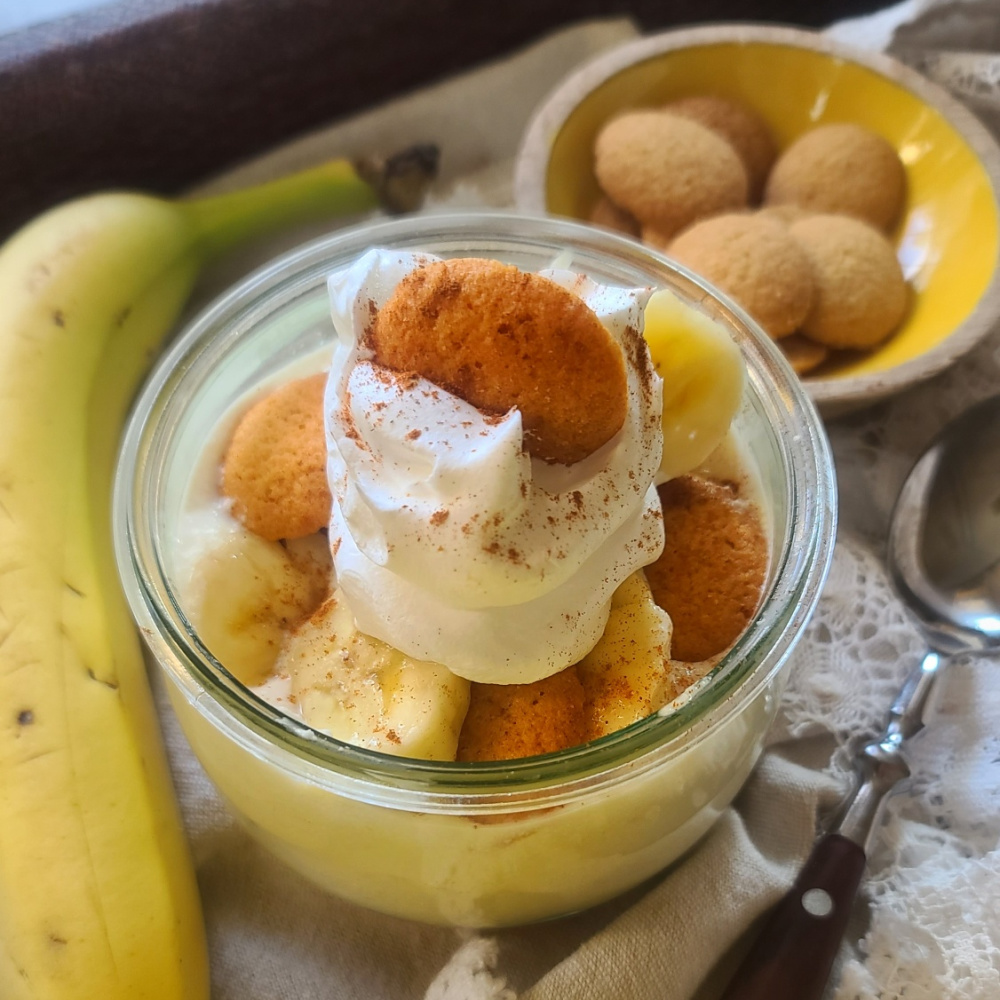
Indulge in guilt-free dessert-eating, all while making gains on your daily protein intake. Cottage cheese and protein powder, blended with a banana creates pudding-like mixture that can be layered with banana slices and low-carb vanilla wafers.

Each serving of this cottage cheese banana pudding has 30g protein and 285 calories! A bowl full makes a great workout snack, healthy dessert – or even balanced breakfast (hey, there’s fruit in it!!)

 This lower carb banana pudding blends up easily in a smoothie-sized, smaller personal blender – the recipe yields two servings.


High Protein Banana Pudding: A healthy twist on this classic comfort food allows you to enjoy dessert with no guilt while making gains on your daily protein goals! Only 285 calories per serving, with 30g protein! Lower carb, lower, sugar, gluten-free.

You can use the protein powder of your choice: whey, casein, plant-based, or whatever. You may have to add a splash more milk, depending on what type you use – the way it thickens up varies by product.

I used a plant-based protein powder from Nuzest and my milk suggestion in recipe is based on that.  Save 15% on Nuzest with discount code: FITFORK

High Protein Banana Pudding: A healthy twist on this classic comfort food allows you to enjoy dessert with no guilt while making gains on your daily protein goals! Only 285 calories per serving, with 30g protein! Lower carb, lower, sugar, gluten-free.
I used Highkey Vanilla Wafers which are low carb and gluten free.

Whip up this banana cottage cheese recipe quickly – it only takes about 5 minutes, start to finish. No need to let it thicken in the fridge like a boxed pudding mix. It’s best eaten within a few hours after preparation (keep chilled, of course). Any leftovers may be also be kept covered in the fridge for a couple days. However, the banana blended into the cottage cheese and the banana slices may turn slightly light brown. It’s still perfectly fine to eat, the fruit has just come into contact with air and oxidized.

As an Amazon Influencer and Nuzest Affiliate, I earn from qualifying purchases.

5 from 5 votes
High Protein Banana Pudding: A healthy twist on this classic comfort food allows you to enjoy dessert with no guilt while making gains on your daily protein goals! Only 285 calories per serving, with 30g protein! Lower carb, lower, sugar, gluten-free.
High Protein Banana Pudding with Cottage Cheese
Prep Time
5 mins
Total Time
5 mins
 

A healthy twist on this classic comfort food allows you to enjoy dessert with no guilt while making gains on your daily protein goals! Only 285 calories per serving, with 30g protein! Lower carb, lower, sugar, gluten-free.

Course: Dessert, Snack, workout
Cuisine: American, Southern
Keyword: banana, cottage cheese, high protein, protein powder
Servings: 2 servings
Calories: 285 kcal
Ingredients
  • 1 cup 2% cottage cheese
  • 1 to 2 tablespoons milk as needed
  • 1 large ripe banana divided
  • 1 scoop protein powder vanilla
  • ¼ cup sugar-free fat-free non-dairy topping
  • 1 ounce low-carb gluten-free vanilla wafers
Instructions
  1. Add cottage cheese, 1/2 banana, 1 Tbs. of milk, and protein powder to blender and process until smooth, scraping down sides as needed.
  2. If mixture seems too thick (which may happen depending on type of protein powder used), then add in the remaining 1 Tbsp milk. However, it is better to have too thick than too runny, so use extra milk sparingly.
  3. Add to bowl and layer ½ of cookies and ½ of the remaining banana slices. Pour in “pudding” mixture and top with remaining cookies and banana slices. Dollop with non-dairy topping. If desired, sprinkle with cinnamon.
Recipe Notes

Makes 2 servings, each serving: 285 cal, 9g total fat (5g saturated), 29g total carb (7g fiber, 12g sugar), 30g protein

No-Sugar Peanut Butter-Chocolate Protein Poke Cake

No-Sugar Peanut Butter-Chocolate Protein Poke Cake is a quick and easy dessert that works with a lower carb, less sugar lifestyle. It’s a favorite for nearly every occasion! Each serving has 186 calories, 6g net carb, 12g fat and 10g protein when prepared as directed. That’s winning!

Poke cakes bring up nostalgic memories of baking up batter in a sheet pan, poking holes in the top, and then pouring on a sauce that gets sopped up by the holes. Traditionally though, the sauces have leaned toward the high-sugar side – sweetened condensed milk, chocolate sauce, pudding, and such. This makeover poke cake recipe uses peanut butter, sugar-free chocolate chips, milk (and some protein powder!) to create a better-for-you yet still decadent cake filling.

Quick, easy and makes 9 servings!

TIPS FOR MAKING PROTEIN POKE CAKE

Cake Mix: For convenience, I used a Fit Bake low-carb yellow cake mix (7-ounce pouch) sized to make a single round layer cake or 8”X8” square cake. You can use any cake mix that you like, just be aware that the Nutrition Facts will change. ALSO, if you are using a mainstream cake mix (like Betty Crocker, etc), those are typically 15-oz for two layers (so you will need to measure out ½ of dry mix for this recipe)

Pan Size: As noted, 8×8” brownie pan will work and is my preference. A 9” round cake pan works too! Anything bigger, the cake becomes too thin. I’ve never made as cupcakes, but the recipe should yield about 12 traditional-sized cupcakes or 6 jumbo cupcakes.

Filling: Use the creamy nut putter of your choice. I did peanut butter, but you can do almond butter, etc. Sugar-free chocolate chips helped keep the carb content down, and a scoop of protein powder added some extra nutrition (really any flavor will work – chocolate, vanilla, cake batter, etc. – as long as you think it sounds good)! I used Nuzest (see below for savings)

Toppings: For convenience, I used a sugar-free non-dairy whipped topping, but you could make your own whipped cream and sweeten with stevia drops. Extra sugar-free chocolate chips and some chopped peanuts for texture and flair!

This post contains affiliate links.

5 from 4 votes
Fun and flavorful, this easy-to-make poke cake will delight peanut butter and chocolate lovers. It's a lower carb and higher protein, so you can enjoy without guilt! A sugar-free and gluten-free dessert for any occasion
Sugar-Free Peanut Butter Chocolate Poke Cake
Prep Time
5 mins
Cook Time
25 mins
Cooling
10 mins
Total Time
40 mins
 

Fun and flavorful, this easy-to-make poke cake will delight peanut butter and chocolate lovers. It's a lower carb and higher protein, so you can enjoy without guilt! Sugar free and gluten free!

Course: desesrt
Cuisine: American
Keyword: cake, chocolate, gluten free, low carb, peanut butter, protein powder, sugar-free
Servings: 9 servings
Calories: 186 kcal
Ingredients
Cake:
  • 1 7- ounce package Fitbake Yellow Low-carb Cake Mix or similar
  • 3 eggs
  • ½ cup Greek yogurt 0% fat
  • 2 tbsp water
Filling:
  • 1/3 cup creamy peanut butter
  • ½ sugar-free chocolate chips divided
  • ½ cup milk of choice
  • 1/3 cup protein powder either vanilla or chocolate will work
Topping:
  • 4- oz Sugar Free Non-Dairy Topping like SF Cool Whip – ½ the container
  • 1 tbsp chopped peanuts
Instructions
  1. Preheat oven to 350F.

  2. In mixing bowl, mix up cake ingredients and pour out into an 8×8” baking pan that has been sprayed with cooking spray. Bake for 25 minutes. Remove from oven and let cool in pan for 5-10 minutes.

  3. While cake is cooling, make peanut butter chocolate filling. In microwave-safe bowl, add milk, peanut butter and 1/3 cup of the chocolate chips (reserving the remaining for topping). Microwave in 20 second increments, stirring between, until chocolate melted and a smooth consistency achieved. Stir in protein powder.

  4. With end of a wooden spoon, poke holes in cake approximately ¾” apart, all over cake. Pour filling over cake, spreading around with spatula. Let cool a few minutes before spreading around whipped topping and then sprinkling with remaining chocolate chips and chopped peanuts.
  5. Cut into 9 squares. Store leftovers, covered, in fridge for up to 5 days.

Recipe Notes

Chocolate Cookies ‘n Cream Collagen Mini Donuts

It’s been a hot minute since I used my mini donut pan, but these Chocolate Cookies ‘n Cream Collagen Mini Donuts are SO GOOD that I’ll never let that pan get lost in the back of the cabinet again. *

Bake up these yummy chocolate collagen donuts with a cookies 'n creme topping in the oven -- better for you with less fat and calories over traditional doughnuts. This recipe has only 64 cal (with 4.5g protein) per mini donut, is gluten-free, has no added table sugar and features protein and nutrition benefits from collagen.

Baking donuts is such a smart alternative to . . . eh, deep-fat frying. These cookies ‘n crème donuts have a cake donut texture, but without the added calories and fat.

Bake up these yummy chocolate collagen donuts with a cookies 'n creme topping in the oven -- better for you with less fat and calories over traditional doughnuts. This recipe has only 64 cal (with 4.5g protein) per mini donut, is gluten-free, has no added table sugar and features protein and nutrition benefits from collagen.

These chocolate protein donuts feature collagen powder to bump up the nutrition, and also rely on a low-carb sweetener to keep the carbs down. The flour is a mix of coconut flour and then a gluten-free baking blend so that the donuts stay light and fluffy (and not dense like an all-coconut flour recipe).

 Save 10% on Great Lakes Wellness products like collagen and others with code THEFITFORK10OFF

I’ve used a chocolate flavored collagen powder from Great Lakes Wellness, it worked so well! BUT, since I have added a couple tablespoons of unsweetened cocoa powder to the recipe to make it even richer and chocolatier, an unflavored collagen powder or vanilla flavor collagen powder would work just fine.

save 10% Great Lakes Wellness collagen and products with code THEFITFORK10off

Additionally, I’ve used sugar-free chocolate sandwich cookies (ya know, similar to an Oreo) for these crumbled cookie topped chocolate collagen doughnuts . . . in a pinch, you could just use the real thing (there are only 6 cookies across the whole recipes, so it’s minimal), or use another type of sugar-free cookie crumbled up. OR, they are also just pretty dang delicious even without the cookie glaze topping.

Bake up these yummy chocolate collagen donuts with a cookies 'n creme topping in the oven -- better for you with less fat and calories over traditional doughnuts. This recipe has only 64 cal (with 4.5g protein) per mini donut, is gluten-free, has no added table sugar and features protein and nutrition benefits from collagen.

Protein donuts are a great way to ensure that I’m meeting my daily protein goals, and with nearly 5g per little donut it adds up if I have a few for breakfast or a post-workout snack! Leftovers are delicious, just keep them in an air-tight container on the counter for up to a few days (if they even last that long). You can also keep plain, without the icing and cookie topping, in the freezer, for up to 6 months. Just pop out and defrost in the microwave — they are lightly sweet and still delicious “naked.”

Chocolate Collagen Protein Mini Donut without icing

*If you don’t have a mini donut pan, you can use a muffin tin – just add the same amount of batter as (about ¼ cup per tin) and they will cook up the same (just without the hole)!

5 from 5 votes
Bake up these yummy chocolate collagen donuts with a cookies 'n creme topping in the oven -- better for you with less fat and calories over traditional doughnuts. This recipe has only 64 cal (with 4.5g protein) per mini donut, is gluten-free, has no added table sugar and features protein and nutrition benefits from collagen.
Cookies ‘n Creme Chocolate Collagen Donuts
Prep Time
10 mins
Cook Time
15 mins
Cool
5 mins
Total Time
30 mins
 

Chocolate Cookies ‘n Cream Collagen Mini Donuts

Course: Breakfast, brunch, Snack
Keyword: collagen, donut, doughnut
Servings: 24 mini donuts
Calories: 64 kcal
Ingredients
  • ½ cup coconut flour
  • ½ cup gluten-free baking blend like Bob’s Red Mill
  • 2/3 cup collagen power preferably Chocolate Flavor from Great Lakes Wellness
  • 2 Tbsp unsweetened cocoa powder
  • 1/3 cup low-carb granulated sweetener 1:1 cup equivalency
  • 2 tsp baking soda
  • ¼ tsp salt
  • 2 large eggs
  • 1 ½ cups milk of choice, 1%
Topping:
  • 2/3 cup sugar-free white chocolate chips
  • ½ cup heavy cream
  • 6 sugar-free chocolate sandwich cookies, crumbled up
Instructions
  1. Preheat oven to 350F.
  2. Gather 12-count mini donut pan or 12-count standard muffin tins. Recipe makes 24, so if you don't have 2 pans, you'll need to bake in 2 batches.

  3. Add dry ingredients to large mixing bowl, stir together with whisk to combine and remove clumps. Add eggs and milk and whisk together until smooth batter formed.
  4. Add batter (approx. ¼ cup) to each opening in a non-stick mini donut pan. Bake at 350F for about 13-15 minutes. Let cool 2-3 minutes in pan and then loosen with spatula to release from pan.

  5. Let donuts cool 10 minutes.

  6. Then, break up sandwich cookies into small bits and set aside in a bowl. Add white chocolate chips to a microwave safe bowl and heat for 45 seconds on 50% heat. Remove and add cream, return to microwave and heat (stirring between) in 15 second increments until chocolate chips are melted and cream is incorporated into a smooth, glossy glaze. Do not let cream boil.

  7. Immediately turn a donut over into chocolate mixture to glaze the top and then lightly press into cookie crumbles. Repeat for remaining donuts.
  8. Store leftovers in an air-tight container for up to 2 days.

Protein Pumpkin Krispie Treats – Sugar, Dairy & Nut Free!

Protein Pumpkin Krispie Treats are a healthy interpretation on one of my most-loved childhood snacks. They are made without marshmallows (or any added sugar at all) or butter – instead I use a sugar-free syrup swap and a seed and oat butter.

You’ll feel a wave of nostalgia with every bite of these better-for-you rice krispie treats, mixed up with real pumpkin to celebrate the season. No marshmallows or added sugar, plus protein for a balanced snack – this easy recipe is a winner and works for gluten-free, nut-free, vegan diets and more.

While you can use peanut butter, or any nut butter of your choosing, I like to use the Seed & Oat Butter from Garnish because it’s free of the Top 9 Allergens. Thankfully, I don’t have food allergies, but when you have someone in your house who does and/or you want to share dishes with others who might (but you don’t know) . . . . this spread is a great option. A great solution when there are peanut allergies around. Save 20% at EatGarnish.com with my code FITFORK

Garnish Seed & Oat Butter is a tasty alternative spread if you can do peanut butter or other nut butters. It's free of the Top 9 Allergens.

The protein rice krispies are a very satisfying snack that won’t leave you hungry or in a sugar-crash 30 minutes later – they have 11g protein thanks to the addition of some protein powder and the protein in the Seed & Oat Butter.

You’ll feel a wave of nostalgia with every bite of these better-for-you rice krispie treats, mixed up with real pumpkin to celebrate the season. No marshmallows or added sugar, plus protein for a balanced snack – this easy recipe is a winner and works for gluten-free, nut-free, vegan diets and more.

TIPS FOR MAKING PUMPKIN PROTEIN RICE KRISPIE TREATS

Nut Butter: Discussed above, but you can use any nut butter you prefer. The Seed & Oat Butter is a great solution if you or your guests have any peanut or tree nut allergies.

Sweetener: I used a zero-carb simple syrup. You can also use a honey substitute or maple syrup substitute. Also using real honey or 100% maple syrup is fine too, just note that the macros of the recipe will change.
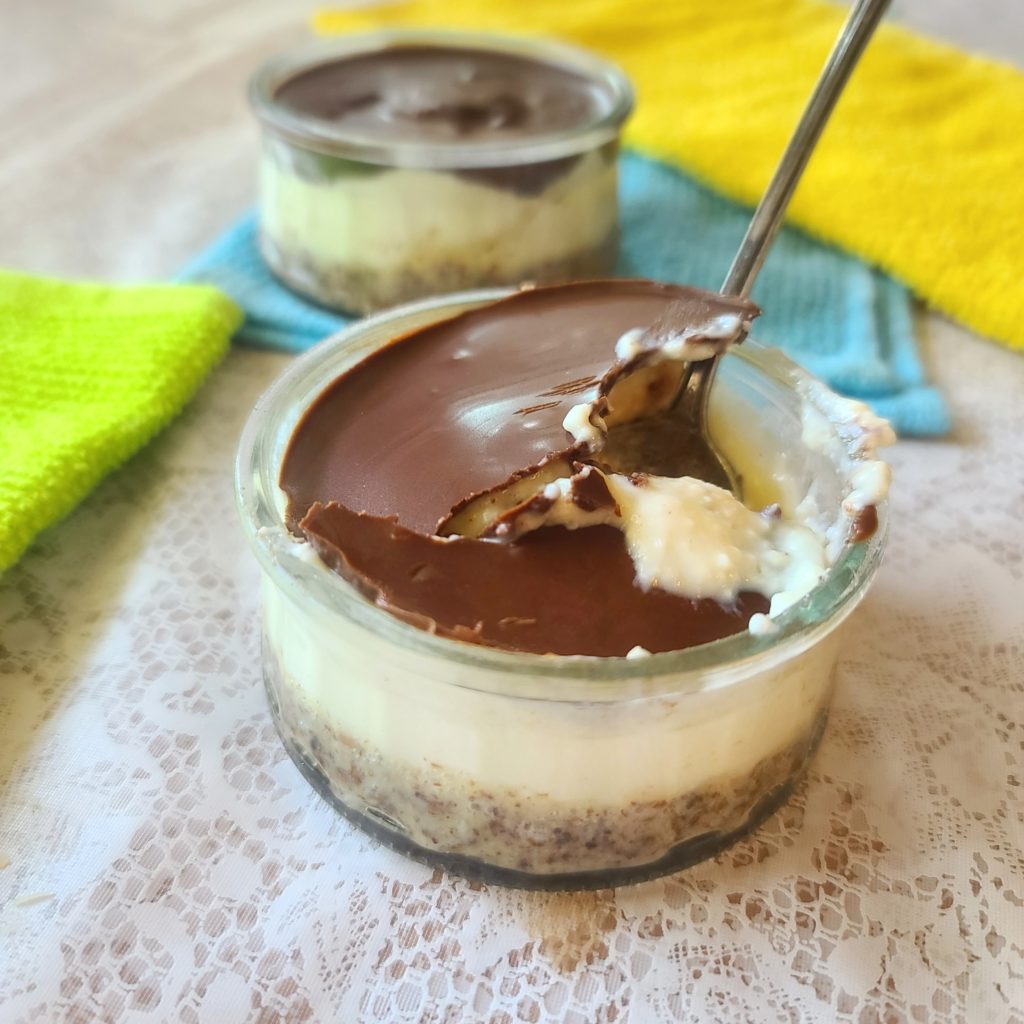
Why Flaxseed?: If you notice that the syrup is more watery than thick, use the recipe suggestion to mix in 1 tablespoon of flax seed meal into the recipe to serve as a binder/thickener. In vegan recipes, flaxseed mixed with water is often referred to as a flax egg.
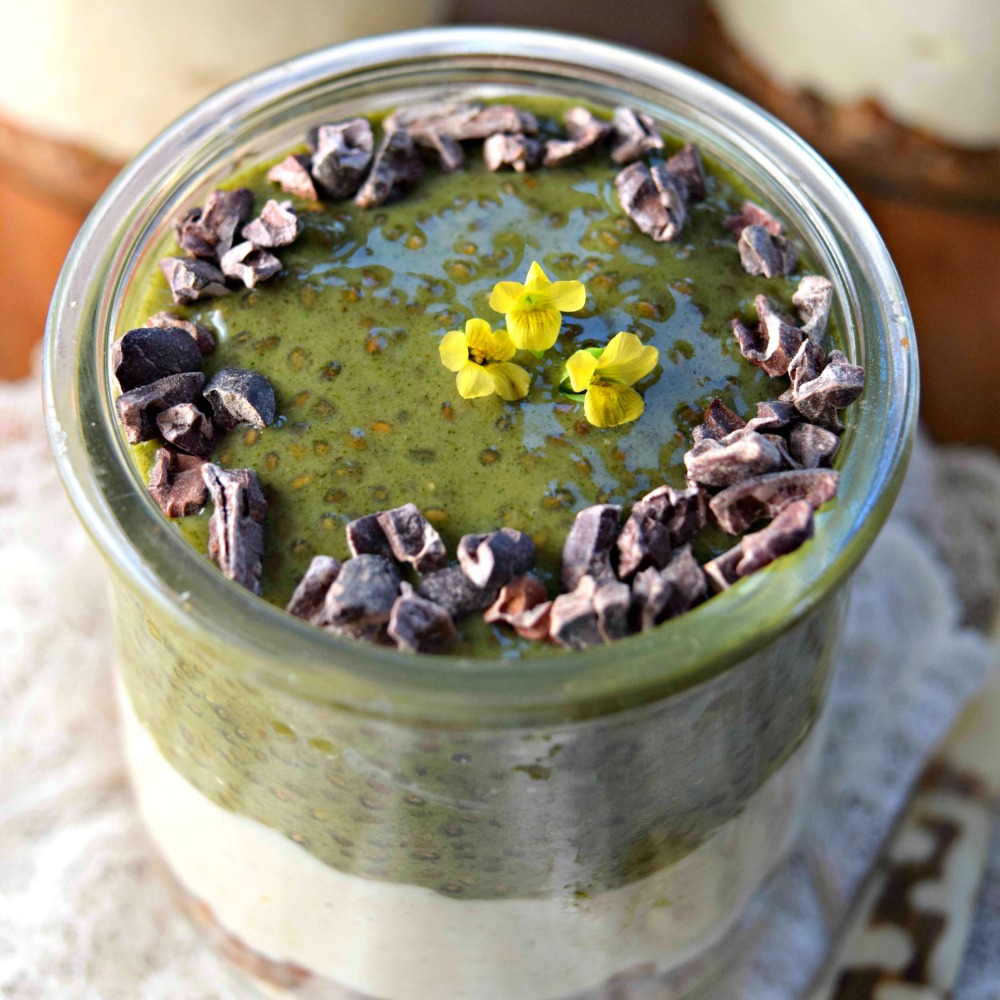
Protein Powder: Again, you have the leeway in this protein krispie treat recipe to use the type of protein powder you prefer – plant-based, whey, etc. Also, there are a few flavors that will work best including vanilla, cake batter, pumpkin and even unflavored. Today I used Clean Lean Protein from Nuzest, you can save 15% with code: FITFORK

Pan Size: This no marshmallow rice crispie recipe fits into an 8”x8” brownie pan, 9”x5.5” toaster oven pan, 9”x5” load pan, or even in 8 of the tins of a muffin pan.

Storing Leftovers: This recipe is the crispiest served right upon making. However, if you have leftovers to save, keep them in an air-tight container in the fridge for up to 5 days. They will be a little softer in texture, but still delicious.

You’ll feel a wave of nostalgia with every bite of these better-for-you rice krispie treats, mixed up with real pumpkin to celebrate the season. No marshmallows or added sugar, plus protein for a balanced snack – this easy recipe is a winner and works for gluten-free, nut-free, vegan diets and more.
Pin this for later!
Protein Pumpkin Krispie Treats
Prep Time
5 mins
Total Time
20 mins
 

You’ll feel a wave of nostalgia biting into these rice krispie treats, mixed up with real pumpkin to celebrate the season. No marshmallows or added sugar, plus protein for a balanced snack – this easy recipe is a winner and works for gluten-free, nut-free, vegan diets and more.

Course: Dessert, Snack
Keyword: fall, gluten free, pumpkin, pumpkin dessert, pumpkin spice, vegan
Servings: 8 servings
Calories: 172 kcal
Ingredients
  • cup canned pumpkin puree not pumpkin pie filling
  • ½ cup Oat & Seed Butter from Garnish or nut butter of your choice
  • 1/3 cup zero-carb “syrupy” sweetener like a honey substitute or maple syrup substitute – or the real stuff if you don’t mind a higher calorie/carb count
  • 1 tbsp ground flax seed optional
  • 2/3 cup protein powder either vanilla, cake batter or pumpkin flavor
  • cup plain puffed rice cereal like Rice Krispies
Optional Chocolate Drizzle:
  • 3 Tbsp sugar-free chocolate chips
  • ½ tsp coconut oil
Instructions
  1. Line an 8”x8” brownie pan or 9”x 6” rimmed pan with parchment paper; or spray with cooking spray.
  2. Add pumpkin, oat/pumpkin butter and syrup to bowl and mix until combined. If your seed butter is thick, warm up in microwave for 10 seconds until an easier-to-stir consistency.
  3. Stir in flax seed meal. This can be omitted if you are using a thick syrup consistency sweetener. But if your sweetener is thinner, this helps serve as a thickener/binder.
  4. Stir in protein powder until combined. Mixture will be thick and pasty.
  5. Next stir in rice cereal until thoroughly coated and press down with fingers or spatula into prepared pan. Stick in freezer for 10 minutes to firm up before cutting.
  6. If you’d like to do the chocolate drizzle, add chocolate chips and coconut oil to small microwave-safe bowl and microwave/stir in 15-second increments until smooth. Drizzle over treats.
  7. Transfer back to freezer to firm up for 5 minutes before cutting into 8 bars/squares. Serve immediately.
  8. Store leftovers in air-tight container in fridge for up to 5 days. Note that the texture will be less crunchy on leftovers – but still yummy!
Recipe Notes

Note: Nutrition info w/o drizzle included

Fire Up Fall: Grilled Steaks with Autumn Spice Rub

Grilled Steaks with Autumn Spice Rub . . . the most lit season of the year is here, and I’ve fired up my grill for it!

Thanks to this easy steak rub recipe featuring the flavors of fall, along with a tender cut of beef, you can make an amazing meal in just about 15 minutes – perfect for busy weeknights, yet will so impressive for guests!

The autumn steak rub is so easy, and each batch makes enough for about one pound of beef. So, if you are making more, just double or triple it. It should last for the season in an air-tight container, like a small spice bottle or canning jar.

The autumn spices for beef include ancho chile pepper, ground cinnamon, allspice and salt. Brown sugar also adds a nice balance to the warming and slightly spicy flavor, addling just a hint of sweetness. Instead of brown sugar, you can swap in coconut sugar or date sugar.

The autumn spices of these easy steak fall steak rub are a perfect pairing with some favorite side dishes of the season like sweet potatoes, pumpkin risotto, butternut squash and more.

How to use Autumn Spice Rub for Steak

Steak Choice: Pick a cut of beef that is tender, like tenderloin steaks (what I used today), strip steaks, ribeye, flat iron, or top sirloin steaks.  Don’t use beef cuts like flank steak, skirt steak, chuck shoulder steaks and round steaks as they are not inherently as tender and need to be marinating for a couple hours for the best eating experience.

Other Proteins: This fall-inspired spice rub would also be great on lamb, chicken, pork and heartier seafoods, like halibut filets.

Applying the Rub: As mentioned, this recipe covers about one pound of steaks – it’s intended to be applied generously. It’s easy to double or half if you need more or less. Whether you apply oil to your steak before the rub is personal preference, in my opinion. Some say it helps the spices adhere to the meat better and keeps the meat from sticking to the grill. If you use an oil, make sure to pick one with a high smoke point – like grapeseed oil, avocado oil, or olive oil (but not EVOO). When oils are taken over their smoking point, they start to burn and leave a bitter taste on the meat. Yucko.

Basic Tips on Grilling Steak: 1) clean your grill grates; 2) oil your grill grates; 3) grill at 400F degrees avoiding flare ups; 4) resist urge to flip continuously – just once will do it; 5) for the perfect medium-rare, pull off with internal temp reaches 130F – let rest for 5 minutes or so on platter until temp has risen to 135F; 6) Exact grilling times listed in various recipes will vary on your grill temperature, the thickness of your cut, the crowding of your grill, etc.

This easy steak rub recipe is bursting with the flavors of fall and adds a seasonal sizzle to tender cuts of steak like tenderloin, flat iron, strip, ribeye and more.
5 from 6 votes
This easy steak rub recipe is bursting with the flavors of fall and adds a seasonal sizzle to tender cuts of steak like tenderloin, flat iron, strip, ribeye and more.
Grilled Steaks with Autumn Spice Rub
Prep Time
5 mins
Cook Time
12 mins
rest
5 mins
 

This easy steak rub recipe is bursting with the flavors of fall and adds a seasonal sizzle to tender cuts of steak like tenderloin, flat iron, strip, ribeye and more.

Course: dinner, dinner, entree
Cuisine: grill
Keyword: autumn, fall, grilling, spices, steak
Ingredients
  • 1 tbsp brown sugar or coconut sugar or date sugar
  • 1 tbsp ground ancho chili pepper
  • ½ tbsp ground cinnamon
  • 1 tsp allspice
  • 1 teaspoon sea salt
Instructions
  1. Add all spices to a small jar and shake up until combined.
  2. Apply to steaks (oiled or un-oiled) generously on front, back and sides.
  3. Cook steak on pre-heated 400F degree grill, to just a few degrees under your desired level of “doneness”.
  4. Transfer to platter and let rest 5-10 minutes before cutting.