
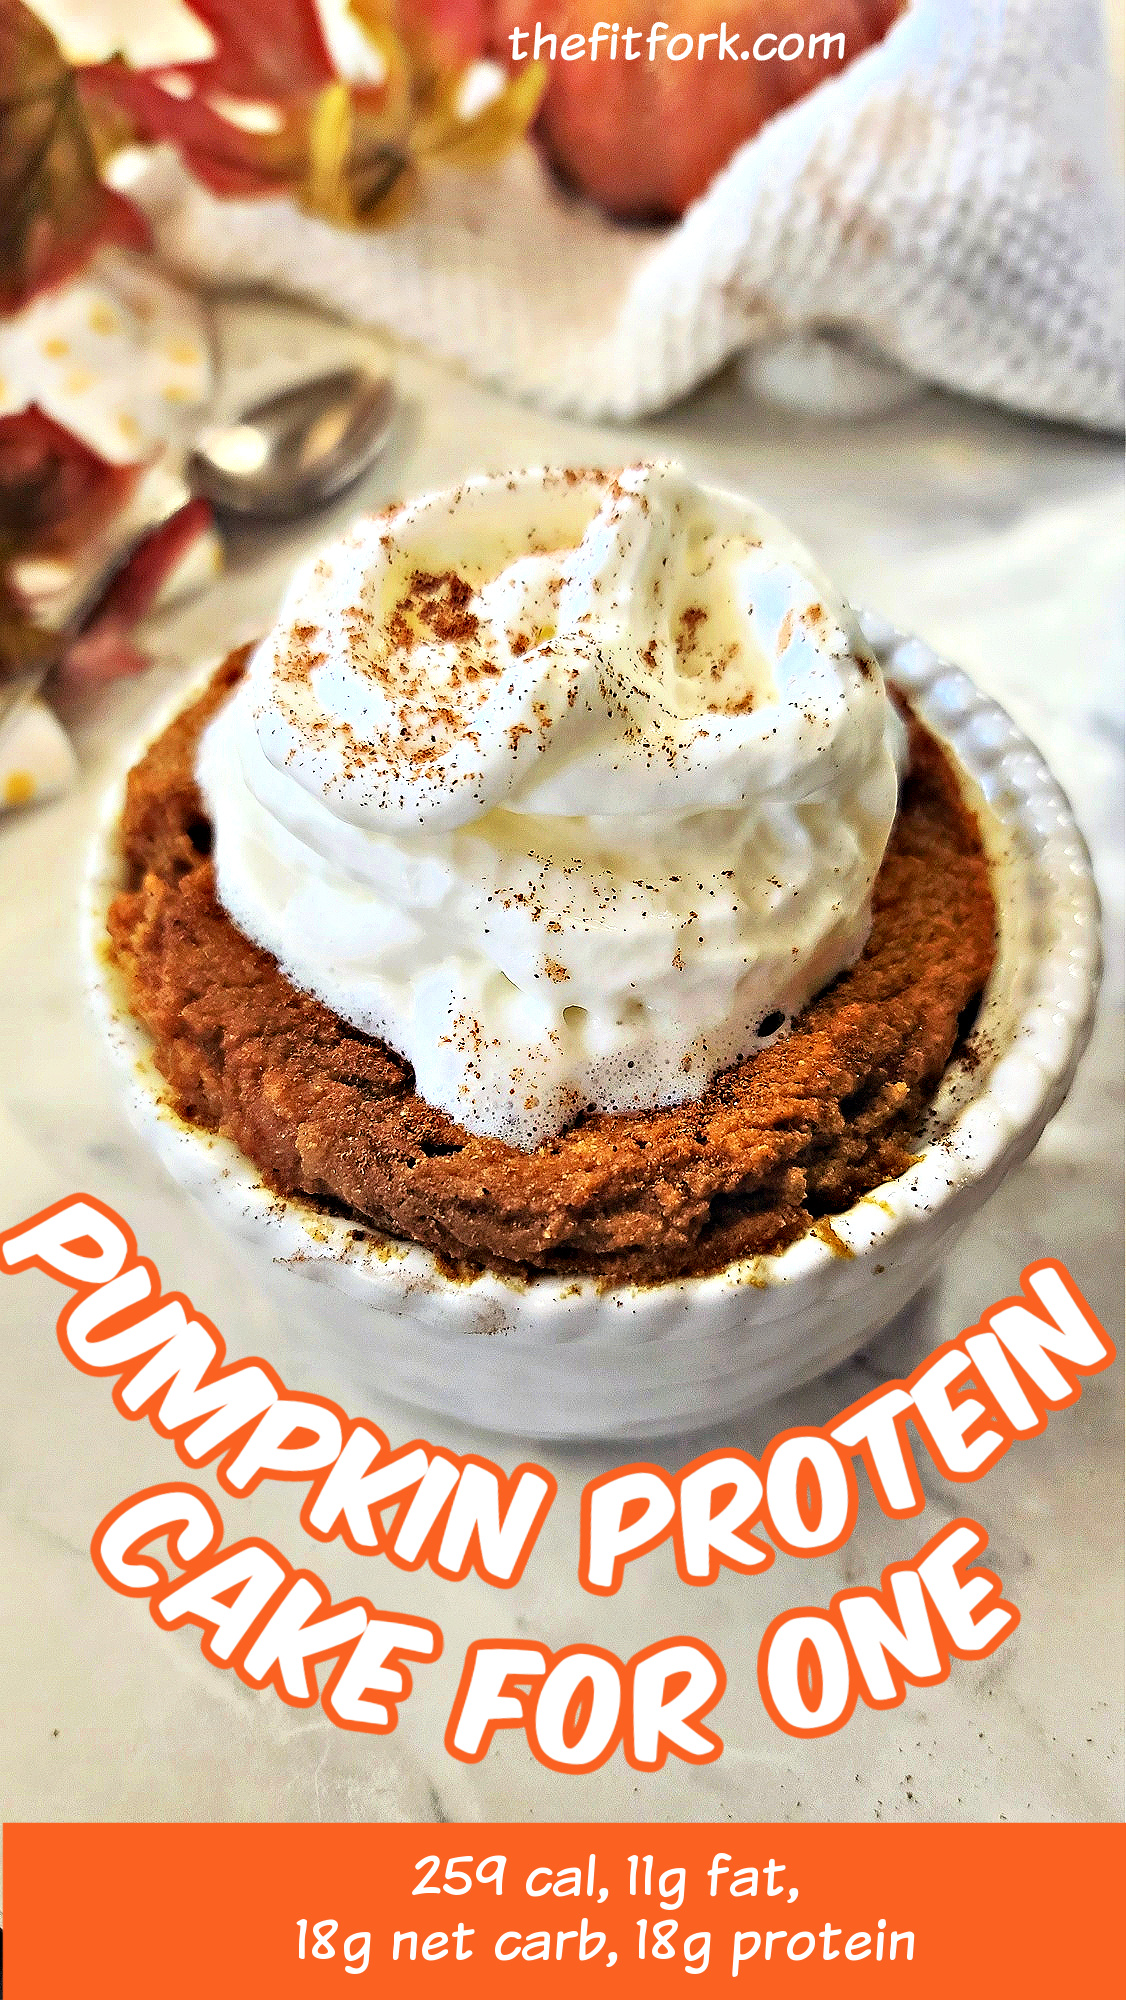
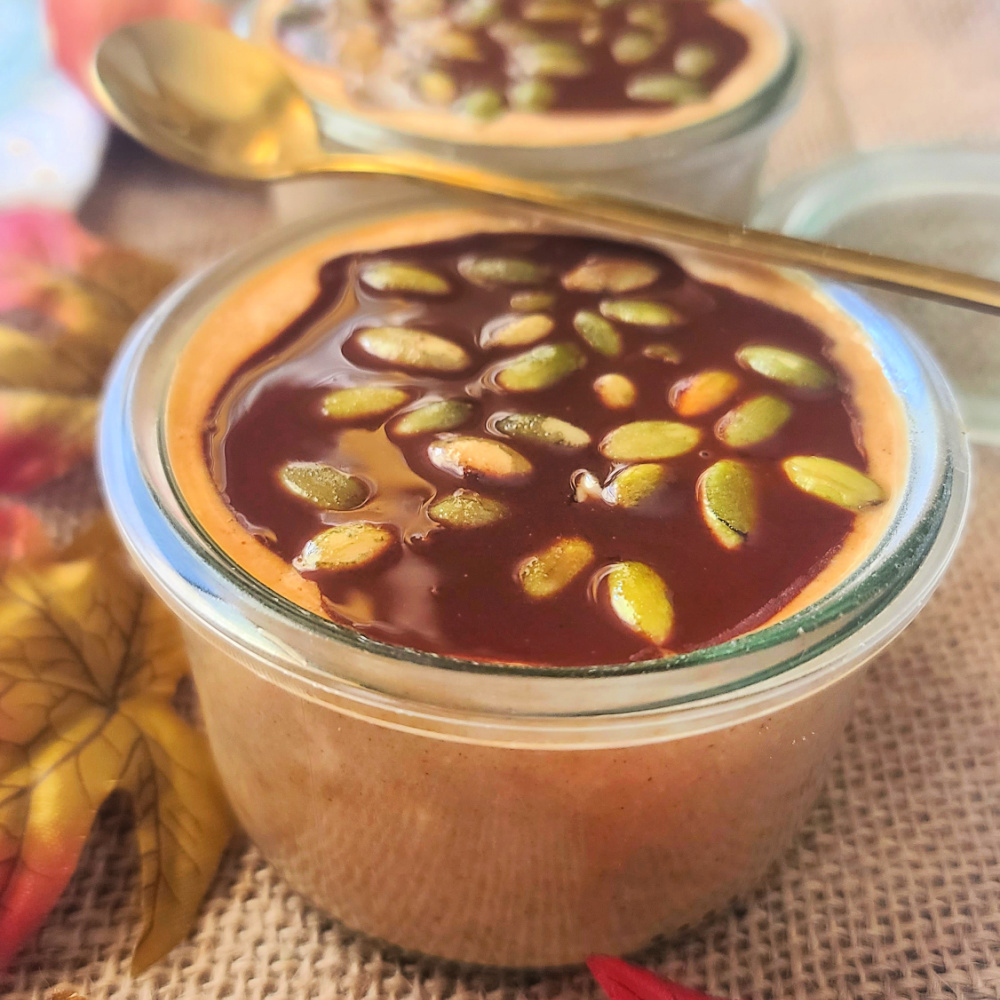
Protein Pumpkin Peanut Butter Cups are proof that Halloween candy DOES NOT have to be full of sugar to satisfy your sweet tooth? Rich and delicious, you can enjoy a seasonal treat that not only tastes indulgent but also fuels your body with quality ingredients. These homemade peanut butter cups cups have everything you love about traditional peanut butter cups like Reese’s Cups —with a fall-inspired twist—and none of the tricks that can derail your healthy eating habits.
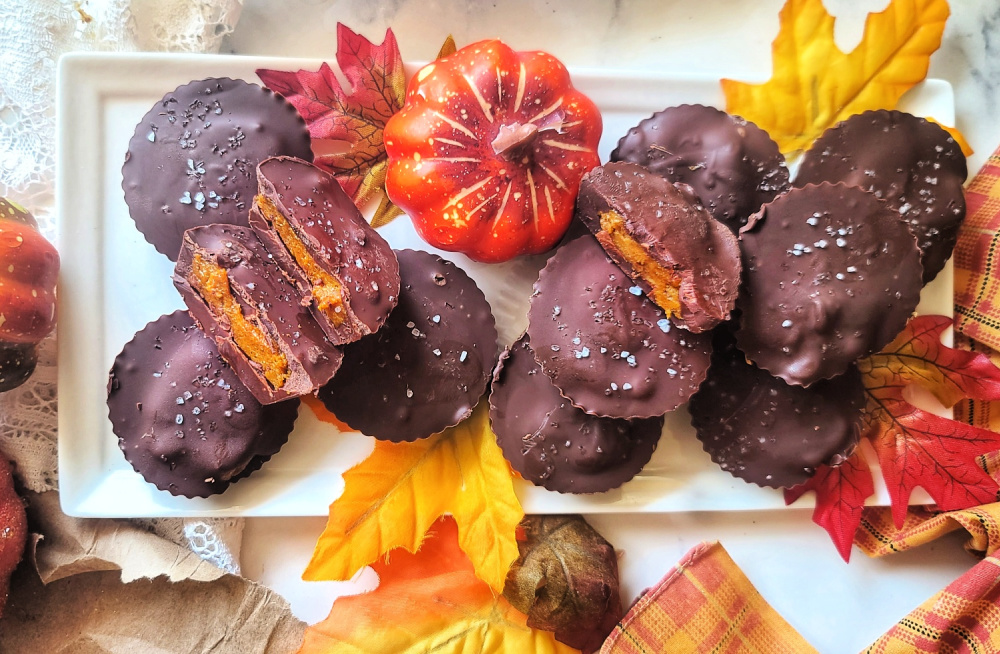
The filling combines your favorite protein powder, pumpkin puree, and a creamy nut butter (peanut, almond, or whatever you love), providing a perfect balance of flavor and nutrition. And the best part? Each bite is wrapped in a layer of rich, melted sugar-free chocolate that hardens in the freezer for an easy, no-fuss treat. They’re the perfect combination of creamy and crunchy, sweet and salty, and they deliver all the seasonal goodness of pumpkin without any added sugar.
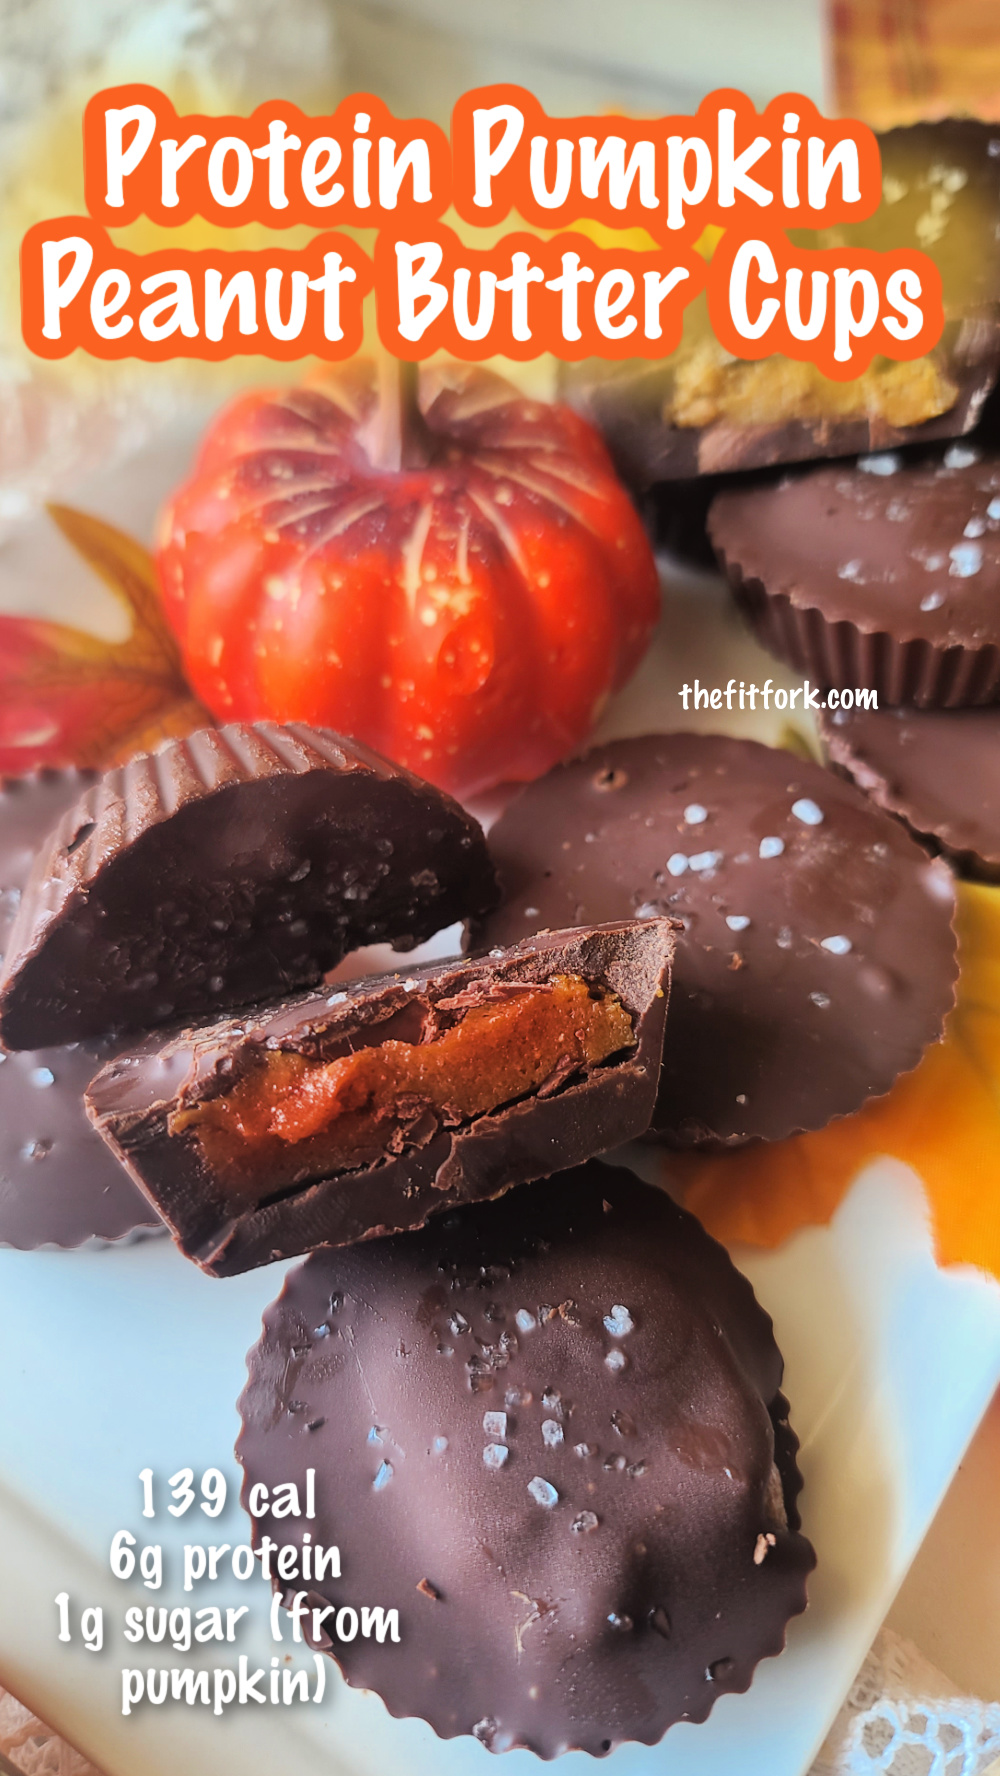
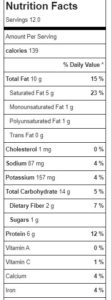
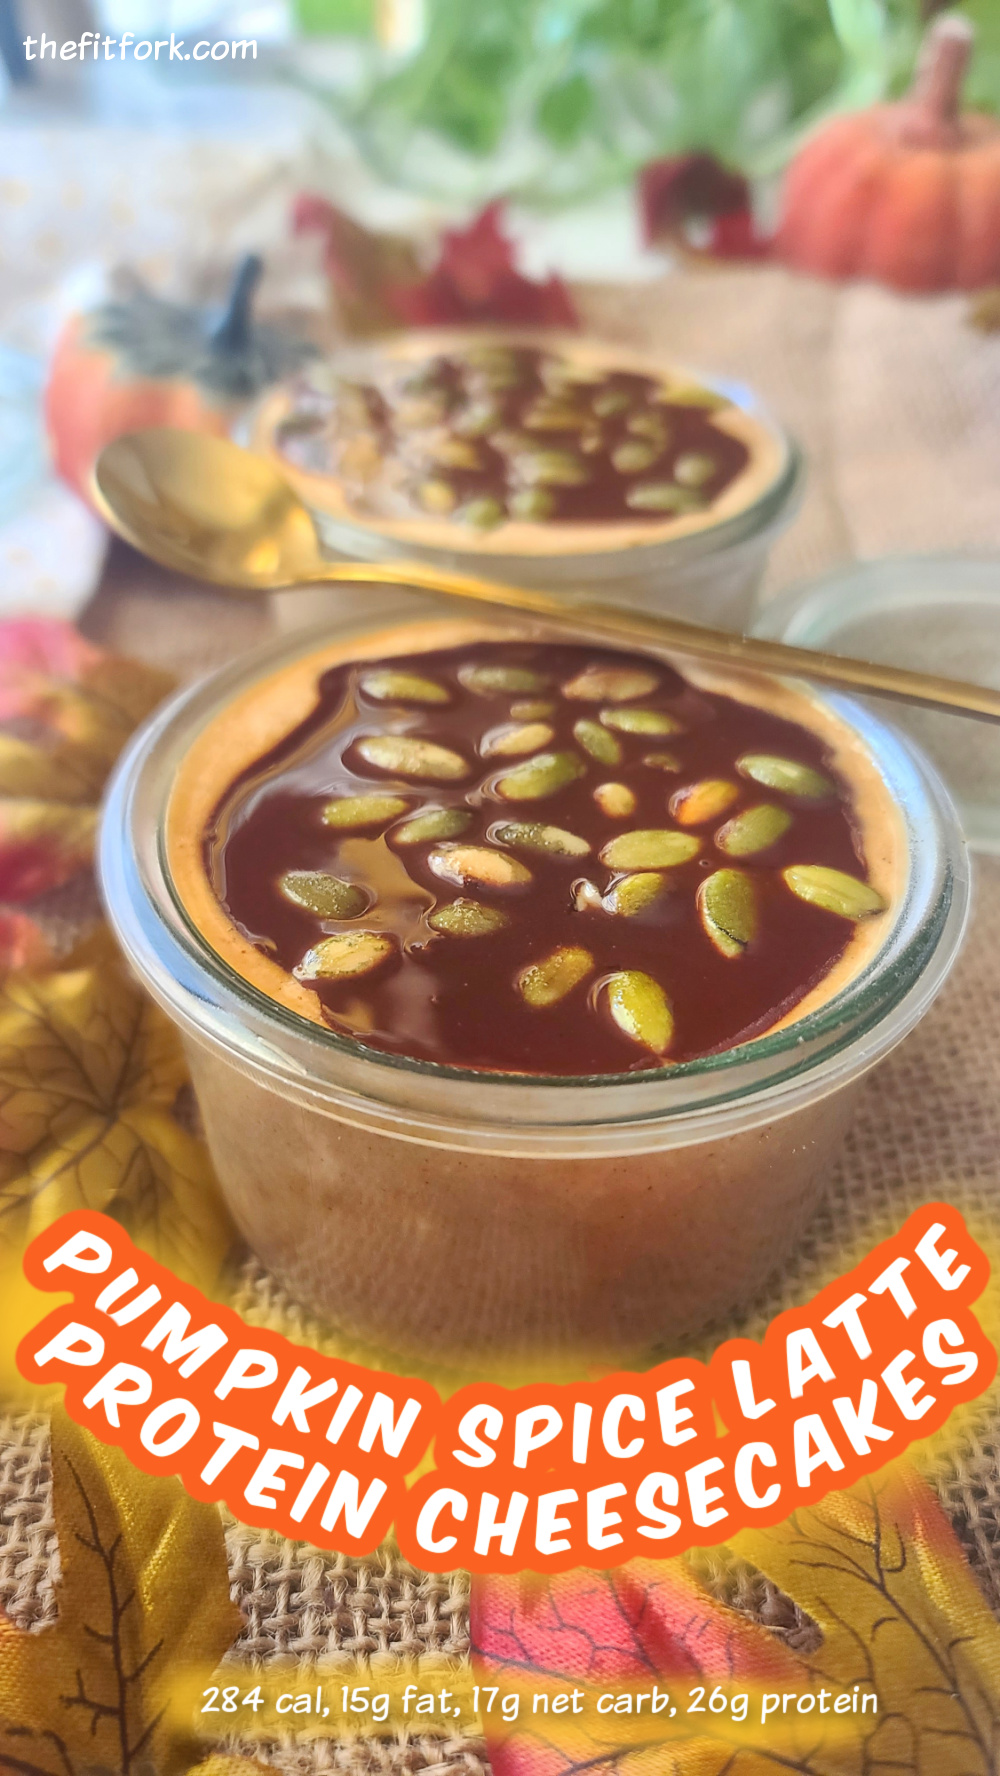
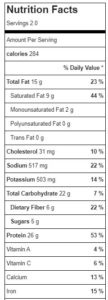
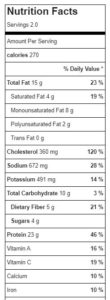
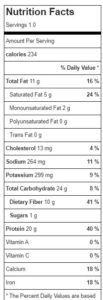
Whether you’re looking for a healthier way to enjoy your favorite candy (Reese’s Peanut Butter Cups are one of America’s most beloved candies) or just need a high-protein snack to keep your cravings at bay, these cups have got you covered. Plus, at 139 calories, 12 grams of fat, 10 grams of net carbs, and 6 grams of protein per piece, you can feel good about indulging. Of course, those numbers might vary a little depending on which protein powder you use, but the end result is always a crave-worthy treat you won’t regret.
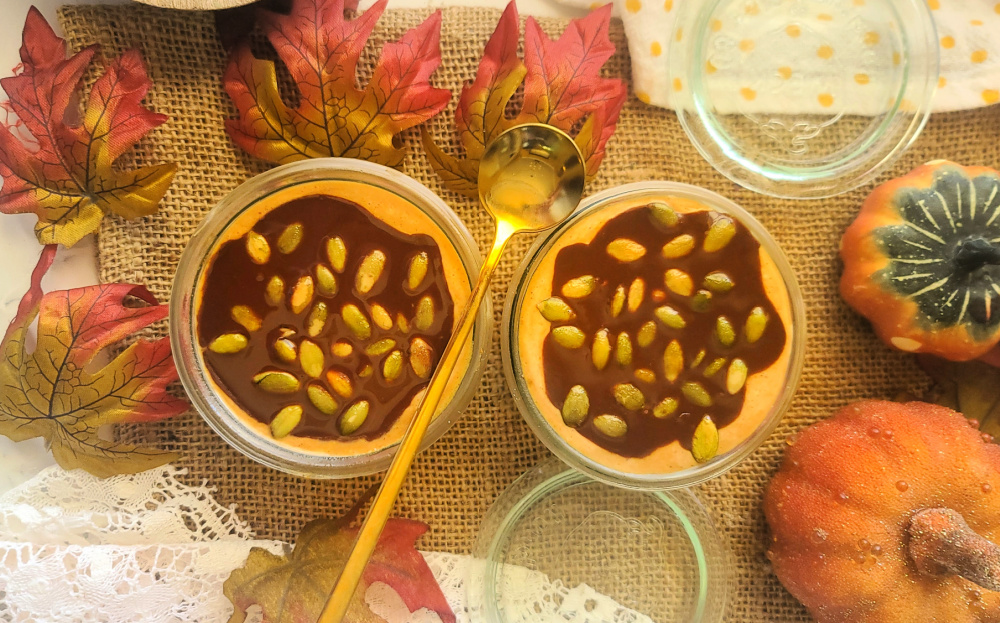
These nearly sugar free peanut butter cups are the ultimate Halloween treat or smart snack any time of the year, and the best part is, you can make them right at home—no need to wait for trick-or-treating season. Keep a stash in the freezer for when the cravings hit, and you’ll be ready with a healthier, protein-packed snack that tastes like a festive indulgence. It’s a healthy Halloween candy idea.
Q & A FOR PROTEIN PEANUT BUTTER CUPS
What if I’m allergic to peanut butter? It is easy to swap the peanut butter for your favorite nut butter (almond butter works well), a seed butter, or even a nut-free spread like granola butter.
Do I have to use pumpkin? No, if you don’t care for pumpkin, you can just swap out for the same measurement of nut butter. However, note that this will add more calories and change the other macros.
Are there other options for the sugar-free chocolate chips? While I love sugar-free chocolate chips, and find they are very versatile for my protein treats, there are other options. So, yes, you can use traditional chocolate chips, dairy-free chocolate chips or carob chips. Note that the macros will change.
What are my protein powder options? You can use whey, plant-based, or whatever type of protein powder you love – really in any flavor (I have used both vanilla and pumpkin flavors in whey). Or, you can substitute ¼ cup coconut flour for the 1/3 cup of protein powder. If you use an unflavored protein powder or coconut flour you will need to use a bit of sugar-free sweetener (to taste) in the filling mixture.
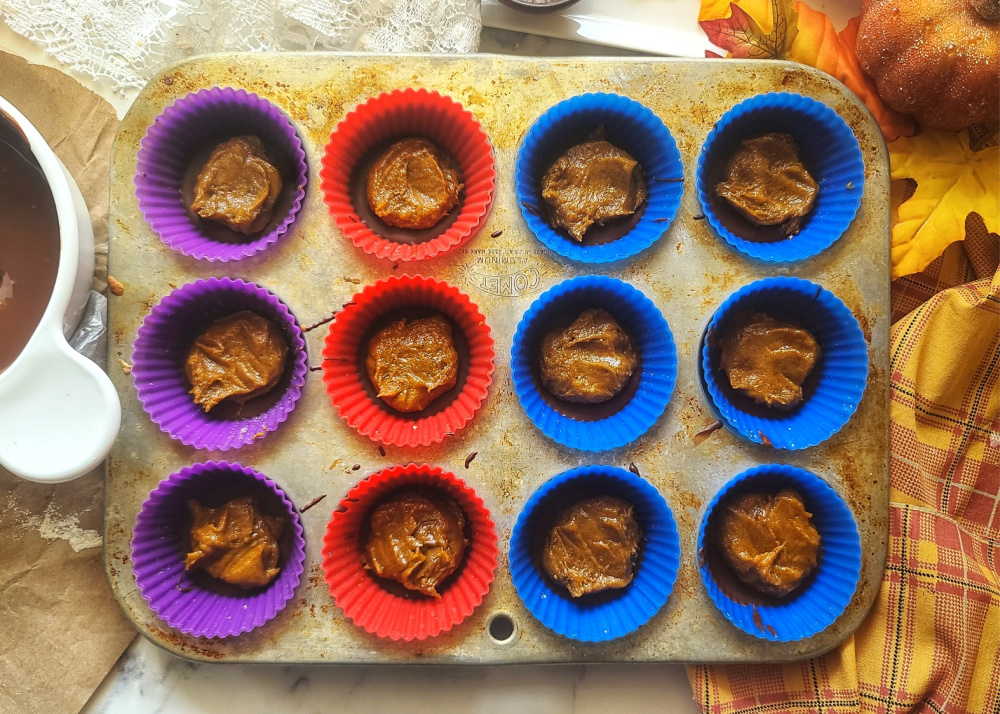
How do get cups out of muffin tins? If you don’t use liners, this is hard. You’ll need to freeze the cups almost completely, and then set out on counter for 5 minutes, and then shimmy out with a knife at the edges. The easiest way to prepare these chocolate peanut butter cups is to make this protein candy in reusable silicone cupcake liners or a silicone muffin pan for a no-fuss, no-mess outcome.
- 1/4 cup natural peanut butter
- 1/3 cup pumpkin puree
- 1/3 cup vanilla pumpkin or cake batter protein powder can use whey, plant-based, etc
- 2 cups sugar free chocolate chips
- 2 teaspoons coconut oil
- ¼ – ½ tsp coarse sea salt for topping
-
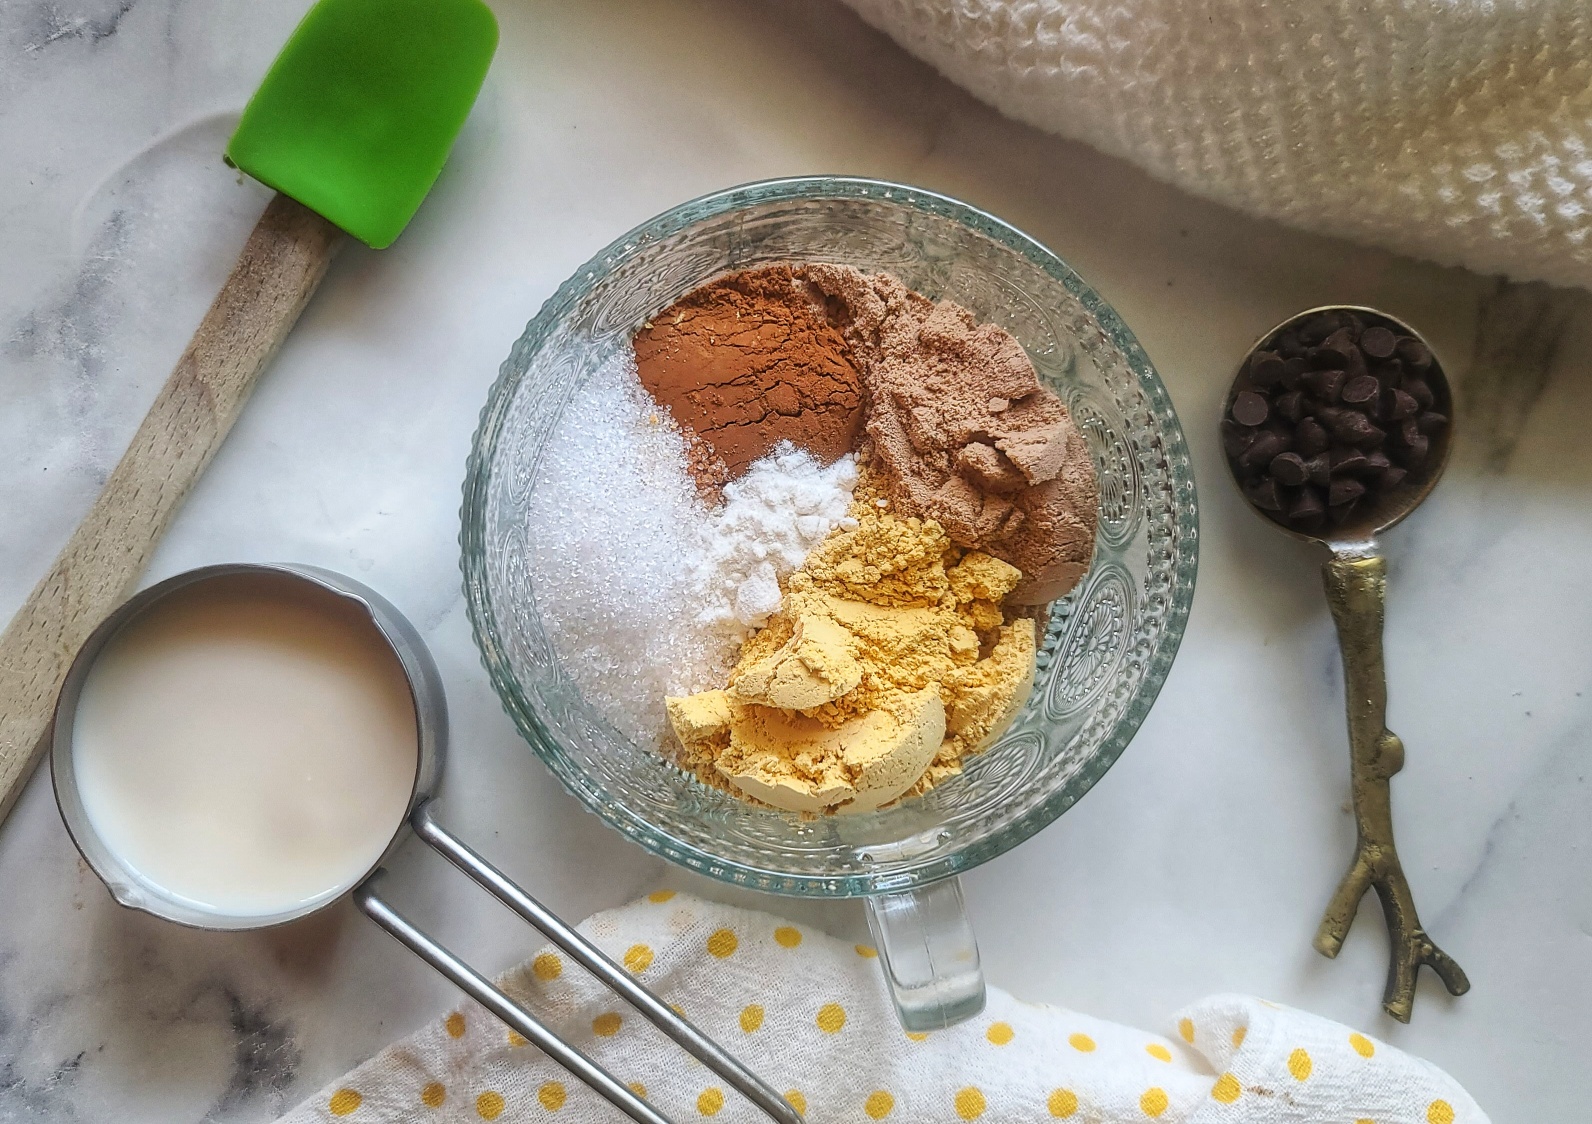
In a large mixing bowl combine peanut butter, pumpkin and protein powder until combined and it is sticky. Set in fridge.
-
In microwave-safe bowl, melt chocolate chips and coconut oil together. Microwave on high for 30 second increments, stirring well in between. Repeat until chocolate is fully melted, smooth and glossy 2-2.5 minutes total, typically.
-
Place 1 tablespoon of melted chocolate into each cavity of a lined muffin tin. Use a spoon to gently press chocolate onto the sides of each liner, if it does not ooze over on its own. Place muffin tin in the freezer for 10 minutes to allow the chocolate to harden.
-
Once the chocolate has set, remove peanut butter pumpkin mixture from fridge and approximately divide into 12 pieces (I just kinda “score” mine on top with the spatula).
-
Add one section of the filling onto the top of the hardened chocolate, slightly pressing down with spatula to flatten some. Make that the filling does NOT reach the edges of the muffin cup, there should be a small bord.
-
Next, top the filling with an even portion of the remaining chocolate. If needed, reheat it in the microwave for 10-15 seconds. Sprinkle with sea salt and place in freezer to set for 10 more minutes.
-
Store leftovers in the fridge!


