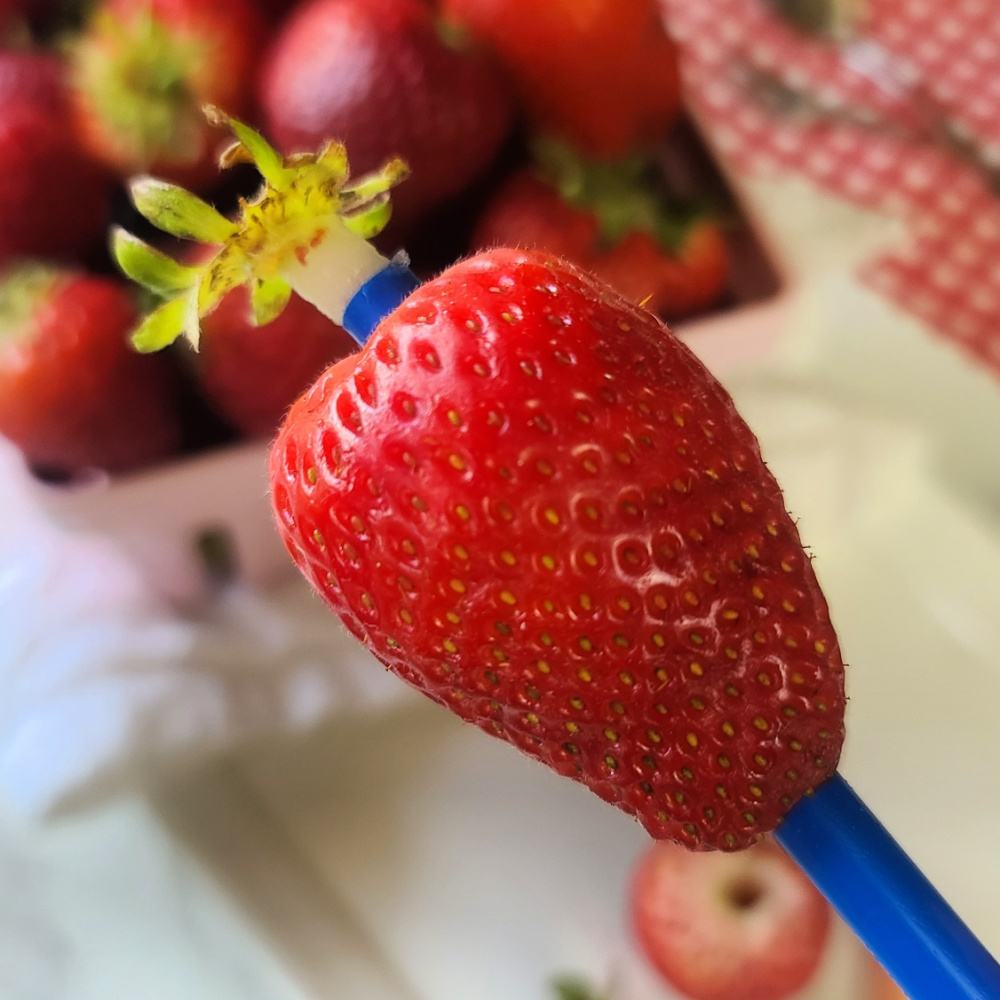
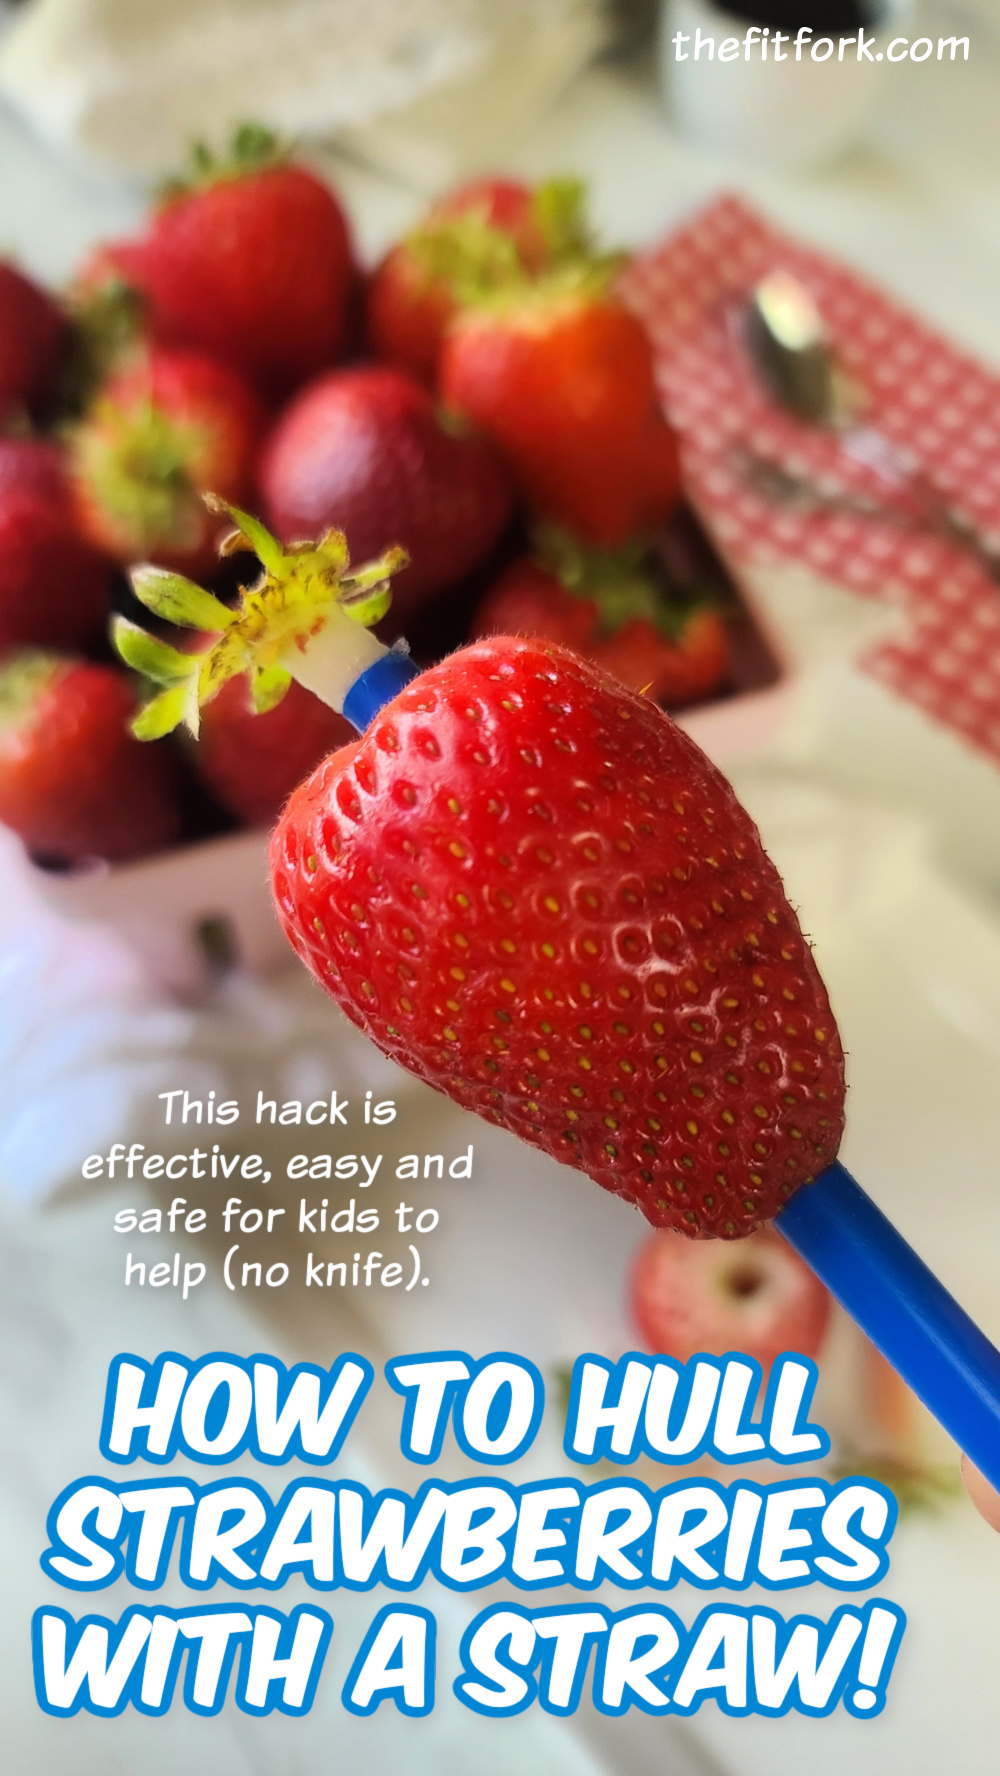
Hulling a strawberry with a straw is a simple and effective method to remove the stem and the flavorless core. It’s quick, easy and efficient — especially if you are preparing a bunch of strawberries at once for a fruit tray, summer snack, or as an ingredient for recipes. Also, this strawberry hack is safe for kids — no knife needed and they will have lots of fun with the ‘chore’.
What you need: Fresh strawberries and a straw. A sturdy straw works best, such as a metal straw or a reusable plastic straw). Even a higher-quality disposable straw (like from fast food) will work — but a paper straw will definitely NOT hold up.
HOW TO HULL STRAWBERRIES WITH A STRAW
Wash berries under cool water to remove dirt and pesticides.
Hold strawberry with one hand, straw with the other.
Insert straw into bottom of berry, directly opposite of the stem.
Push and/or gently wiggle straw upwards to effectively remove core and stem in one motion.
Pull out straw, which also removes core/stem.
Pull stem out of straw and repeat with remaining strawberries. Compost or toss away this part.
Sometimes on bigger berries, a bit of leafy section will remain. Just nip that off with a paring knife.
By following these strawberry prep steps, you’ll have perfectly hulled strawberries ready for your recipes or as a healthy snack! Washed, dried, and hulled strawberries should remain fresh for about a week if stored in an air-tight container lined with paper towels. I find the paper towels help help soak up any additional moisture and lengthen the storage time.
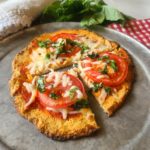
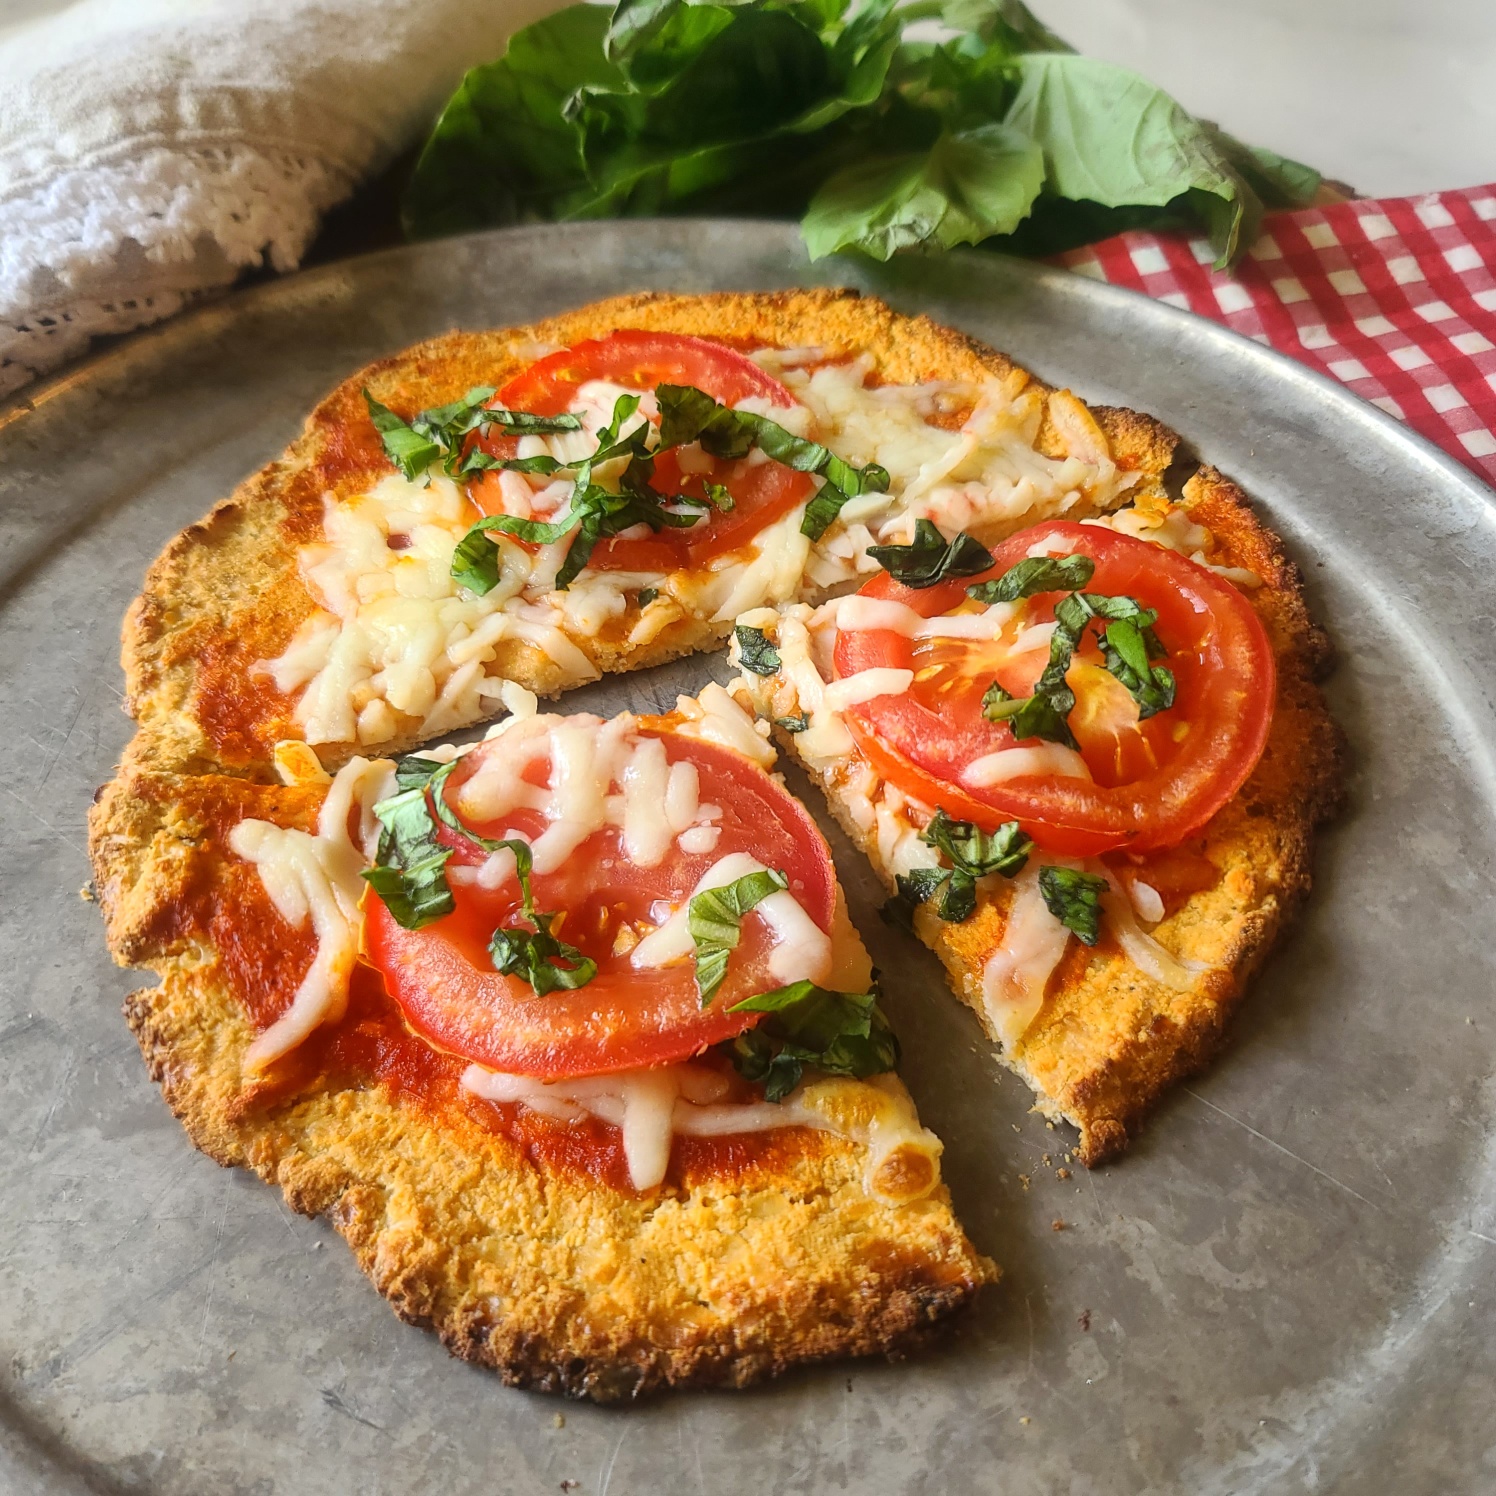
Treat yourself to pizza night done right with 3-Ingredient Cottage Cheese Pizza Crust, a gluten-free, low-carb and protein-packed alternative to traditional crusts.
I’ve been baking and cooking with cottage cheese for YEARS, so it’s funny to see all these viral cottage cheese recipes on TikTok, Instagram and such as if it’s something new! Using cottage cheese is a smart way to bump up protein, lower fat, and minimize carbohydrates in many recipes – pizza crusts included!
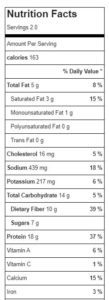
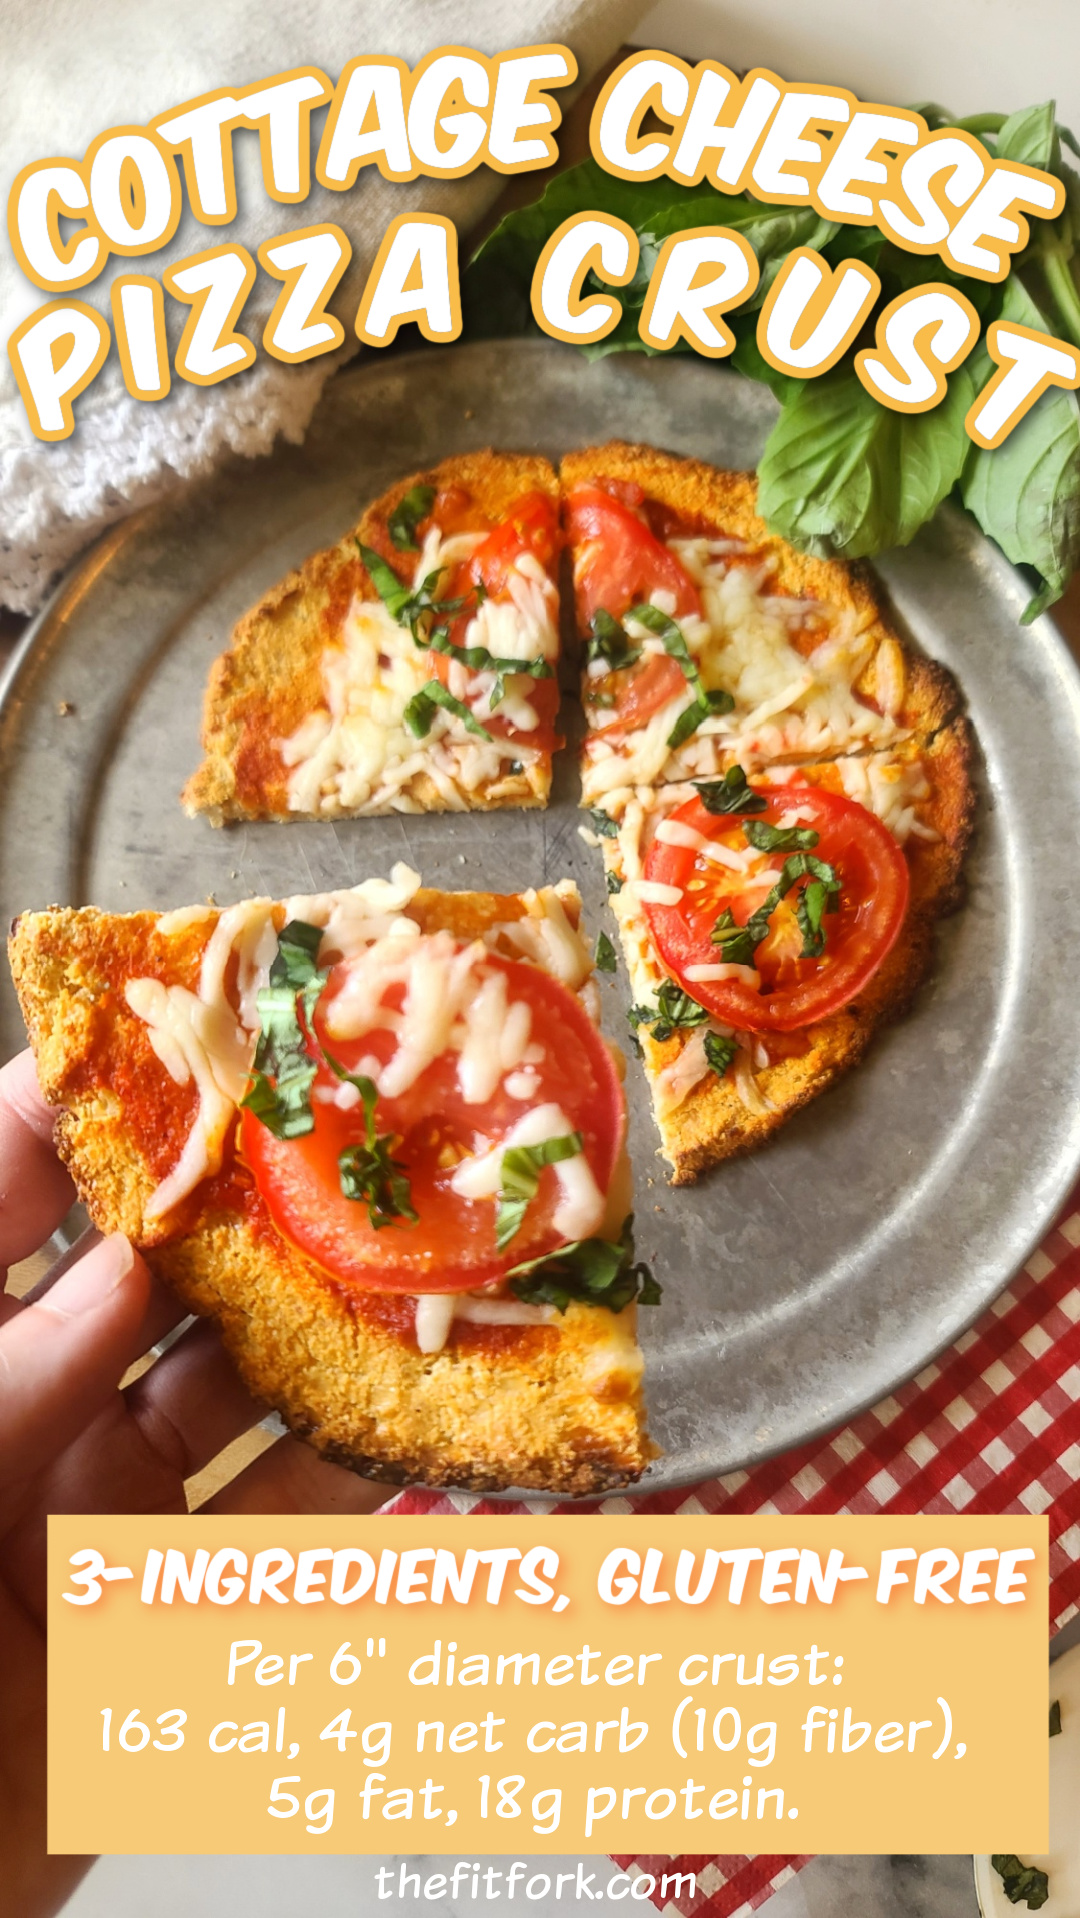
The macros on this pizza crust are impressively good. The recipe makes two personal sized crusts (about 6” diameter each) with a single crust (before toppings of your choice) coming in at 163 cal, 4g net carb, 10g dietary fiber, 5g fat and 18g protein.
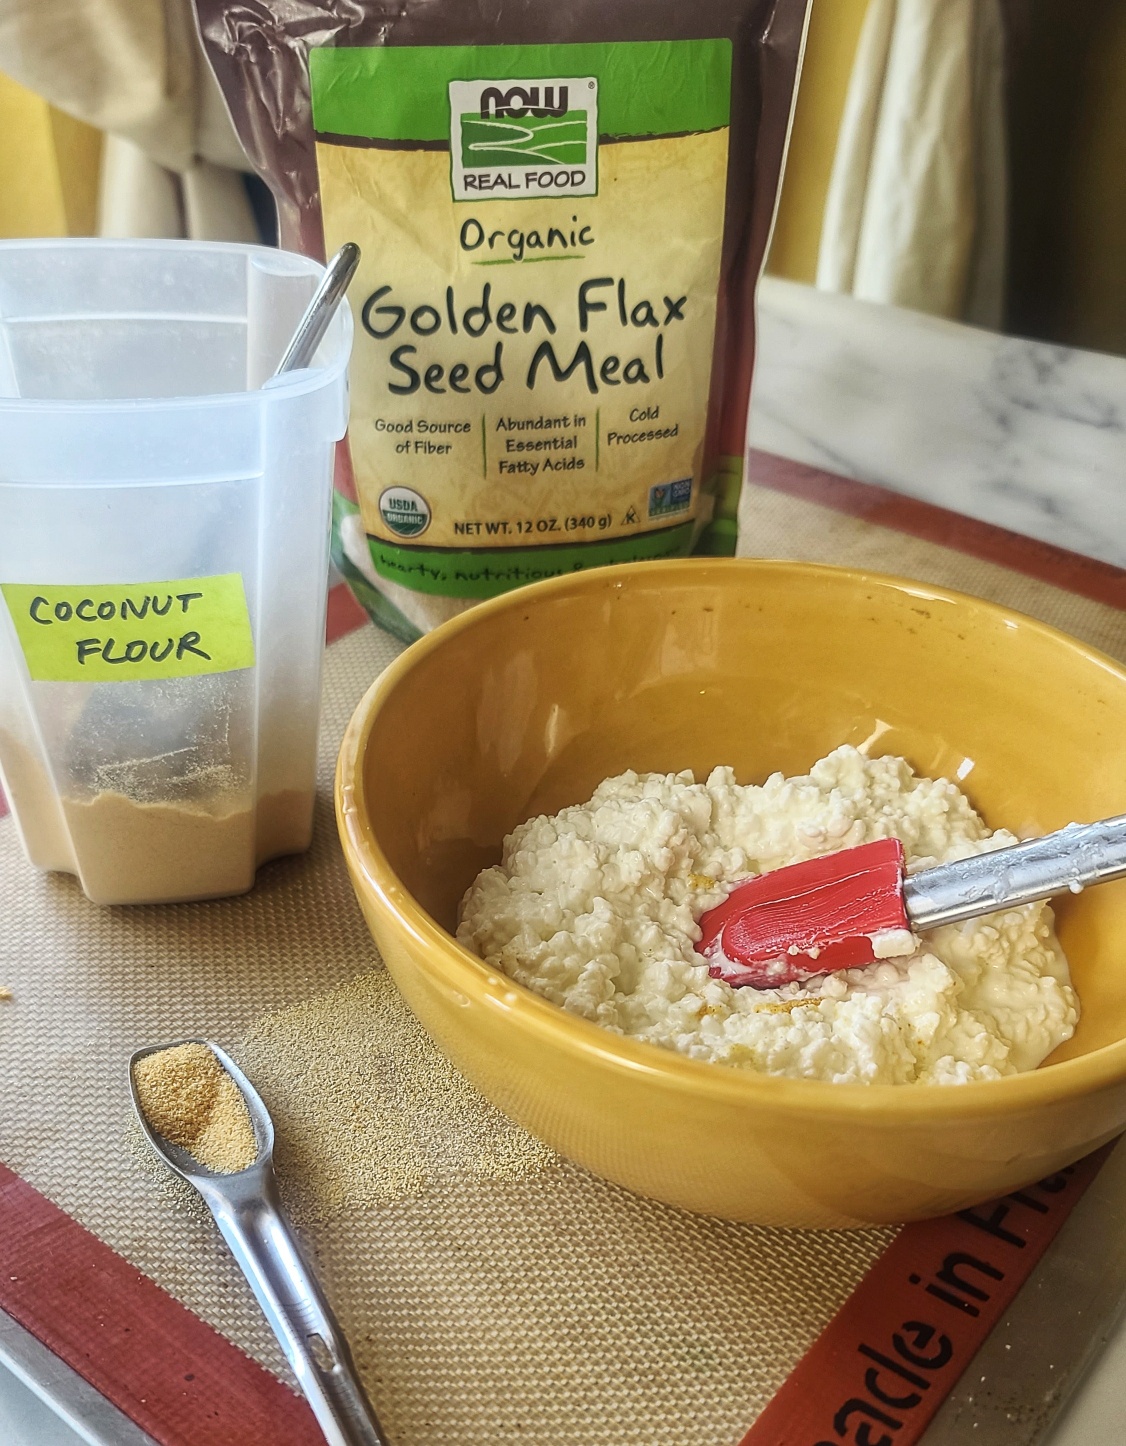
The only ingredients used in this low carb pizza crust are cottage cheese, coconut flour and ground flax seed meal.
TIPS FOR MAKING COTTAGE CHEESE PIZZA CRUST:
COTTAGE CHEESE: When it comes to selecting cottage cheese for his keto pizza crust recipes, pick a small curd cottage cheese with 2% or 4% milk fat. Stay away from the Fat-free cottage cheese, it does not perform as well. Also, if you use small-curb cottage cheese, there is no need to blend the cottage cheese smooth (as some similar recipes call for). For reference, I used Good Culture 2% Classic Low-Fat Cottage Cheese. They also make a lactose-free cottage cheese, if that is needed.
COCONUT FLOUR: This recipe only calls for ¼ cup of coconut flour, but it is a very “thirsty” flour and much less is required than other types of flour. For this reason, please to not make flour substitutes.
GROUND FLAXSEED MEAL: I added ground flax seed to add more fiber to the recipes, along with omega fatty acids. If you can not source this, you can *likely* just substitute with 1 tablespoon more of coconut flour – but I have not tried this yet, so let me know if you do.
OPTIONAL SEASONINGS: You won’t need salt because cottage cheese has enough sodium. But you might like to add garlic powder, everything bagel seasoning, fresh chopped herbs, or whatever else you would prefer.
BAKING: You will need parchment paper or a silicon baking sheet to cover your baking pan and prevent sticking.
COOLING & STORING: After removing the crust from the initial baking, you will want to let it cool almost completely. Otherwise, it will be too fragile to handle. This recipe makes two homemade personal-sized pizza crusts. If you are not using both, cover the leftover one and keep in the fridge to use later for up to 5 days.
TOPPINGS: After your crust has mostly cooled, feel free to handle it to add sauce, more cheese, veggies, meats or whatever toppings you love. Pop back in the oven for about 10 minutes or until cooked to your preference.
I also have a 2-Ingredient, 2-Minut Pizza Crust recipe that the family loves too – it uses Greek Yogurt and self-rising flour (or an all-purpose gluten-free baking blend with a bit of baking soda).
Simple, scrumptious and a crust you will crave for pizza night!! Add the toppings you enjoy. Makes two personal-sized crusts, each with 163 cal, 14g carb (4 net carb), 5g fat and 18g protein.
Course:
Appetizer, dinner, lunch
Keyword:
cottage cheese, gluten free, high protein, low carb, pizza
Servings: 2servings
Calories: 163kcal
Ingredients
1cup2% or 4% cottage cheeseNot zero-fat
¼cupcoconut flour
1tbspground flax seed*
Optional: ½ tsp garlic salt or other seasoning of your choiceHowever, don't add seasonings with a lot of salt added. Cottage cheese already has enough sodium.
Instructions
Preheat oven to 400F.
Add ingredients to bowl, mix until combined. Form into two balls.
Line baking sheet with parchment paper or a silicone baking sheet. Use hands to smoosh down and form into two thin discs, approx. 6” diameter.
Bake for approx. 20 minutes, or until turned golden brown and edges just about to get too brown. Remove from oven and let cool on pan about 5-10 minutes.
Top with ingredients of choice and return to oven to bake for 10 more minutes, or until toppings done to your liking.
If you don’t use the 2nd crust, wrap up and store in fridge for use later, up to 5 days.
*If you can’t find this flax meal, try subbing in with 1 tbsp. more coconut flour. I can’t 100% vouch for outcome, but it should work. The flax is just a nice variety, offers fiber and omega fatty acids.
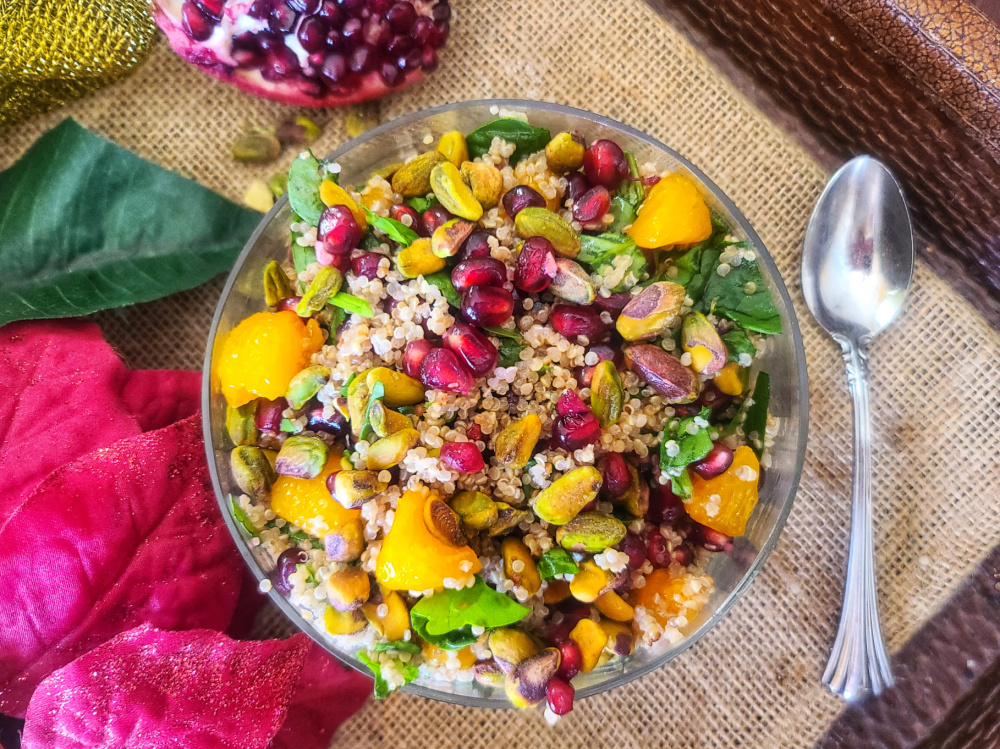
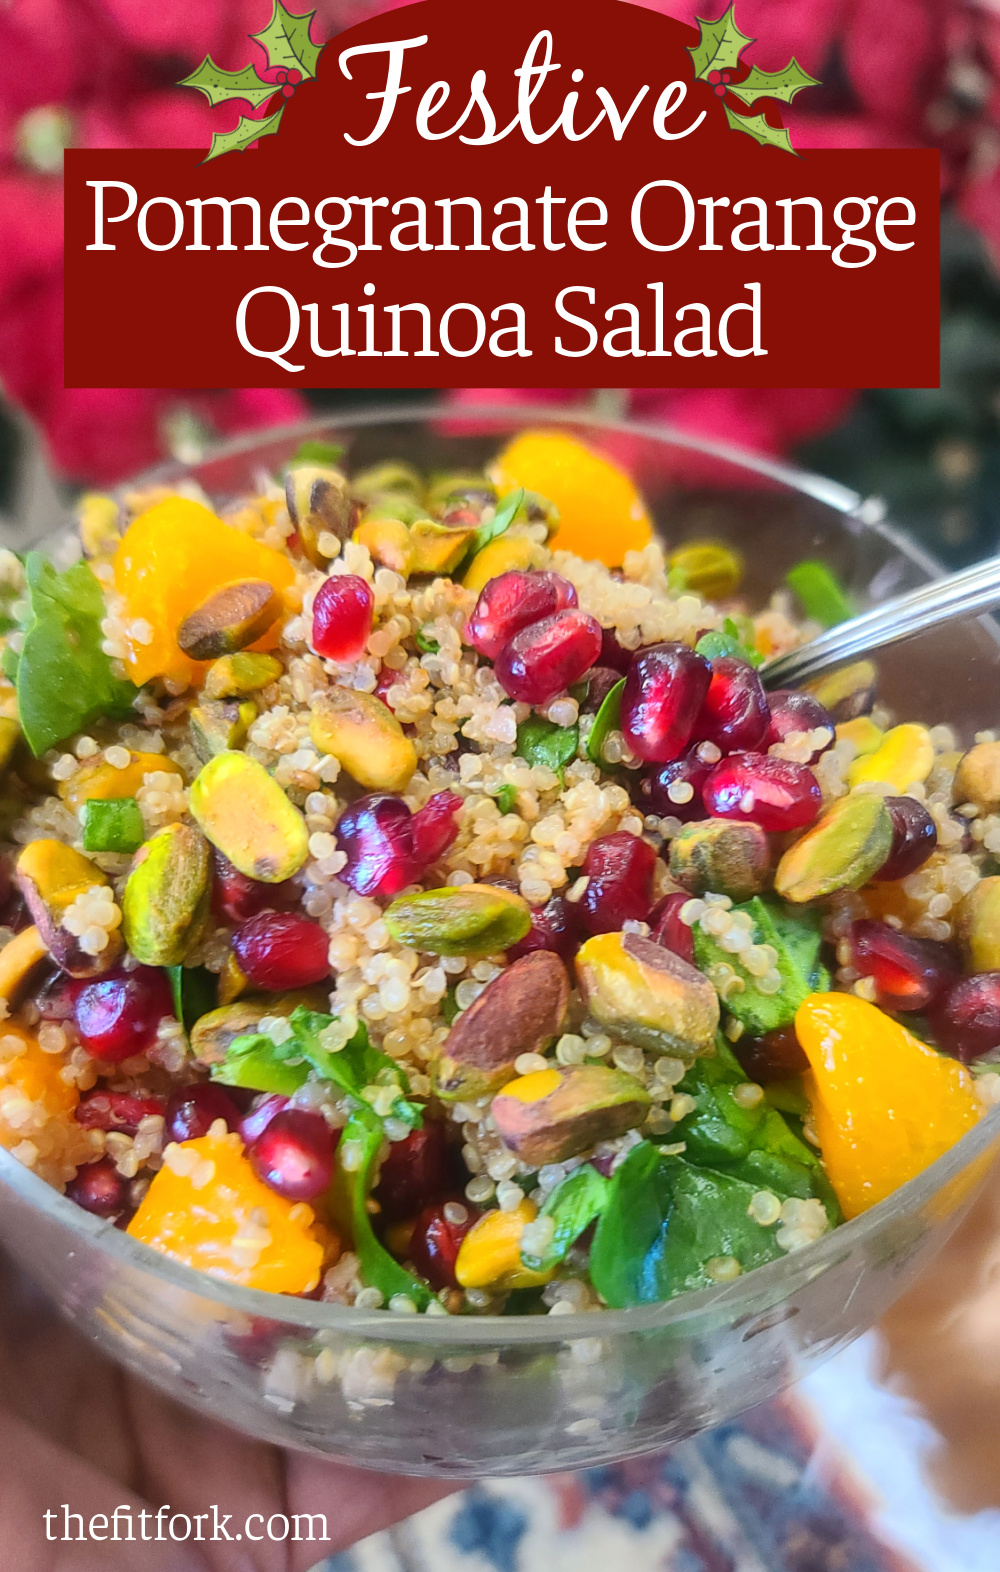
Deck your plate for the holidays with this festive quinoa salad featuring pomegranate and orange. it’s a beautiful, healthy, delicious recipe elegant enough for the season’s celebrations and simple enough for a simple weeknight dinner.
A simple creamy dressing made with a vinaigrette base along with Greek yogurt and date syrup adds even more flavor to this simple holiday quinoa salad that comes together with just a handful of healthy ingredients.
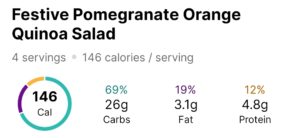
This pomegranate orange quinoa recipes makes 4 servings, each with 146 calories, 26g carbs, 3.1g fat and 4.8g protein.
I pair this cold quinoa salad with a quality protein to make sure I’m hitting my 25-30g per meal goal. Tonight, I made cod that was simply seasoned and air-fried.
TIPS FOR FESTIVE QUINOA SALAD:
Quinoa: You can use any color quinoa (eg: white, red, black, mixed). Also, consider batch-cooking quinoa and keeping in the freezer in 1-cup portions. This makes creating quick recipes with this healthy whole grain (really a seed), even easier – you can read my quinoa prep post HERE.
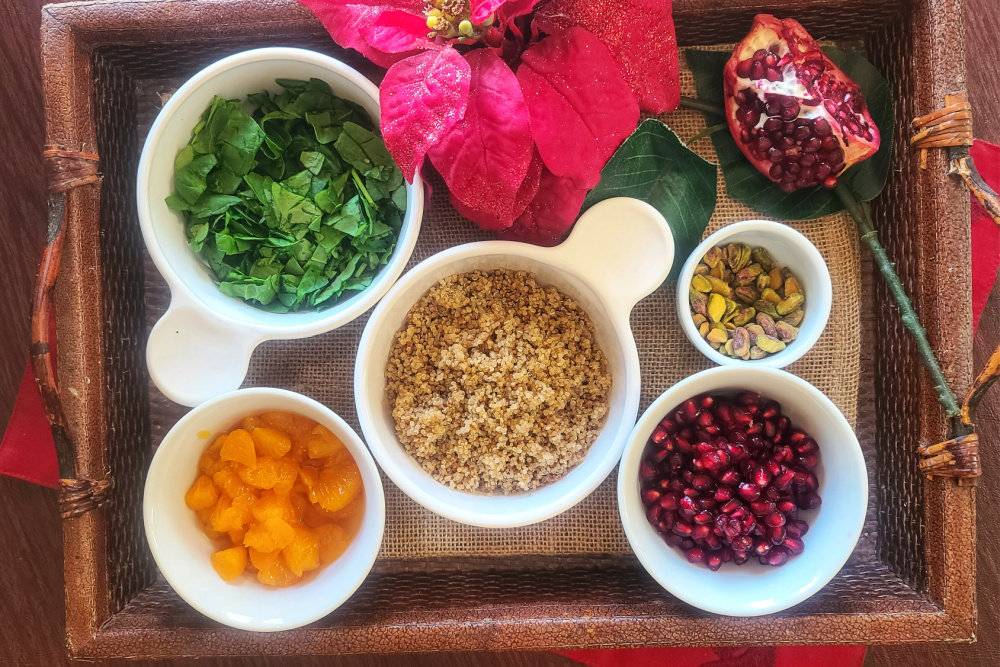
Pomegranate & Oranges: Use fresh or pre-packaged, it really only comes down to your preference and time to prep. If using either from a jar, tub, or can, choose “no sugar added” and drain off the juice so the quinoa isn’t soggy later. However, do reserve about 1 tablespoon of pomegranate juice for the dressing (or if fresh, drain it from the bowl after getting the arils out).
Dressing: This recipe makes just enough for the salad, and I prefer underdressed salads. If you think it needs more, double the dressing recipe and pour it on a little at a time – going by taste. Also, if you’d like to turn this from a vegetarian quinoa recipe into a vegan quinoa recipe, then use a substitute for the Greek yogurt, such as a plant-based yogurt, tahini or a natural nut butter.
Optional Ideas: You can swap out the pistachios for a chopped nut of choice like almonds, pecans – or none at all. Also, I love to sprinkle mine with feta cheese for a salty contrast with the sweet.
Make Ahead & Storing: This recipe will get a little soggy if you make the day before. To save time, it’s best to prep the ingredients (cook quinoa, chop spinach, peel/seed fruit, etc) the day before. Then simply toss everything together and shake up the dressing – it will literally just take 2 minutes! You can store leftovers in the fridge for up to 3 days. Still tastes yummy, but the crunch of the nuts and crisp of the spinach will be gone.
This is one of my favorite creative quinoa salad ideas – for it’s flavor, fast-fixing, and festive appearance! Enjoy!
As an Amazon Influencer, I earn from qualifying purchases.
Transform plain quinoa into something to celebrate for theholiday season! Pomegranate, orange segments and pistachios bejewel this quick,easy and nourishing vegetarian salad that is equally beautiful for a dinnerparty or quick lunch!
Course:
entree salad, Side Dish
Cuisine:
holiday
Keyword:
holiday, orange, pomegranate, quinoa
Servings: 4servings
Calories: 162kcal
Ingredients
1cupcooked quinoa
1cupchopped fresh baby spinach
¾cuppomegranate arilsjuice drained & reserved if packaged container
¾cupmandarin orange segments packed in water or juiceor fresh
¼cupshelled pistachio kernelscoarsely chopped
Dressing:
1tablespoonolive oil
1tablespoonjuice reserved from pomegranate or orange segments
1tablespoonwhite wine vinegar
2tablespoonsGreek yogurt
1tablespoondate syrup
1/8teaspoonsalt
Instructions
Add quinoa, spinach, pomegranate and orange segments (cut in half crosswise) into medium bowl.
In small mason jar, shake together dressing ingredients until emulsified.
Pour dressing over salad and gently stir.
Before serving, stir in pistachios.
Best eaten right after making to keep the texture of the lettuce and pistachios. But you can store leftovers in fridge for up to 3 days and it’s still good.
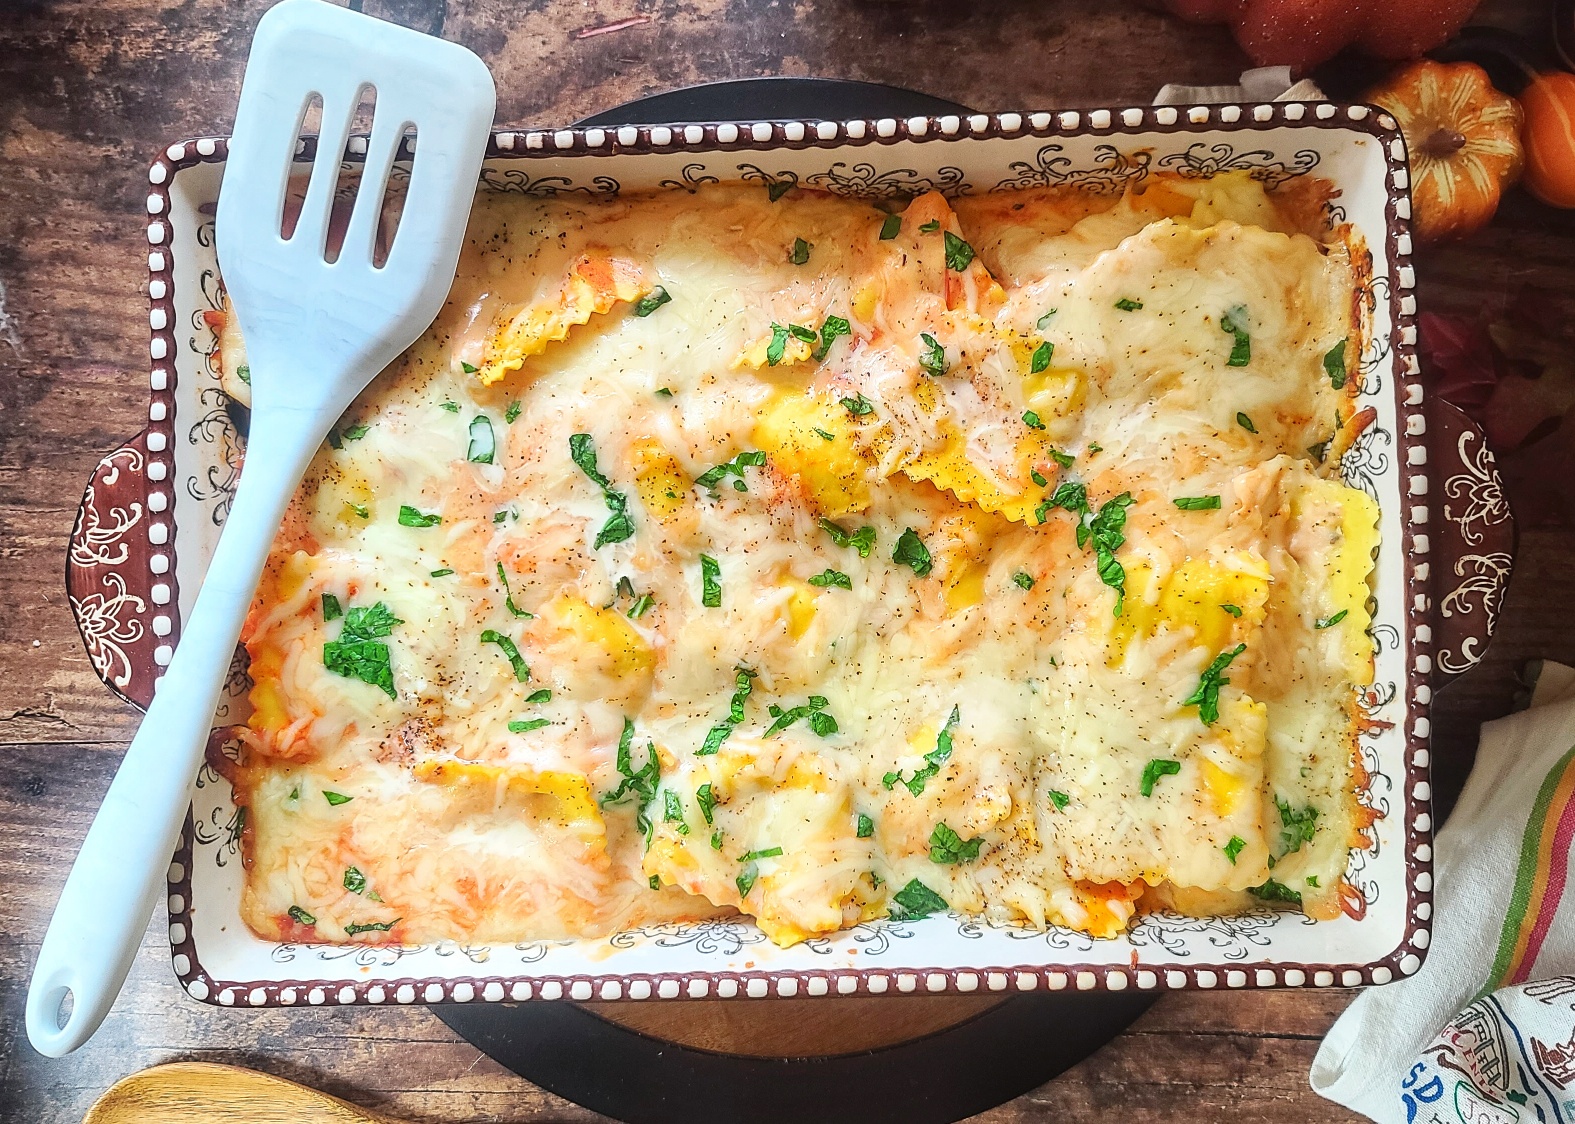
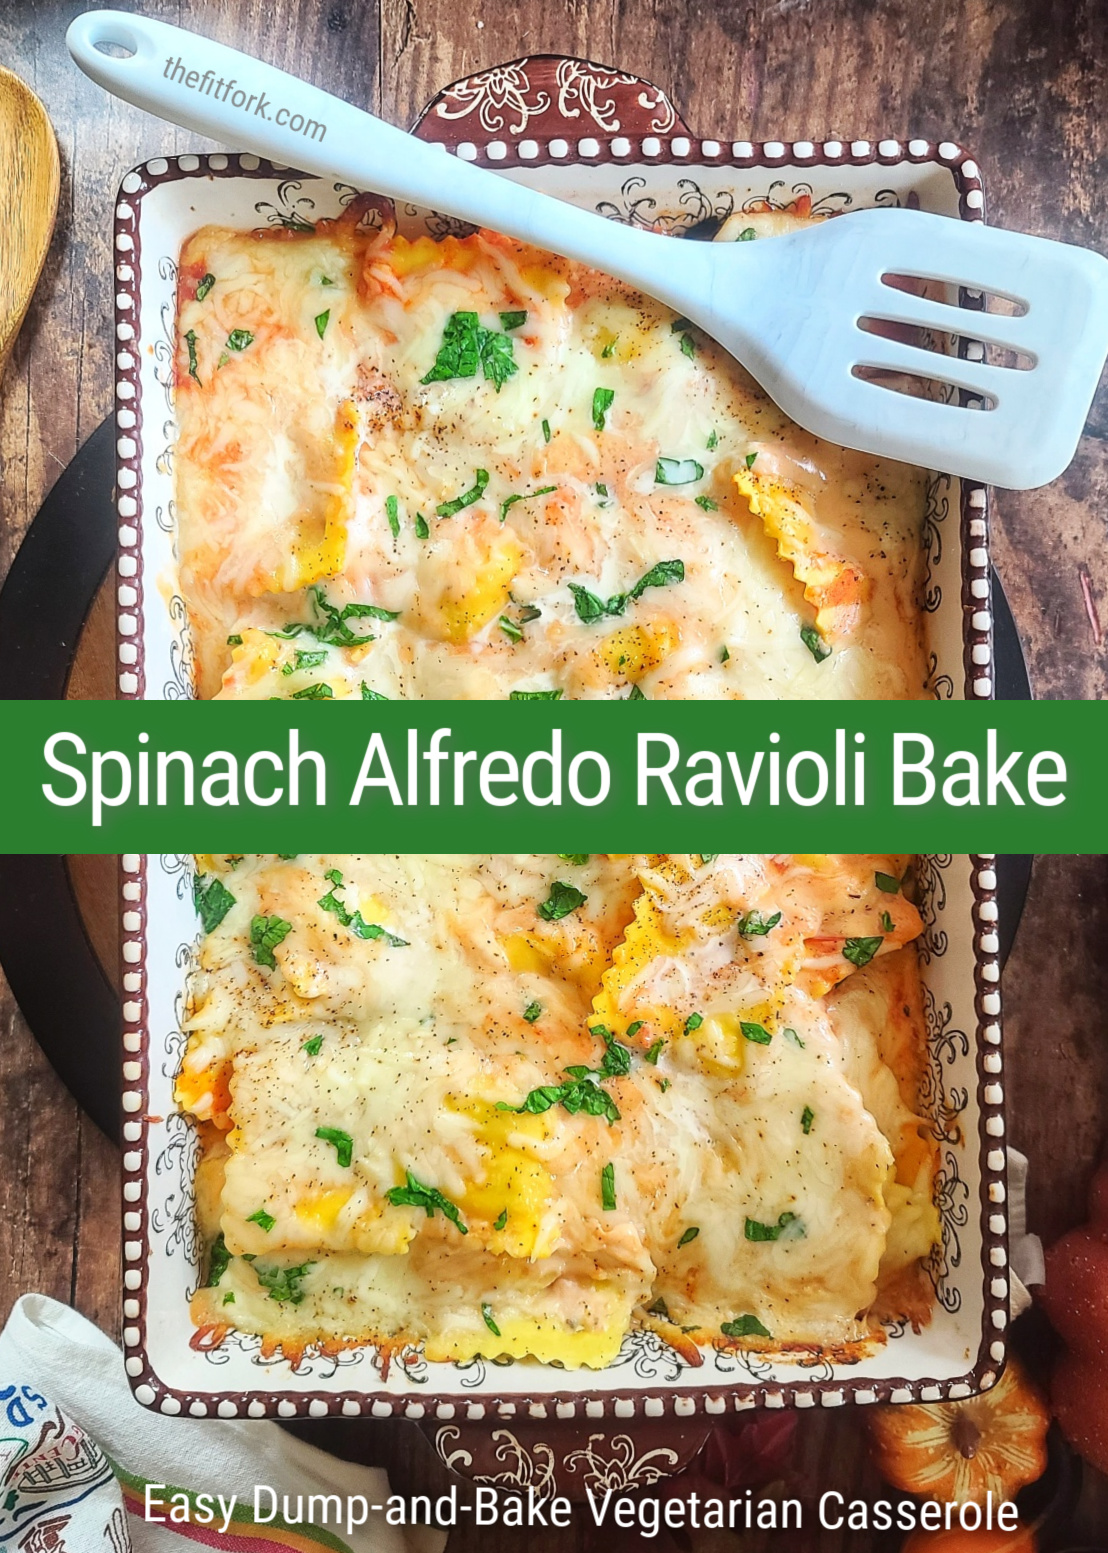
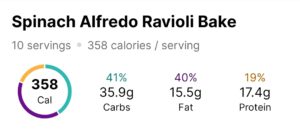
Whether it’s the busy holiday season, start of a new school year, or other hectic time, you’ll love the simplicity of Spinach Alfredo Ravioli Bake – a dump-and-bake casserole recipe.
This big family-sized dish is a lifesaver when you need a quick and satisfying option, especially for your vegetarian friends and family. Everyone loves it, even picky eaters.
Just gather all the ingredients and effortlessly layer them into a casserole dish. Then, let your oven do the work, transforming those humble ingredients into a mouthwatering, cheesy masterpiece. When it’s time to serve, you’ll have a warm and comforting dinner that’s sure to please everyone, leaving you with more time to enjoy the life going on in front of you!
This easy ravioli dump and bake recipe is also a welcomed dish at pot lucks, book clubs or to take to a homebound person.
Check out the 15-second tutorial on this easy dump-and-bake pasta casserole.
QUESTIONS ANSWERED – HOW TO MAKE SPINACH RAVIOLI BAKE:
Use frozen (thawed) or refrigerated ravioli, no need to pre-cook!
Should I use frozen or refrigerated ravioli? Either type will work – I prefer the frozen ones because they are more economical. There is no need to pre-boil them, I just let them set out for about 30 minutes to thaw some.
What if I don’t like spinach? The spinach can be omitted without any substitution. I just like the fact I’m sneaking in extra veggies my family will eat. If you’d rather, you can add about 8-ounces of other quick-cooking vegetables like sliced mushrooms, frozen peas, or a little cauliflower rice. Don’t add veggies that take a long time to cook like potatoes, or brussels sprouts, or big chunks of broccoli, etc.
Get Creative: The recipe calls for cheese ravioli, but you can use any type filling you prefer! Bottled alfredo sauce also comes in a variety of flavors – at my store I found Cajun alfredo (what I used), Poblano Alfredo, Three Cheese Alfred and more. Use whatever sounds yummy to you.
Saving Leftovers: This recipe makes about 10-12 servings. IF you have leftovers, keep covered air-tight in the fridge for up to 4 days. Or, divide into individual portions and freeze for 3-4 months. Defrost and reheat in microwave.
The simplicity and deliciousness of this ravioli bake willmake it your new busy-night dinner. Basically a dump-and-bake casserole, justlayer up everything in a 9×13-inch baking dish (no stirring even needed) andbake for 30 minutes – serves a big family or hungry group!
Course:
casserole, dinner, dinner, entree, Pasta
Cuisine:
Italian
Keyword:
blue cheese, casserole, dump and bake, ravioli
Servings: 10
Calories: 358kcal
Ingredients
36-40ouncesfrozen thawed or par boiled or refrigerated cheese ravioli (or can sub another filling)
5-ozbag fresh baby spinachchopped
1 15-ozcan petite cut tomatoesdrained
8-ouncecan tomato sauce
1 15-ouncejar alfredo sauce of choiceplain or flavored – I used Cajun
2cupsshredded mozzarella
1/2 tsp ground black pepper
1tbspchopped fresh herbs for topoptional
Instructions
Preheat oven to 350F.
In lasagna pan, add fresh chopped spinach.
Sprinkle drained can of tomatoes evenly out over spinach.
Next toss on the uncooked (but semi-thawed) ravioli.
Drizzle on tomato sauce, then alfredo sauce. Use a spatula to smooth down the top a bit.
Season top with ground black pepper.
Add cheese evenly to top, garnish with herbs, if desired.
Cover casserole dish with foil and bake, until heated through and sauce and cheese bubbling) for about 30 minutes (take off foil last 10 minutes so top gets lightly golden). Let cool in dish for 5 minutes before serving.
Store leftovers in air-tight container in fridge for up to 4 days, or portion into single servings and freeze in appropriate freezer container for up to 4 months.
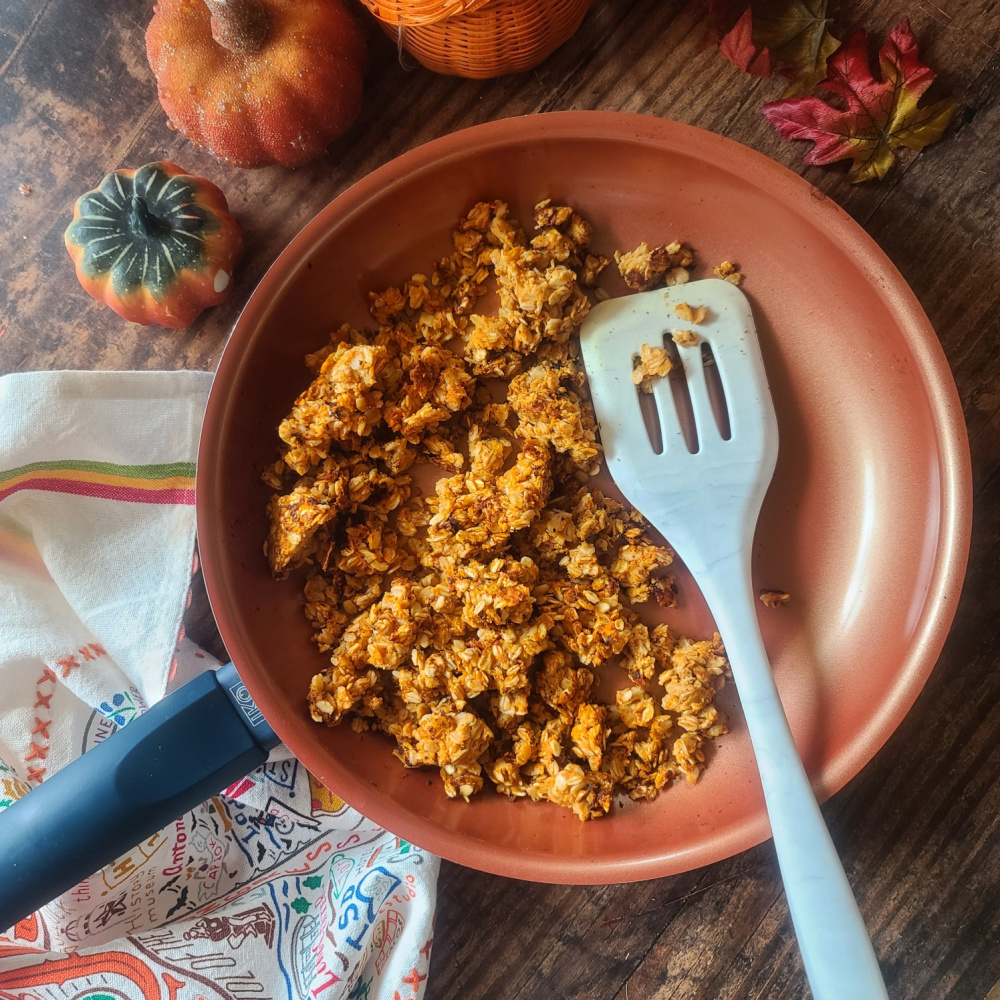
Whether you’re a runner, triathlete, gym-going fitness enthusiast or simply seeking a comforting, nutritious breakfast to jump start an active day, these Pumpkin Scrambled Oats are sure to hit the spot.
With the flavors of fall, sustaining whole-grain carbs, and a protein boost that’ll keep you going, it’s an easy oat recipe you’ll want to revisit time and time again during this splendid season of cooler temps and endless outdoor adventures.
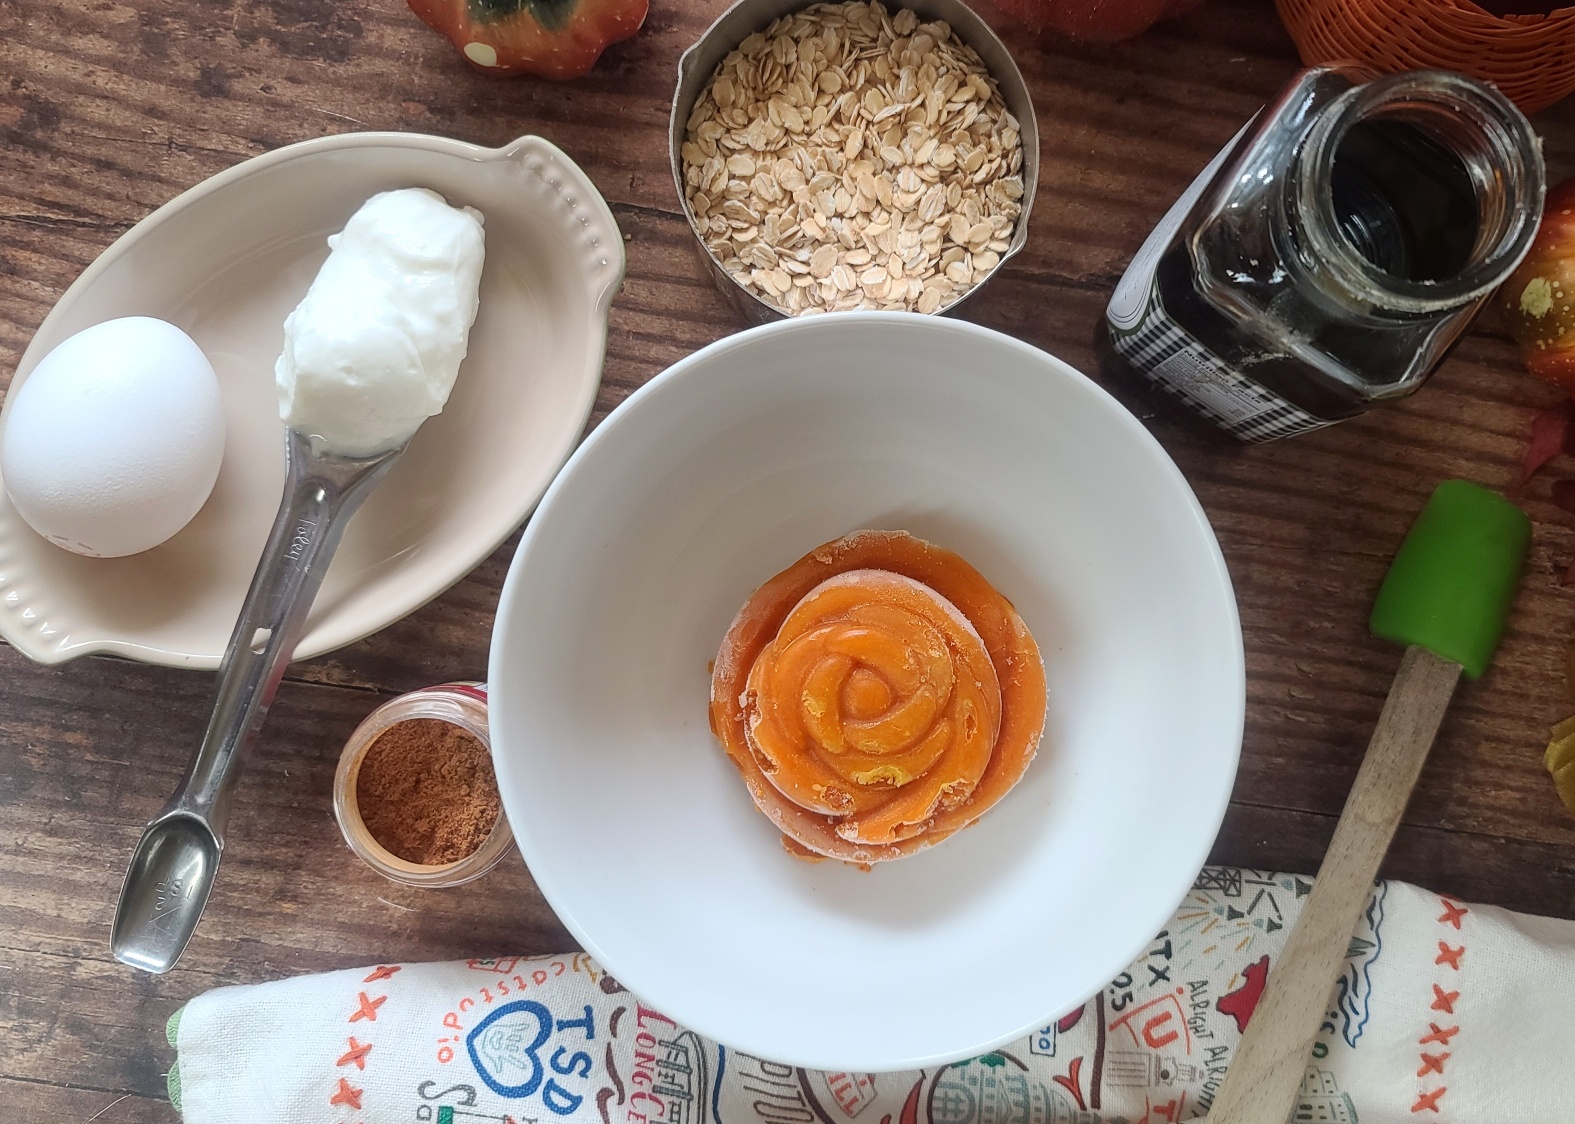
Simple Ingredients: Pumpkin, Greek yogurt, egg, maple syrup, oats, and pumpkin pie spice!A 15-second Pumpkin Scrambled Oat Tutorial!
Why Make Pumpkin Scrambled Oats?
Fall Flavor Fusion: Pumpkin is the quintessential fall ingredient. It’s warm, earthy notes complement the creaminess of oatmeal beautifully – plus for the ½ cup used in this recipe, you get a lot of nutrition for about 45 added calories — plant-based carbohydrates with no added sugar, virtually no fat, a good source of vitamins (especially vitamin A / beta carotene), and minerals athletes need more of like iron and potassium.
Protein Powerhouse: If you’re an active individual or simply looking to boost your protein intake, this recipe is a game-changer. Oats and eggs provide a solid protein base that’s perfect for muscle recovery and sustained energy. Often, I will use these protein oats to add even more a boost.
Quick and Easy: This pumpkin breakfast recipe reminds me of a cross between traditional oatmeal with pumpkin to skillet granola – really, it’s like a soft pumpkin granola that you don’t have to bake. Whip this pumpkin oat recipe up in a non-stick skillet in under 10 minutes – I feel like the process is just the same as making scrambled eggs (hence the name).
How to Serve and Store: Eat warm or room temperature. Delicious plain, or add your favorite nuts/seed (I added sprouted pumpkin seeds) or add as a “crumble” topping on your yogurt, cottage cheese or smoothie bowls. Store leftovers, in air-tight container in fridge for up to 5 days. Reheat in an air-fryer or toaster oven for 3-4 minutes.
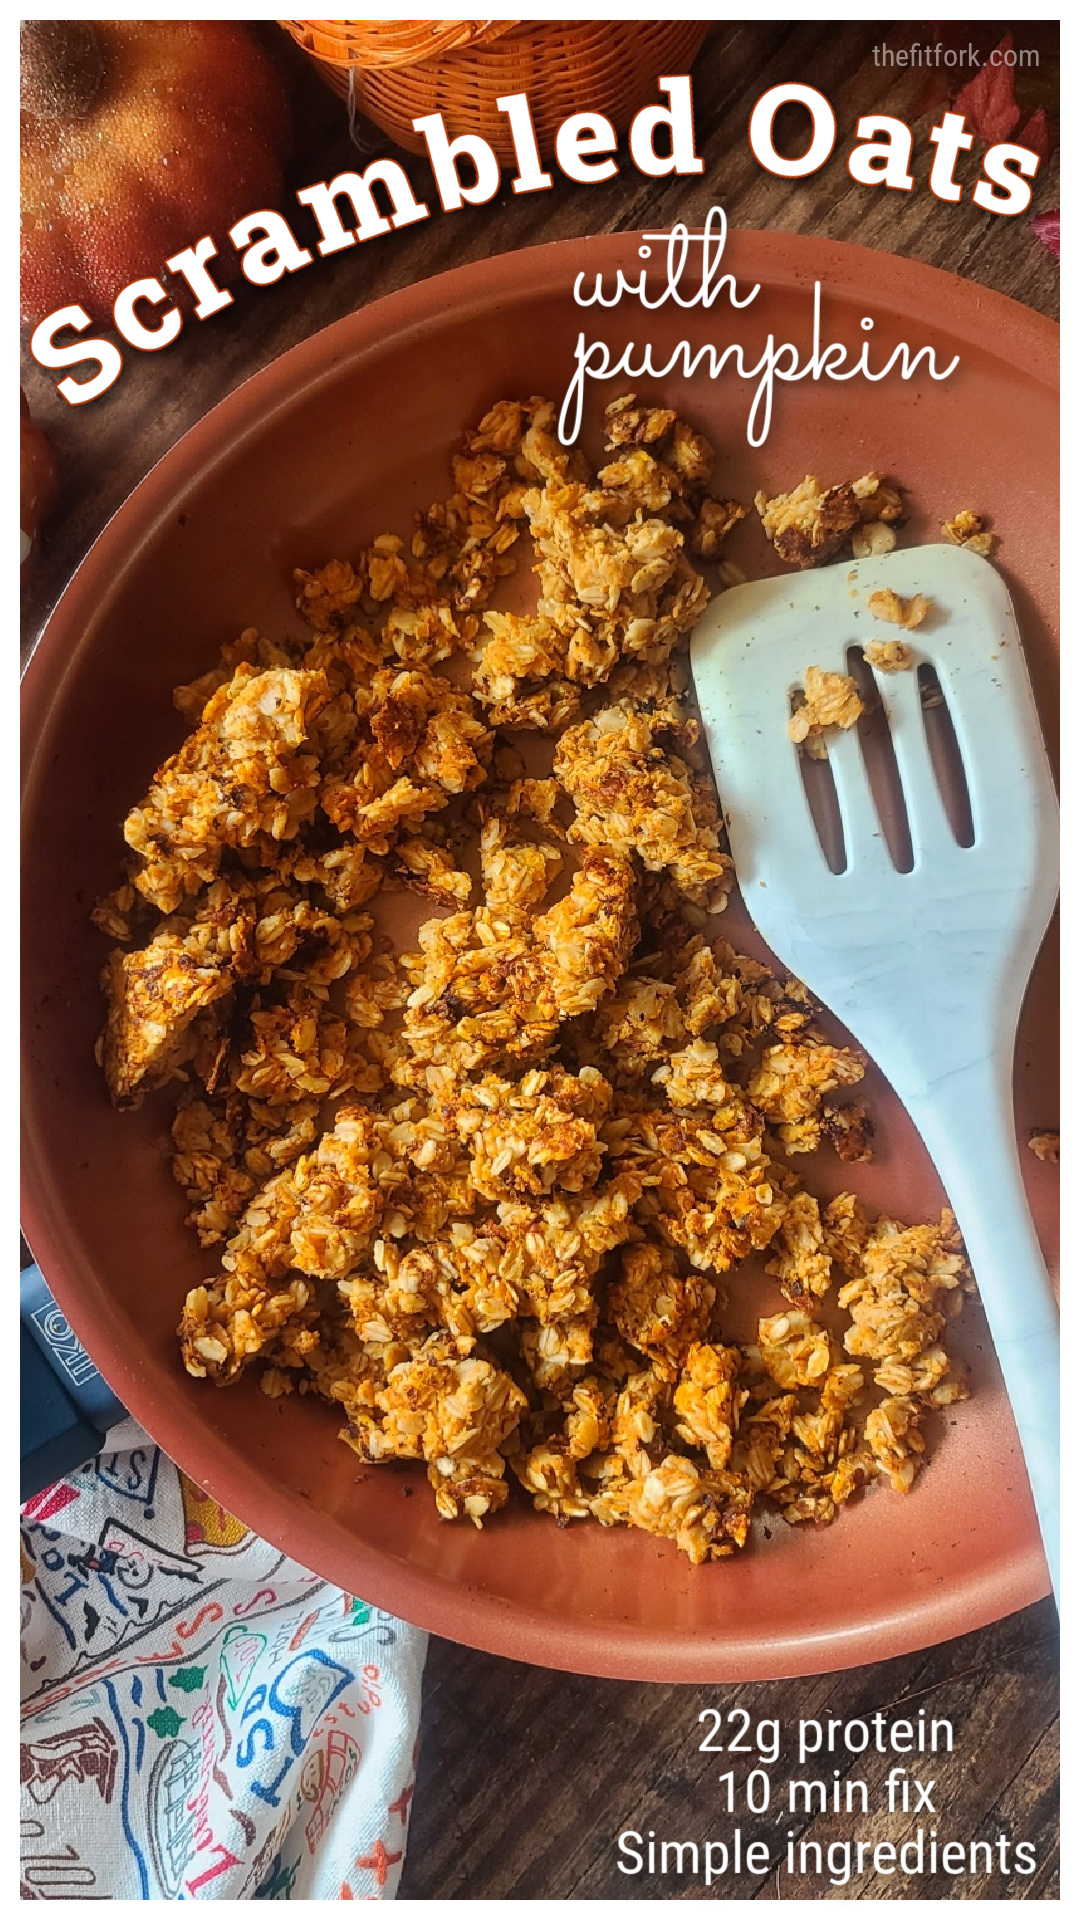
Pin this for later!
As an Amazon Influencer, I earn from qualifying purchases.
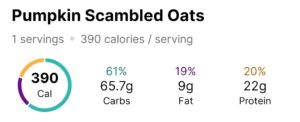
Pumpkin Scrambled Oats are a comforting and nutritious way to jumpstart fall mornings. A quick breakfast, only 10 minutes max to make in a skillet — simple, wholesome ingredients and 22g protein so you don't get hungry later!
Course:
Breakfast, Snack
Keyword:
breakfast, oats, pumpkin
Servings: 1serving
Calories: 390kcal
Ingredients
1/2cupcanned pumpkin
2tbsp0% fat Greek yogurt
1large egg
1tbspmaple syrupcan omit or use a syrupy substitute if moderating carbs
3/4cuprolled oatsI used @oatsome protein oats
1/4tsppumpkin pie spice
Optional extras: nutsseeds, dried fruit
Instructions
Mix everything up in a bowl.
Bring nonstick skillet to medium heat (not too high if using the maple syrup, you don’t want the sugars in it to burn).
Spread out batter in skillet, about 1/3” thick, let cook for a few minutes, then use spatula to turn over in big chunks. Cook forc a few more minutes before using spatula to “chop up” … just imagine how you would do for scrambled eggs! Cook a few more minutes, tossing frequently, until mixture drying out some.
Finished product will be turning golden brown on the outside and still a bit soft — like a cross between oatmeal and skillet granola.
Add mix-ins of choice, if desired. Serve warm or room temperature – either plain, in milk, on top of yogurt or cottage cheese, etc.


 Treat yourself to pizza night done right with 3-Ingredient Cottage Cheese Pizza Crust, a gluten-free, low-carb and protein-packed alternative to traditional crusts. This image has an empty alt attribute; its file name is Cottage-Cheese-Pizza-Crust-Gluten-Free-sq-1024x1024.jpeg I’ve been baking and cooking with cottage cheese for YEARS, so it’s funny to see all these viral cottage cheese recipes on TikTok, Instagram and such as if it’s something new! Using cottage cheese is a smart way to bump up protein, lower fat, and minimize carbohydrates in many recipes – pizza crusts included! The macros on this pizza crust are impressively good. The recipe makes two personal sized crusts (about 6” diameter each) with a single crust (before toppings of your choice) coming in at 163 cal, 4g net carb, 10g dietary fiber, 5g fat and 18g protein. The only ingredients used in this low carb pizza crust are cottage cheese, coconut flour and ground flax seed meal. This image has an empty alt attribute; its file name is Cottage-Cheese-Pizza-Crust-ingredients-797x1024.jpeg TIPS FOR MAKING COTTAGE CHEESE PIZZA CRUST: COTTAGE CHEESE: When it comes to selecting cottage cheese for his keto pizza crust recipes, pick a small curd cottage cheese with 2% or 4% milk fat. Stay away from the Fat-free cottage cheese, it does not perform as well. Also, if you use small-curb cottage cheese, there is no need to blend the cottage cheese smooth (as some similar recipes call for). For reference, I used Good Culture 2% Classic Low-Fat Cottage Cheese. They also make a lactose-free cottage cheese, if that is needed. COCONUT FLOUR: This recipe only calls for ¼ cup of coconut flour, but it is a very “thirsty” flour and much less is required than other types of flour. For this reason, please to not make flour substitutes. GROUND FLAXSEED MEAL: I added ground flax seed to add more fiber to the recipes, along with omega fatty acids. If you can not source this, you can *likely* just substitute with 1 tablespoon more of coconut flour – but I have not tried this yet, so let me know if you do. OPTIONAL SEASONINGS: You won’t need salt because cottage cheese has enough sodium. But you might like to add garlic powder, everything bagel seasoning, fresh chopped herbs, or whatever else you would prefer. BAKING: You will need parchment paper or a silicon baking sheet to cover your baking pan and prevent sticking. COOLING & STORING: After removing the crust from the initial baking, you will want to let it cool almost completely. Otherwise, it will be too fragile to handle. This recipe makes two homemade personal-sized pizza crusts. If you are not using both, cover the leftover one and keep in the fridge to use later for up to 5 days. TOPPINGS: After your crust has mostly cooled, feel free to handle it to add sauce, more cheese, veggies, meats or whatever toppings you love. Pop back in the oven for about 10 minutes or until cooked to your preference. This image has an empty alt attribute; its file name is Cottage-Cheese-Pizza-Crust-Gluten-Free-1024x647.jpeg I also have a 2-Ingredient, 2-Minut Pizza Crust recipe that the family loves too – it uses Greek Yogurt and self-rising flour (or an all-purpose gluten-free baking blend with a bit of baking soda). 2 Ingredient 2 Minute Pizza Dough https://thefitfork.com/2-ingredient-2-minute-homemade-pizza-crust/)