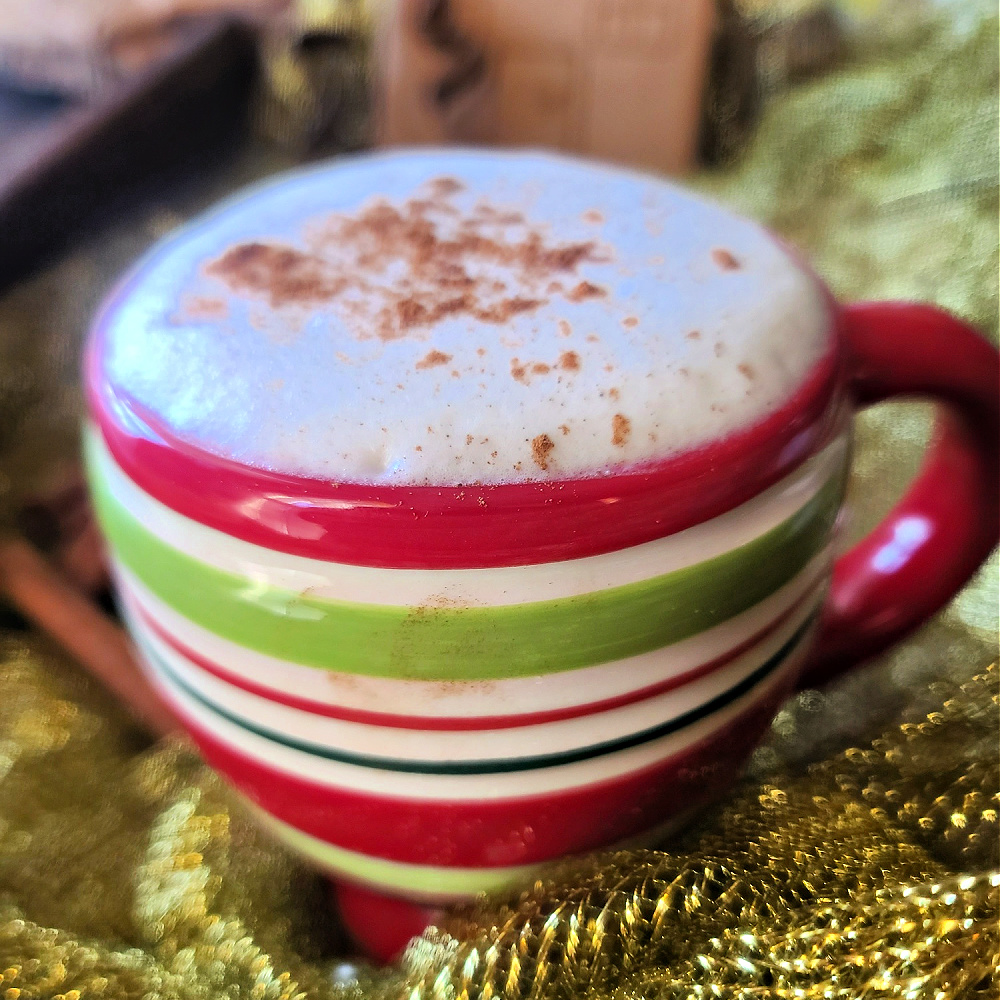
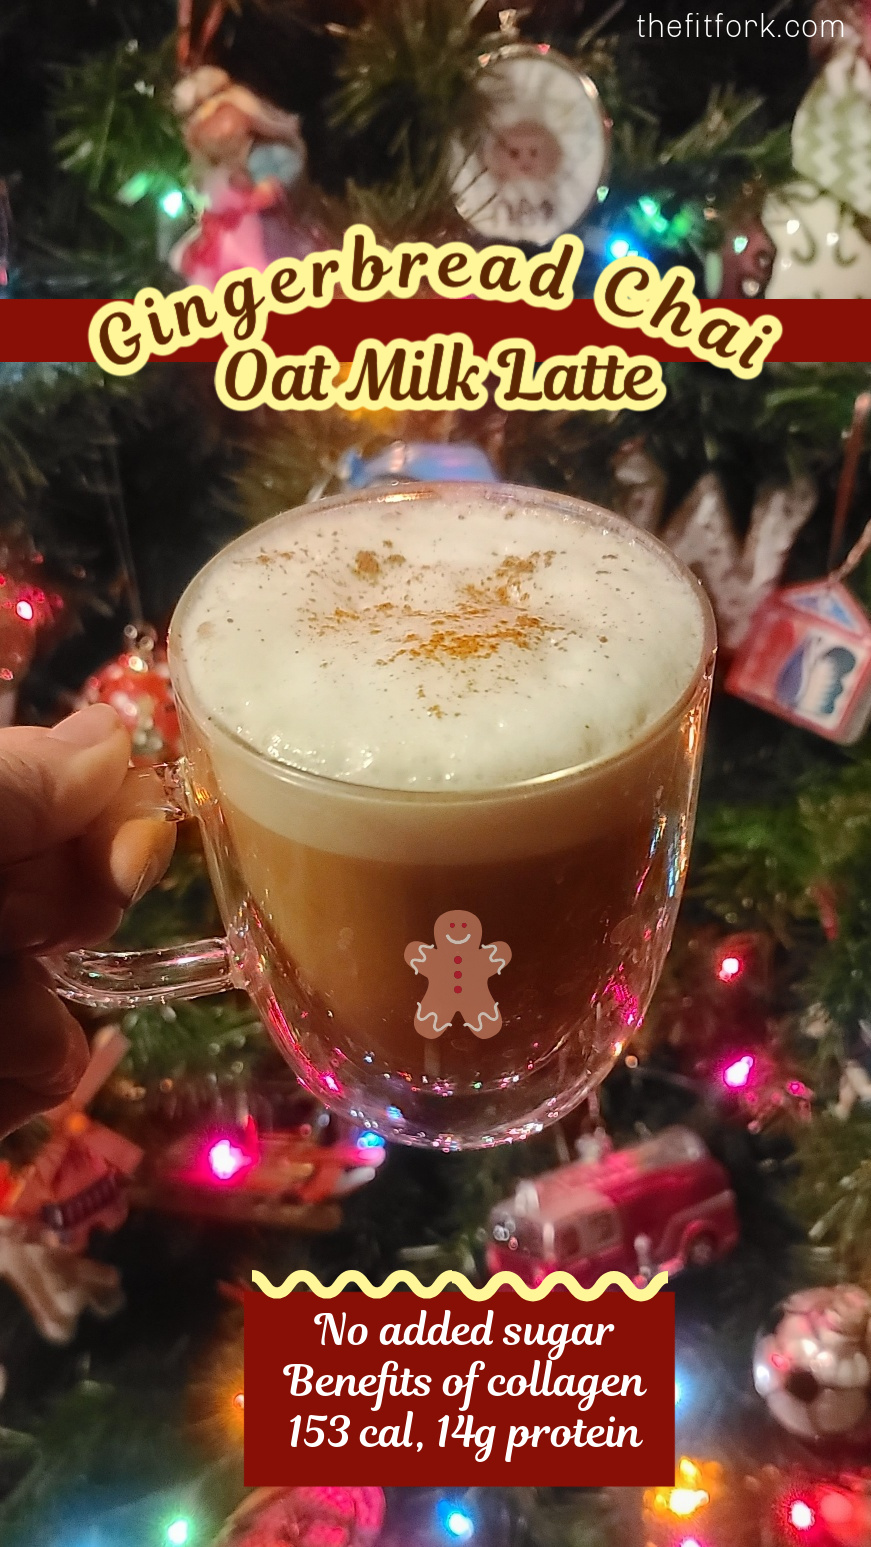
Gingerbread Chai Oat Milk Latte with Collagen is the perfect hot beverage to add spice and coziness to the holidays.
‘Tis definitely the season for comforting, hot lattes, cappuccinos, lattes and more, but so many coffee-shop favorites make the naughty list, filled with unnecessary calories and sugar. While I might partake in such an indulgence every now and then, a healthy chai latte or is what I’d make to drink at home.
This makeover chai latte recipe is easy to make, requiring just a few simple ingredients – a chai tea bag, a zero-carb sweetener, spices, oatmilk, and – surprise, collagen powder.
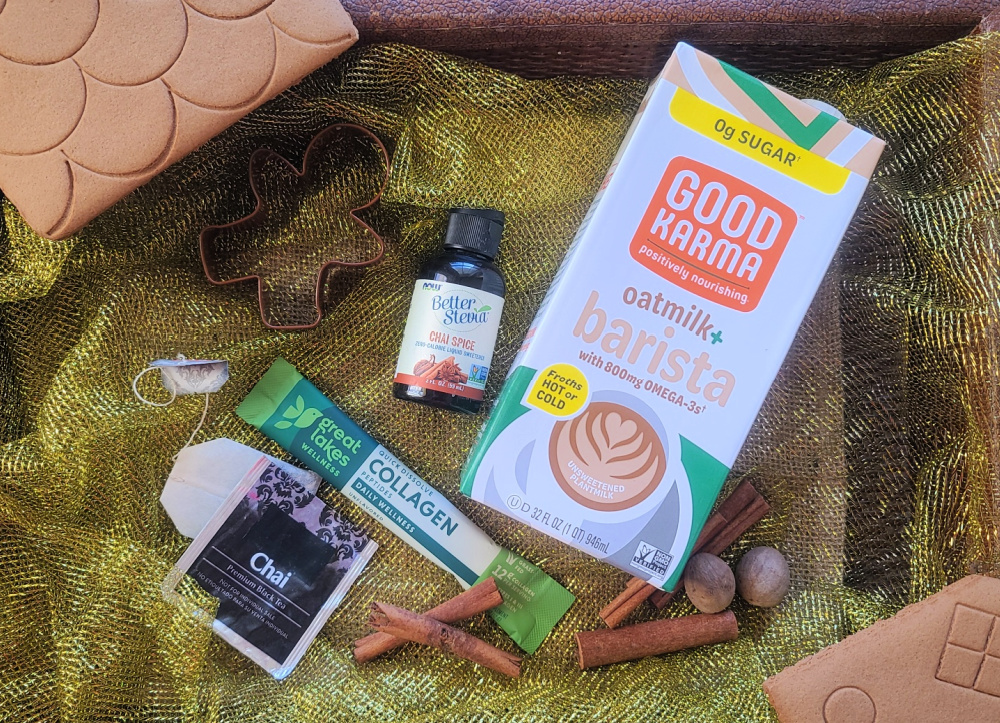
I use a couple tablespoons of unflavored collagen powder from Great Lakes Wellness –it dissolves amazingly and with no clumps in hot liquids. In addition to the many benefits of collagen, I love that it adds protein to my day.

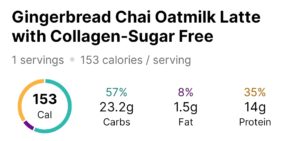
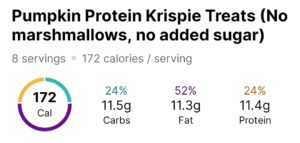
A “Grande” (16-oz) serving of my healthy gingerbread chai latte has just 153 calories, only 4g sugars and 14g protein – while the popular coffee shop version has 310 calories and a whopping 54g sugar and only 2g protein per.
TIPS FOR MAKING GINGERBREAD CHAI OATMILK LATTE
Mug: Make sure you mug is large enough to hold all the liquids – air in the frothed almond milk gives it more volume, so to be safe and prevent overflows, I’d go with a 20-ounce mug.
Tea: Brew the chai tea of your choice, there are many varieties with varying flavor profiles, use your favorite loose or tea sachet. I used a Vanilla Chai tea bag from Aplenty (an Amazon brand, it tasted great and was priced very economically). Also, steep the tea in just 4 ounces of boiling water, no more. It should be concentrated so that it flows into the steamed and frothed milk.
Milk: While this particular healthy chai latte recipe calls for oat milk, it’s fine to swap out for what you have in the fridge or what works best for your dietary needs. When it comes to alternative milks, I feel like oat milk froths up thicker and creamier than almond milk – I use the Barista Blend by Good Karma , it’s also shelf stable, so I can always have a new carton waiting in my pantry.
To Froth or Not: A true latte has a shot of espresso (I’m using chai tea here), a layer of steamed milk, and a layer of frothed milk. Do this if you want to make a chai latte like Starbucks. I use Pitcher-style Milk Frother & Steamer, but a little hand-held frother works too. However, if you do not have these coffee tools available, simply heat milk in the microwave until hot – the latte won’t have froth on top, but will still taste amazing.
Sweetener: I avoid having added sugar in my beverages, whether hot or cold. Obviously, real milk has some sugar in the form of lactose and oat milk has maltose – I’m okay with that. What I don’t want is added sugar to make it taste sweet. Instead, I’ll use a zero or lower carb alternative like monk fruit or stevia. Better Stevia (liquid drops) from NOW is my favorite hot beverage sweetener, they even have a “chai” flavor which is what I used in lieu of additional spices. Honey, agave or maple syrup would work too, but will change the nutritional content. When it comes to sweeteners, I’m always like, “You do you!”
As an Amazon Influencer, I earn from qualifying purchases.
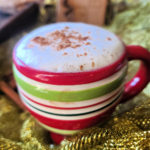
Gingerbread Chai Oatmilk Latte withCollagen – my better-for-you version of a coffee shop favorite. Easy to make, no added sugar, and a boost of protein plus other benefits. So cozy and sweet andspicy, happy holidays!
- 1 chai tea bag
- 4 oz water
- 5-10 chia-spice liquid stevia drops or other sweetener option *if not using chia-spiced sweetener, add ground spice alternative (1/4 tsp each: ginger, cinnamon, nutmeg)
- 2 tbsp collagen powder
- 8 oz unsweetened Oat Milk
- Pinch ground cinnamon for garnish
-
Boil water and steep chai tea for 3 minutes. Stir in collagen powder until dissolved.
-
Add chai-spiced stevia.* If using an unflavored stevia or other sweetener, add in approx1/4 tsp each ground ginger, ground cinnamon, ground nutmeg to taste.
-
Heat/steam half of the oat milk and stir into chai.
-
Froth remaining oat milk and gently pour on top of chai-milk mixture.
-
If desired, sprinkle with a little more cinnamon.