Granola Crunch Honey Mustard Salmon (Savory, Crispy & Protein-Packed)

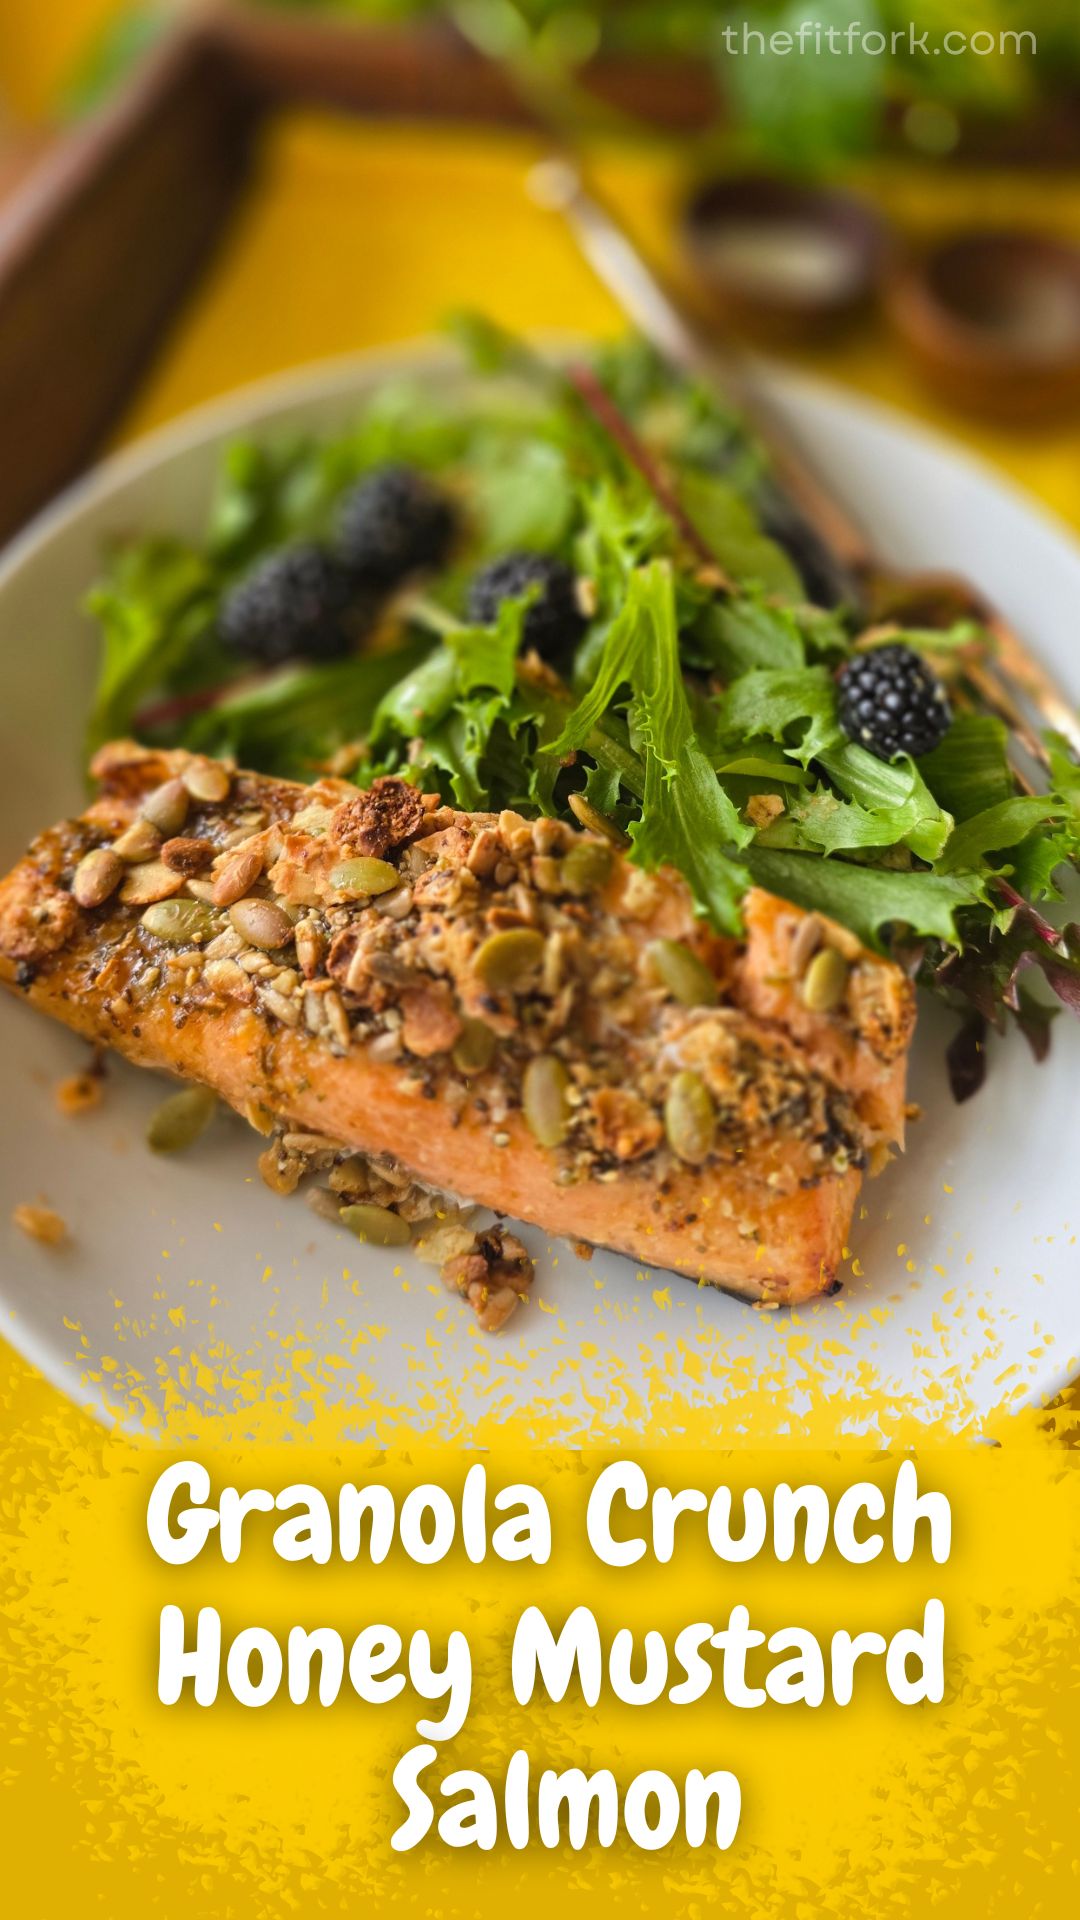
If you’ve never thought about using granola as a savory crust, this Granola Crunch Honey Mustard Salmon is about to change your weeknight dinner game.

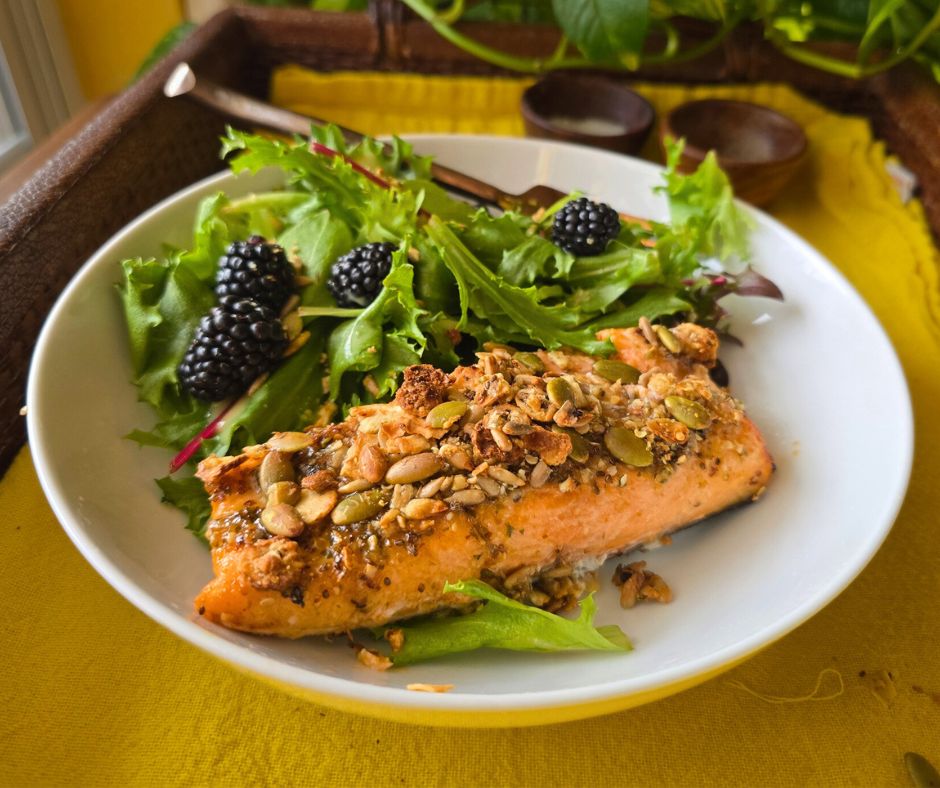
We’re talking skin-on salmon brushed with a simple honey-mustard-garlic glaze, then topped with crunchy, savory granola before heading into the air fryer or oven. The result? A crispy, flavorful crust on top of perfectly succulent salmon—fast, satisfying, and surprisingly versatile.

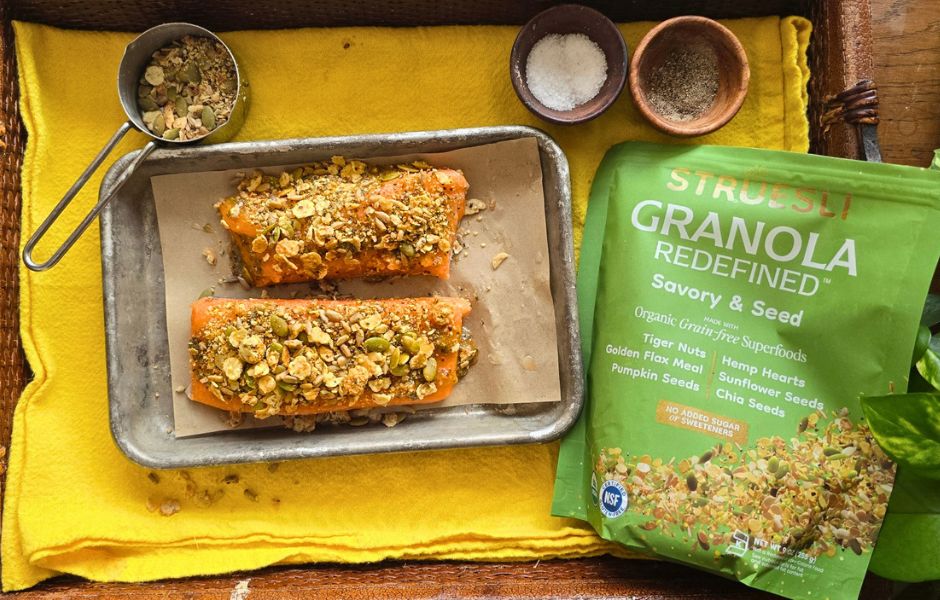
For this version, I used Struesli Redefined Granola – Savory Seed, a no-sugar, no-sweetener granola made with nutrient-dense ingredients like tiger nuts, flax meal, pumpkin seeds, hemp hearts, and chia seeds. It delivers serious crunch without sweetness, making it ideal for savory dishes—but don’t worry, this recipe is flexible and can other types of granola too.

Serve it over a fresh salad, alongside roasted veggies, or with your favorite simple sides for a crave-worthy, protein-packed meal that feels elevated without being complicated.

Macros per serving:
309 calories | 14g fat | 10g carbs | 34g protein

Why You’ll Love This Recipe

  • Fast and fuss-free: Ready in about 10 minutes in the air fryer, making it perfect for busy weeknights. I also cooks up wonderfully in the traditional oven – it just takes a little longer.
  • Crispy-meets-succulent: The granola forms a crunchy top crust while the salmon stays tender and juicy underneath.
  • Nutrient-dense: High-quality protein, heart-healthy fats, and fiber-rich toppings all in one dish.
  • Unexpected but delicious: Savory granola adds texture and flavor without heavy breading or frying.
  • Totally adaptable: The granola-crust method works beautifully on other fish like halibut, cod, or trout.

Tips for the Best Granola-Crusted Salmon

Choose Skin-On Salmon: Whenever possible, use skin-on salmon fillets. Leaving the skin on helps retain more of salmon’s healthy omega-3 fatty acids—especially the flavorful, nutrient-rich brown fat layer between the skin and flesh. Even if you don’t eat the skin, cooking with it on helps protect the fish and keeps it moist and still retains more of the fat layer.

Air Fryer or Oven—Both Work: The air fryer is the fastest option with maximum crispiness (about 10 minutes, depending on thickness). The oven is great for cooking multiple portions at once—just bake until the salmon flakes easily and the topping is golden.

Granola Choices Matter (But Be Flexible): I used Struesli Redefined Granola – Savory Seed, which is gluten-free, keto-friendly, and paleo-friendly, with no added sugar or sweeteners. It’s ideal for savory recipes like this. That said—any granola can work, even lightly sweet varieties (but not those with chocolate chunks and stuff, haha), if that’s what you have on hand. Sweet-savory lovers may even enjoy the contrast.

Pro tip: If your granola has large clusters, lightly crush it before topping the salmon so it adheres better and forms a more even crust.

 How to Serve It: Over mixed greens with a simple vinaigrette, with roasted vegetables or asparagus, alongside quinoa, rice, or cauliflower rice, flaked into a grain bowl or wrap for leftovers – or whatever floats your boat!

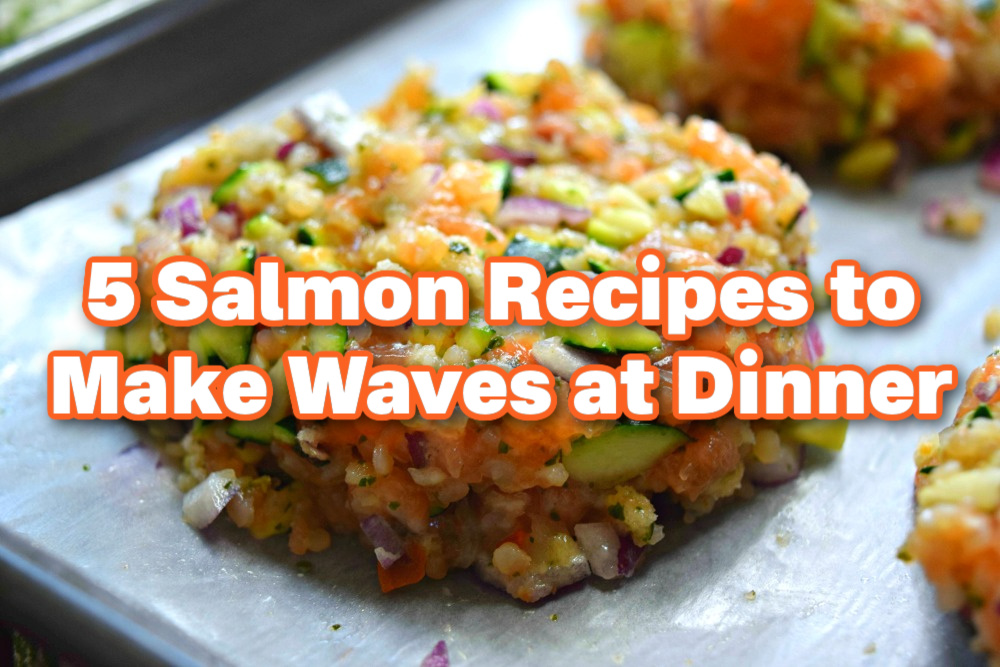
If you area big salmon fan, check out my 5 Ways to Make Salmon for Dinner post for additional inspo!

This collection of salmon recipes will make waves at the family dinner table. Easy, delicious, nutritious and creative, from 30-minute sheet pan dinners to 15-minute skillet meals and more! Elegant enough for entertaining, yet quicik-and-simple for busy nights.
Granola Crunch Honey Mustard Salmon
Prep Time
5 mins
Cook Time
10 mins
Total Time
15 mins
 
Granola-crusted honey mustard salmon made savory with a crunchy seed-based topping. This easy air fryer or oven recipe is high-protein, omega-3 rich, and ready in about 10 minutes.
Course: dinner
Keyword: fish, high protein, low carb, salmon
Servings: 2 servings
Calories: 309 kcal
Ingredients
  • 8 oz salmon filet skin on and cut into 2 portions
  • 1 tsp olive oil
  • 2 tsp honey
  • 1 tbsp stone-ground mustard
  • 2 tsp minced garlic
  • 2 tsp fine-chopped parsley
  • ¼ cup nut and/or seed low carb granola
Instructions
  1. Pre-heat air fryer to 380F (or oven to 400F)
  2. Place salmon, skin side down, on small rimmed baking sheet or piece of parchment.
  3. Mix together oil, honey, mustard, garlic and parsley to make a paste. Brush on tops of filets.
  4. Sprinkle granola on top of honey mustard mixture, lightly patting down to adhere.
  5. Air fry at 380F for 7-8 minutes or in traditional oven at 400F for 18-20 minutes, until cooked through, flaking and top lightly browning.
Recipe Notes

Serves 2: Macros per serving: 309 cal | 14g fat | 10g carbs | 34g protein

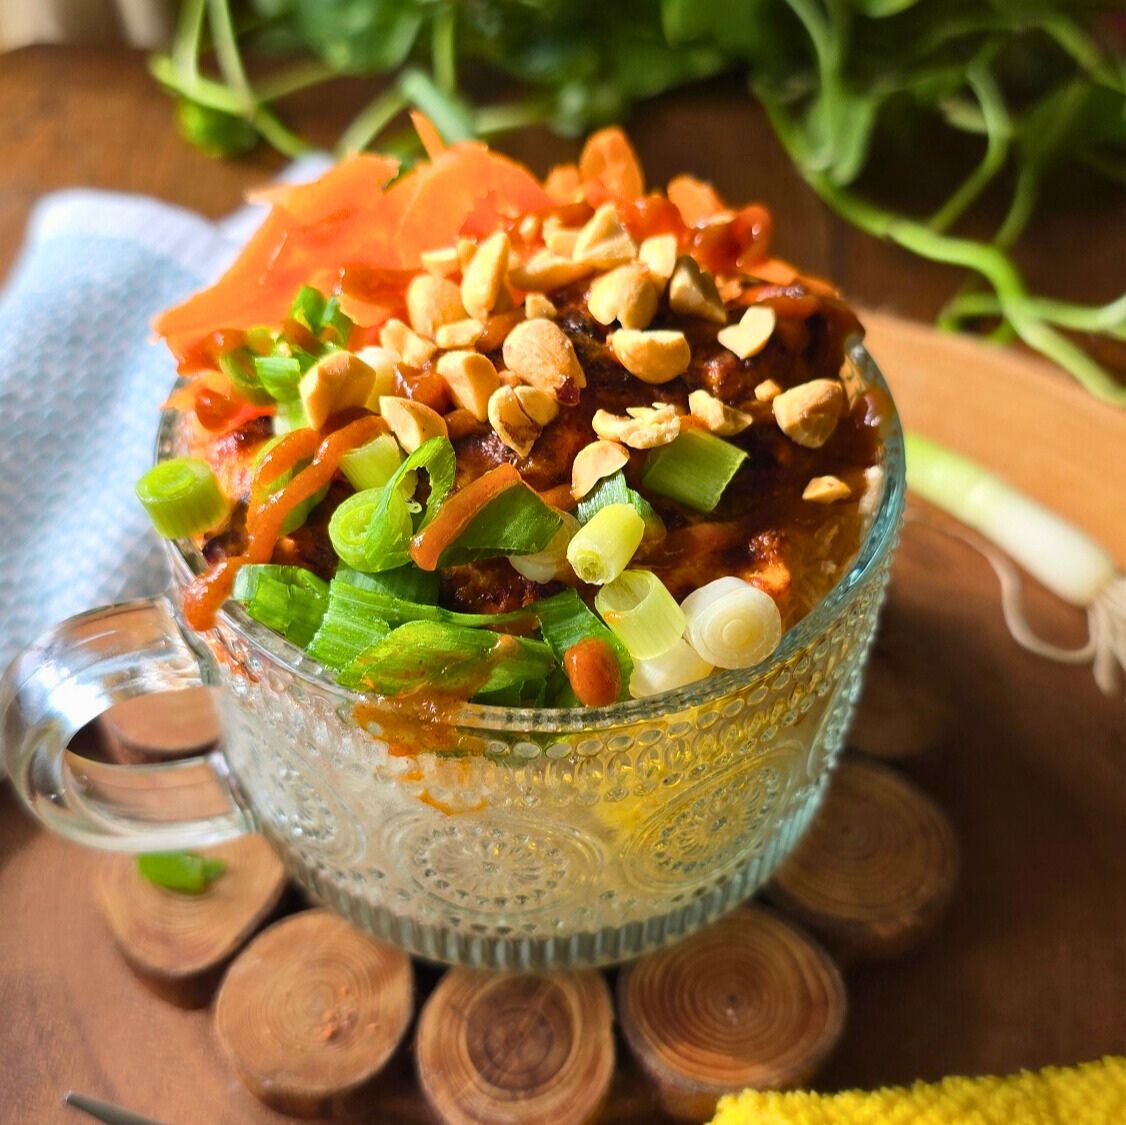
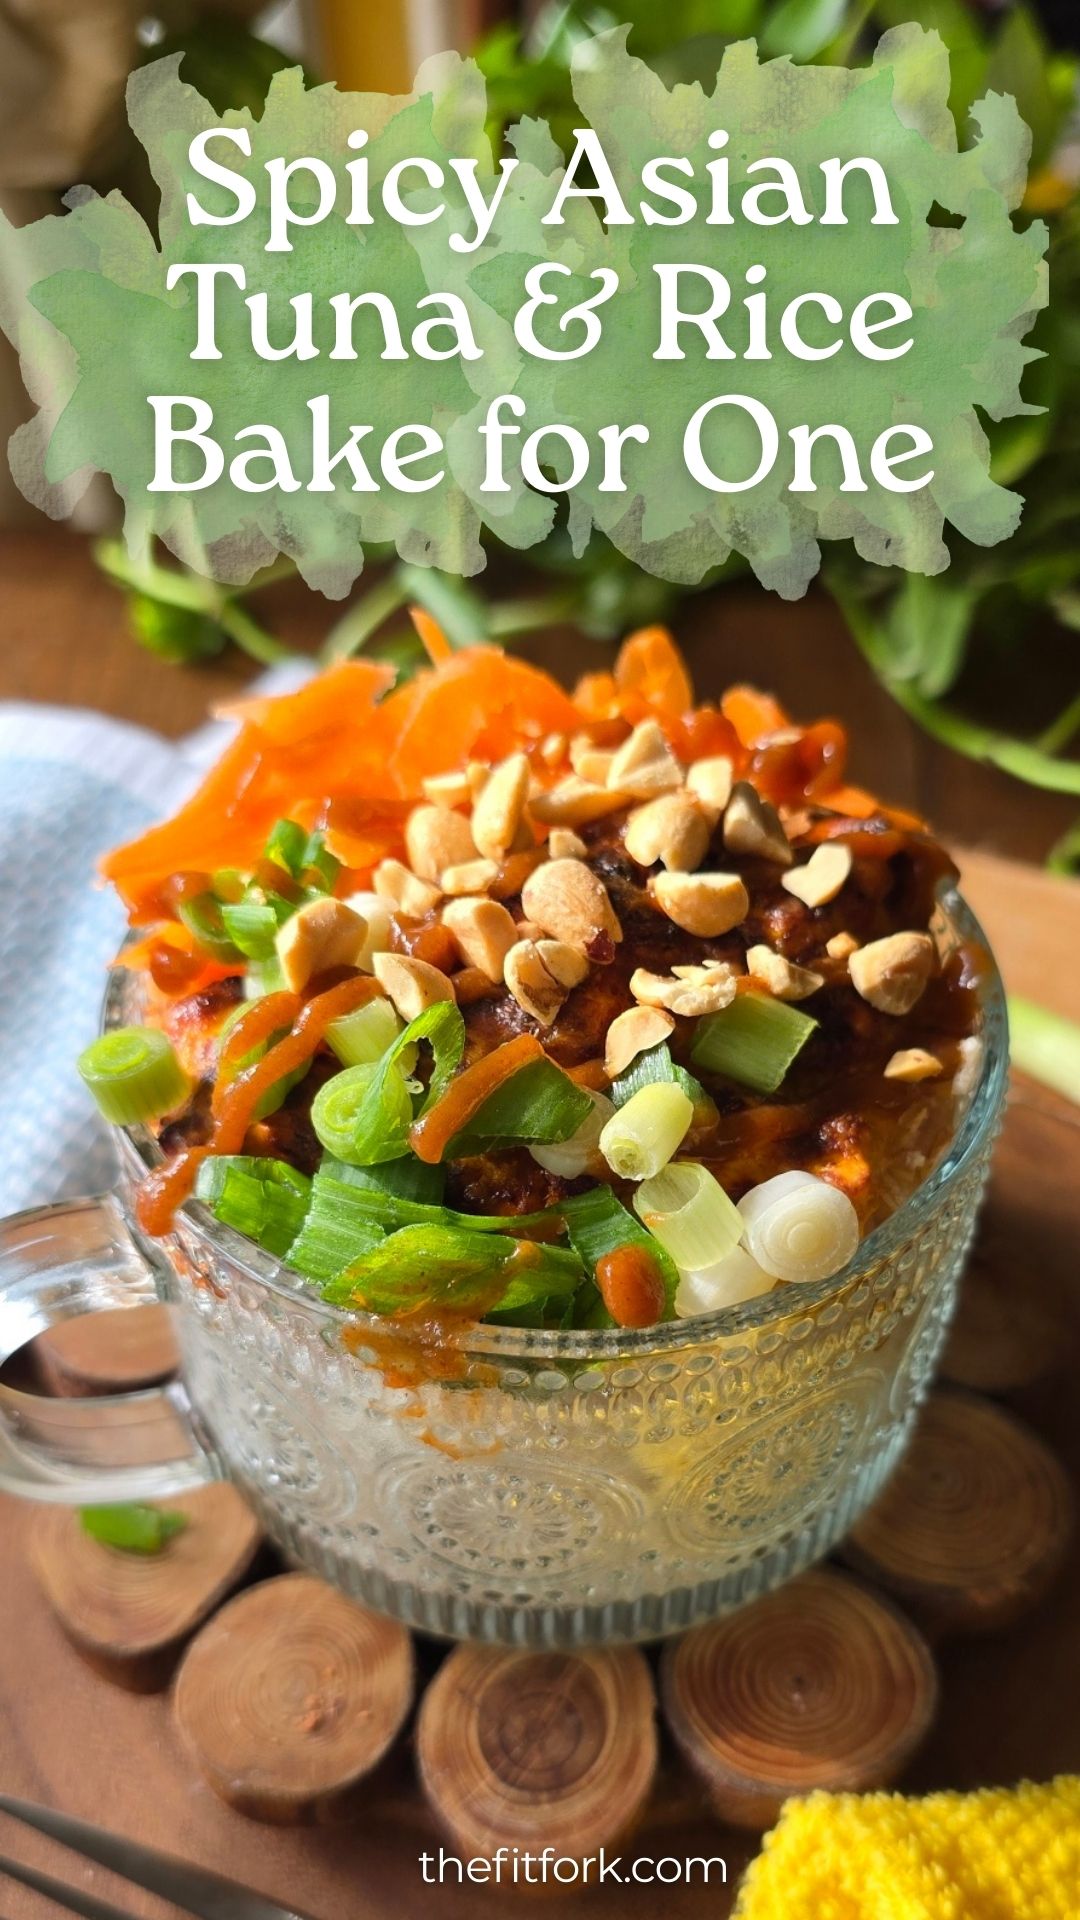
Spicy Asian Tuna Rice Bake for One – Big Flavor in 10 minutes

When hunger hits and you want something warm, savory, and satisfying now, this Spicy Asian Tuna Rice Bake for One delivers. It’s a cozy, crave-worthy bowl that leans on pantry staples, uses one dish, and packs a balanced macro punch — including 33 grams of protein — without turning into a full production.

This is the kind of recipe that works just as well for a quick lunch, easy dinner, or post-workout refuel. Minimal prep, maximum flavor, and totally customizable based on what you’ve got on hand.

Why You’ll Love This Single-Serve Tuna Recipe (and Tips)

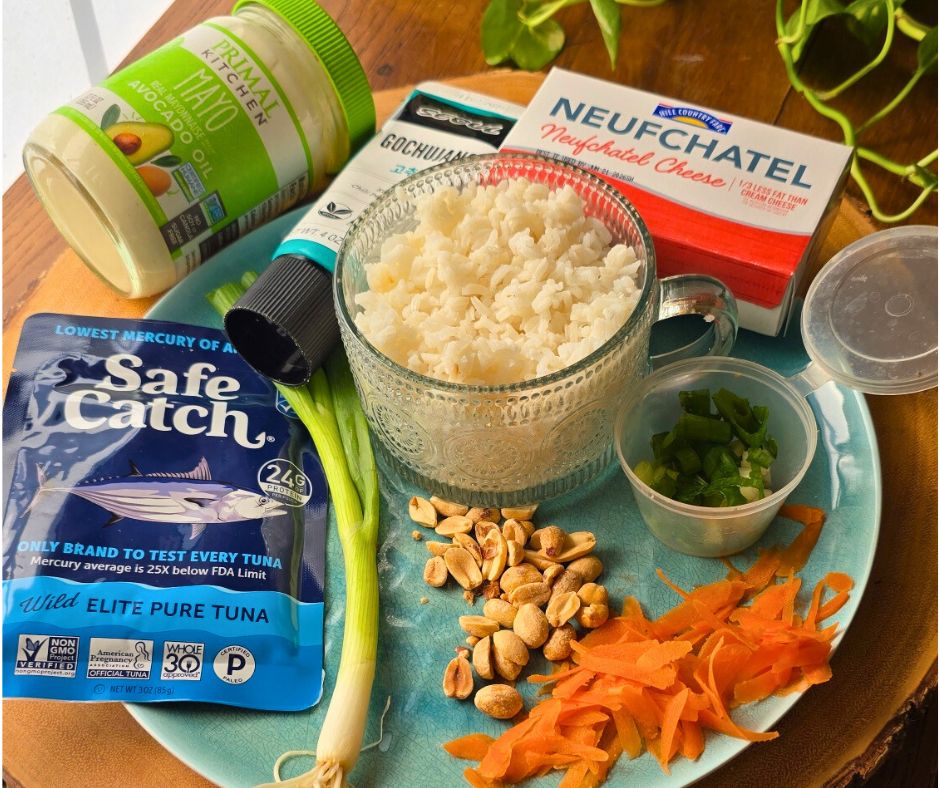
 Convenience Is the “secret ingredient”: uses on-hand staples like pouch or canned tuna, prepped rice (pouch or frozen works great), condiments you likely have in the fridge (if you don’t have Gochujang chili paste, you need to get some — or can sub Srirracha), and easy garnishes that are customizable to what you need to use up!

Easy and economical: Tuna from a pouch or can is a very affordable lean protein option that doesn’t need special storage or pre-cooking. This recipe also relies on rice, a healthy and budget-friendly grain. I keep cooked rice meal-prepped and frozen in single-serve portions. Just thaw and use as needed — no extra cooking, no waste. Freezer-aisle microwave rice or shelf-stable unseasoned rice pouches work great too and make this recipe truly weeknight-proof.

Air Fry for a lightening-speed finish:  Popping in the air fryer for five or so minutes makes the creamy tuna topping turn deliciously bubbly and browned. If needed, you can also achieve this in the traditional oven, just double (minimum) the cooking time. I would not recommend the microwave, because you’ll miss out on that gooey-browned topping.

What tuna should I use? I like Safe Catch tuna — not only because it’s an excellent source of lean protein, but because they test every single fish to mercury levels that go above and beyond FDA standards. That extra peace of mind matters, especially if tuna is a regular rotation food.

Easy to customize: I garnished with shaved carrots, sliced green onions, chopped peanuts and Sriracha sauce. However, you do YOU! Other ideas are chopped egg, sesame seeds, edamame beans, shredded purple cabbage or slaw mix, chopped cucumber, chili crisp, etc.

Balanced, Not Boring: With a solid carb base, lean protein, and room for healthy fats and fiber from toppings, this Spicy Asian Tuna Rice Bake checks all the boxes for a balanced, satisfying meal — without macros feeling like math homework. Paired with rice, a spicy-savory sauce, and crunchy toppings, this bake turns simple ingredients into something seriously satisfying.

Macros: 427 cal, 43g carb, 13g fat, 33g protein

Disclaimer: This post contains affiliate links. I may earn a small commission on purchase made through links. Proceeds help offset operating expenses for The Fit Fork.

Spicy Asian-inspired Rice Tuna Bake for One
Prep Time
5 mins
Cook Time
5 mins
Total Time
10 mins
 
Spicy Asian Tuna Rice Bake for One made with pantry staples, 33g protein, and ready in just 10 minutes. Easy, customizable, and perfect for quick meals
Course: dinner, lunch
Cuisine: Asian
Keyword: 10 minute lunch, fish, black cod, sablefish, merken, spicy, tangerine, 20 minute, rice bowl, sushi bake, tuna
Servings: 1 serving
Calories: 427 kcal
Ingredients
  • ¾ cup cooked rice
  • 1- ounce low-fat cream cheese softened
  • 1 tbsp light mayonnaise
  • 1 tsp gopchang paste or sriracha
  • 3 oz. pouch Safe Catch Elite Tuna drained
  • 2 tsp soy sauce
  • 1 tbsp chopped peanuts
  • 1 tbsp chopped green onions
  • 2 baby carrots – diced or julienned
Instructions
  1. Pre-heat air fryer to 380F.
  2. Add rice to minimum 16-oz, oven-safe dish.
  3. In another small bowl, mix together softened cream cheese, mayo, gopchang/sriracha and drained tuna. Mix together until combined.
  4. Splash a teaspoon or two of soy sauce over rice and then add tuna mixture on top of rice, use spatula to flatten down.
  5. Cook in air fryer for 5-6 minutes or until bubbling and starting to brown on top. (may also cook in traditional oven set to 400 for about 10-12 minutes).
  6. Top with peanuts, julienned carrots and green onions Top with additional sriracha if desired.
Recipe Notes

427 calories | 43g carbs | 13g fat | 33g protein

Roasted BBQ Black-Eyed Peas for New Year’s (and Beyond)

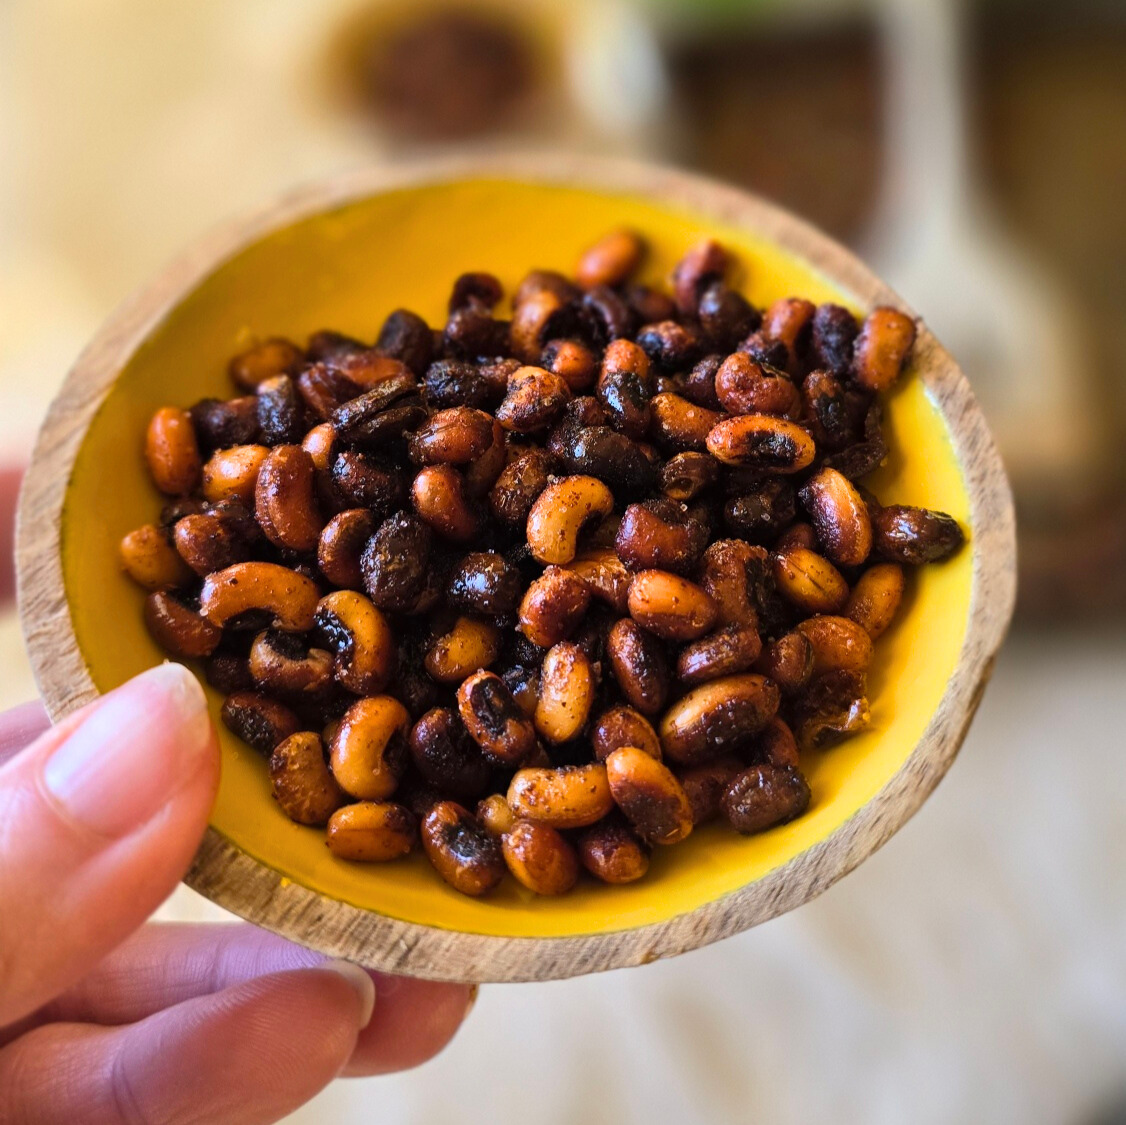
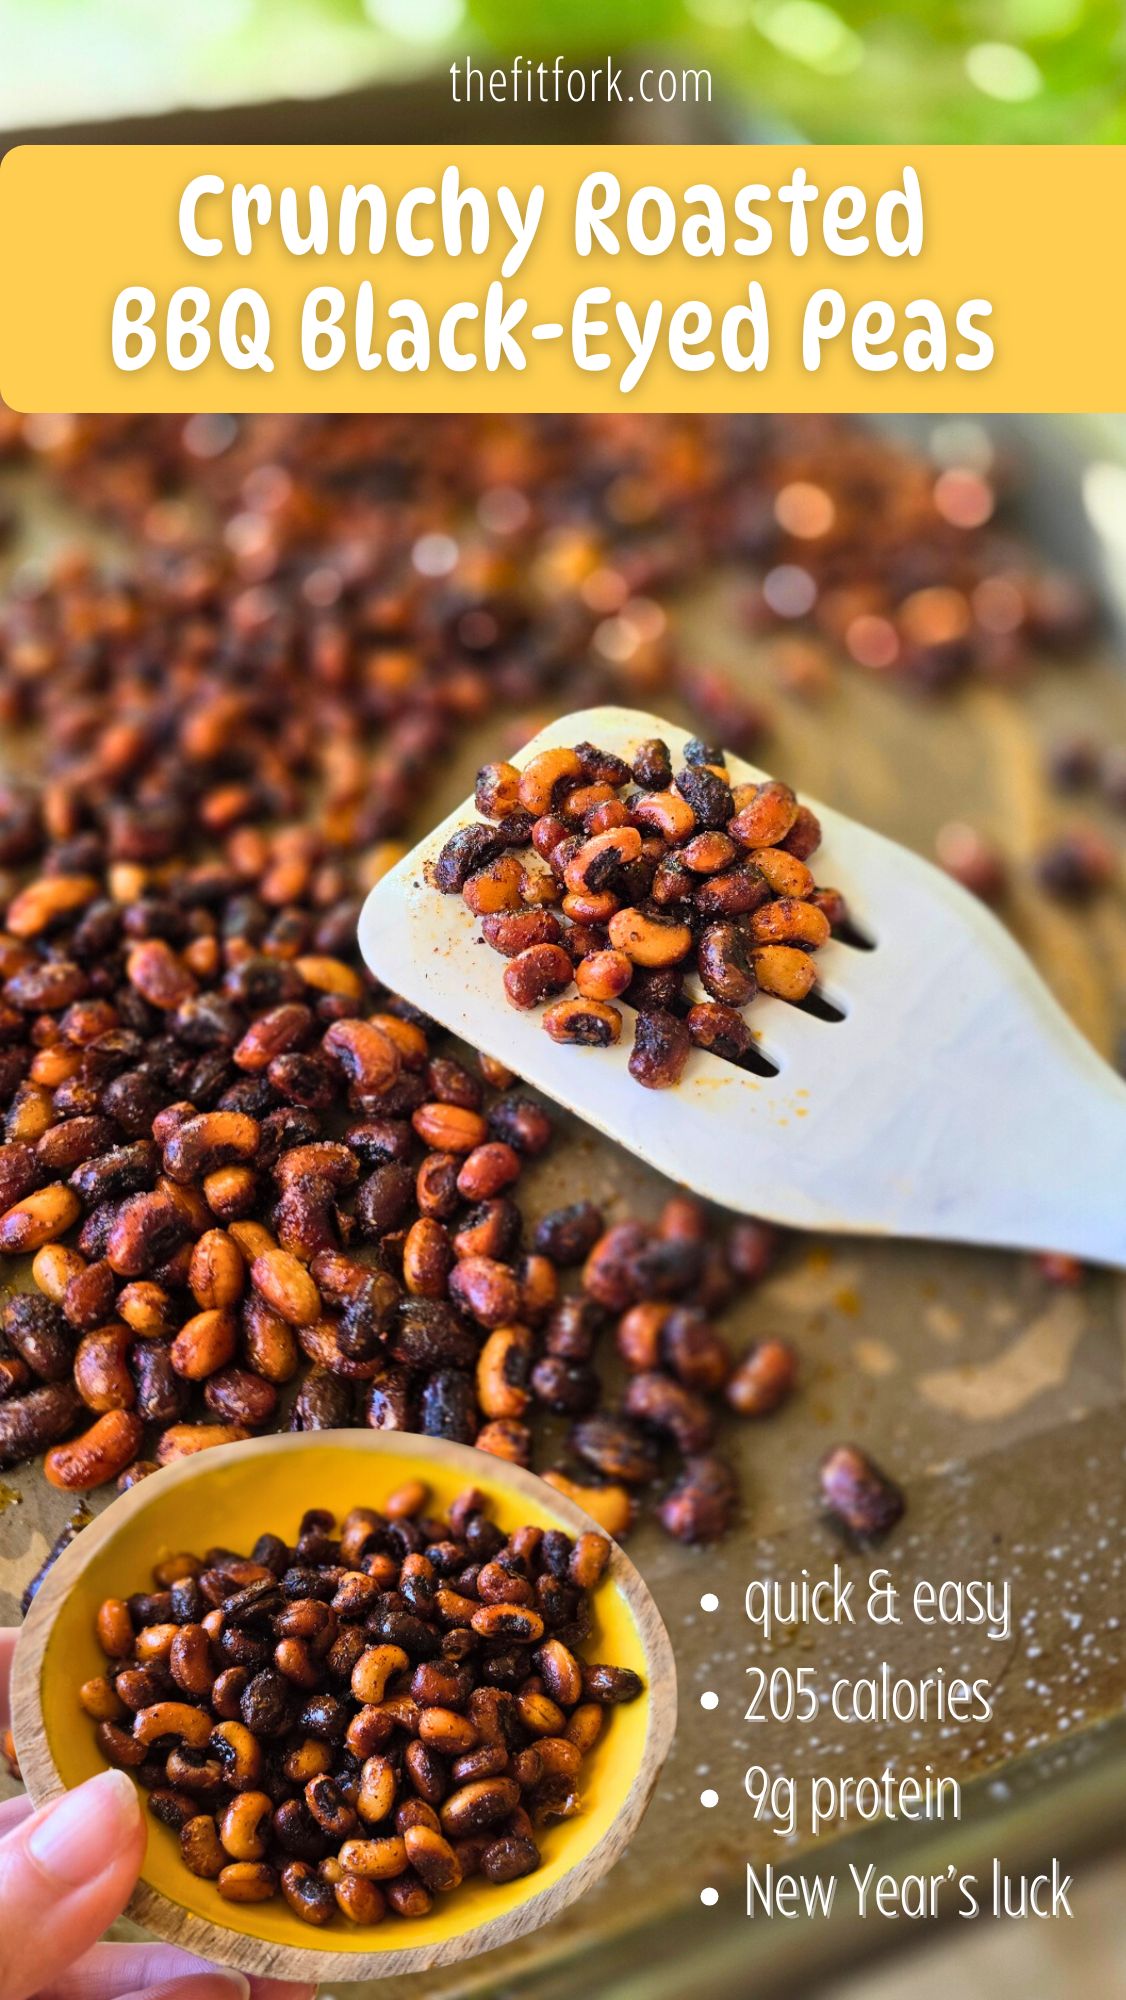
Black-eyed peas have long been tied to New Year’s traditions, symbolizing luck, prosperity, and abundance for the year ahead. And while they’re often served simmered with greens or tucked into classic comfort dishes, this crunchy, roasted version gives the tradition a modern, snack-worthy upgrade.

Think: roasted chickpeas… but with a Southern soul and a spicy-sweet BBQ vibe. Roasted with olive oil and a BBQ seasoning that’s easy and economical to mix up from basic spices in our pantry. Black eyed peas transform into a snack that hits all the notes – crunchy, savory, salty-sweet!

Why We Eat Black-Eyed Peas on New Year’s Day

Across the Southern U.S., black-eyed peas are a staple on New Year’s Day, representing coins or wealth – a hopeful, nourishing start to the year.  Whether you’re deeply rooted in the tradition or just love a meaningful food moment, this recipe lets you honor the symbolism without feeling tied to a heavy or time-consuming dish.

 Crunchy Roasted BBQ Black-Eyed Peas put a modern twist on a New Year’s good luck tradition. A healthy, high-fiber snack that’s perfect for salads, soups, or on-the-go fuel.

Health Benefits of Black-Eyed Peas

Beyond the good-luck lore, black-eyed peas are a nutritional powerhouse, making them a smart choice for active lifestyles and everyday eating.

  • Rich in plant-based protein, helping with satiety and muscle repair
  • High in fiber, supporting digestion and steady energy
  • Packed with complex carbs, ideal for fueling workouts, hikes, and busy days
  • Naturally low in fat, while still deeply satisfying

Tips for Roasting Black-Eyed Peas

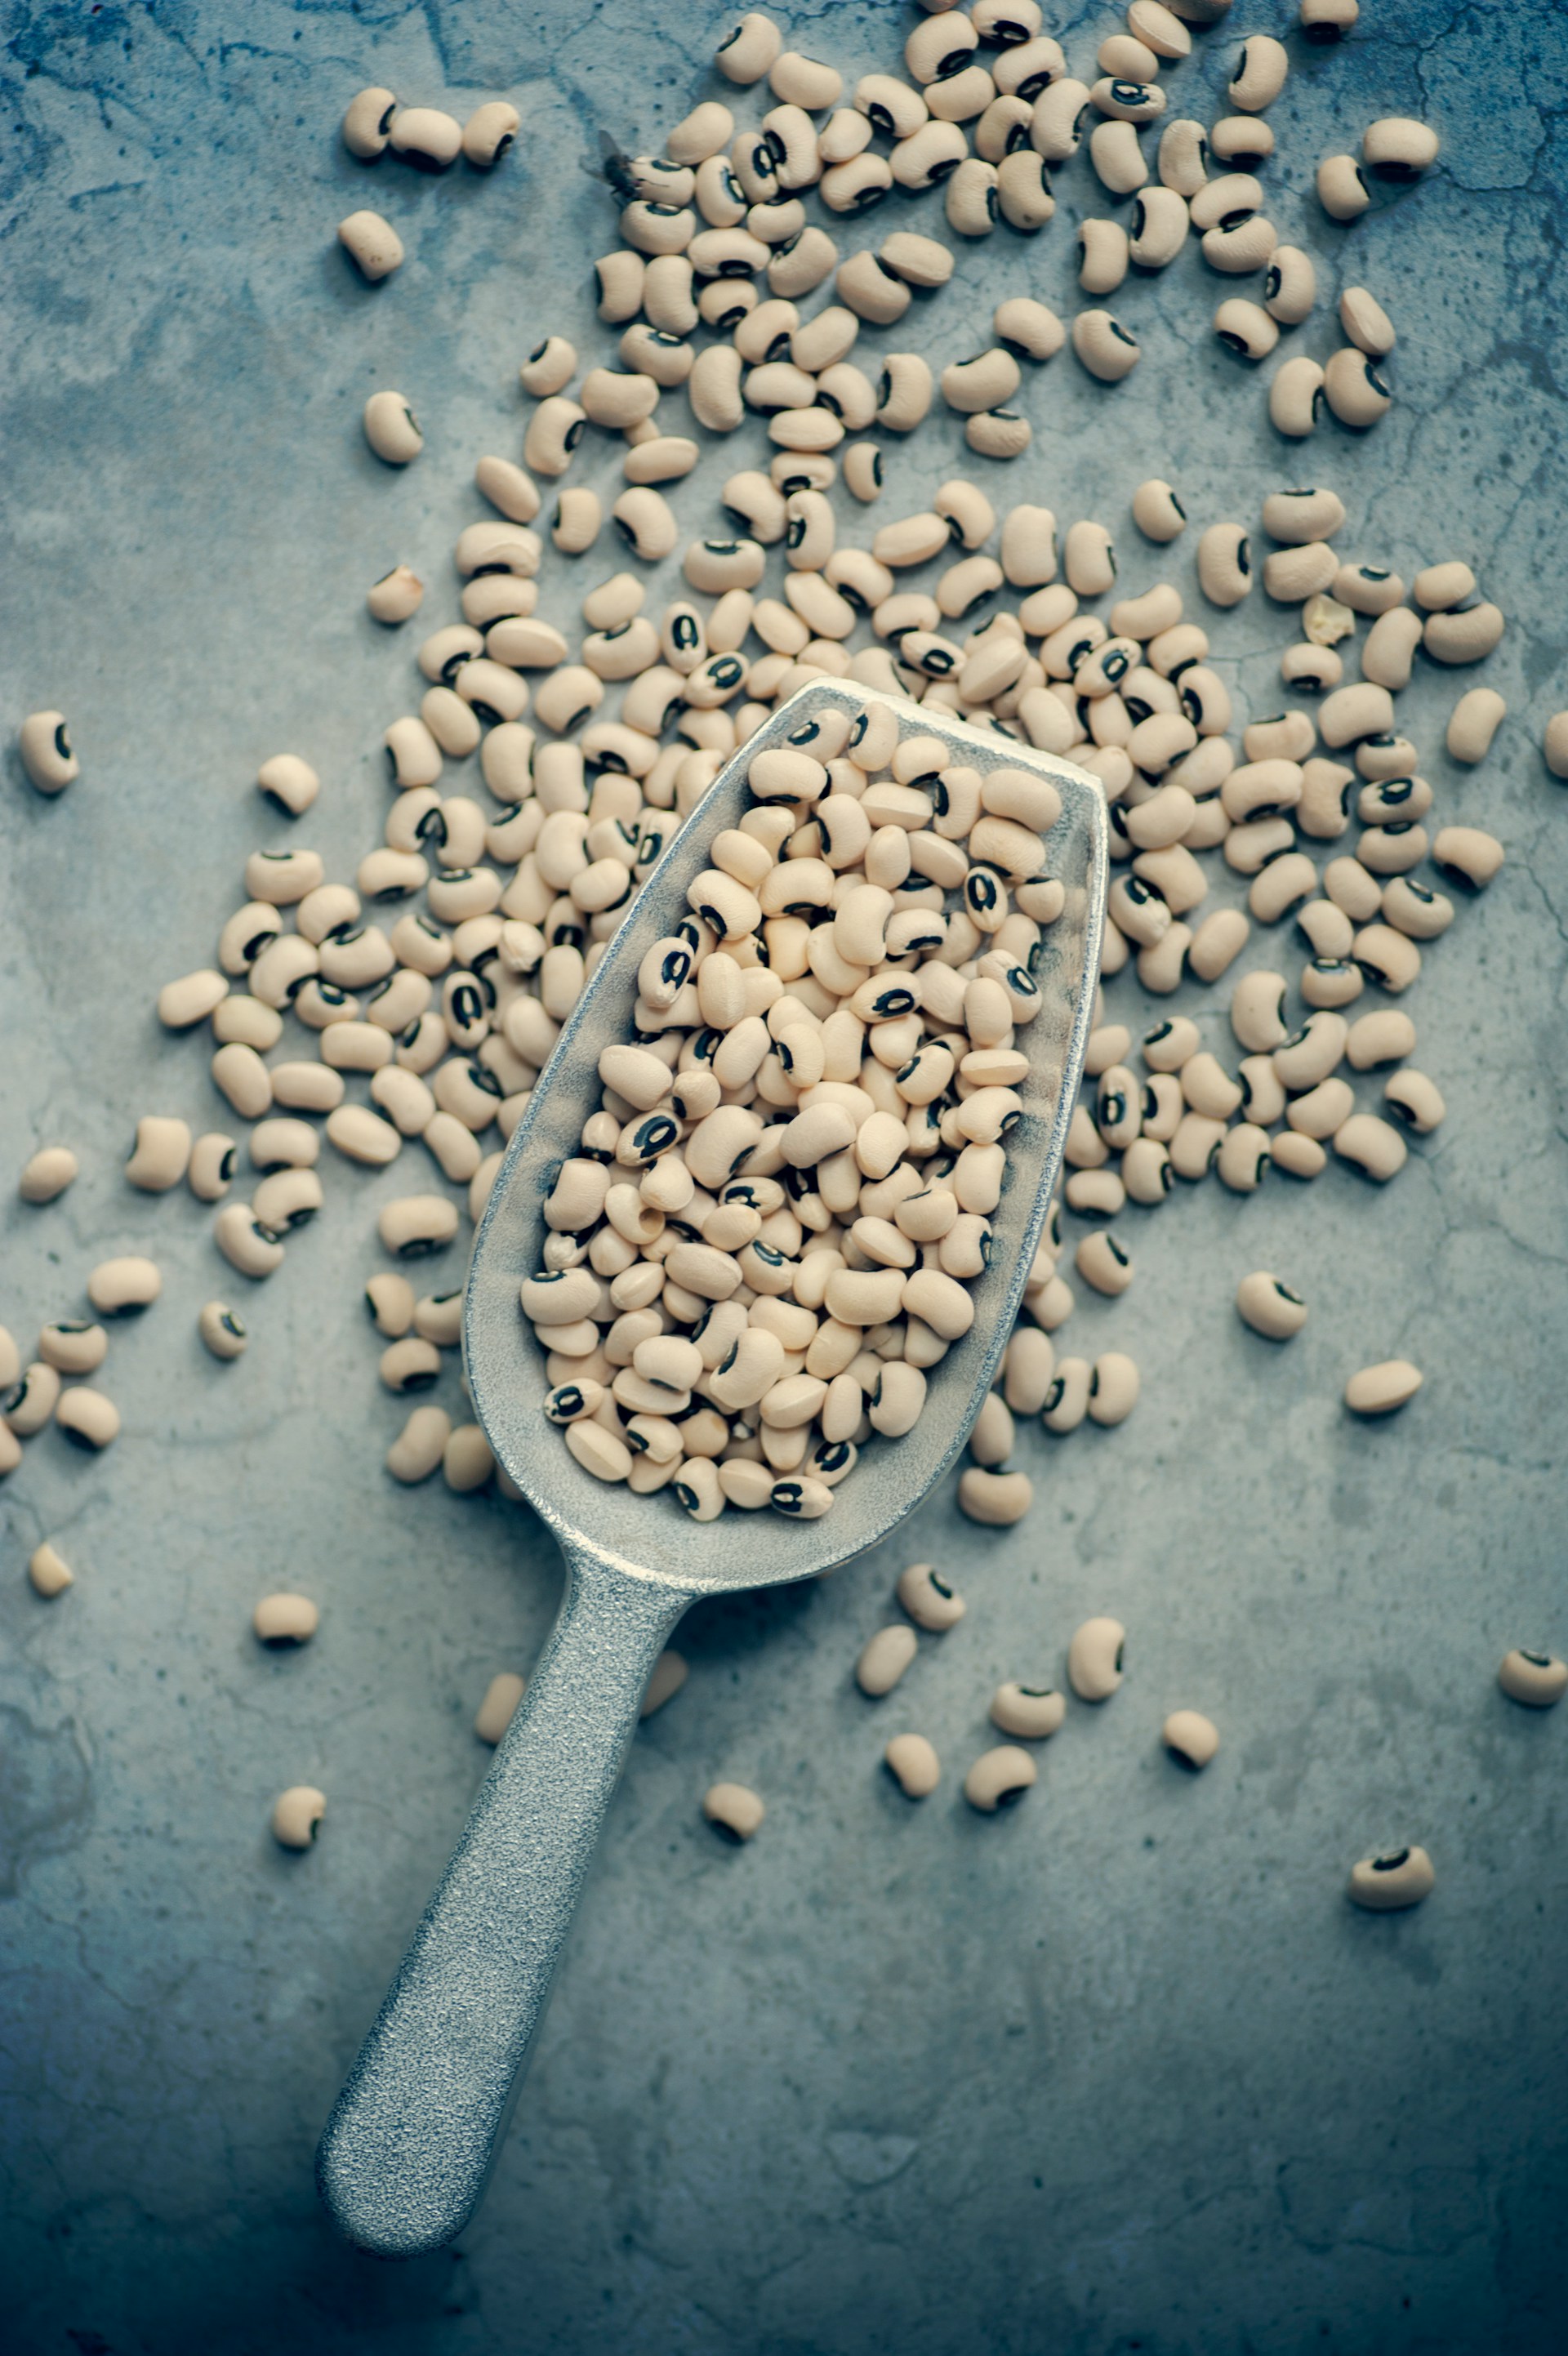
  • Use fresh, shelled, pre-soaked black eyed peas. Canned black-eyed peas will be too mushy. Fresh black-eyed peas great for this recipe can typically be found in the produce section and must remain refrigerated until use.
  • Pat dry. If there is any moisture or condensation on the black-eyed peas, pat dry before beginning recipe so that oil and spices will adhere.
  • Sugar substitutions: I used coconut sugar, but you can easily replace that for brown sugar, date sugar — or skip all together.
  • Easy clean-up. Line pan with parchment paper preferably, or foil before adding peas.
  • Single layer. When spreading out on the baking sheet, make sure that peas are not piled up. They must be in a single layer to promote even cooking.
  • Check often. Check 10 minutes or more to turn up with a spatula and rotate pan in the oven. Near the end, keep a close eye so they don’t burn.

How to Serve Roasted Black-Eyed Peas

  • Straight-up snack – like popcorn, but with protein and fiber
  • Salad or bowl topper – adds crunch and smoky flavor without croutons
  • Soup “crunchies” – sprinkle over chili, veggie soup, or stew
  • Trail or hike fuel – lightweight, shelf-stable, and satisfying
  • Lunchbox or road-trip snack – no refrigeration required
Crunchy BBQ Roasted Black-Eyed Peas
Prep Time
5 mins
Cook Time
30 mins
Total Time
35 mins
 

Crunchy Roasted BBQ Black-Eyed Peas put a modern twist on aNew Year’s good luck tradition. A healthy, high-fiber snack that’s perfect forsalads, soups, or on-the-go fuel.

Course: Snack
Cuisine: American, Southern
Keyword: black eye peas, good luck, new year
Servings: 4 servings
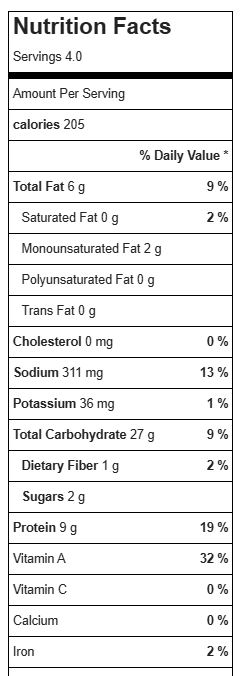
Calories: 205 kcal
Ingredients
  • 10 oz fresh shelled black eyed peas not canned or dried
  • 2 tsp olive oil
  • 2 tsp coconut sugar or can sub brown sugar
  • 1 tsp smoked paprika
  • 1 tsp chili powder
  • 1 tsp garlic powder
  • ½ tsp salt
Instructions
  1. Pre-heat oven to 400F.
  2. Pat any moisture off black eyed peas with a paper towl. Add to bowl. Toss with olive oil.
  3. Mix together spices and sprinkle into bowl and stir to ensure all peas are coated.
  4. Spread out in single layer on rimmed baking sheet and roast in the oven for 25-35 minutes, stirring them up every 10 minutes or so. Keep a close eye near the end so they don’t burn.
  5. Serve warm or room temp. Store leftovers in air-tight container for 3-4 days.
Recipe Notes

Eggnog Protein Waffles (Cottage Cheese, High-Protein & Meal Prep Friendly)

Eggnog Protein Waffles are a festive, high-protein twist on my reader-favorite cottage cheese protein waffles. By swapping traditional milk for eggnog and layering in warm cinnamon and nutmeg, these waffles deliver classic holiday flavor with balanced macros that actually fuel your day. Made with cottage cheese and protein powder, they’re fluffy, satisfying, and perfect for meal prep — whether you’re feeding a family or stocking your freezer for busy mornings, workouts, or brinner nights.

Why You’ll Love These Eggnog Protein Waffles

  • Seasonal flavor, everyday fuel: All the cozy eggnog vibes without a sugar crash
  • High-protein & filling: ~20g protein per serving helps support muscle and satiety
  • Meal-prep friendly: Make once, eat all week — breakfast, lunch, or dinner
  • Crispy when reheated: Even better after a quick air-fryer or toaster reheat
  • Flexible & customizable: Works with different waffle irons and protein powders

Tips for Perfect Protein Waffles

Reheating Tip: For best texture, reheat in the air fryer for a few minutes — they come out extra crispy and may be even better than fresh.

Waffle Iron Options: You can use a single-serve waffle iron (this batter makes about 12 mini waffles) or a standard 4-square waffle maker, which yields 3 large waffles that can be easily broken into 12 smaller squares.

Protein Powder Choice: Use your favorite protein powder — this recipe works well with both plant-based and whey protein. Texture and macros may vary slightly, but both deliver great results.

Keeping It Gluten-Free: To stay gluten-free, swap the all-purpose flour for a 1:1 gluten-free baking blend. 👉 Do not use almond flour or coconut flour — they’re too dense and will weigh the waffles down.

Eggnog Protein Waffles
Prep Time
10 mins
Cook Time
15 mins
Total Time
25 mins
 

Eggnog Protein Waffles made with cottage cheese and protein powder. A festive, high-protein waffle perfect for meal prep, brinner, and busy mornings.

Course: Breakfast, brinner, brunch
Keyword: eggnog, holiday, waffles
Servings: 4 servings (3 waffles each)
Ingredients
  • 3 eggs
  • 1/2 cup light egg nog
  • ½ tsp vanilla extract
  • 2 tsp olive oil or oil of choice
  • ½ cup 2% cottage cheese
  • ½ tsp ground cinnamon
  • ¼ tsp ground nutmeg
  • 1/4 tsp baking powder
  • 1/2 cup vanilla protein powder or powder of choice 60 grams
  • ½ cup all-purpose flour or gluten-free baking flour like bob’s red mill gluten free baking blend
Instructions
  1. n small blender, blend eggs with eggnog, vanilla and cottage cheese.
  2. Add protein powder flour and baking powder. Mix into egg mixture a little bit at a time, or until incorporated You can also pulse wet and dry mixtures together in the blender until smooth.
  3. Add baking powder, nutmeg and cinnamon to blender, pulse in.
  4. Next blend in protein powder, then flour – scraping down sides as needed.
  5. Heat waffle iron (either a mini waffle iron or larger 4-square iron).
  6. Pour in batter and cook for several minutes, until indicator light goes off.
  7. Repeat for remaining batter.
  8. Should make 12 single waffles (or three 4-square waffles).

Easy Gingerbread Granola for Holiday Snacking and Gifting

If you’re craving something crunchy, cozy, and full of festive energy, this Gingerbread Glow Granola is your new holiday hero. It’s packed with seasonal yumminess—think chewy dried cranberries and chopped dates, sustaining nuts and seeds, and those warm holiday spices that make gingerbread so irresistible. Best of all, it’s unbelievably easy to make, totally economical, and doubles as the perfect homemade food gift for friends, neighbors, teachers… or anyone who deserves a little edible holiday cheer.

This whole-grain granola starts with wholesome oats and layers in whatever mix-ins make your season bright. I used pistachios, almonds, sunflower seeds, and festive dried fruit, but you can make it your own with options like pumpkin seeds, walnuts, chia seeds, dried apricots, golden raisins, or even toasted coconut flakes. If it tastes good in a winter trail mix, it’ll taste amazing in this granola. Pro tip: use raw, unroasted, unsalted nuts and seeds for the best result.

Once everything gets coated in a warm, buttery, gingerbread-style syrup, the magic happens in the oven. Pro tip: when the granola first comes out, it will still be slightly soft and damp—that’s exactly what you want. Let it cool completely on the baking sheet and it’ll firm up into those irresistible, snacky clusters everyone loves. Bake on cookie sheets lined with parchment paper or a silicone baking mat for super easy clean-up.

This recipe also scores high on practicality. It stays fresh for a couple of weeks in an airtight container on the counter. Or, stash a batch in the freezer in a zip-top bag and enjoy it for up to six months. This recipe makes a BIG batch, but if you’d like less then simply halve the recipe and bake on one pan instead of two! Whether you’re fueling up for holiday hiking, powering through the season’s high-energy errand running, or just snacking by the handful while wrapping gifts, this granola does it all.

Add it to yogurt, sprinkle it on smoothie bowls, pack it in lunchboxes, or bundle it into cute jars with ribbon for a heartfelt handmade gift. Festive, functional, and full of flavor—holiday snacking doesn’t get better than this.

Gingerbread Glow Granola
Prep Time
10 mins
Cook Time
40 mins
Total Time
50 mins
 
Celebrate the season with this easy, cozy Gingerbread Glow Granola—packed with whole grains, festive dried fruit, nuts, seeds, and warm holiday spices. Easy to customize and perfect for snacking or gifting.
Course: Breakfast, gift, Snack
Keyword: cereal, gifts, gingerbread, granola, homemade
Servings: 32 1/2- up servings
Calories: 224 kcal
Ingredients
  • 8 cups rolled old-fashioned oats
  • 2 ½ cups raw nuts and/or seeds used here: pistachios, sunflower seeds, almond slivers
  • 2 cups dried fruit used here: dried cranberries, chopped dates
  • ½ cup butter
  • ¼ cup brown sugar
  • ¼ cup molasses
  • 1 cup maple syrup
  • 4 tsp. ground cinnamon
  • 2 tsp. ground ginger
  • ½ tsp. ground covers
  • 2 tsp. vanilla extract
Instructions
  1. Preheat oven to 325F.
  2. Add oats, nuts/seeds and dried fruit to a large bowl.
  3. In sauce pan, melt butter over medium heat. Add sugar, molasses, maple syrup and spices, stir untll combined.
  4. Lower heat to simmer and let cook another 2-3 minutes, stirring frequently.
  5. Pour syrup mixture over oat mixture and stir well to combine.
  6. Cover two large cookie sheets in parchment or Silpat silicone baking sheet. Divide mixture among pans.
  7. Bake for 25-45* minutes; stirring up once halfway through. Will be ready to remove from oven when turning lightly golden brown but still a little damp.
  8. Remove from oven, stir up one more time and allow to cool completely on pan.
  9. Store in airtight container for up to a couple weeks. Can also place in air-tight bag and freeze for up to 6 months.
  10. *exact cooking time will vary based on how high you have granola in pan and exact ingredients.
Recipe Notes

*This recipes makes a BIG batch, but it’s easy to scale down – just cut all ingredients in half amount and bake on a single baking sheet.