Baked brie might be THE classic when it comes to elegant appetizer that are easy. But, making brie in the microwave takes the convenience of this crowd-pleasing nibble to a new level – it only takes just a few minutes to heat up and assemble into a beautiful brie appetizer!

Serve this “like baked brie” dish for pre-game, pre-meal, pre-anything, just be sure to prepare enough as it will be gobbled up before it has a chance to even fully ooze out of the rind!
How to melt brie in the microwave is very easy and no different than in the oven, but MUCH faster. Set the brie wheel in a microwave safe dish (a dish you want to serve it in, as it will be too gooey to pick up after heating). When it comes to the rind, you have the choice of 1) leaving it all intact and cross-hatching the top with a paring knife or 2) using a pairing knife to slice off the top of the rind (leaving the side and bottom as is). A question I get asked frequently – Can you eat brie rind? YES, yes you can eat the rind on brie! It’s perfectly edible, so no worries which method you choose.
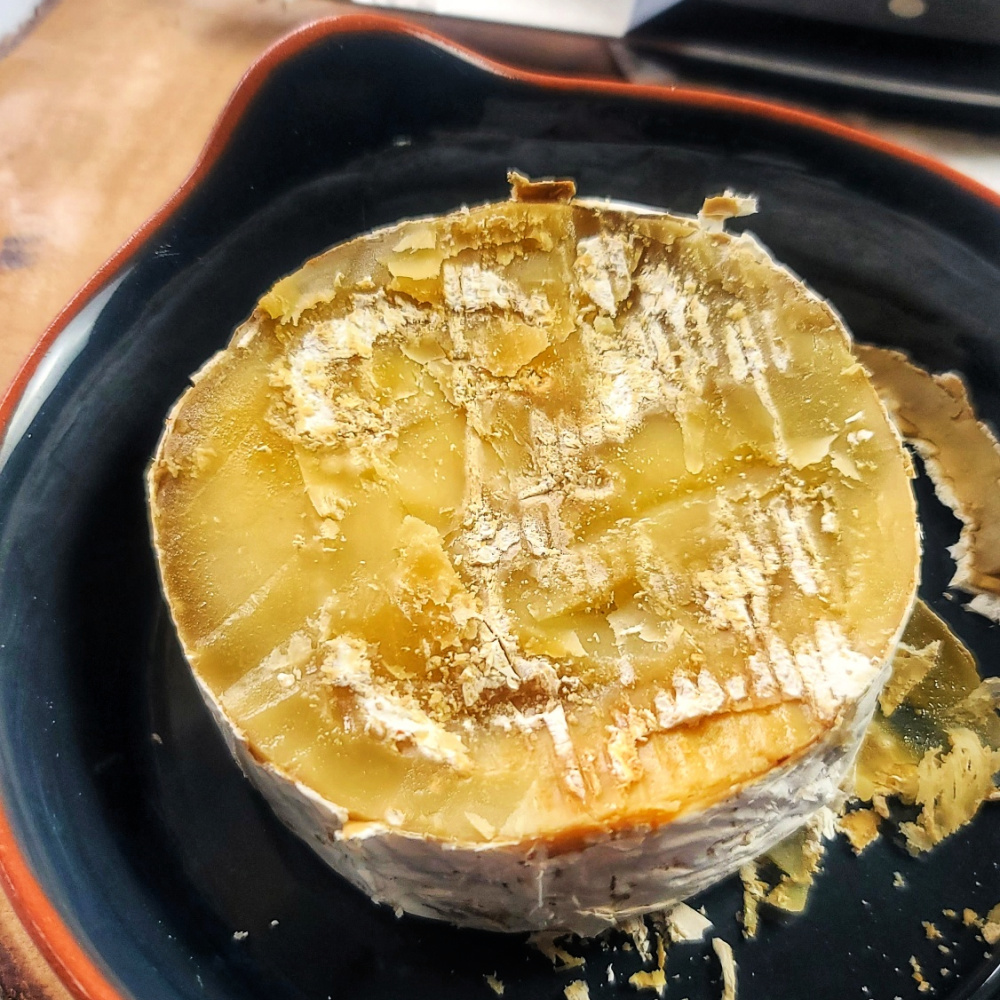
To heat brie in the microwave, simply set to cook level to about 70% and heat for 90 seconds to 2 minutes (the actual time will depend on the microwave and also the size of your brie wheel). That’s it! You will see that the cheese has soften, is melty, and the natural oils are being released. It’s ready.
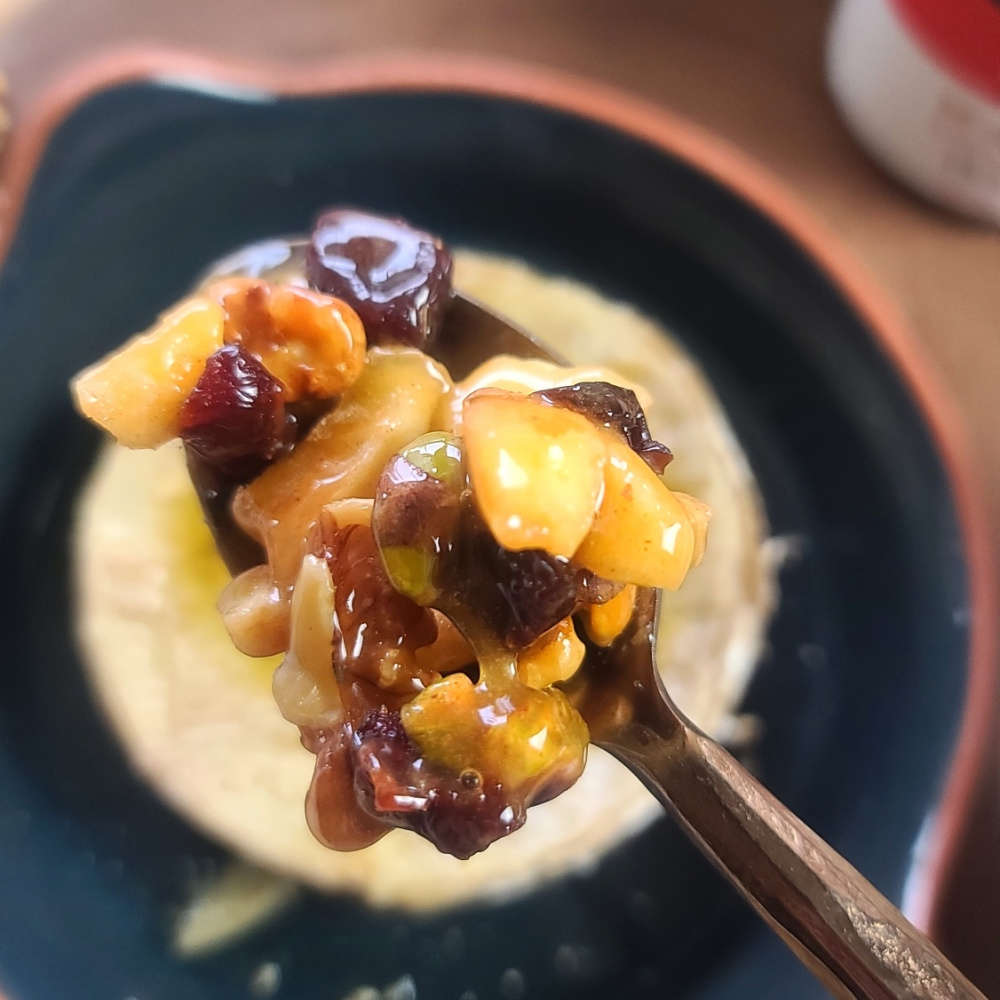
During those 2 minutes that the brie was melting, toss together the toasted nuts and dried fruits of your choice with honey to create a decadent, sweet-salty topping. For my fruit and nut brie appetizer, I used dried apples, dried cherries, toasted walnuts and roasted pistachios – with the bigger pieces chopped coarsely to create a more uniform topping.
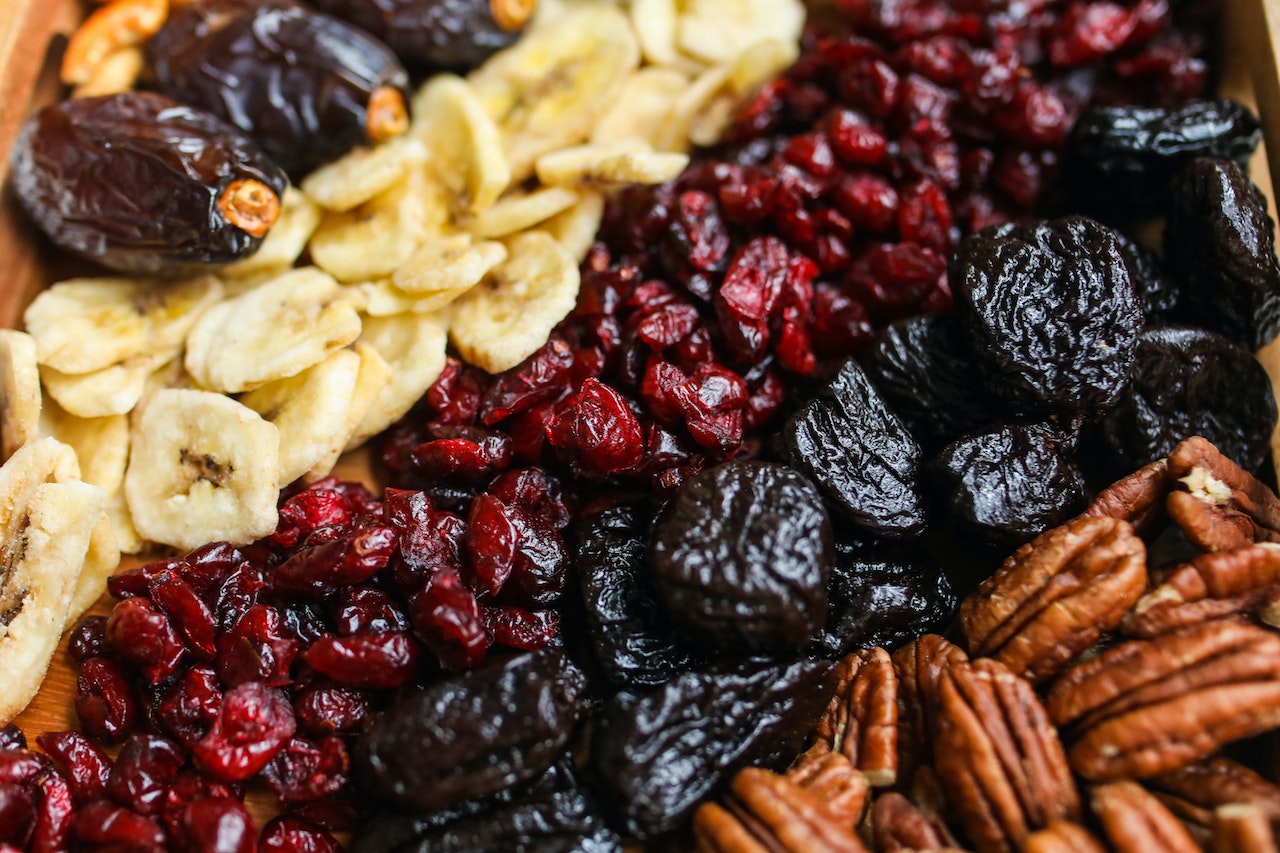
You can use whatever fruits and nuts (or seeds) you prefer to top microwave brie – slivered almonds, chopped pecans, pumpkin seeds, sunflower seeds, chopped dates or figs, dried mango, toasted coconut – really, it’s up to your imagination.
To pull the topping together into a wonderful, sticky delight, I used Manuka Honey – it’s an amazingly flavorful, thick and rich honey (almost like caramel, in my opinion) that comes from New Zealand. However, and good-quality honey will do!
Note: This post contains affiliate links.
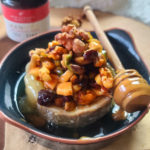
Like traditional oven-baked brie, but even easier, thanks to warming in the microwave! Customize this 3 minute appetizer recipe with the dried fruit, seeds, nuts and honey variety of your preference. Festive enough for any celebration — easy enough for every day snacking!
- 1 lb Brie round
- ¼ cup dried apples chopped*
- ¼ cup dried cherries halved*
- ¼ cup roasted pistachios*
- ¼ cup toasted walnuts chopped*
- 3 tbsp Manuka honey or other good quality honey
- Pinch Himalayan Sea salt
-
Slice top rind off (or leave on and lightly cross-hatch), leaving side and bottom rind intact (rind is edible).
-
Place brie round in small microwave-safe dish.
-
Microwave on 70% power for about 90 seconds to 2 min. until warm and bubbling. (if preferred, brie can be baked in oven, at 350 F for about 20 to 25 minutes).
-
While brie is heating, toss together dried fruit and nuts (if needed, chop into smaller pieces). Drizzle with honey, stir lightly, and pile to top of warmed Brie.
-
Sprinkle with Himalayan Sea salt (may skip if nuts were salted)
-
Serve with apple slices, crackers or baguette.
*can substitute topping ingredients to be dried fruit, nut or seed of choice.