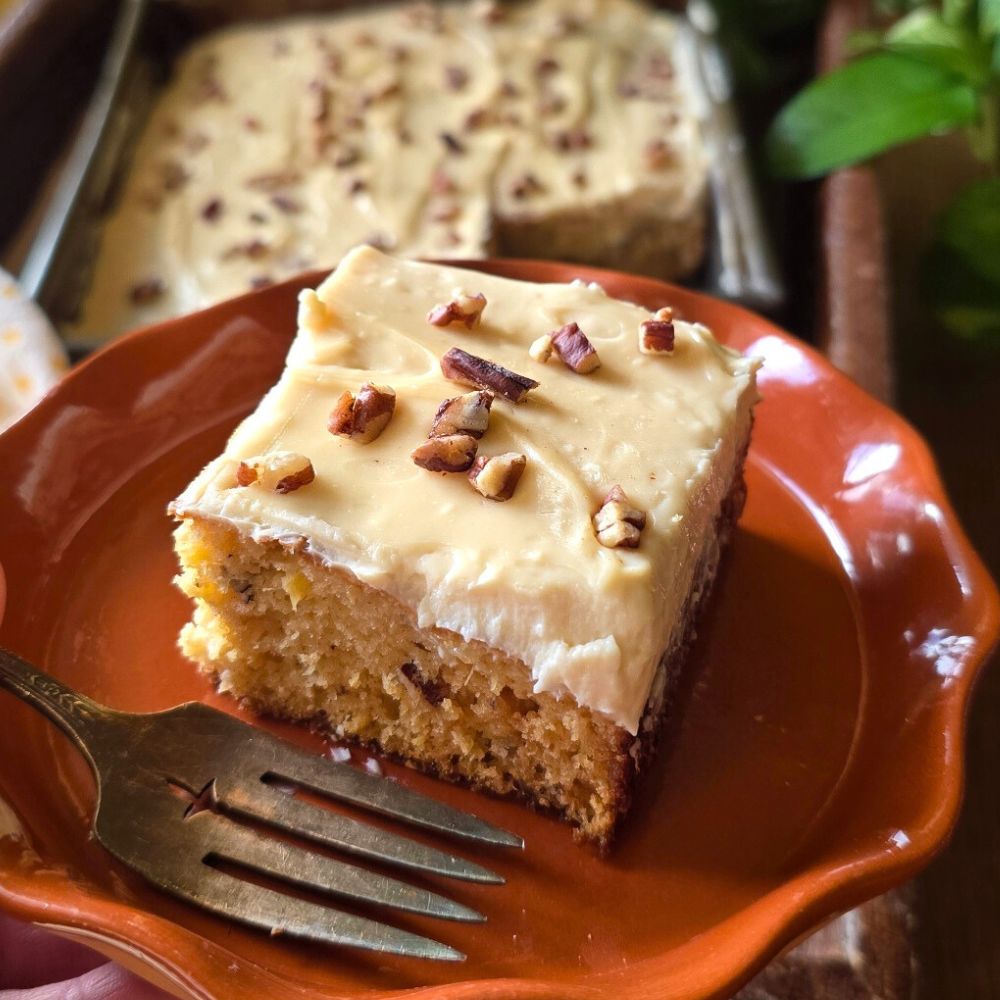
Some recipes just stick with you. Mexican Wedding Cake is one of those nostalgic desserts that shows up at family gatherings, church potlucks, and handwritten recipe cards passed down through generations. Soft, lightly sweet, and always finished with a generous layer of icing, it’s comfort food in cake form. This version keeps all the cozy, old-school vibes—but gives it a modern, protein-packed upgrade.
A Classic Cake, Reimagined
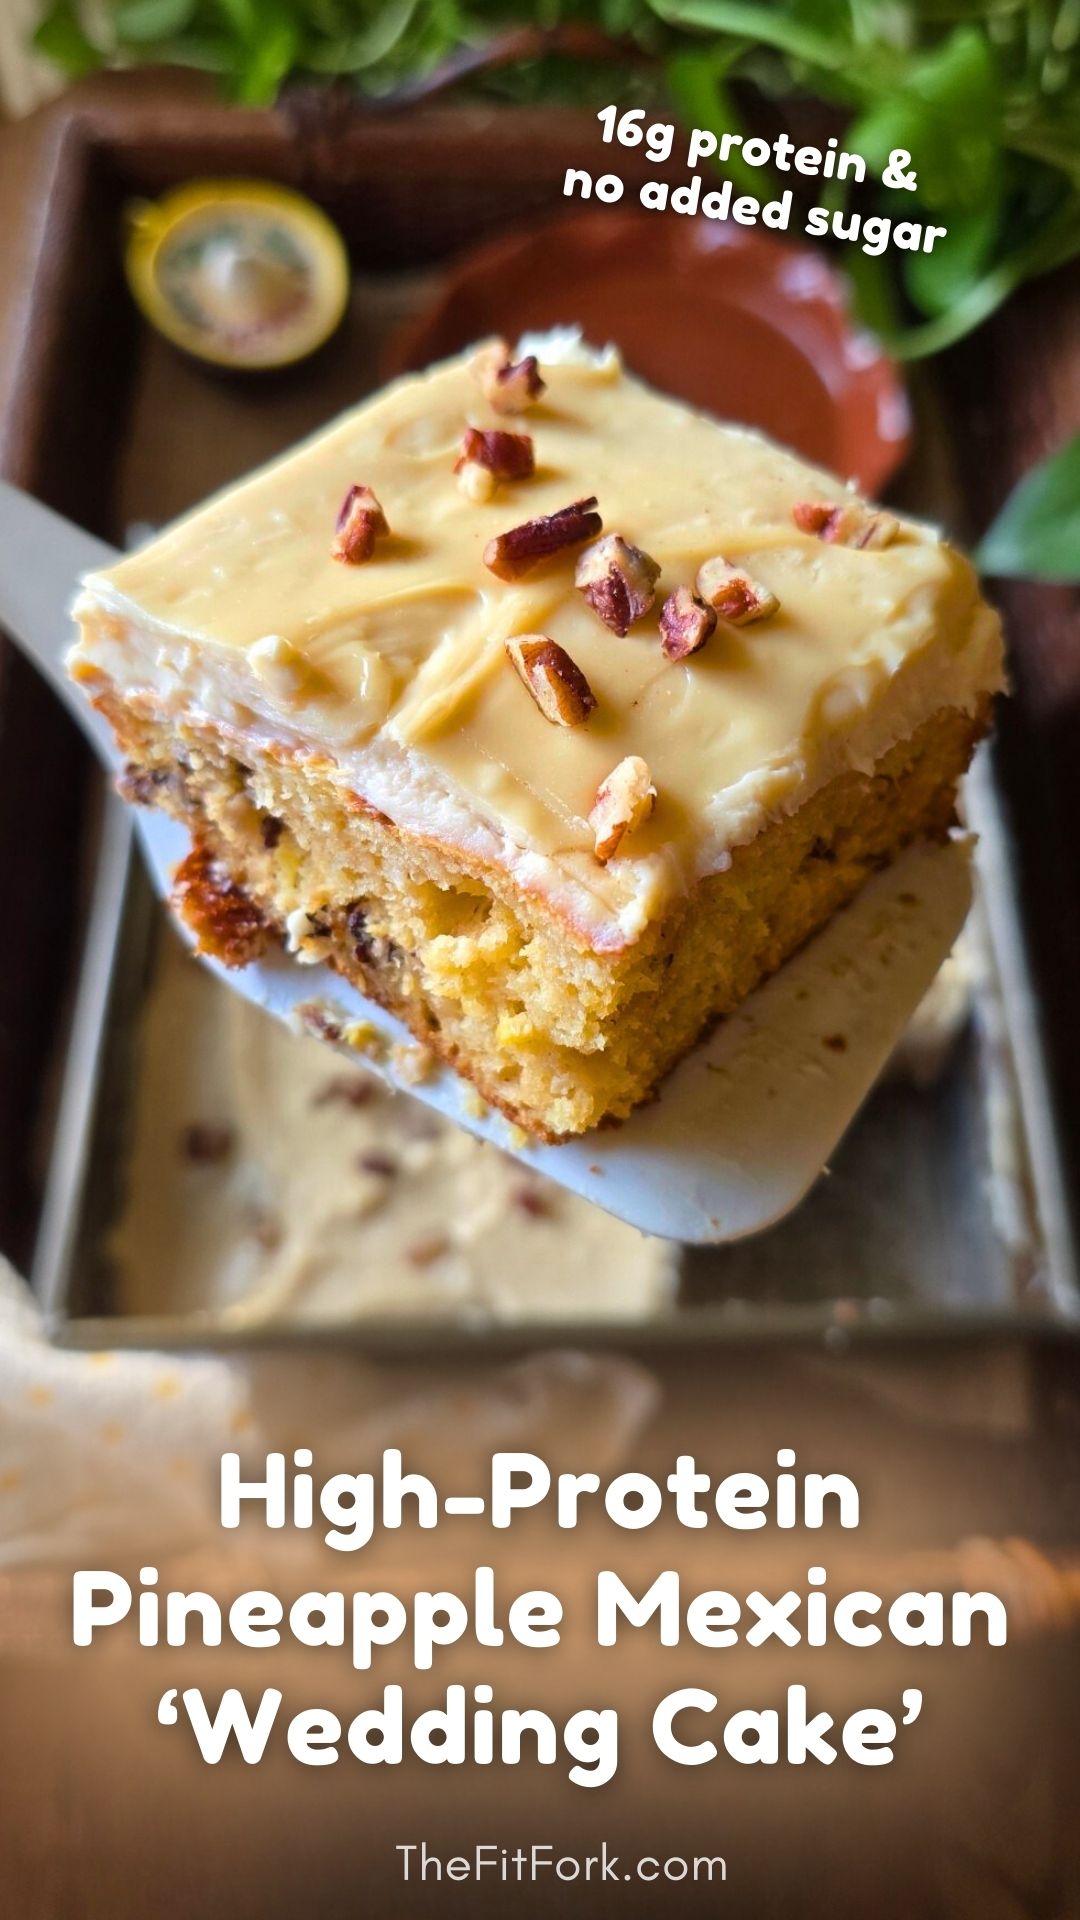
I took my childhood favorite Mexican Wedding Cake and gave it a glow‑up:
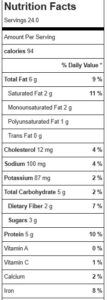
- 16 grams of protein per serving
- No added sugar
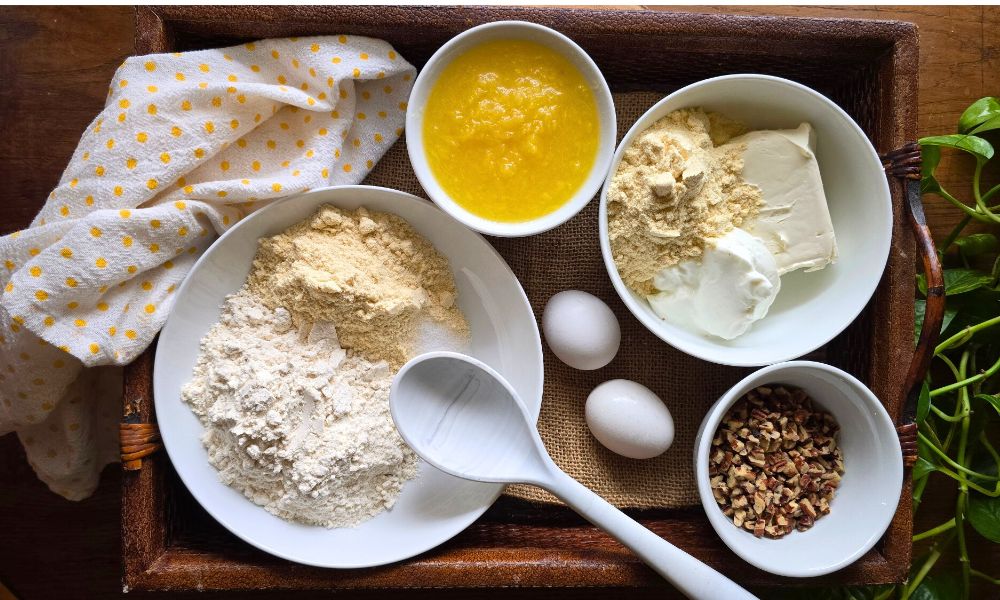
- Made with mostly pantry staples you probably already have
It’s actually been part of traditional versions of this cake for decades, adding natural sweetness and moisture. In this updated version, pineapple does the heavy lifting so we can skip added sugar and still get that tender, flavorful crumb—then boost the nutrition with protein powder.
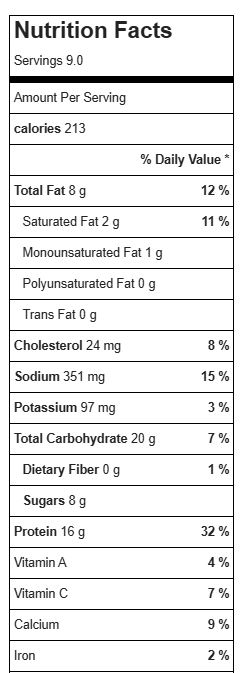
And because no Mexican Wedding Cake is complete without frosting… this one gets generously slathered with my Best Ever Protein Cream Cheese Frosting.
The Protein Frosting That Does It All
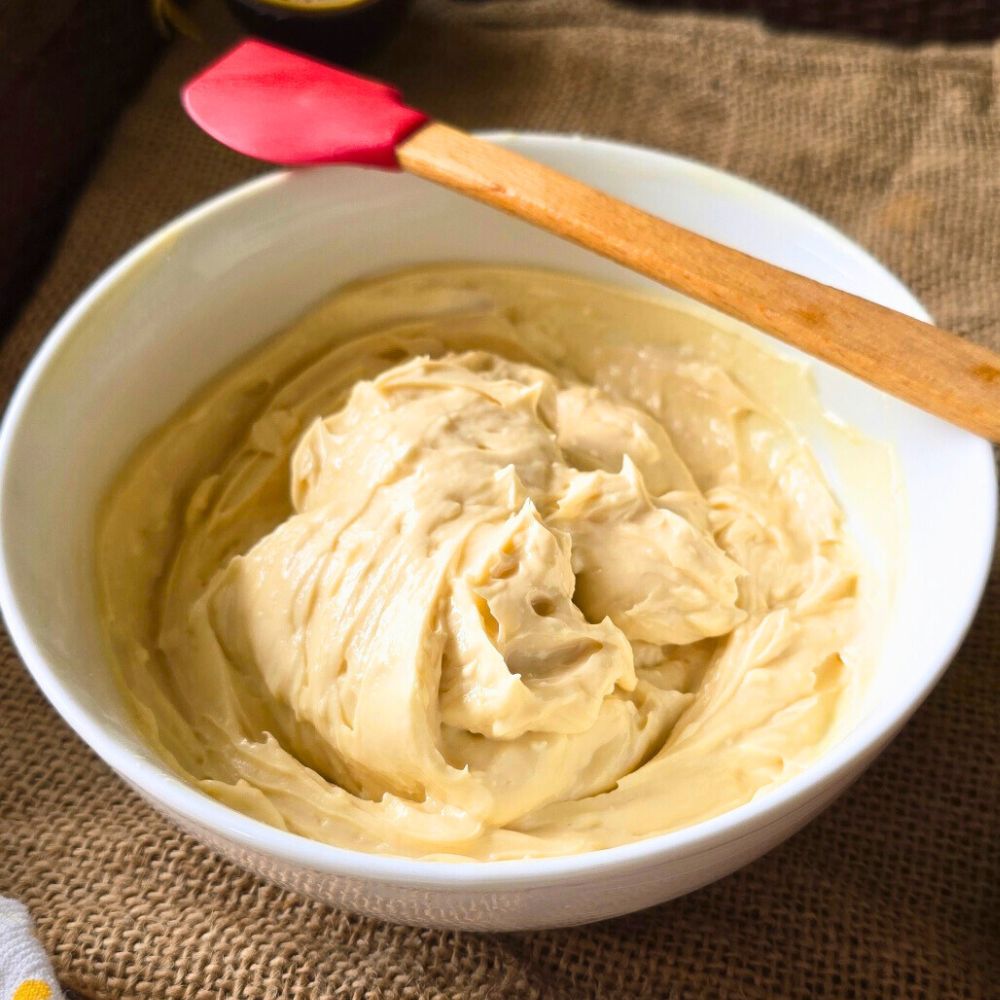
This cake is topped with my go-to protein frosting recipe, which is:
- Creamy and spreadable
- No added sugar
- High in protein, thanks to protein powder, Greek yogurt and cream cheese
- Incredibly versatile, use on cupcakes, drizzles on baked goods and sweet bowls, etc.
- You can even naturally dye it with ingredients like beet powder, matcha, or turmeric for holidays or themed desserts—although for this cake, classic white frosting is perfection.
A Little History: What Is Mexican Wedding Cake?
Despite the name, Mexican Wedding Cake isn’t tied to one specific celebration. Variations of this cake (sometimes called pineapple cake or sunshine cake) became popular in mid‑20th‑century American kitchens, especially in the Southwest. The use of canned pineapple made it approachable, affordable, and easy to bake for a crowd. The hallmark? A moist crumb, subtle sweetness, and a simple frosting that lets the cake shine. My updated take on this pineapple cake honors that heritage—just with better macros.
Why You’ll Love This Version of Mexican Wedding Cake
- High protein without tasting “protein-y”
- No added sugar
- Uses easy pantry ingredients like canned crushed pineapple
- Nostalgic flavor with modern nutrition
- Great for dessert or a protein-forward snack
Helpful Tips for the Best Protein Cake
1. Choose your pan wisely. Use an 8×8 brownie pan if you want neat squares, or a 9-inch round cake pan if you prefer wedges. Any pan larger will make a cake that is too thin.
2. No crushed pineapple? No problem. If you have pineapple chunks or rings, simply pulse them with the juice in a blender for a few seconds. Aim for lightly textured—not completely smooth.
3. Use pineapple in juice, not syrup. This avoids unnecessary added sugar and keeps the sweetness balanced.
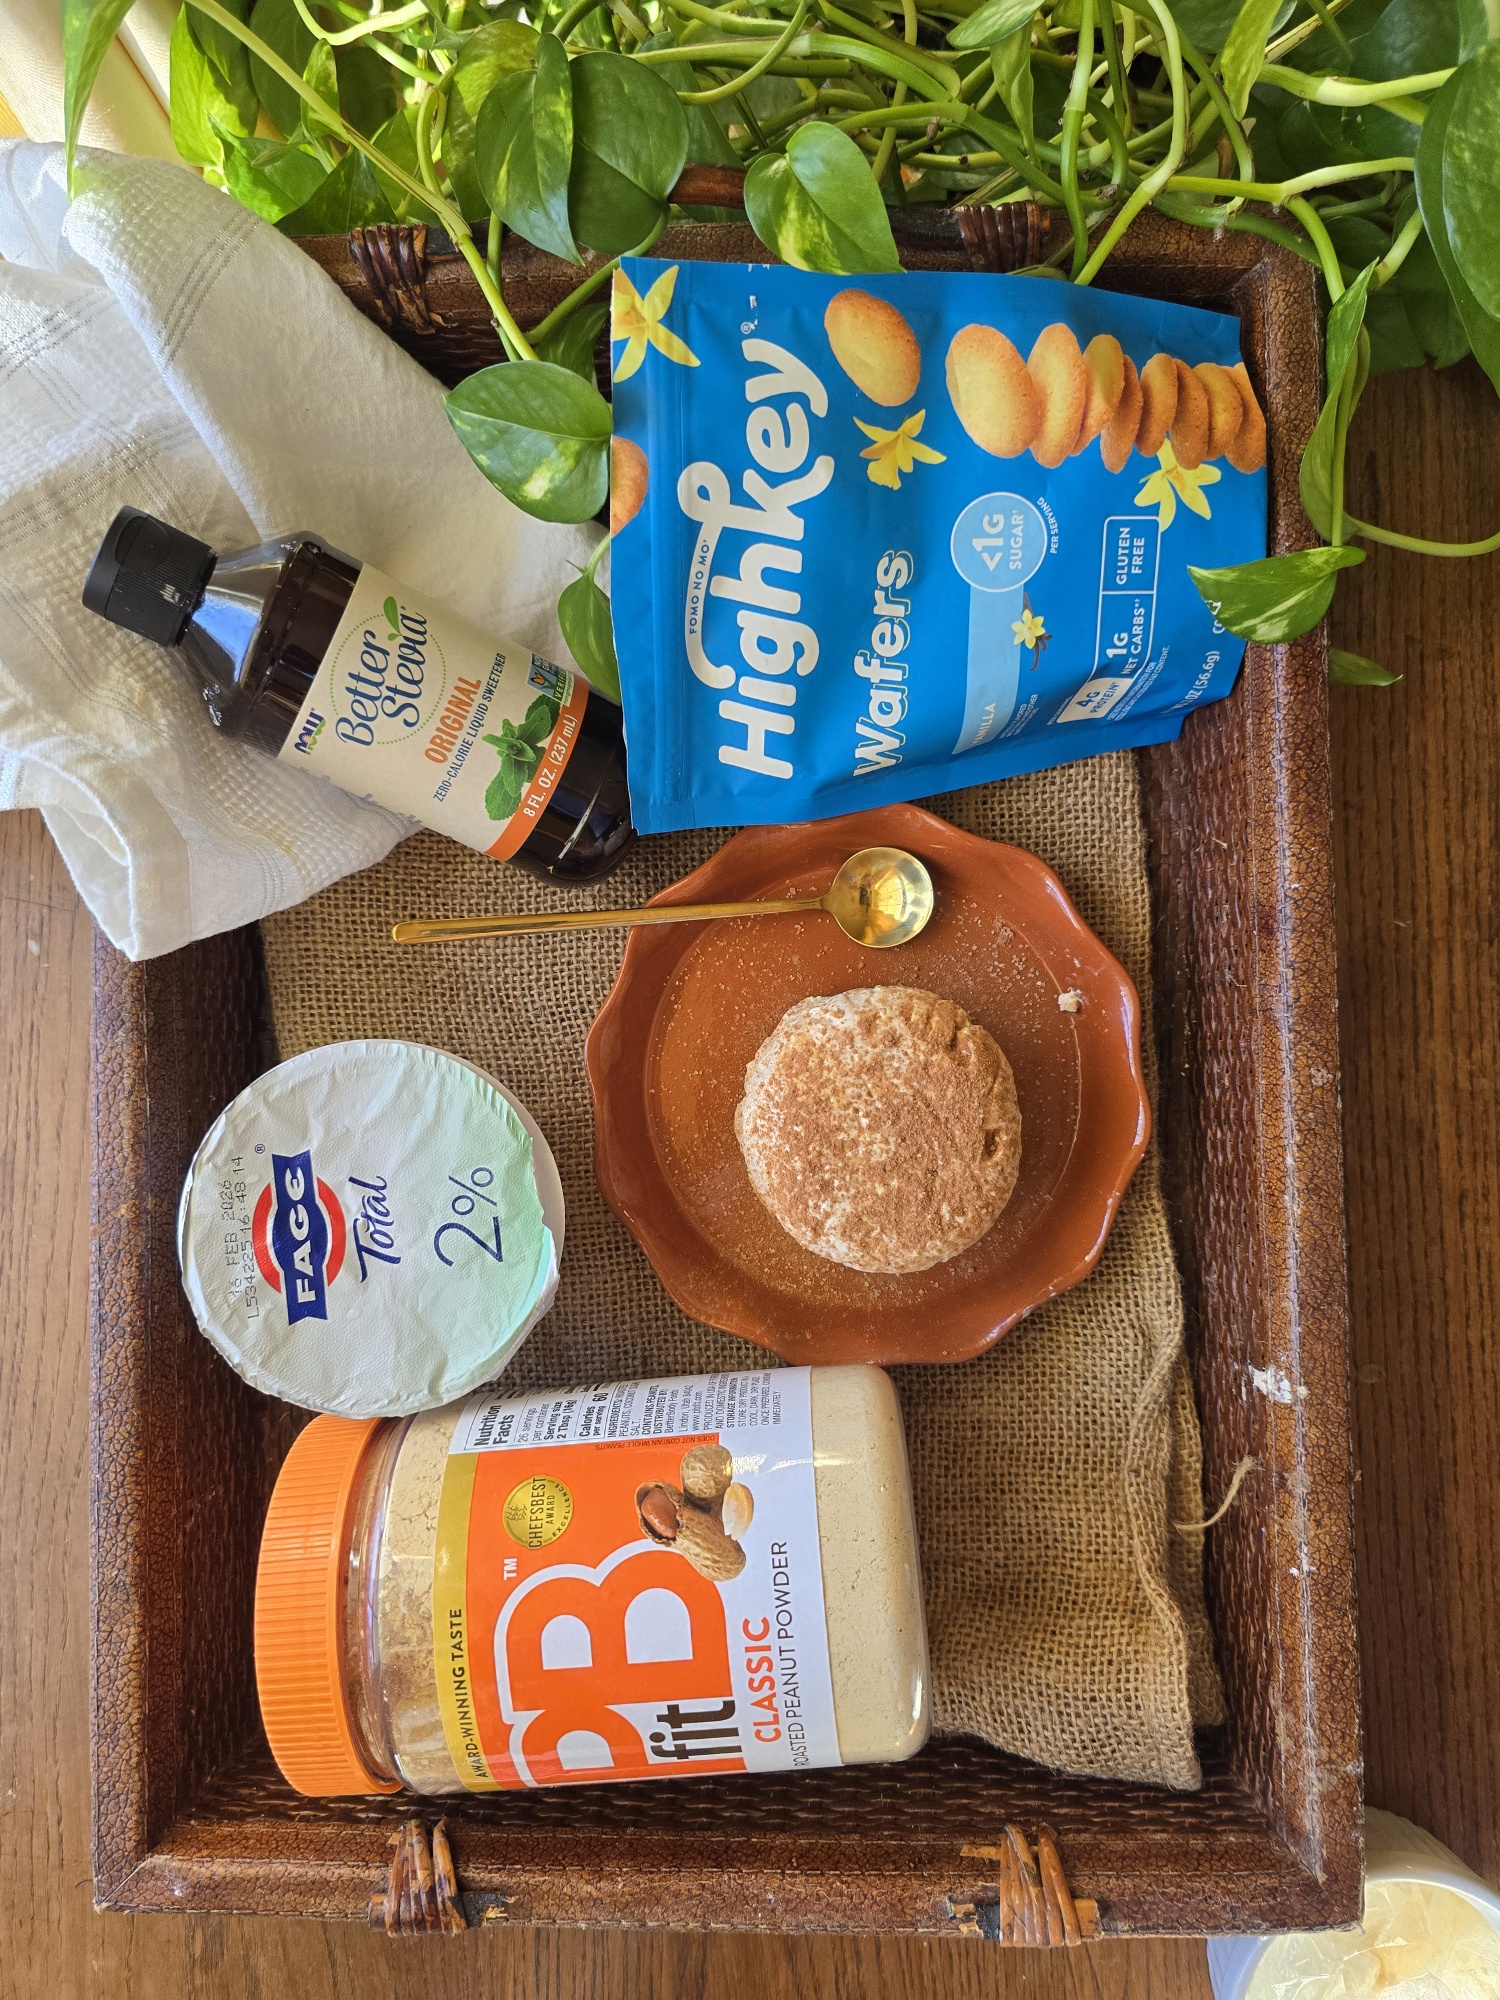
4. Pick your favorite vanilla protein powder. Use any vanilla protein powder you enjoy. I have tested with whey protein powder and also a plant-based (Nourify by Previnex – use code THEFITFORK to save 15%). Whatever the protein powder variety, as long as the volume is about the same (2/3 cup for cake, 2/3 cup for frosting) you should be successful.

5. Don’t skip the fork trick. Prick the top of the cake all over with a fork while it’s still hot, then ice it. This helps the frosting melt slightly into the cake for the best texture and flavor.
6. Gluten-free option. If you don’t do regular, all-purpose flour in your diet, a gluten-free baking blend will substitute well.
Note: This post contains affiliate links. A small commission may be earned on purchased generated through links. Proceeds help offset the operating expenses of The Fit Fork – thank you!
- 3/4 cups flour all-purpose or gluten-free baking blend like Bob’s Red Mill gluten free baking flour 1:1 measure equivalent
- 2/3 cup vanilla whey protein powder * *Macros may vary depending on the brand and variety of protein powder used
- 2 large eggs
- 1 teaspoon baking soda
- 1/4 teaspoon salt
- 1/2 cup pecans finely chopped
- 12 oz crushed pineapple with juice
- 6 oz low fat cream cheese softened
- 2/3 cup vanilla whey protein powder* *Macros may vary depending on the brand and variety of protein powder used
- ½ cup zero fat Greek Yogurt
-
Preheat oven to 350 degrees F and grease a 8×8 square brownie pan or 9” round cake pan.
-
In a large bowl, mix together flour, protein powder, baking soda, and salt.
-
Add egg and pineapple. Mix until just combined, then fold in the chopped pecans.
-
Transfer batter to the prepared dish and bake for 20-25 min or until toothpick pulls clean from center.
-
As cake bakes, mix together the frosting ingredients until smooth.
-
Pierce the top of the cooked cake with a fork all over. Spread frosting onto cake while still hot and spread around evenly.
-
Cool before serving, cut into 9 pieces. Store leftovers in fridge for up to 5 days.