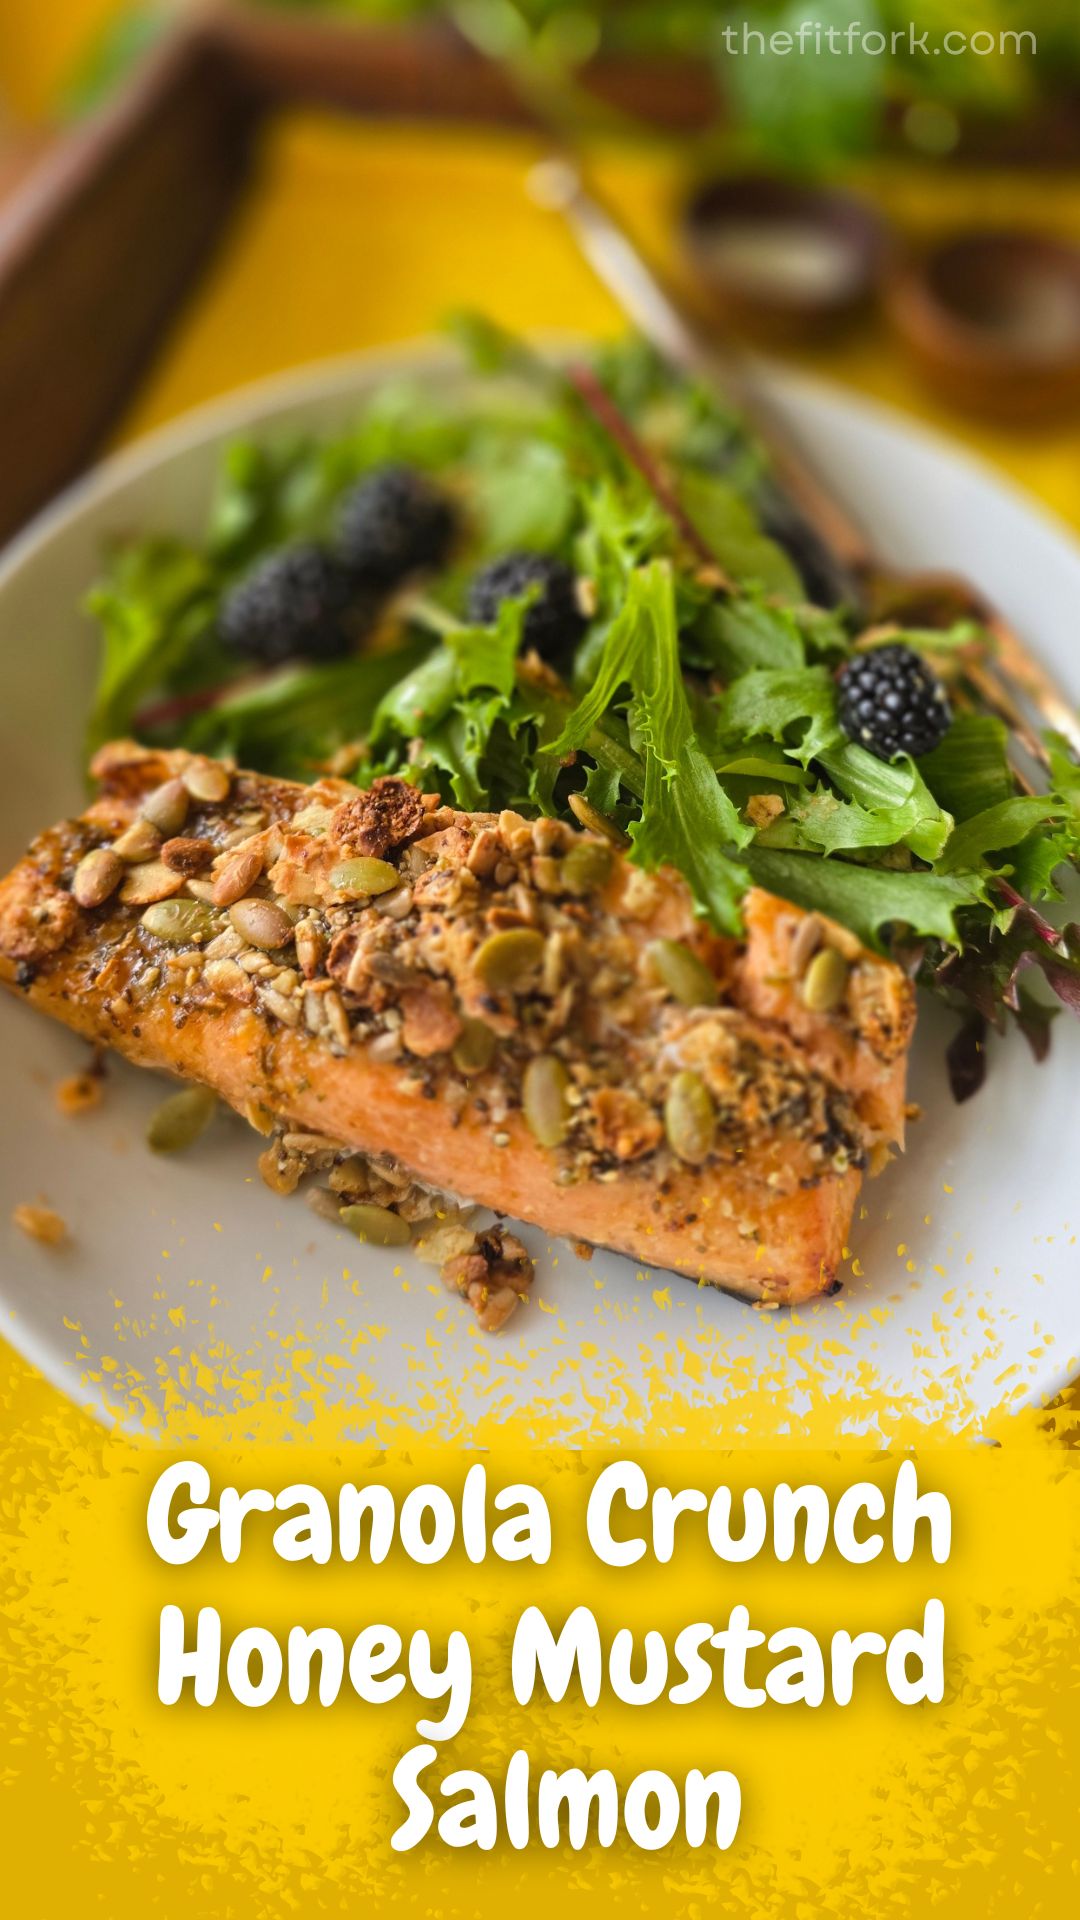
If you’ve never thought about using granola as a savory crust, this Granola Crunch Honey Mustard Salmon is about to change your weeknight dinner game.
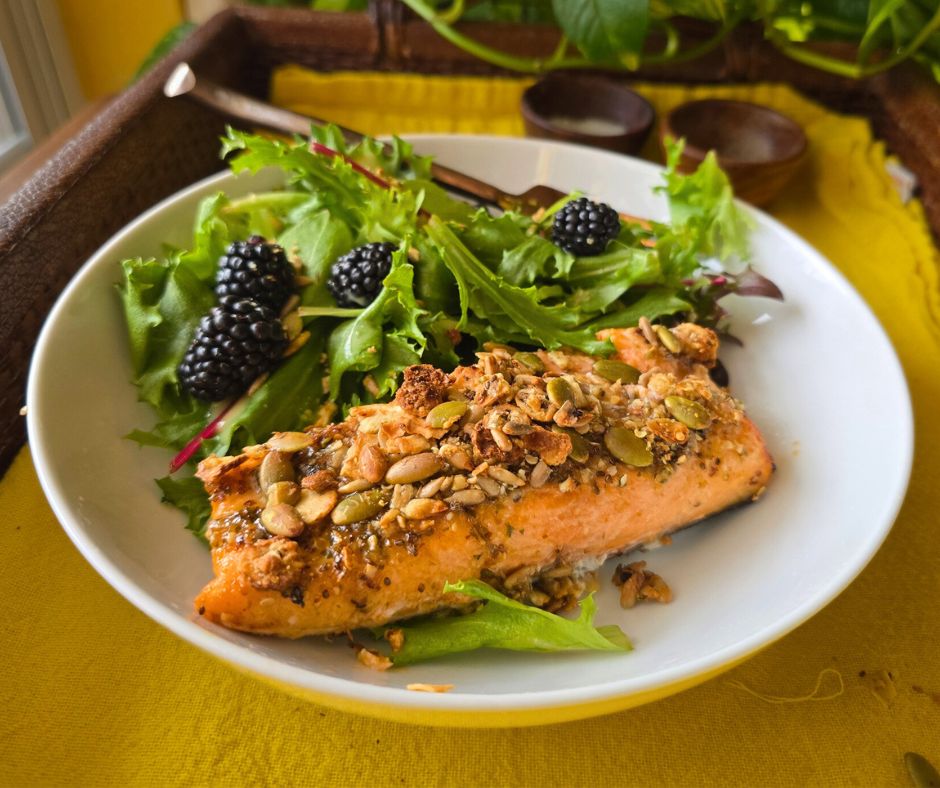
We’re talking skin-on salmon brushed with a simple honey-mustard-garlic glaze, then topped with crunchy, savory granola before heading into the air fryer or oven. The result? A crispy, flavorful crust on top of perfectly succulent salmon—fast, satisfying, and surprisingly versatile.
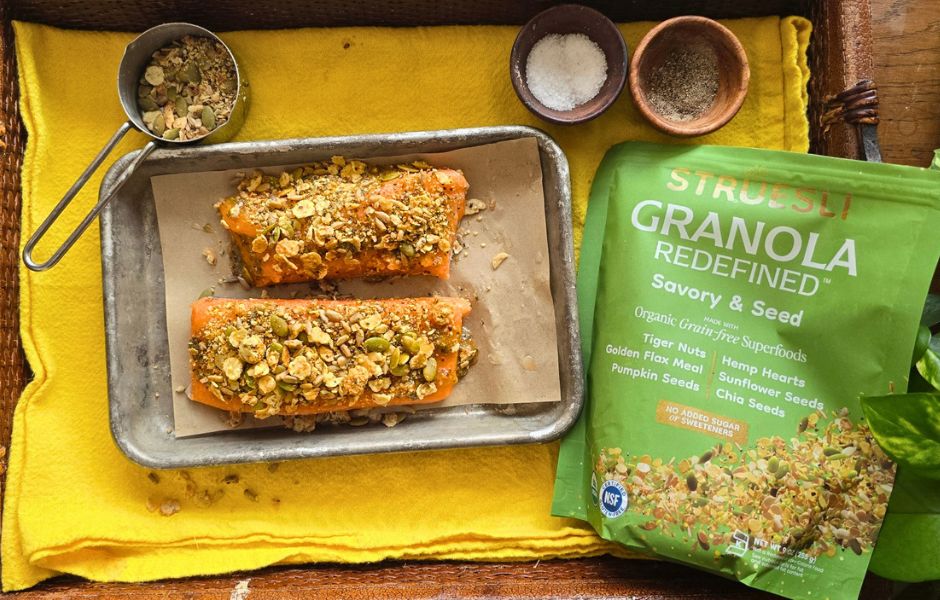
For this version, I used Struesli Redefined Granola – Savory Seed, a no-sugar, no-sweetener granola made with nutrient-dense ingredients like tiger nuts, flax meal, pumpkin seeds, hemp hearts, and chia seeds. It delivers serious crunch without sweetness, making it ideal for savory dishes—but don’t worry, this recipe is flexible and can other types of granola too.
Serve it over a fresh salad, alongside roasted veggies, or with your favorite simple sides for a crave-worthy, protein-packed meal that feels elevated without being complicated.
Macros per serving:
309 calories | 14g fat | 10g carbs | 34g protein
Why You’ll Love This Recipe
- Fast and fuss-free: Ready in about 10 minutes in the air fryer, making it perfect for busy weeknights. I also cooks up wonderfully in the traditional oven – it just takes a little longer.
- Crispy-meets-succulent: The granola forms a crunchy top crust while the salmon stays tender and juicy underneath.
- Nutrient-dense: High-quality protein, heart-healthy fats, and fiber-rich toppings all in one dish.
- Unexpected but delicious: Savory granola adds texture and flavor without heavy breading or frying.
- Totally adaptable: The granola-crust method works beautifully on other fish like halibut, cod, or trout.
Tips for the Best Granola-Crusted Salmon
Choose Skin-On Salmon: Whenever possible, use skin-on salmon fillets. Leaving the skin on helps retain more of salmon’s healthy omega-3 fatty acids—especially the flavorful, nutrient-rich brown fat layer between the skin and flesh. Even if you don’t eat the skin, cooking with it on helps protect the fish and keeps it moist and still retains more of the fat layer.
Air Fryer or Oven—Both Work: The air fryer is the fastest option with maximum crispiness (about 10 minutes, depending on thickness). The oven is great for cooking multiple portions at once—just bake until the salmon flakes easily and the topping is golden.
Granola Choices Matter (But Be Flexible): I used Struesli Redefined Granola – Savory Seed, which is gluten-free, keto-friendly, and paleo-friendly, with no added sugar or sweeteners. It’s ideal for savory recipes like this. That said—any granola can work, even lightly sweet varieties (but not those with chocolate chunks and stuff, haha), if that’s what you have on hand. Sweet-savory lovers may even enjoy the contrast.
Pro tip: If your granola has large clusters, lightly crush it before topping the salmon so it adheres better and forms a more even crust.
How to Serve It: Over mixed greens with a simple vinaigrette, with roasted vegetables or asparagus, alongside quinoa, rice, or cauliflower rice, flaked into a grain bowl or wrap for leftovers – or whatever floats your boat!
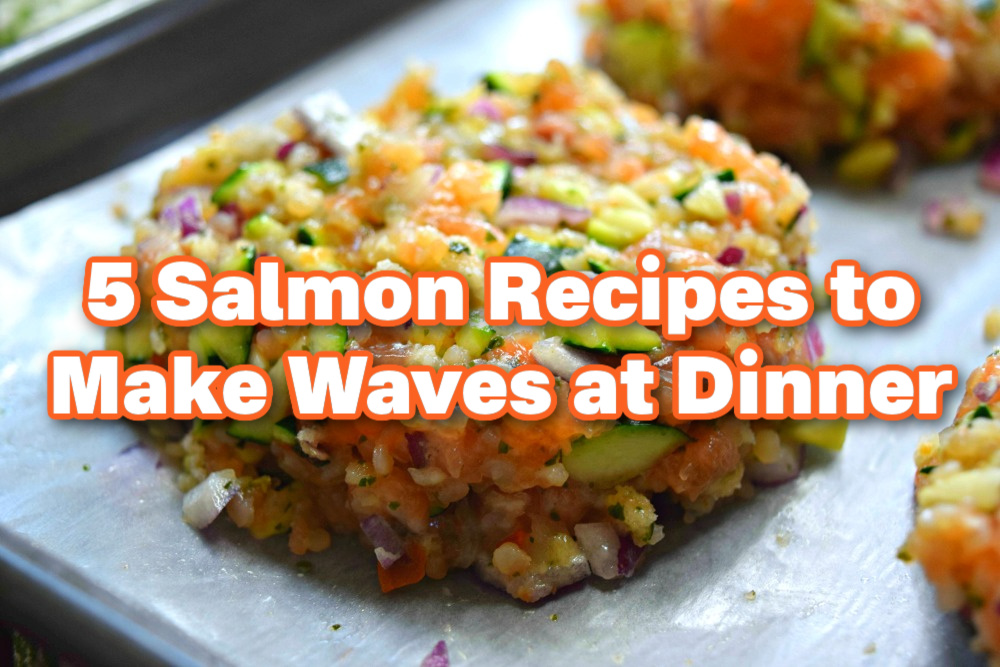
If you area big salmon fan, check out my 5 Ways to Make Salmon for Dinner post for additional inspo!
- 8 oz salmon filet skin on and cut into 2 portions
- 1 tsp olive oil
- 2 tsp honey
- 1 tbsp stone-ground mustard
- 2 tsp minced garlic
- 2 tsp fine-chopped parsley
- ¼ cup nut and/or seed low carb granola
-
Pre-heat air fryer to 380F (or oven to 400F)
-
Place salmon, skin side down, on small rimmed baking sheet or piece of parchment.
-
Mix together oil, honey, mustard, garlic and parsley to make a paste. Brush on tops of filets.
-
Sprinkle granola on top of honey mustard mixture, lightly patting down to adhere.
-
Air fry at 380F for 7-8 minutes or in traditional oven at 400F for 18-20 minutes, until cooked through, flaking and top lightly browning.
Serves 2: Macros per serving: 309 cal | 14g fat | 10g carbs | 34g protein