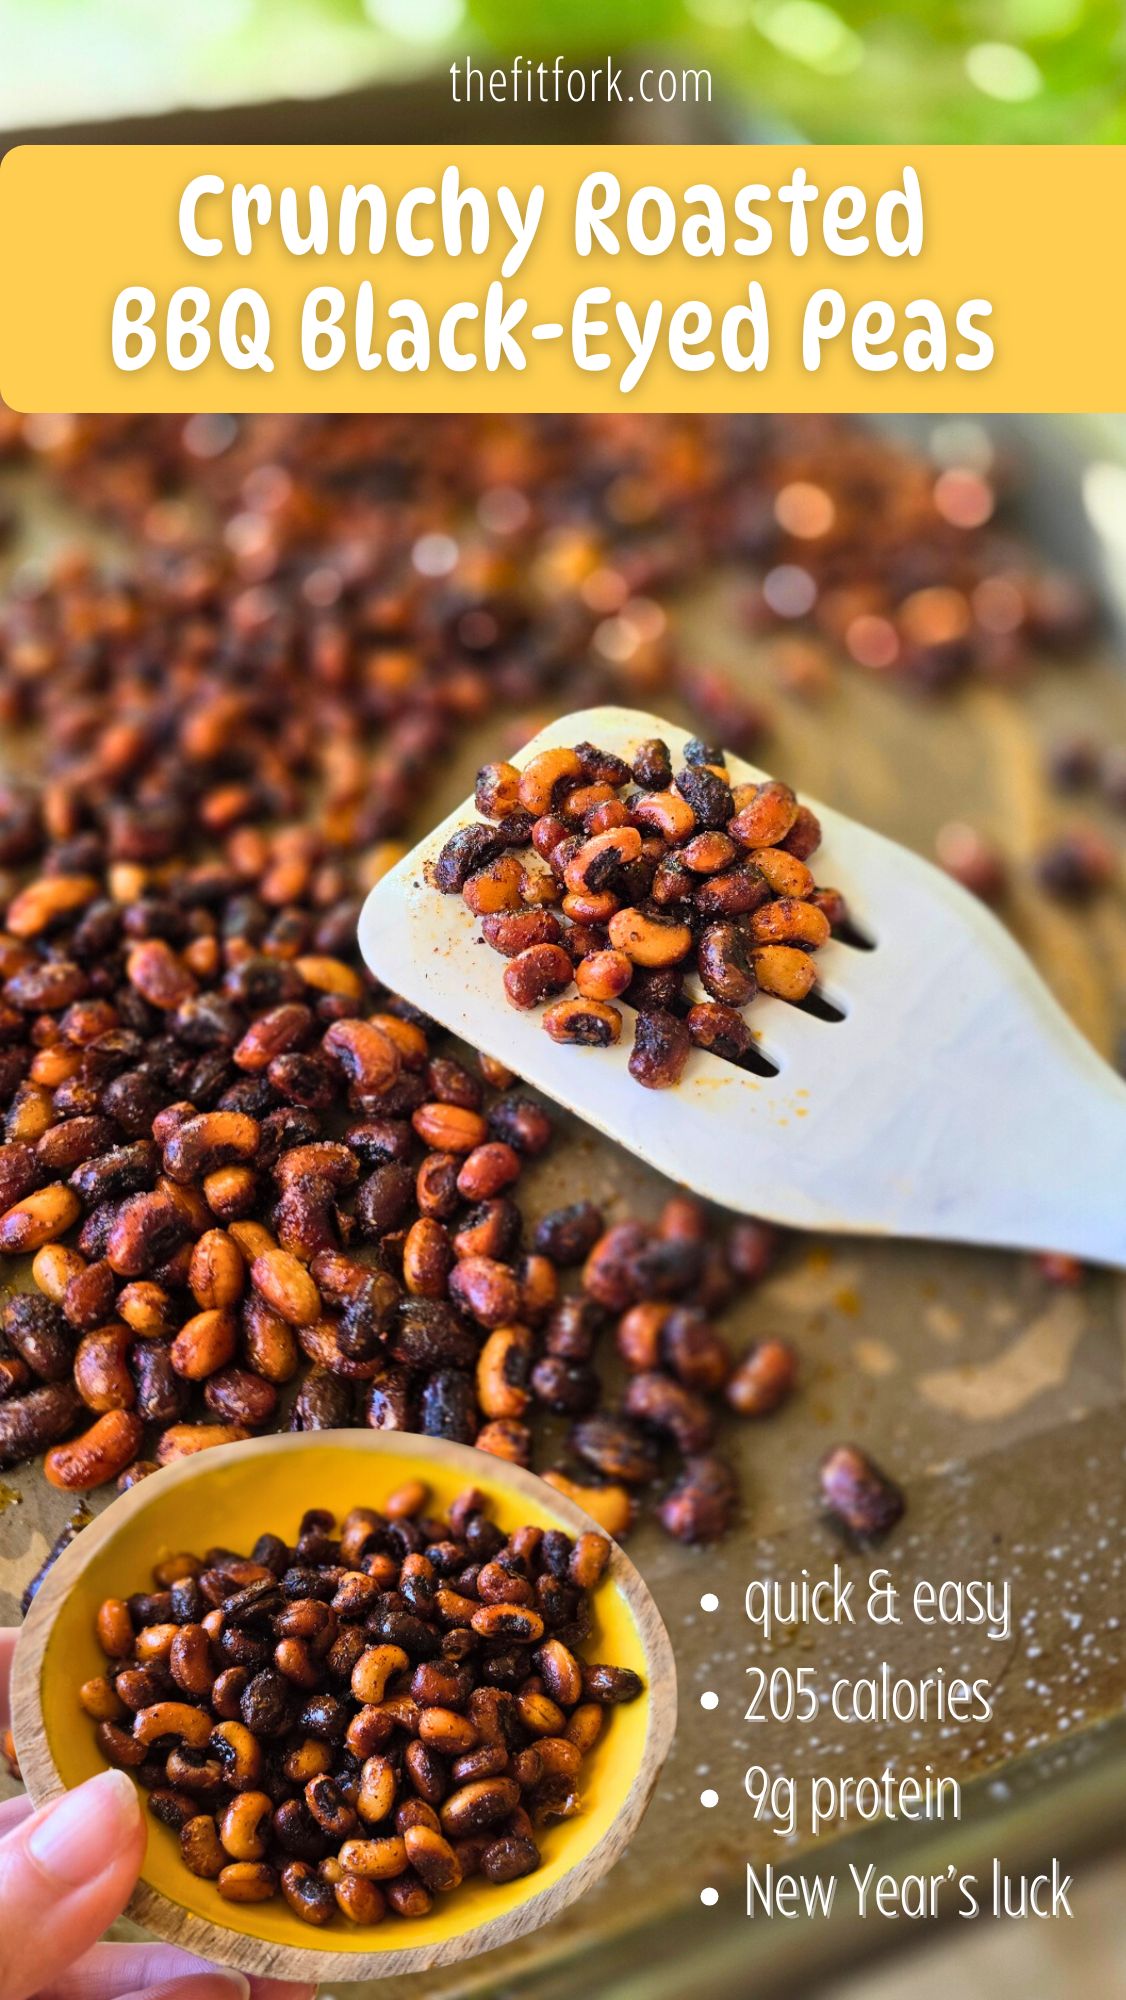
Roasted BBQ Black-Eyed Peas for New Year’s (and Beyond)

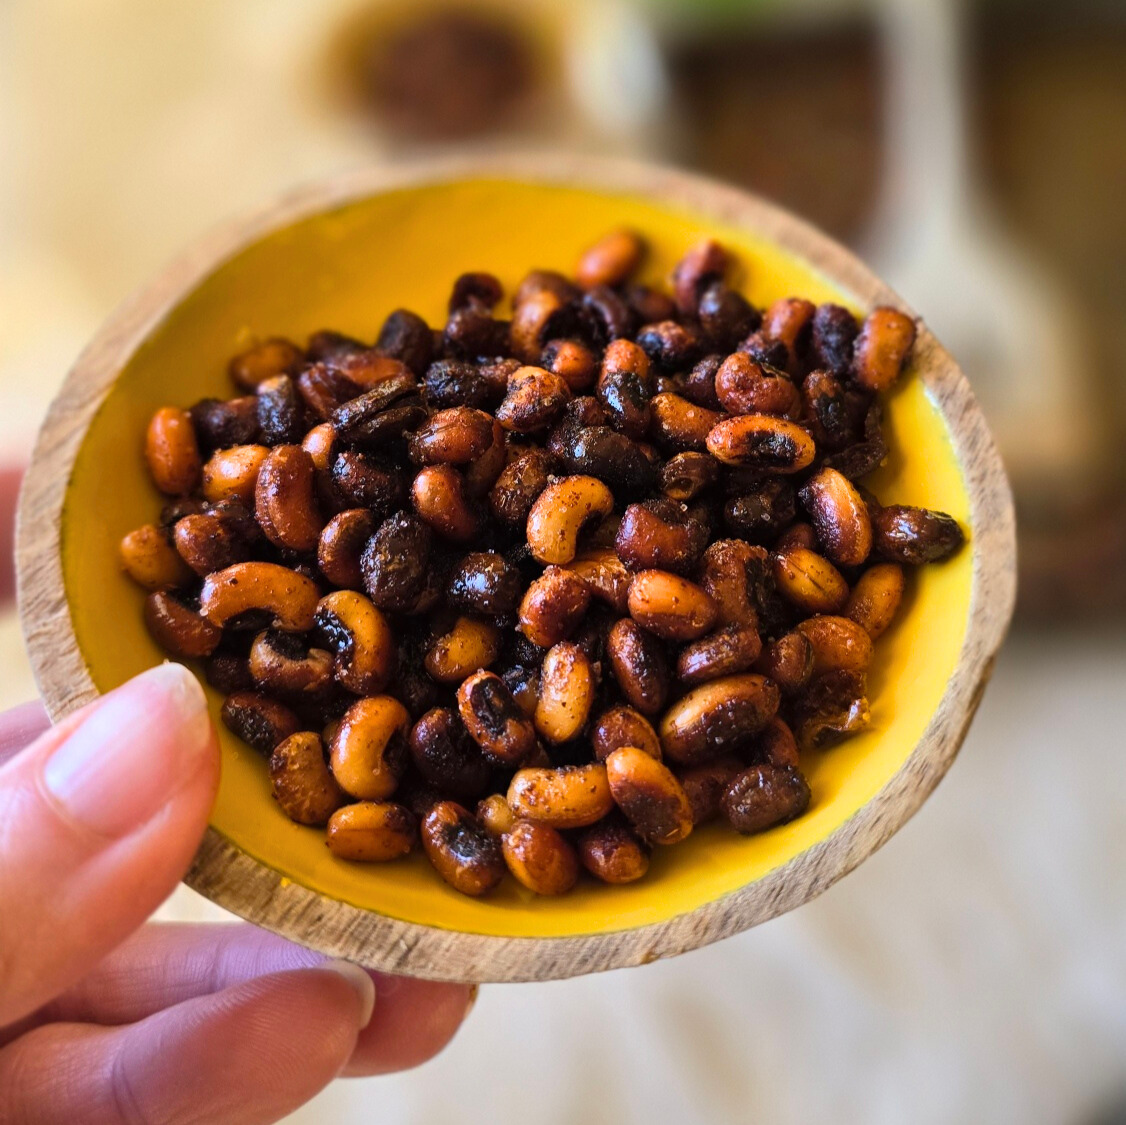
Black-eyed peas have long been tied to New Year’s traditions, symbolizing luck, prosperity, and abundance for the year ahead. And while they’re often served simmered with greens or tucked into classic comfort dishes, this crunchy, roasted version gives the tradition a modern, snack-worthy upgrade.

Think: roasted chickpeas… but with a Southern soul and a spicy-sweet BBQ vibe. Roasted with olive oil and a BBQ seasoning that’s easy and economical to mix up from basic spices in our pantry. Black eyed peas transform into a snack that hits all the notes – crunchy, savory, salty-sweet!

Why We Eat Black-Eyed Peas on New Year’s Day

Across the Southern U.S., black-eyed peas are a staple on New Year’s Day, representing coins or wealth – a hopeful, nourishing start to the year.  Whether you’re deeply rooted in the tradition or just love a meaningful food moment, this recipe lets you honor the symbolism without feeling tied to a heavy or time-consuming dish.

 Crunchy Roasted BBQ Black-Eyed Peas put a modern twist on a New Year’s good luck tradition. A healthy, high-fiber snack that’s perfect for salads, soups, or on-the-go fuel.

Health Benefits of Black-Eyed Peas

Beyond the good-luck lore, black-eyed peas are a nutritional powerhouse, making them a smart choice for active lifestyles and everyday eating.

  • Rich in plant-based protein, helping with satiety and muscle repair
  • High in fiber, supporting digestion and steady energy
  • Packed with complex carbs, ideal for fueling workouts, hikes, and busy days
  • Naturally low in fat, while still deeply satisfying

Tips for Roasting Black-Eyed Peas

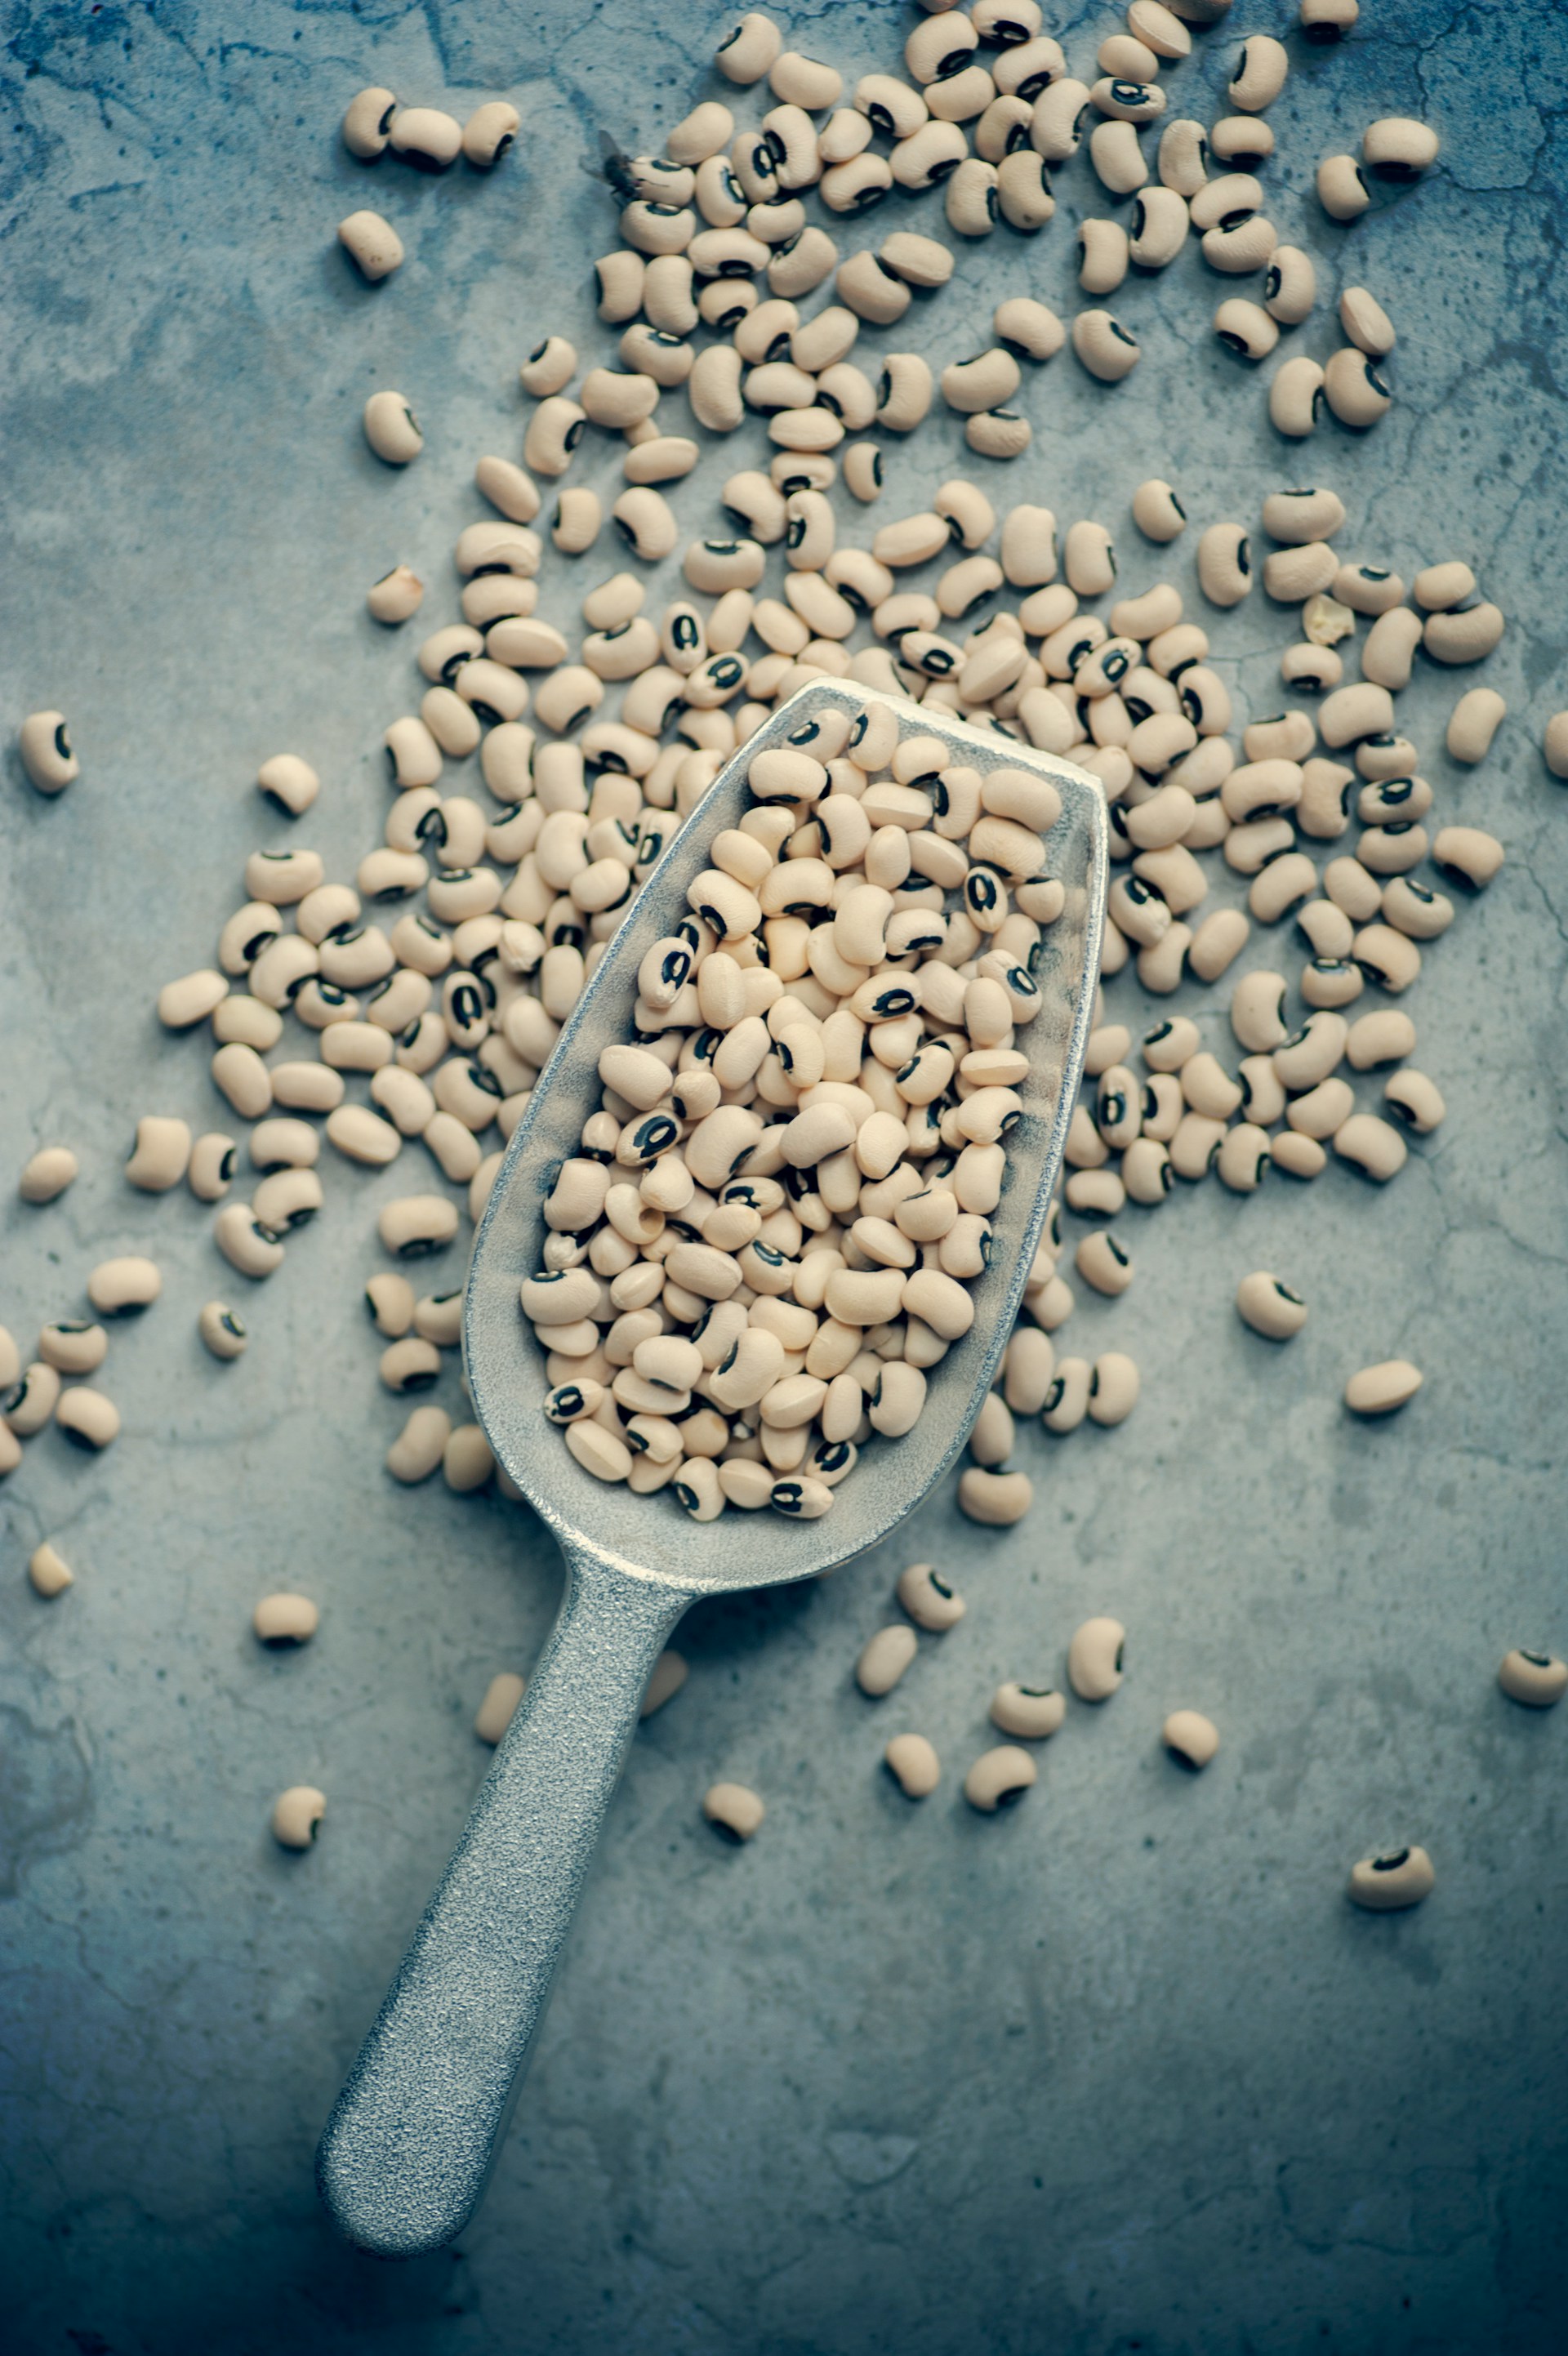
  • Use fresh, shelled, pre-soaked black eyed peas. Canned black-eyed peas will be too mushy. Fresh black-eyed peas great for this recipe can typically be found in the produce section and must remain refrigerated until use.
  • Pat dry. If there is any moisture or condensation on the black-eyed peas, pat dry before beginning recipe so that oil and spices will adhere.
  • Sugar substitutions: I used coconut sugar, but you can easily replace that for brown sugar, date sugar — or skip all together.
  • Easy clean-up. Line pan with parchment paper preferably, or foil before adding peas.
  • Single layer. When spreading out on the baking sheet, make sure that peas are not piled up. They must be in a single layer to promote even cooking.
  • Check often. Check 10 minutes or more to turn up with a spatula and rotate pan in the oven. Near the end, keep a close eye so they don’t burn.

How to Serve Roasted Black-Eyed Peas

  • Straight-up snack – like popcorn, but with protein and fiber
  • Salad or bowl topper – adds crunch and smoky flavor without croutons
  • Soup “crunchies” – sprinkle over chili, veggie soup, or stew
  • Trail or hike fuel – lightweight, shelf-stable, and satisfying
  • Lunchbox or road-trip snack – no refrigeration required
Crunchy BBQ Roasted Black-Eyed Peas
Prep Time
5 mins
Cook Time
30 mins
Total Time
35 mins
 

Crunchy Roasted BBQ Black-Eyed Peas put a modern twist on aNew Year’s good luck tradition. A healthy, high-fiber snack that’s perfect forsalads, soups, or on-the-go fuel.

Course: Snack
Cuisine: American, Southern
Keyword: black eye peas, good luck, new year
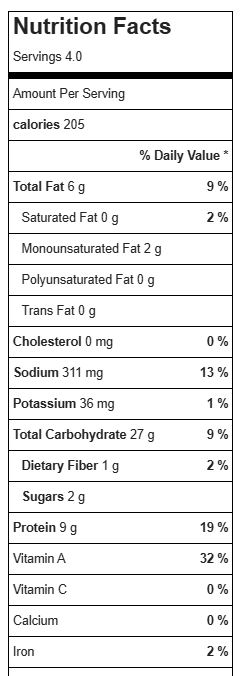
Servings: 4 servings
Calories: 205 kcal
Ingredients
  • 10 oz fresh shelled black eyed peas not canned or dried
  • 2 tsp olive oil
  • 2 tsp coconut sugar or can sub brown sugar
  • 1 tsp smoked paprika
  • 1 tsp chili powder
  • 1 tsp garlic powder
  • ½ tsp salt
Instructions
  1. Pre-heat oven to 400F.
  2. Pat any moisture off black eyed peas with a paper towl. Add to bowl. Toss with olive oil.
  3. Mix together spices and sprinkle into bowl and stir to ensure all peas are coated.
  4. Spread out in single layer on rimmed baking sheet and roast in the oven for 25-35 minutes, stirring them up every 10 minutes or so. Keep a close eye near the end so they don’t burn.
  5. Serve warm or room temp. Store leftovers in air-tight container for 3-4 days.
Recipe Notes

Easy Raspberry Chipotle Chicken Meatballs (Perfect for Parties or Weeknight Dinners)

When it comes to party snacks, I’m all about recipes that deliver big flavor without demanding much time. These Raspberry Chipotle Chicken Meatballs are exactly that — a simple, spicy-sweet crowd-pleaser made with just a handful of ingredients and a slow cooker doing most of the work. Whether you’re hosting a holiday open house, a game-day gathering, or a casual potluck, this dish checks all the boxes: easy, delicious, hands-off, and guaranteed to disappear fast.

One of the things I love most about this dish is how effortless the prep is. Frozen meatballs go straight into the slow cooker. A scoop of sugar-free raspberry jam (I used Good Good’s Raspberry Jam to keep the carb count in check), a pour of your favorite lower-sugar barbecue sauce, and a splash of Worcestershire sauce get stirred together to create a glossy, tangy, spicy-sweet glaze. Flip the switch, walk away, and let the heat work its magic. In a few hours, you’ve got party-ready meatballs that taste like you spent all afternoon fussing over them.

Because they stay warm directly in the slow cooker, these meatballs are ideal for entertaining. You can set out a spoon or toothpicks and let guests help themselves as they mingle—no need to worry about reheating or the dish drying out. The slow cooker keeps everything warm, saucy, and irresistible for the entire gathering.

And don’t think of these meatballs as just an appetizer. They make an amazing main dish, too. Spoon them over rice, quinoa, mashed or baked sweet potatoes, or even cauliflower rice for a sweet-heat dinner that feels comforting but still aligns with your nutrition goals. The raspberry chipotle flavor profile is surprisingly versatile and works with chicken, pork, or beef meatballs. That means you can customize based on whatever you have on hand or what your family prefers.

Pro Tips for Slow Cooker Meatball Success

  • Choose your meatball: The raspberry-chipotle combo pairs beautifully with chicken, pork, or beef—use what you love!
  • Lower-carb swaps: Using sugar-free raspberry jam and a lower-sugar barbecue sauce keeps the carb and added sugar count in check without sacrificing flavor.
  • Minimal ingredients, maximum payoff: With just a few pantry staples (like canned chipotle in adobo) and a slow cooker, anyone can make this dish and instantly become the hero of the party.

Effortless prep, incredible flavor, and a recipe flexible enough to serve as both a snack and a full dinner — this one deserves a spot in your party-season rotation.

Note: This post contains affiliate links. I may earn a small commission on purchases made through links. Proceeds help offset operating expenses for The Fit Fork. Thank you!

Raspberry Chipotle Chicken Meatballs – Lower Carb
Prep Time
5 mins
Cook Time
4 mins
Total Time
4 hrs 5 mins
 

This easy, spicy-sweet Raspberry Chipotle Chicken Meatballs recipe is made in the slow cooker (with oven option). Perfect for parties or weeknight dinners, with low-carb tips and effortless prep. Plus, lower-carb options to moderate carb intake.

Course: Appetizer, dinner, entree
Keyword: chicken, low carb, meatballs, raspberry
Servings: 6 servings
Ingredients
  • 20 ounces frozen meatballs chicken, beef or turkey meatballs
  • 6 ounces Good Good Sugar Free Raspberry Jam
  • 10 ounces BBQ sauce
  • 2 tablespoons Worcestershire sauce
  • 1 chopped chipotle pepper in adobo + 1 tablespoon adobo sauce from can
Instructions
  1. Add all ingredients to 4-quart slow cooker.
  2. Stir to combine sauce and coat meatballs.
  3. Cook on high heat for 2 to 3 hours or on low heat for 4 hours.
  4. Alternatively, make recipe in 9×9 baking dish, cover with foil or lid, and place in oven cook for 40 minutes.
  5. Garnish as desired (I did green onions). Serve as appetizer with toothpicks or as a main dish over rice, sweet potato, etc.
Recipe Notes

Macros per 7 meatball serving*: 128 cal, 13.6g carb, 3.5g fat, 14.1g protein

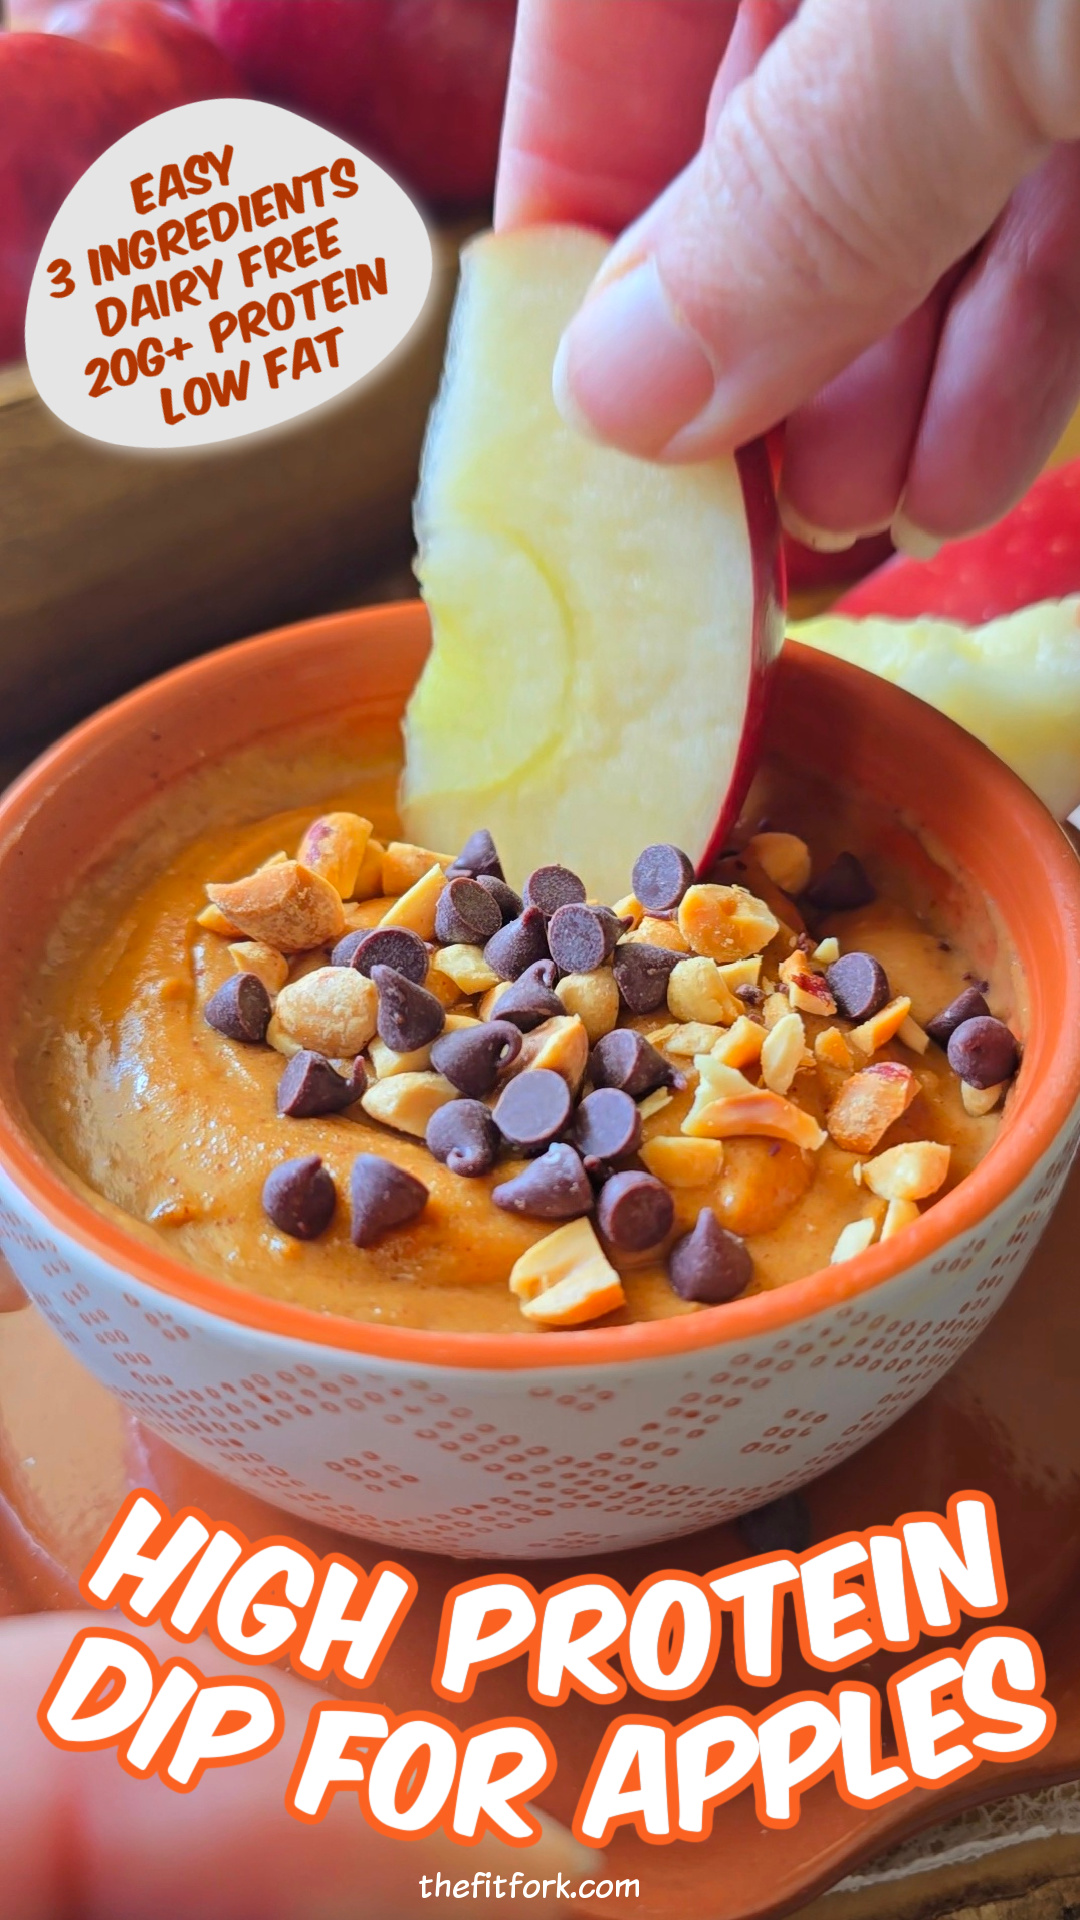
Easy High-Protein Apple Dip (3 Ingredients, 20g Protein!)

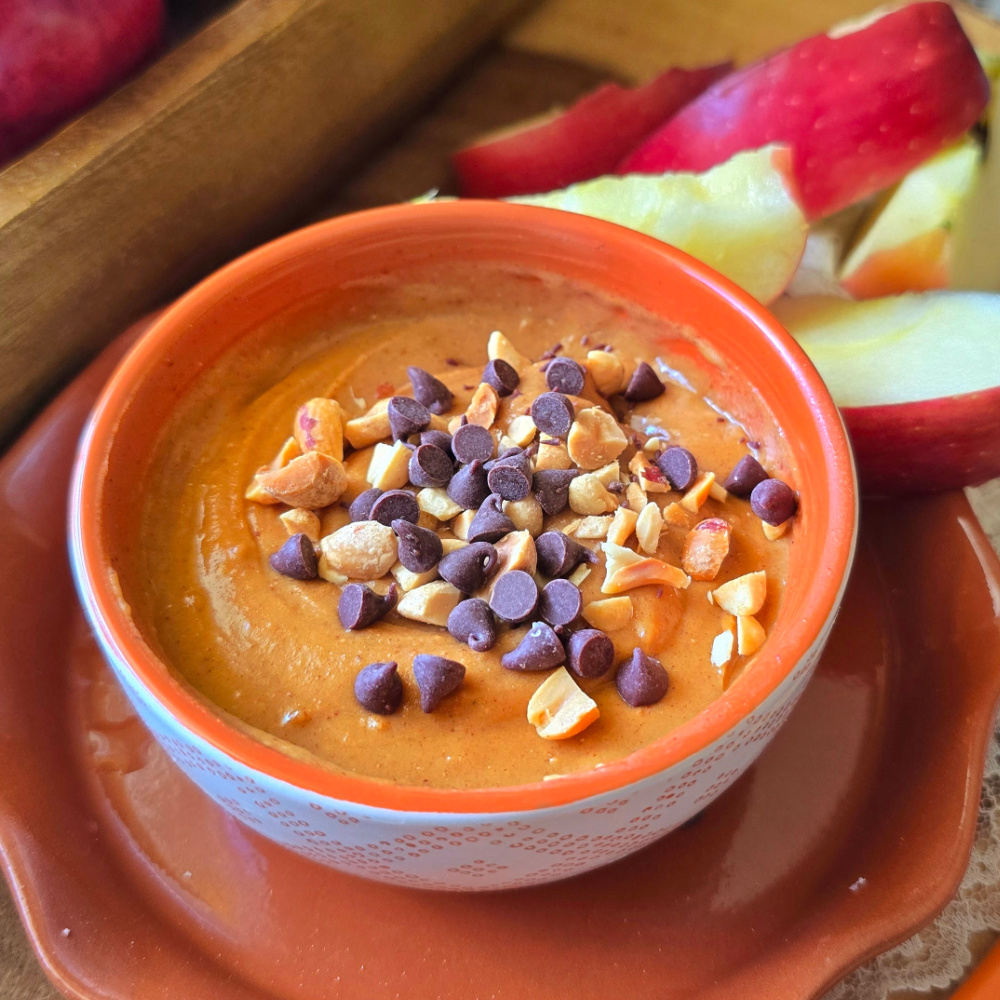
Every time I eat an apple all by itself, I swear my hunger level turns up a notch. That’s why I’m loving this High-Protein Apple Dip—it’s the perfect balance of flavor, satiety, and nutrition. With just three simple ingredients plus water, you can whip up a creamy, satisfying dip that pairs beautifully with crisp apple slices.

Not only is this recipe high-protein, low-fat and dairy-free, but it’s also super customizable. You can swap the nut butter base, play around with different protein powders, and sprinkle on fun toppings for variety.

Why You’ll Love This High Protein Dip

  • Protein-Packed: Each serving boasts 20g+ protein, keeping you fueled and satisfied for about 160 calories per serving (this can vary some based on the specific ingredients you use)
  • Quick & Easy: Just 3 ingredients (protein powder, peanut butter powder and sugar-free hazelnut spread – I love this white chocolate one!) plus water and optional toppings—no cooking required.
  • Dairy-Free Friendly: Works with vegan or plant-based protein powders.
  • Versatile: Great with apples, pretzels (boom – protein pretzels!), celery, or as a spread.

This is one of those snacks that makes you feel like you’re indulging, but you’re actually doing something awesome for your body. A better-for-you way to satisfy that sweet tooth while hitting your protein goals!

High-Protein Apple Dip Recipe (Dairy Free)

Whip up this quick High-Protein Apple Dip with just 3 ingredients plus water! A dairy-free, low fat, customizable snack that delivers 20g+ protein per serving—perfect for apples, pretzels, or toast.

Course: Appetizer, Dessert, Snack
Keyword: apples, peanut butter
Servings: 4 servings
Calories: 161 kcal
Ingredients
  • 2/3 cup peanut butter powder
  • 2/3 cup protein powder of choice dairy-free or whey, your call
  • 1 tablespoon hazelnut spread sugar-free preferred, or swap with almond butter, cookie butter, cashew butter, etc.
  • 4-6 oz. water to desired consistency
  • OPTIONAL: Optional toppings: chopped nuts, cacao nibs, unsweetened coconut flakes, cinnamon, mini chocolate chips, granola
Instructions
  1. In a bowl, mix together the peanut butter powder, protein powder, and hazelnut spread.
  2. Slowly add water, a tablespoon at a time, stirring until the mixture becomes a creamy dip consistency.
  3. Taste and adjust with more nut butter or water if needed.
  4. Serve immediately with apple slices—or try it with pretzels, rice cakes, or spread on toast! Store leftovers in an air-tight container in the fridge for up to 5 days.
Recipe Notes

Macros per serving: 161 cal, 10.3 carb, 4g fat, 21.9g protein (note: nutrition facts can vary based on the specific brands/varieties of ingredients you choose)

How to Use Up a Extra Grape and Cherry Tomatoes: Flavorful Recipes & Tips

 We’ve all done it—picked up the BIG, beautiful carton of grape or cherry tomatoes (or better yet, grew them ourselves!), only to forget about them until they’re teetering on the edge of overripe. Don’t let those little gems go to waste! These sweet, juicy tomatoes are nutrient powerhouses packed with antioxidants like lycopene, vitamin C, and potassium. They’re also perfect for healthy snacking (just rinse and pop a handful in your mouth!) or tossed on top of a salad for a bright burst of flavor.

Creative ways to use grape or cherry tomatoes—snacks, salads, and 6 easy recipes including baked feta, mug lasagna, grilled avocado boats, and more!

But let’s go beyond the usual suspects. These bite-sized tomatoes can be roasted, blistered, sautéed, or even frozen and used later in recipes where a “burst” tomato moment shines. (Yes, you can freeze grape or cherry tomatoes! Just rinse, pat dry, and freeze whole in a zip-top bag. When you’re ready, thaw and cook them into warm dishes like sauces or sautés—no need to waste a single one.)

Here are some creative and crave-worthy ways to use up that carton of tomatoes—featuring some of my favorite recipes:

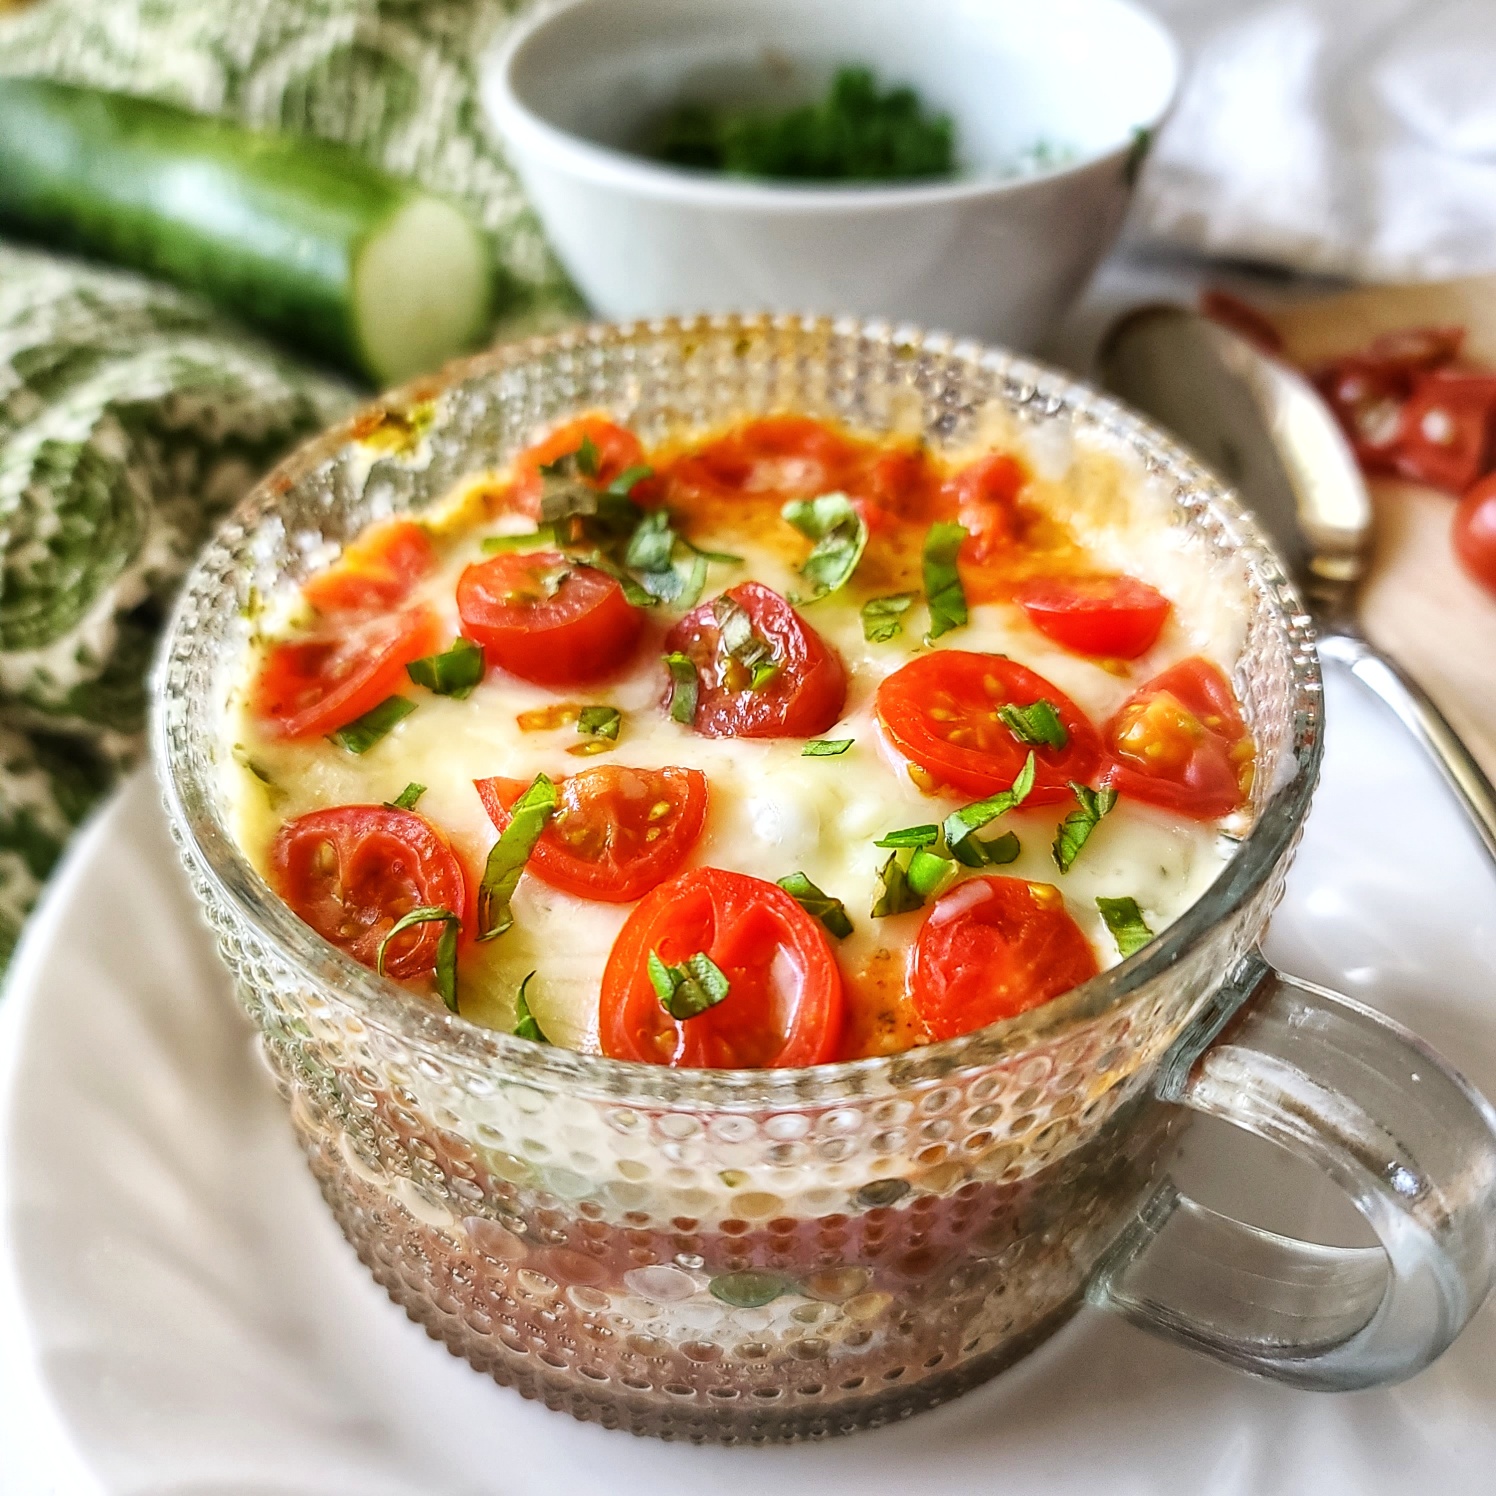
🍅 1. No-Noodle Veggie Mug Lasagna for One
This single-serve microwave lasagna layers cottage cheese, spiralized squash, and—you guessed it—sweet grape tomatoes for a comforting, protein-rich meal that’s ready in minutes. It’s quick, low-carb, and perfect for lunch or dinner.

This single portion lasagna made in a mug for one is a quick, nutrition and delicious meal that is ready in minutes. A perfectly portioned, high-protein and lower carb solution for your busy lunch hour or a hectic evening. Easy to meal prep ahead and then heat and eat when ready. Gluten free and vegetarian.

🧀 2. Mediterranean Baked Feta
A dish that’s big on flavor and low on effort—just bake whole grape tomatoes with a block of feta, olive oil, and herbs until bubbly and blistered. Serve with pita chips or over zoodles, quinoa, or grilled proteins.

Easy Mediterranean Baked Feta is the ultimate party appetizer—just assemble and bake! Loaded with olives, tomatoes, and feta. Great for summer or year-round!

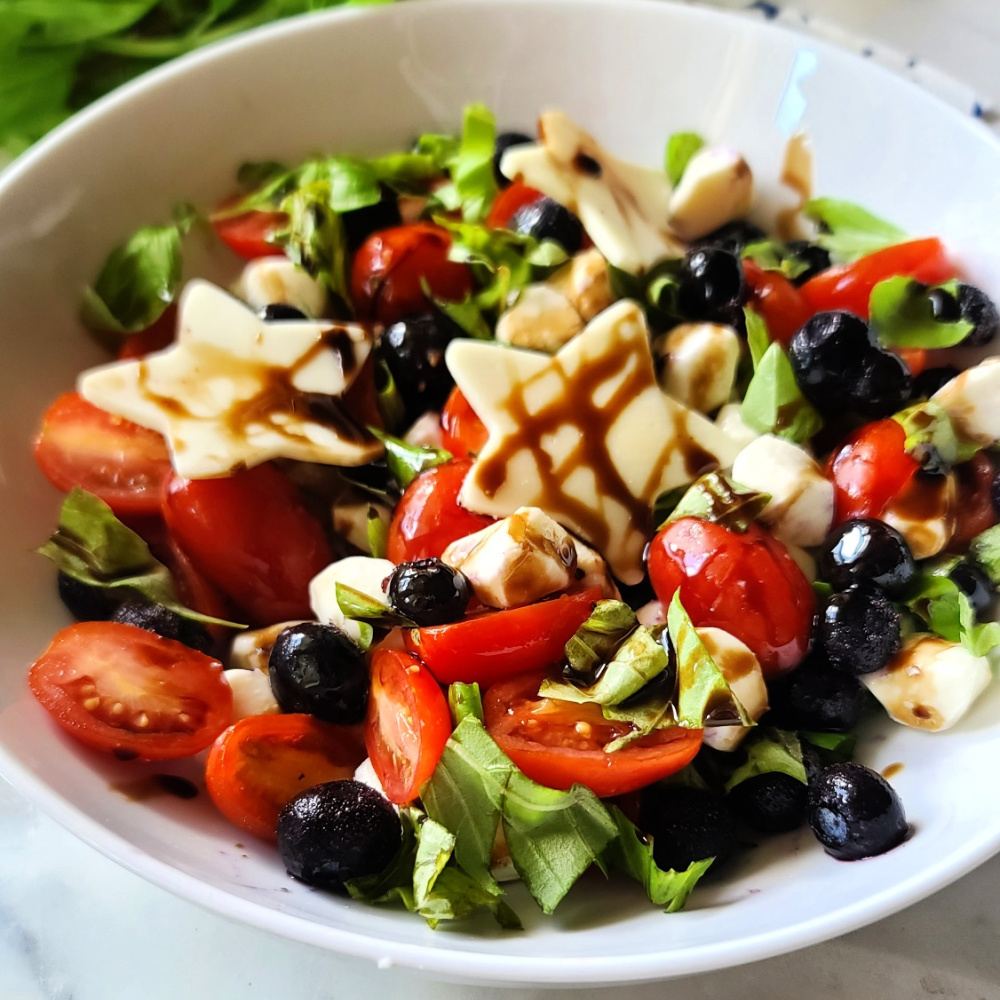
💙 3. Red, White & Blue Caprese Salad with Blueberries
This fun and patriotic take on a classic combines tomatoes, mozzarella, fresh basil, and blueberries. It’s a fresh summer side dish with unexpected flair—perfect for BBQs or cookouts.

Everyone loves a Caprese salad with juicy tomatoes, aromatic sweet basil and creamy mozzarella cheese all drizzled in balsamic syrup. My patriotic version of the classic favorite summer salad that adds blueberries in honor of the USA and Red, White and Blue. Perfect for summer entertaining.

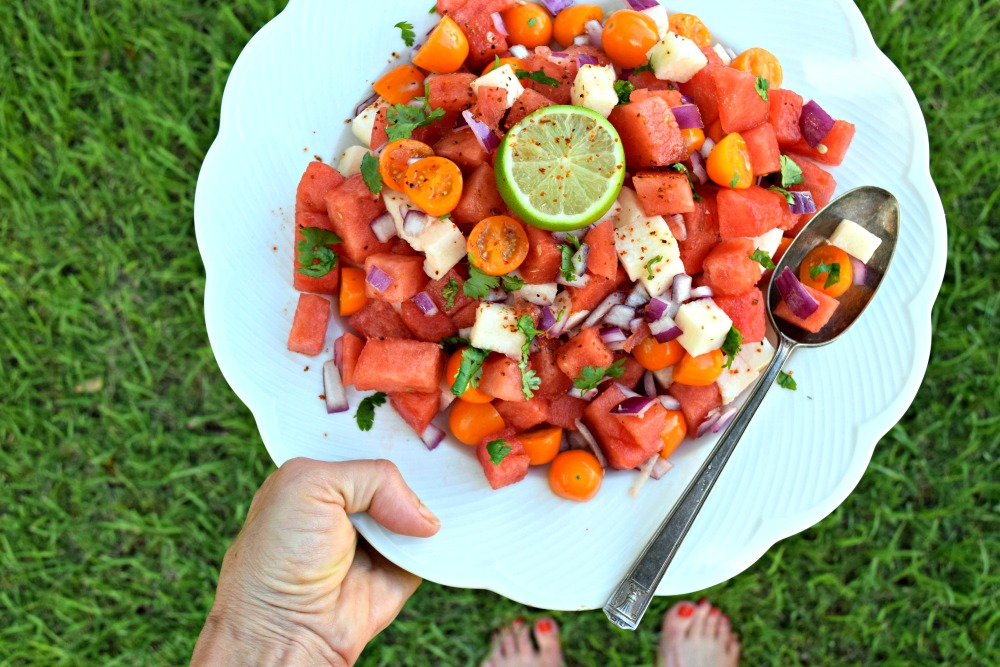
🍉 4. Watermelon Tomato Jicama Salad with Tajin-Honey Dressing
A juicy mashup of flavors and textures, this salad brings together tomatoes, watermelon, and crunchy jicama, tossed in a zesty-sweet Tajin and honey vinaigrette. Refreshing and hydrating—ideal for hot days or post-workout recovery.

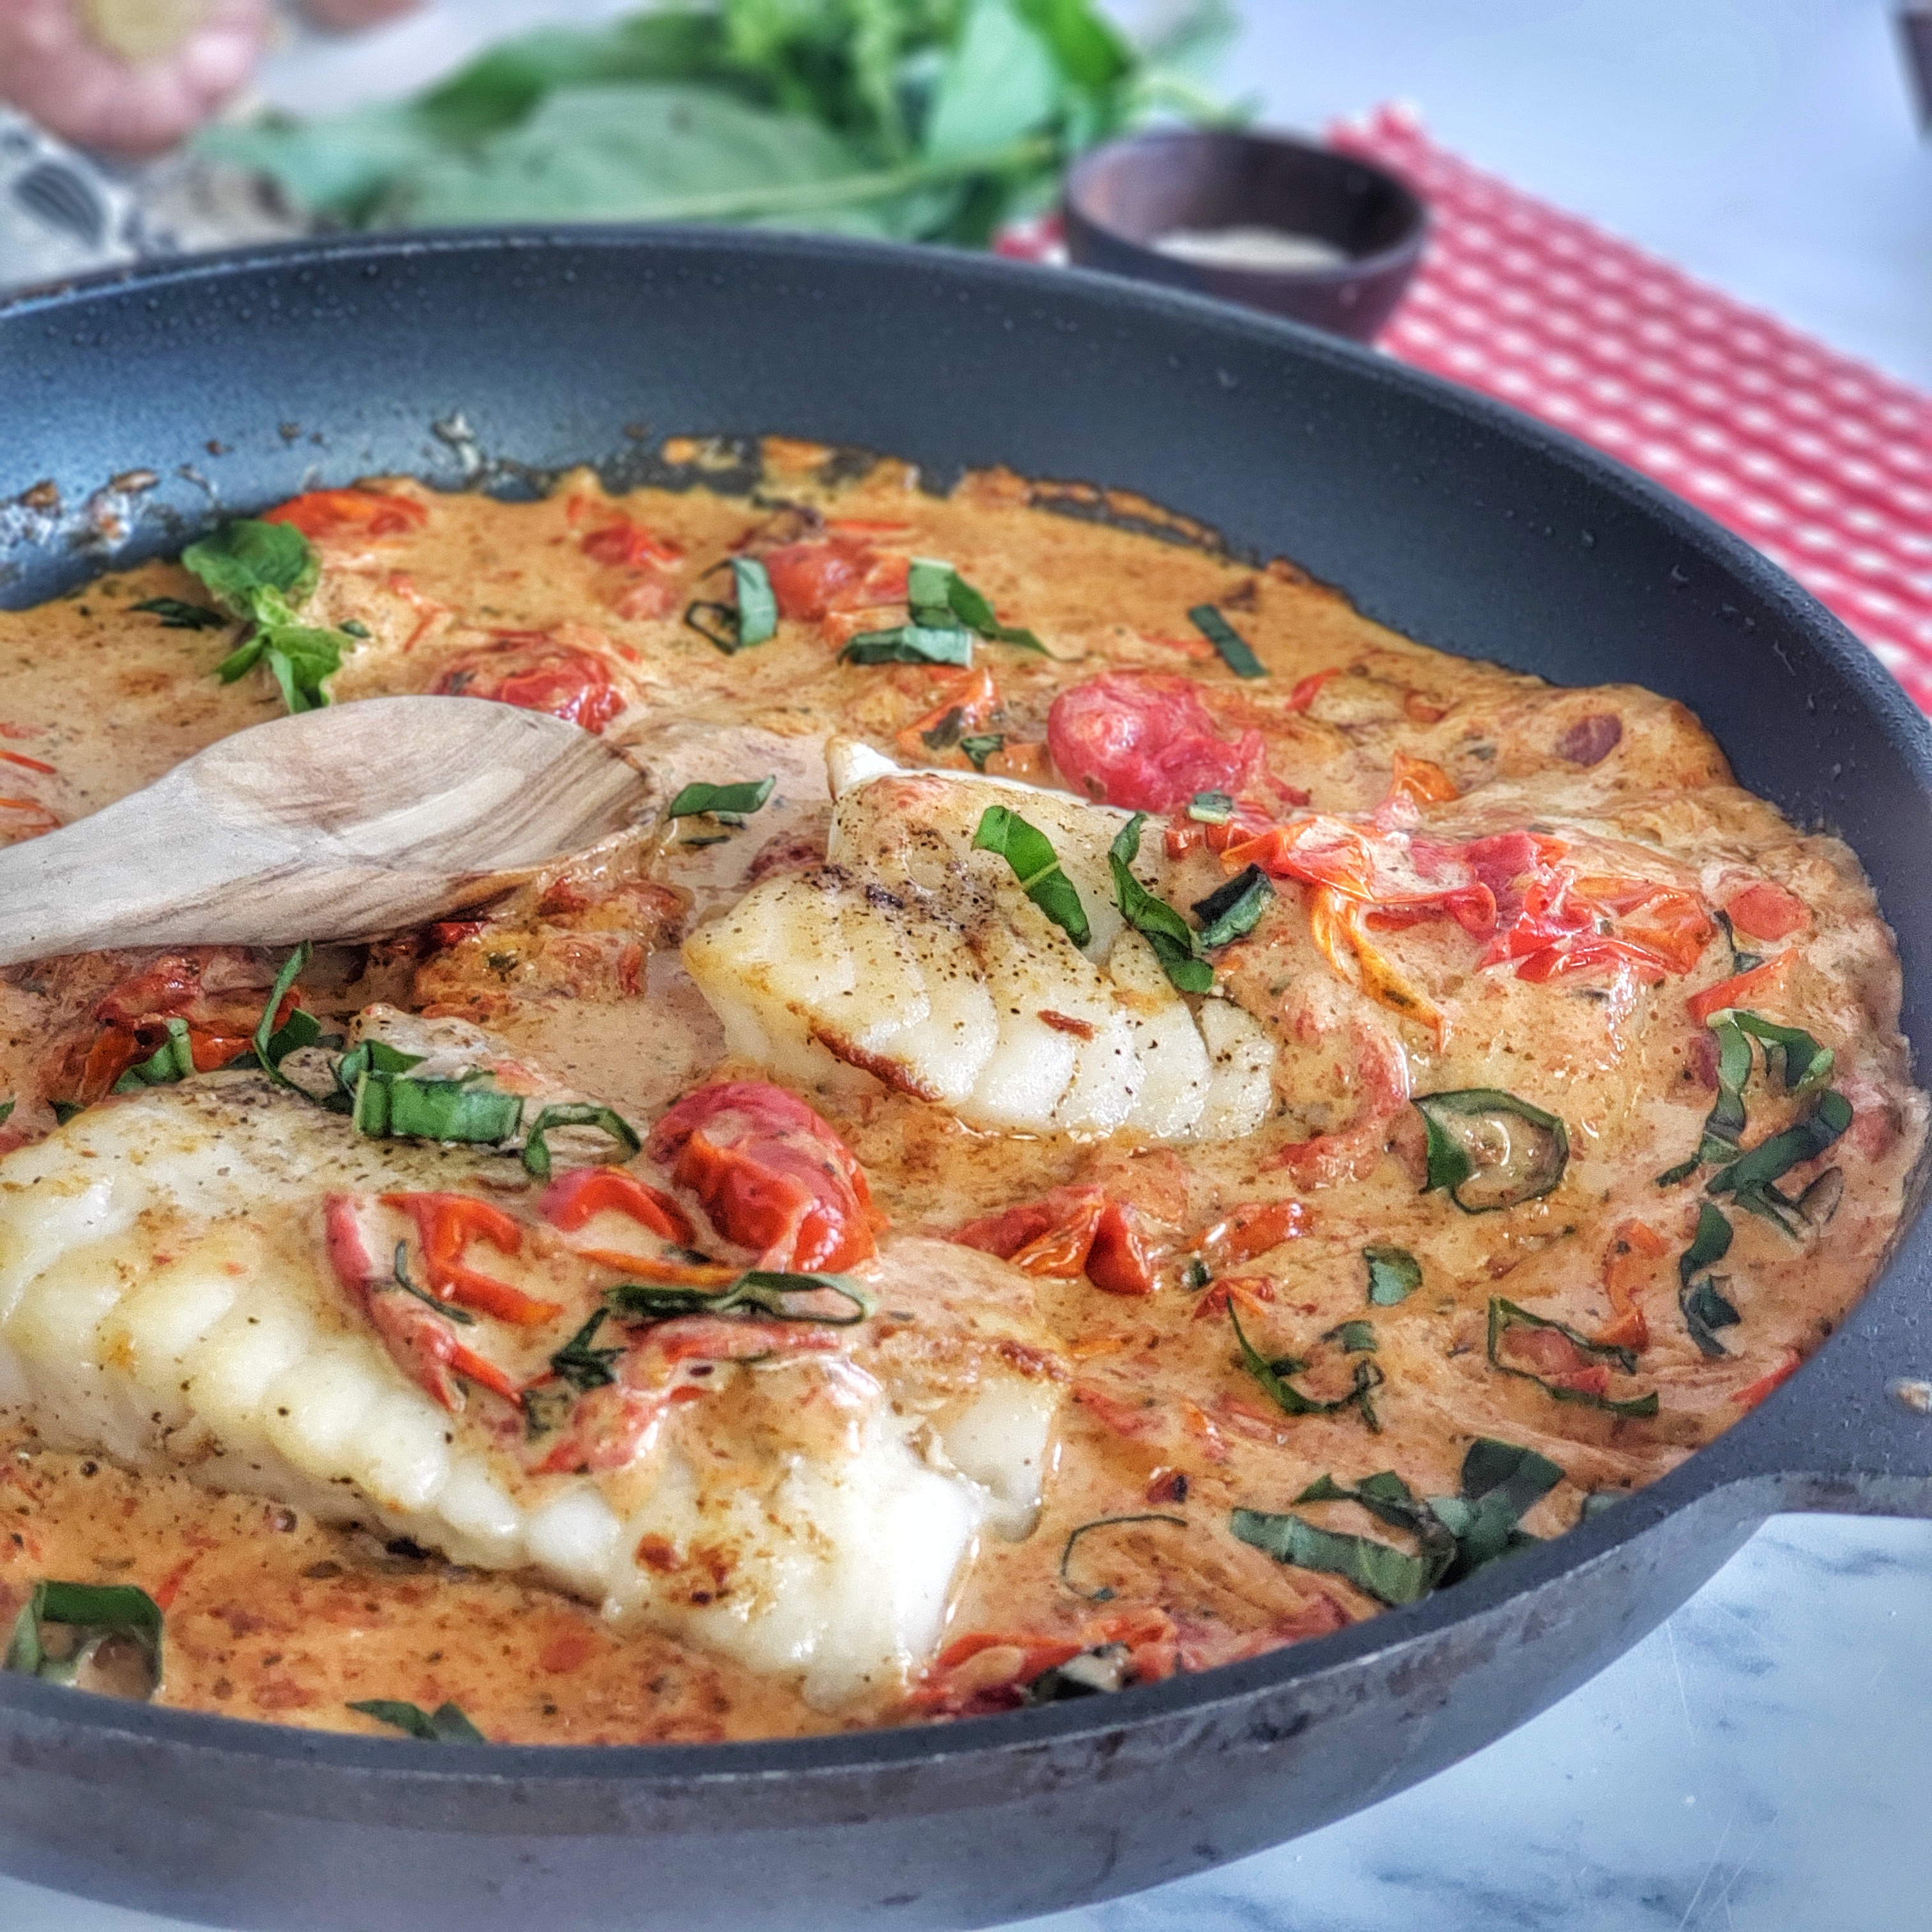
🐟 5. Pan-Seared Cod in Creamy Burst Tomato Sauce
Tomatoes go gourmet here! A creamy sauce made with sautéed burst cherry tomatoes and Greek yogurt elevates simple pan-seared fish into a restaurant-worthy dinner. It’s quick, healthy, and makes good use of ripe or frozen tomatoes. Feel free to sub any firm white fish like halibut, haddock, etc.

Pan-seared Lingcod with Creamy Burst Tomato Sauce is an easy fish meal that can be made, prep to plate, in 20 minutes -- in a single skillet. Suitable for low carb and gluten-free diets. For more clean eating recipes and simple meal inspo, visit thefitfork.com

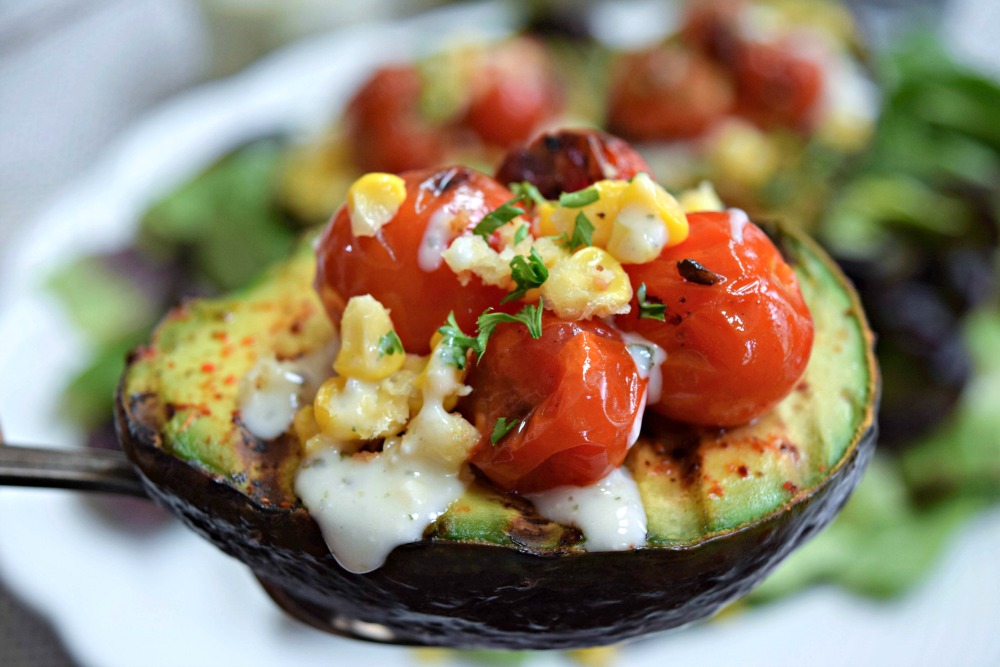
🥑 6. Grilled Avocado Boats with Blistered Tomatoes
Avocados meet tomatoes on the grill in this summery dish. The heat enhances the natural sweetness of the tomatoes while giving them a delicious charred edge. Top with cheese or keep it vegan—it’s a versatile, easy side or snack.

Grilled Avocado Boats

Pro Tip: Burst Tomatoes
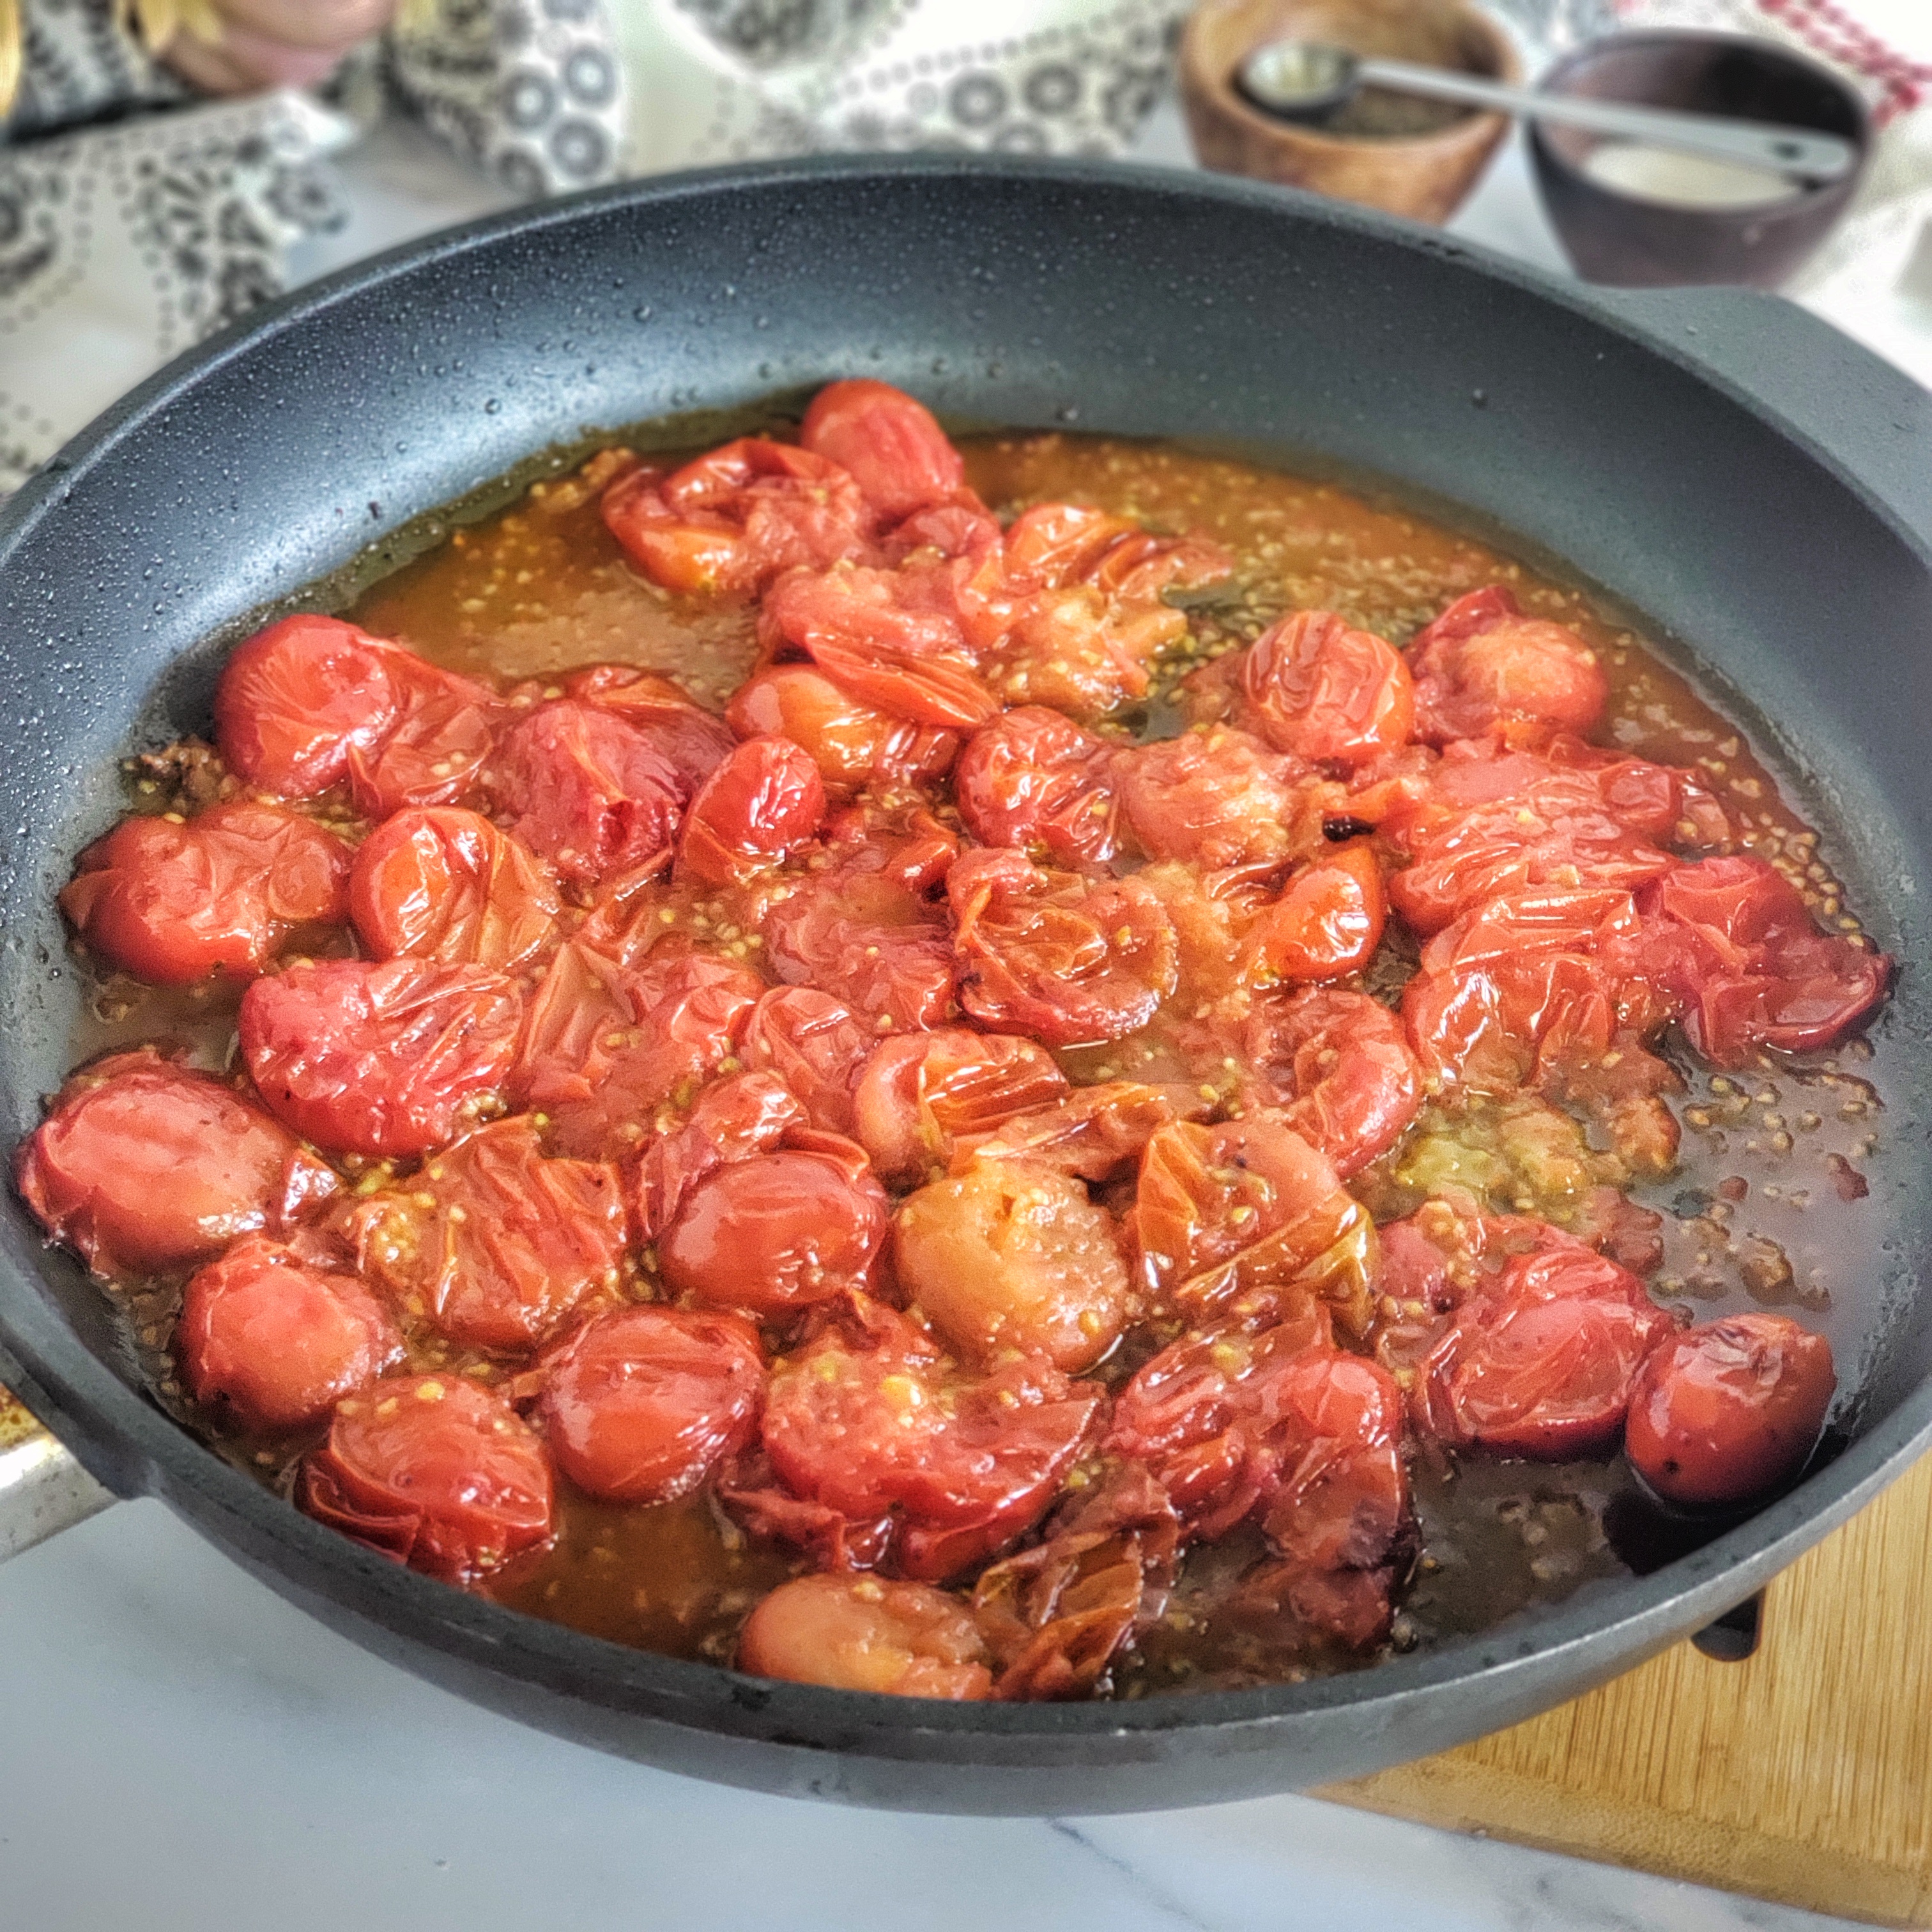
If your tomatoes are getting too soft to eat raw, just toss them in a hot pan or roast them until their skins burst. That caramelized, jammy flavor is pure magic and works in sauces, pasta, grain bowls, or even spooned over toast.

Pan-seared Lingcod with Creamy Burst Tomato Sauce is an easy fish meal that can be made, prep to plate, in 20 minutes -- in a single skillet. Suitable for low carb and gluten-free diets. For more clean eating recipes and simple meal inspo, visit thefitfork.com

So go ahead—buy that big carton of grape or cherry tomatoes. With these ideas, you’ll never let a single one go to waste.

Cheesy Margherita Tomato Slices (Air Fryer or Oven)

When summer tomatoes are at their peak, it only takes a few ingredients to turn them into something spectacular. These Cheesy Margherita Tomato Slices are bursting with flavor and couldn’t be easier to make. If you love the flavors of a classic Margherita pizza—juicy tomatoes, gooey mozzarella, fragrant Italian herbs—you’ll swoon for this lighter, crust-free version. They’re low-carb, gluten-free, and totally crave-worthy (112 calories per slice, with 8g fat, 2.8g carb and 7.1g protein).  

Simple Ingredients, Big Flavor

You’ll only need a handful of staples to bring this dish together:

That’s it! No fancy prep, no dough to roll out—just slice, layer, and air fry or bake. In about 10 minutes, you’ll have bubbly, golden, cheesy tomato slices that work as a side dish, appetizer, or even a fun party snack for summer entertaining.

No Beefsteak? No Problem.

While thick-sliced beefsteak tomatoes are ideal for holding that gooey mozzarella topping, smaller tomatoes like Romas or large slicing tomatoes also work beautifully. Just adjust the size of your cheese slices to match.

Turn juicy summer tomatoes into cheesy, low-carb perfection with these Margherita Baked Tomato Slices. An easy air fryer or oven recipe using just a few ingredients—great as a side dish, appetizer, or party snack!

How to Cook these Cheesy Tomato Slices

This recipe is super versatile—you can use your air fryer for faster cooking (and less heat in the kitchen!) or pop them in the oven. I LOVE my air fryer (this one) and use it multiple times per day for quick, easy meals and healthy recipes like this!

Note: This post contains affiliate links. I earn a small commission on purchased made through link Proceeds help offset operating expenses for The Fit Fork. Thank you.

Margherita Baked Tomato Slices
Prep Time
4 mins
Cook Time
8 mins
Total Time
12 mins
 
Turn juicy summer tomatoes into cheesy, low-carb perfection with these Margherita Baked Tomato Slices. An easy air fryer or oven recipe using just a few ingredients—great as a side dish, appetizer, or party snack! 1 large Beefsteak tomato (or other large slicer style tomato)
Course: appetizers, Side Dish, Snack
Cuisine: Italian
Keyword: keto, low carb, mozzarella, pizza, tomato
Calories: 119 kcal
Ingredients
  • 1 large Beefsteak tomato or other large slicer style tomato
  • ¼ tsp each salt and pepper
  • 4 oz fresh mozzarella cut into 6 slices
  • 2 oz shaved or grated Parmesan cheese
  • 1-2 tsp Italian herb blend seasoning
  • 2 tsp olive oil
Instructions
  1. Preheat air fryer (or oven) to 400F degrees.
  2. Cut tomato crosswise into 6 hearty slices, each at least ¼” thick. If needed, cut out core on end pieces.
  3. Place tomato slices on rimmed baking pan (don’t crowd) and season with salt and pepper.
  4. Add mozzarella slices to top of tomatoes. If needed, break up are redistribute cheese if slices is hanging off edge of tomato.
  5. Next, add Parm cheese and sprinkle with herbs.
  6. Drizzle with olive oil, this helps the cheese bubble and brown.
  7. Cook for 6-8 minutes in air fryer or 10-12 minutes in oven. Tomatoes will be ready with cheese is bubbling, lightly browning and gooey. Overcooking will result in mushy tomatoes.
  8. Remove and serve while still warm. Store leftovers covered in fridge, reheating in microwave.