Pomegranates are the crown jewel of holiday cooking! These ruby-red arils bring a burst of sweetness, tang, and crunch to your dishes while delivering a host of health benefits. High in antioxidants, vitamins, and fiber, they’re as nutritious as they are beautiful. Whether you’re using whole pomegranates or opting for the convenience of pre-seeded cups, these pomegranate holiday recipes will help you make the most of this seasonal superfood.

Why Use Pomegranates?
Pomegranates not only add vibrant color and festive flair to your table but also pack a nutritional punch. The health benefits of pomegranates include that they are a good source of vitamin C, potassium, and polyphenols, which can help combat inflammation and support heart health (check out this pomegranate perks for athletes post in my archives).
For time efficiency, pre-packaged pomegranate arils are a great option. But if you enjoy the hands-on experience, whole pomegranates offer more bang for your buck and make a striking centerpiece before they’re even cut. (Pro Tip: Try this inexpensive 60-second Pomegranate Deseeder tool).
Healthy Pomegranate Holiday Recipe Round-Up
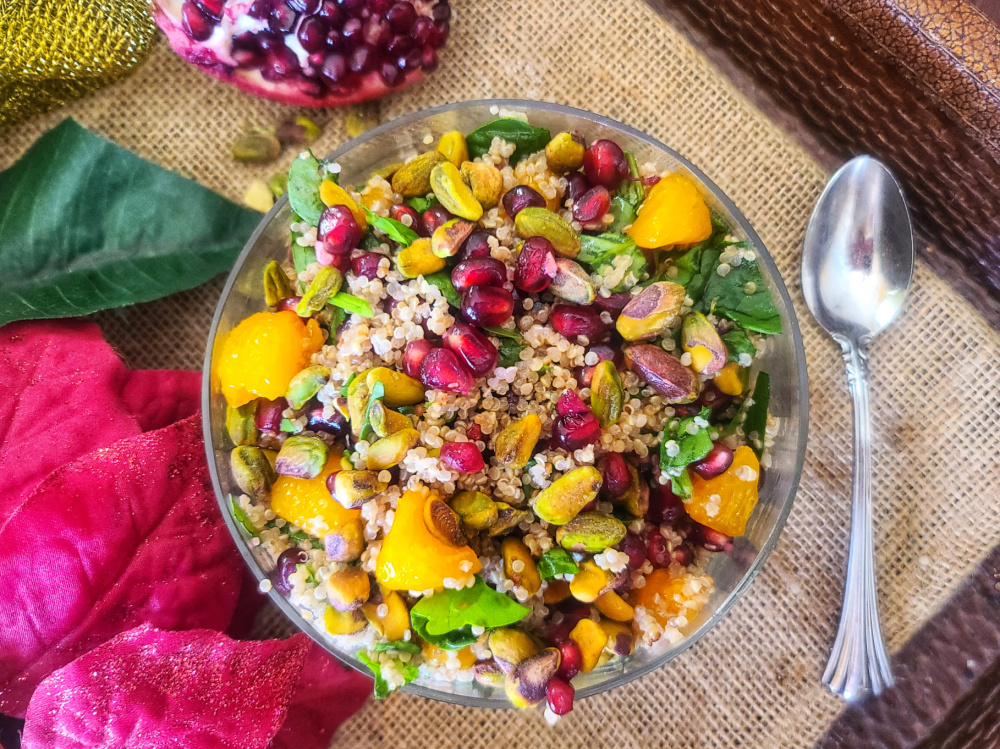
Festive Pomegranate Orange Quinoa Salad: This vibrant side dish pairs juicy pomegranate arils with quinoa, orange segments, and herbs for a light and refreshing addition to your holiday spread.
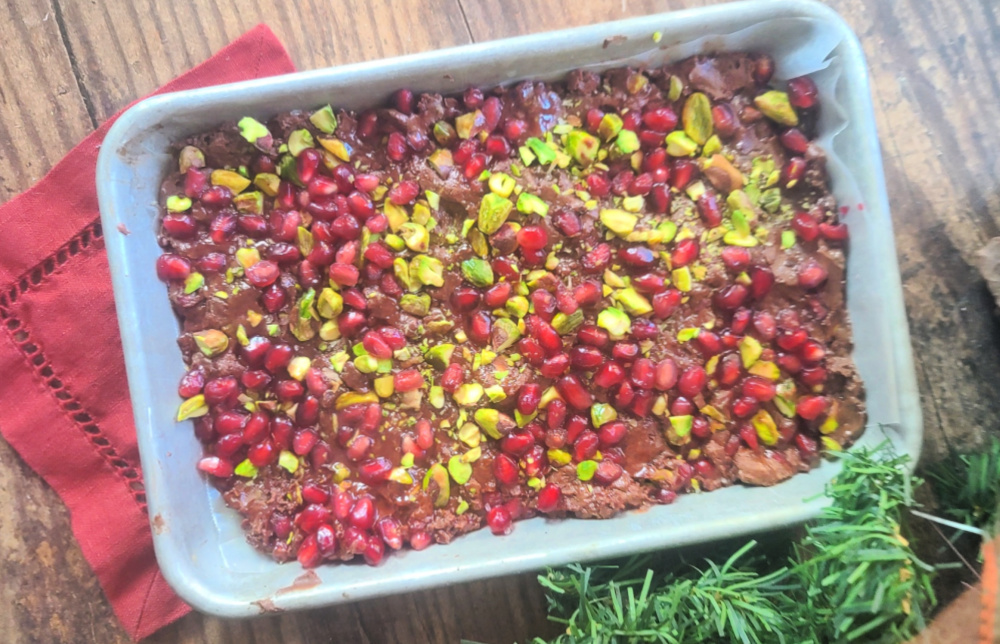
Pomegranate Pistachio Chocolate Bark: A festive holiday treat that’s low in carbs yet big on flavor! This bark using combines the tangy sweetness of pomegranate, the nuttiness of pistachios, and the richness of dark chocolate (I use these sugar-free chocolate chips for this easy pomegranate holiday dessert).
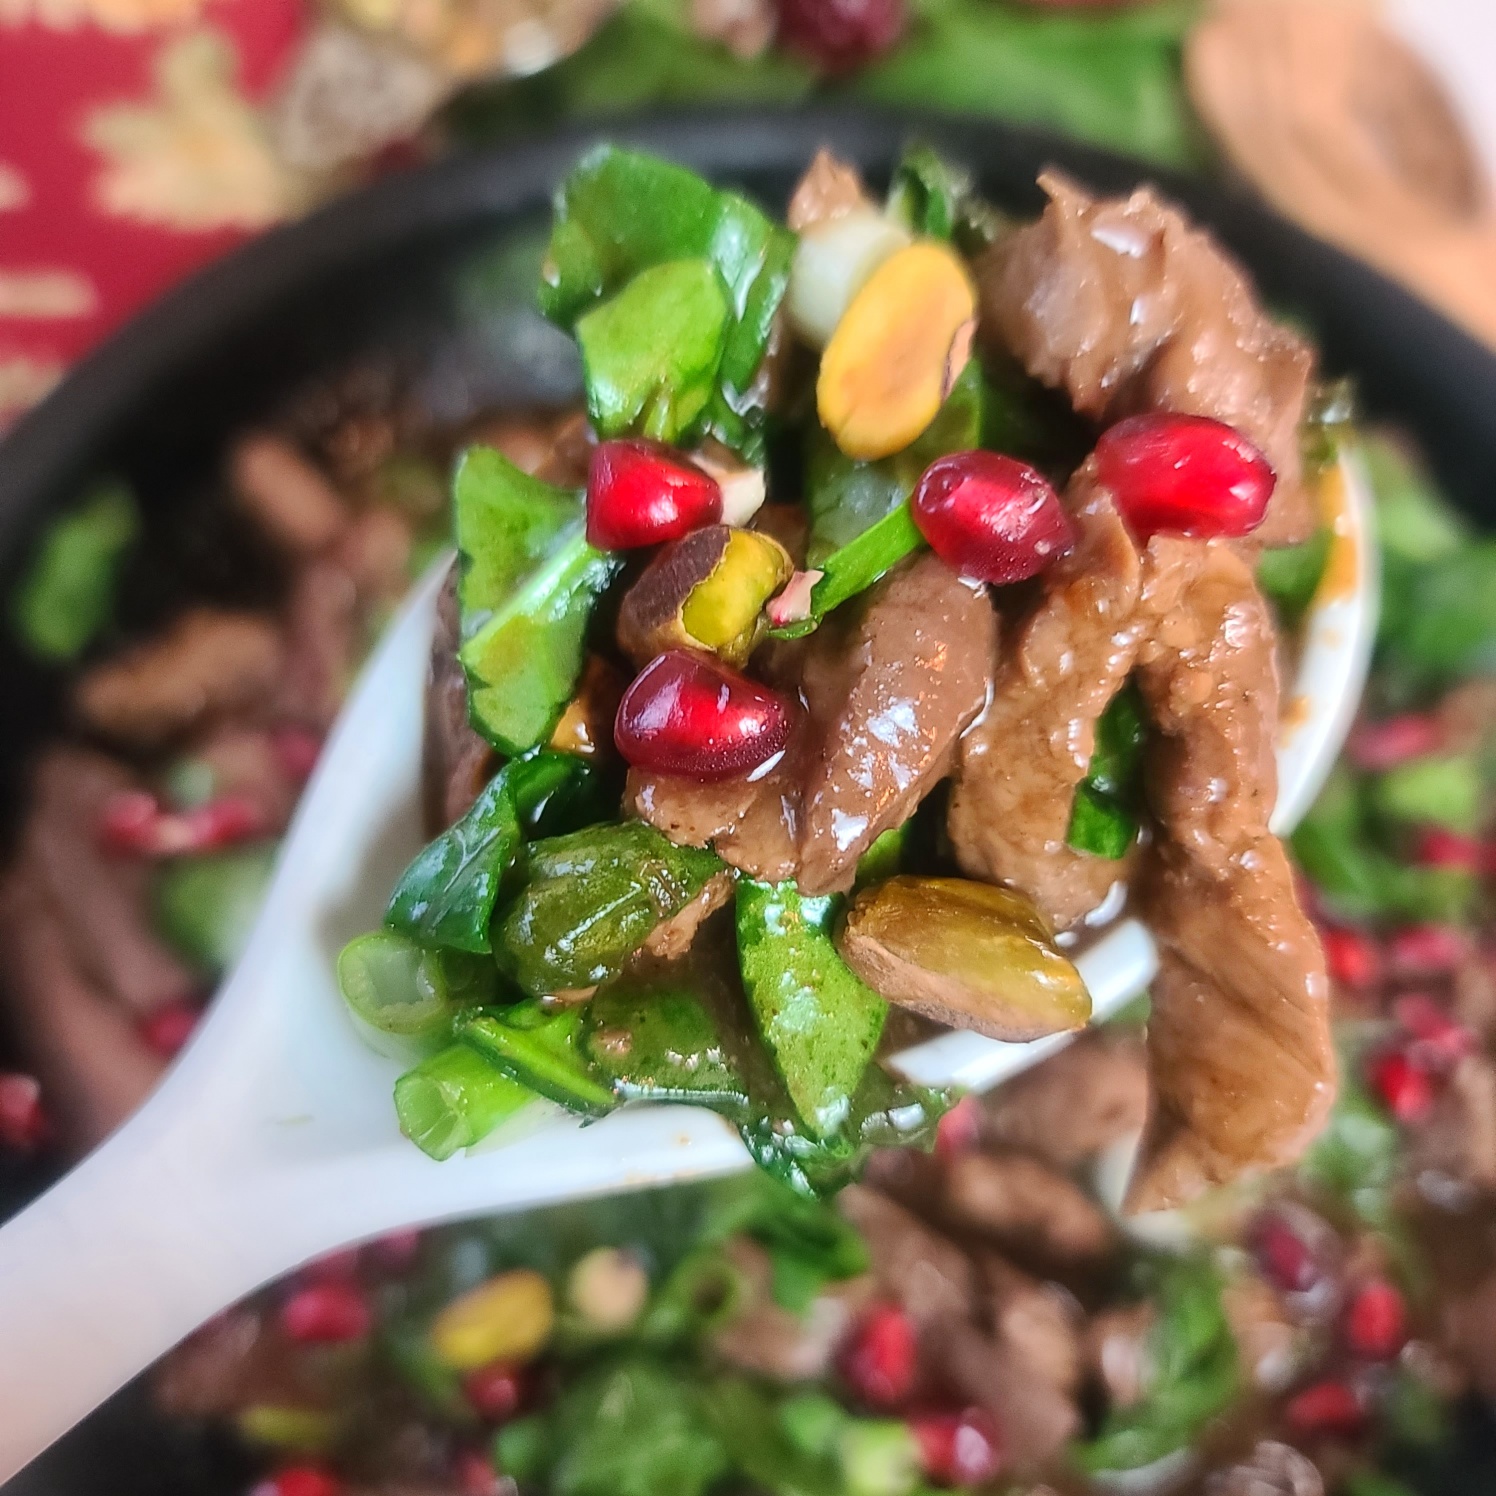
10-Minute Pomegranate Korean BBQ Beef: A quick and flavorful main course that balances savory Korean BBQ beef with a pop of pomegranate sweetness. Perfect for a busy holiday weeknight!
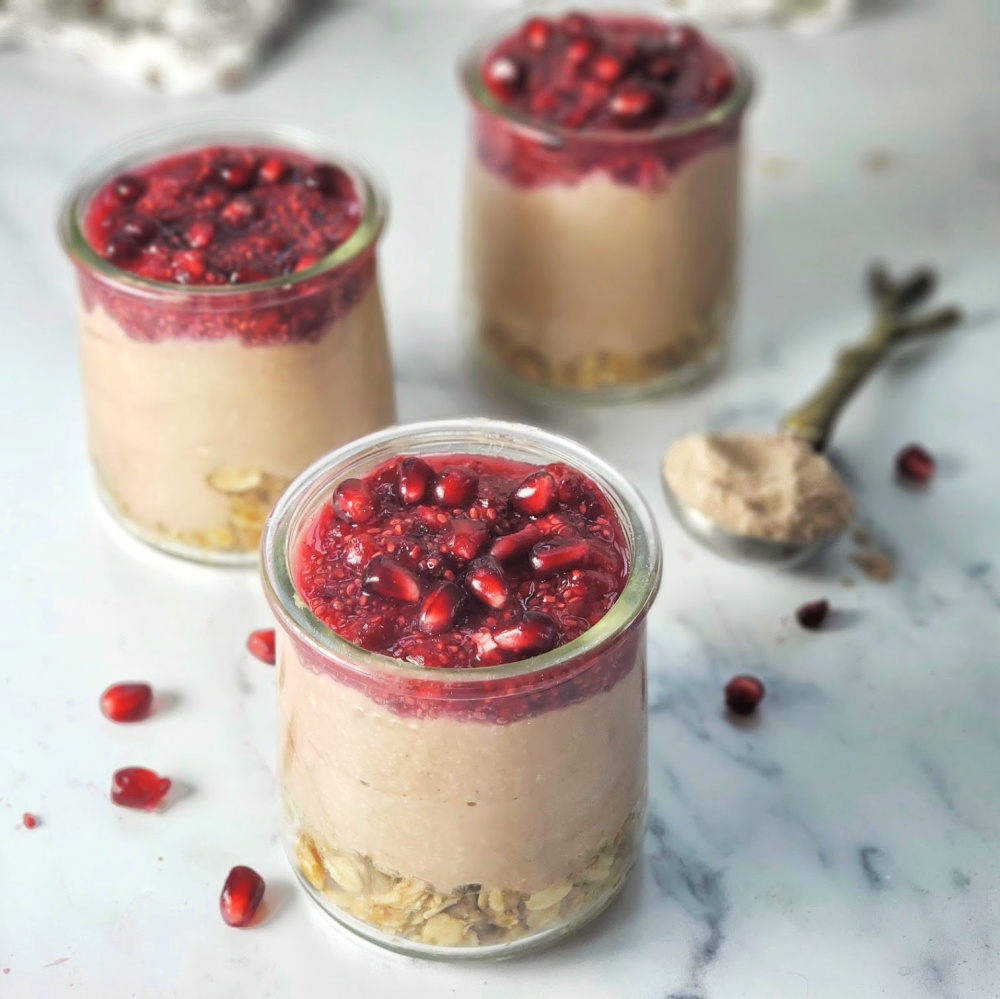
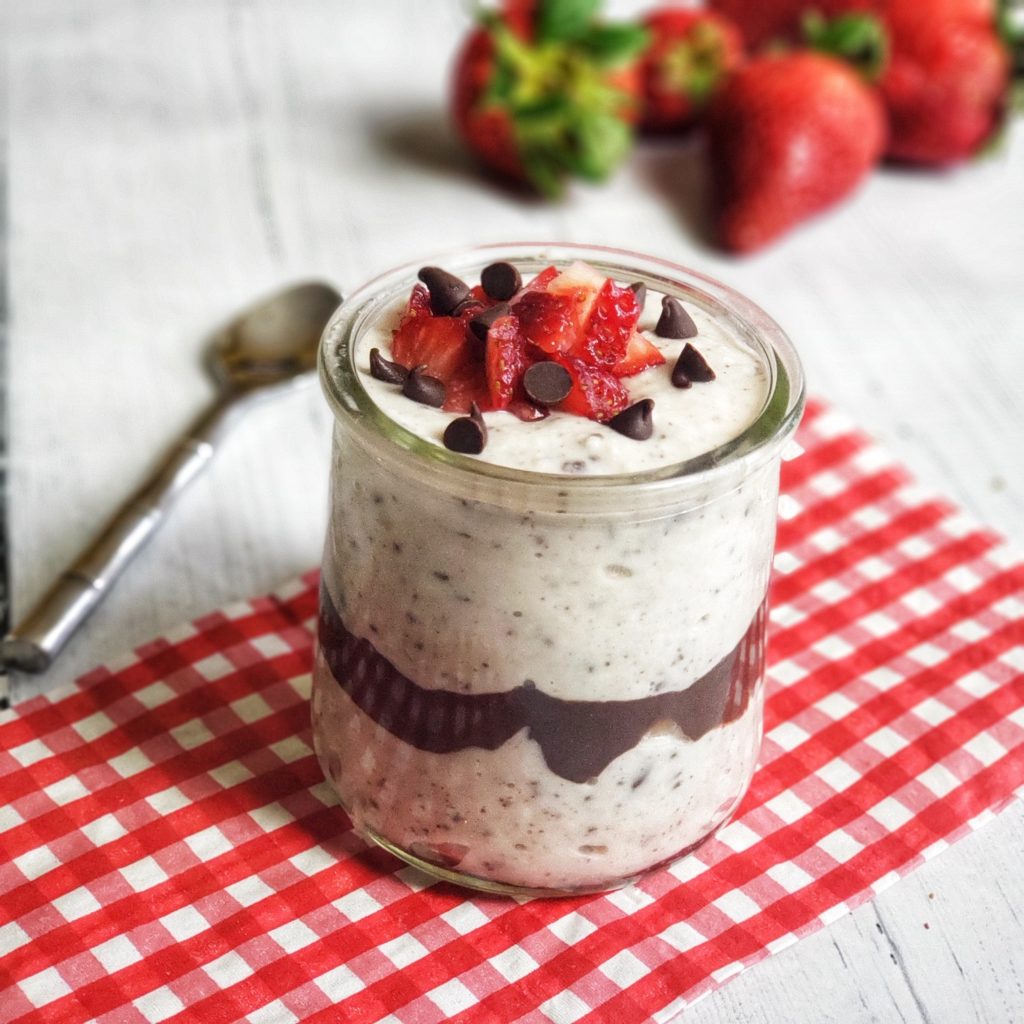
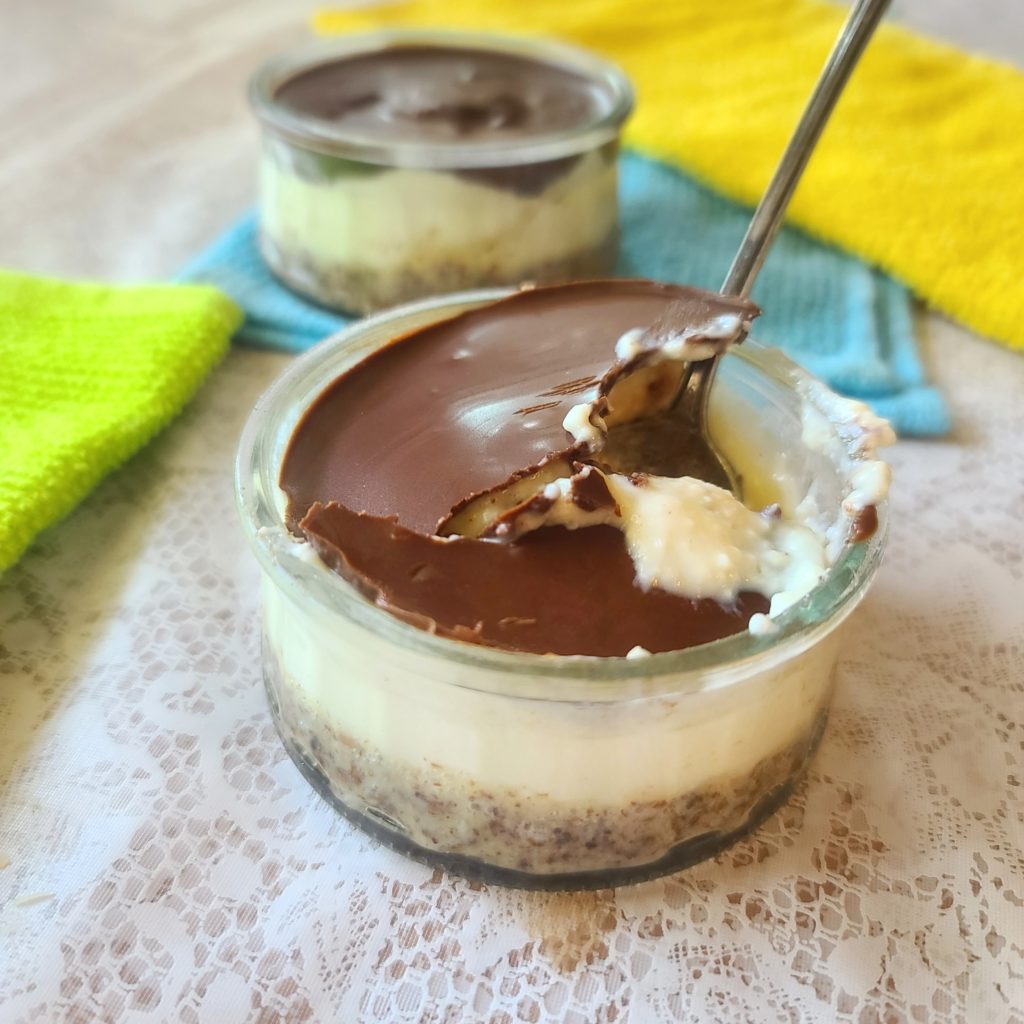
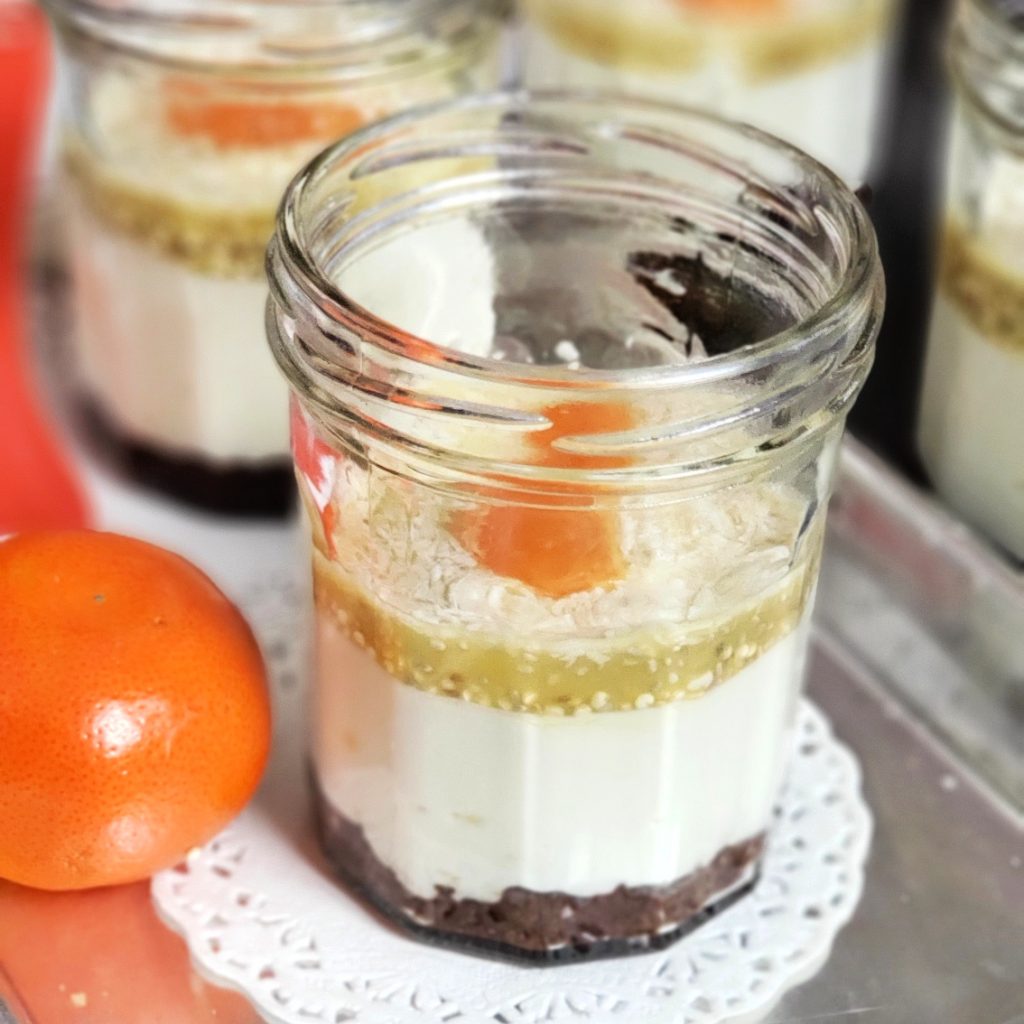
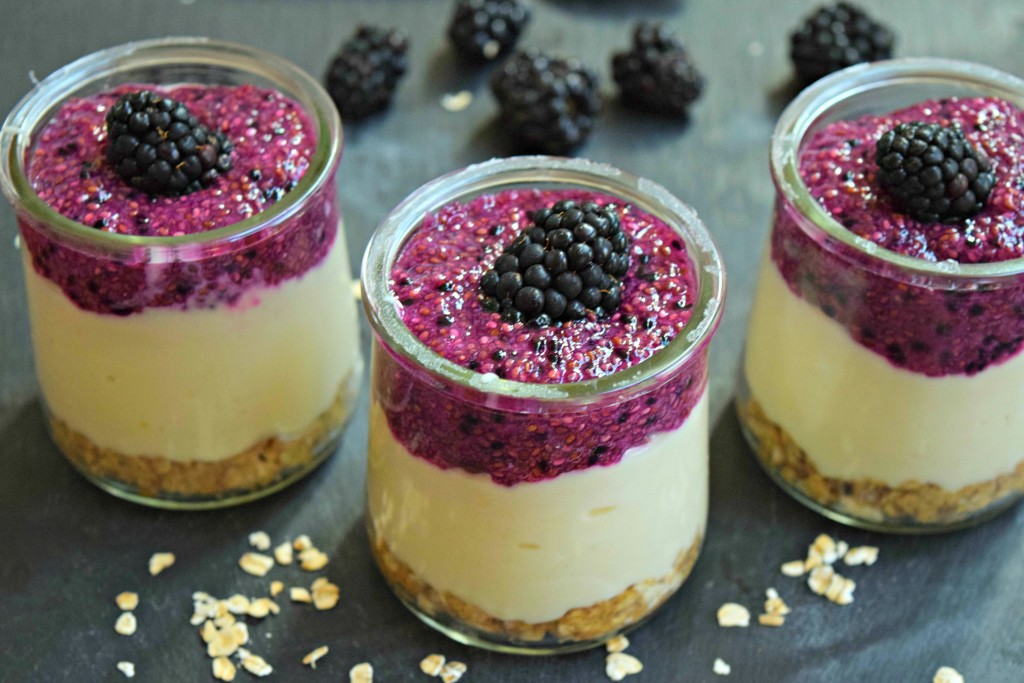
No-Bake Pomegranate Chocolate Protein Cheesecakes: These individual cheesecakes are a healthier dessert option, featuring a creamy protein-packed filling and a topping of juicy pomegranate seeds.

Pomegranate Herb Guacamole Wreath: A show-stopping appetizer, this wreath combines creamy guacamole with a burst of pomegranate arils for a festive and delicious dip.

Pomegranate Roasted Pears with Pine Nuts & Blue Cheese: This elegant dessert or side dish highlights the natural sweetness of roasted pears, accented by tangy blue cheese, pine nuts, and pomegranate.
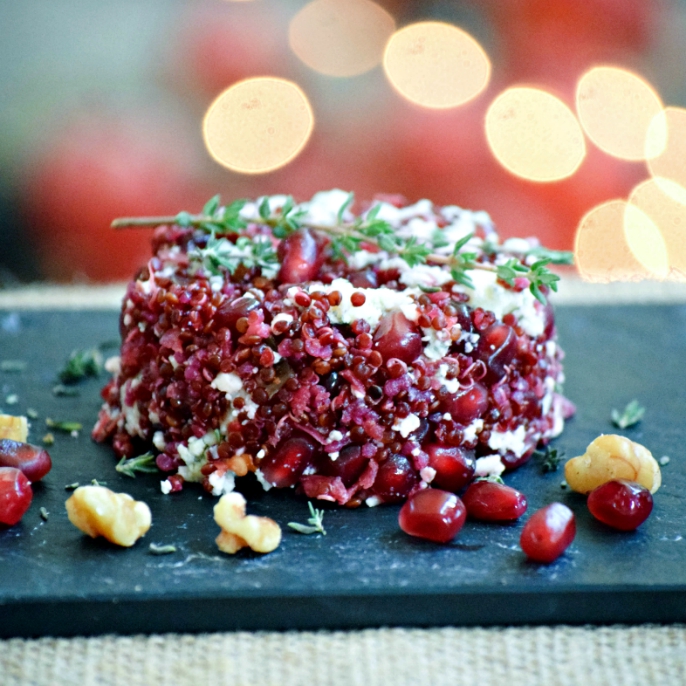
Pomegranate Blue Cheese Quinoa Caviar: A sophisticated pomegranate appetizer idea that’s simple to prepare, this dish layers quinoa “caviar” with creamy blue cheese and pomegranate arils for a crowd-pleasing bite.
Tips for Working with Pomegranates
- Easy Seed Removal: Cut the pomegranate in half, submerge it in water, and gently break apart the sections to release the seeds without a mess.
- Storage Tips: Keep whole pomegranates at room temperature for a few weeks or in the fridge for longer. Arils can be stored in an airtight container in the fridge for up to a week.
- Festive Garnish: Sprinkle pomegranate seeds on desserts, salads, or even cocktails for a festive touch.
With these recipes, your holiday table will sparkle with color, flavor, and health benefits. Which one will you try first? Let me know in the comments below! 🎄✨