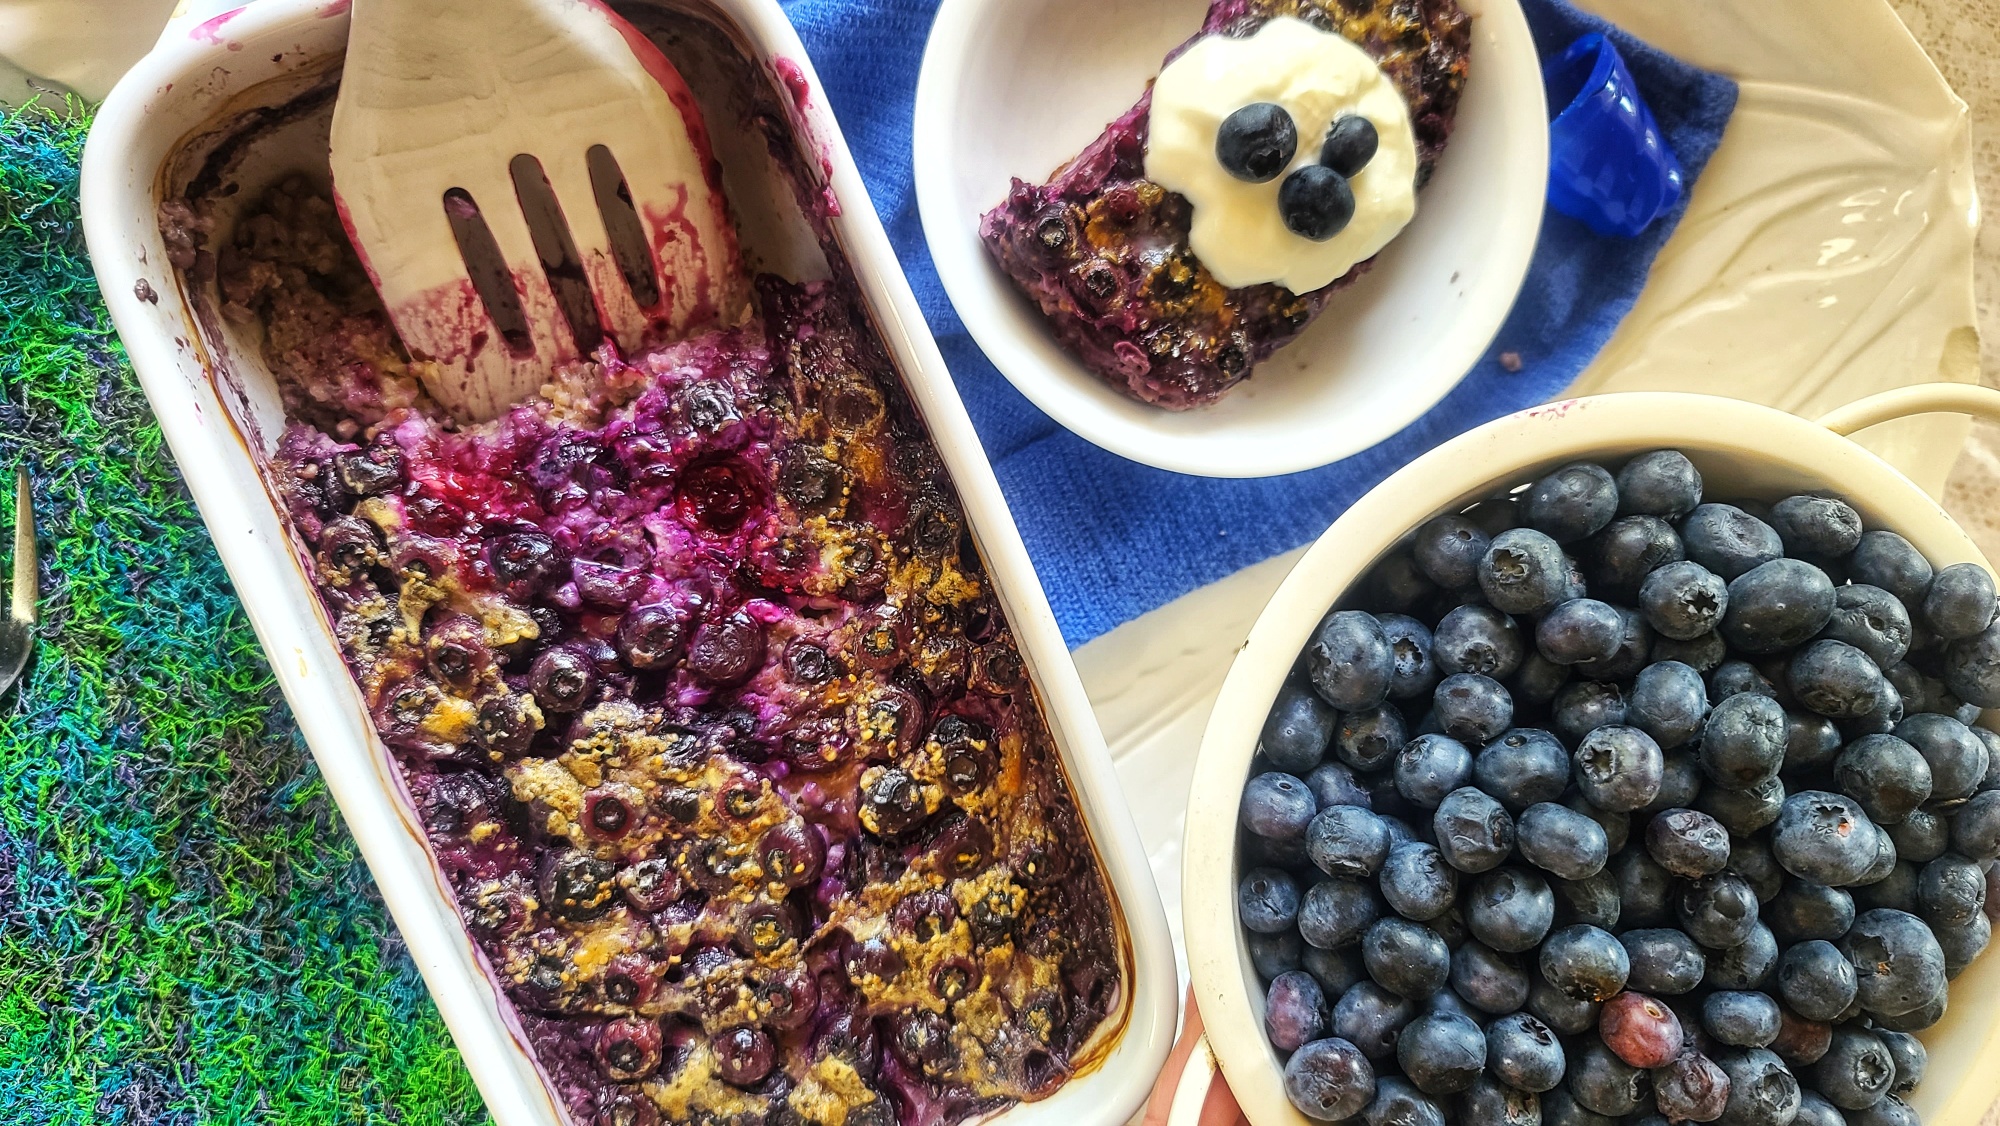
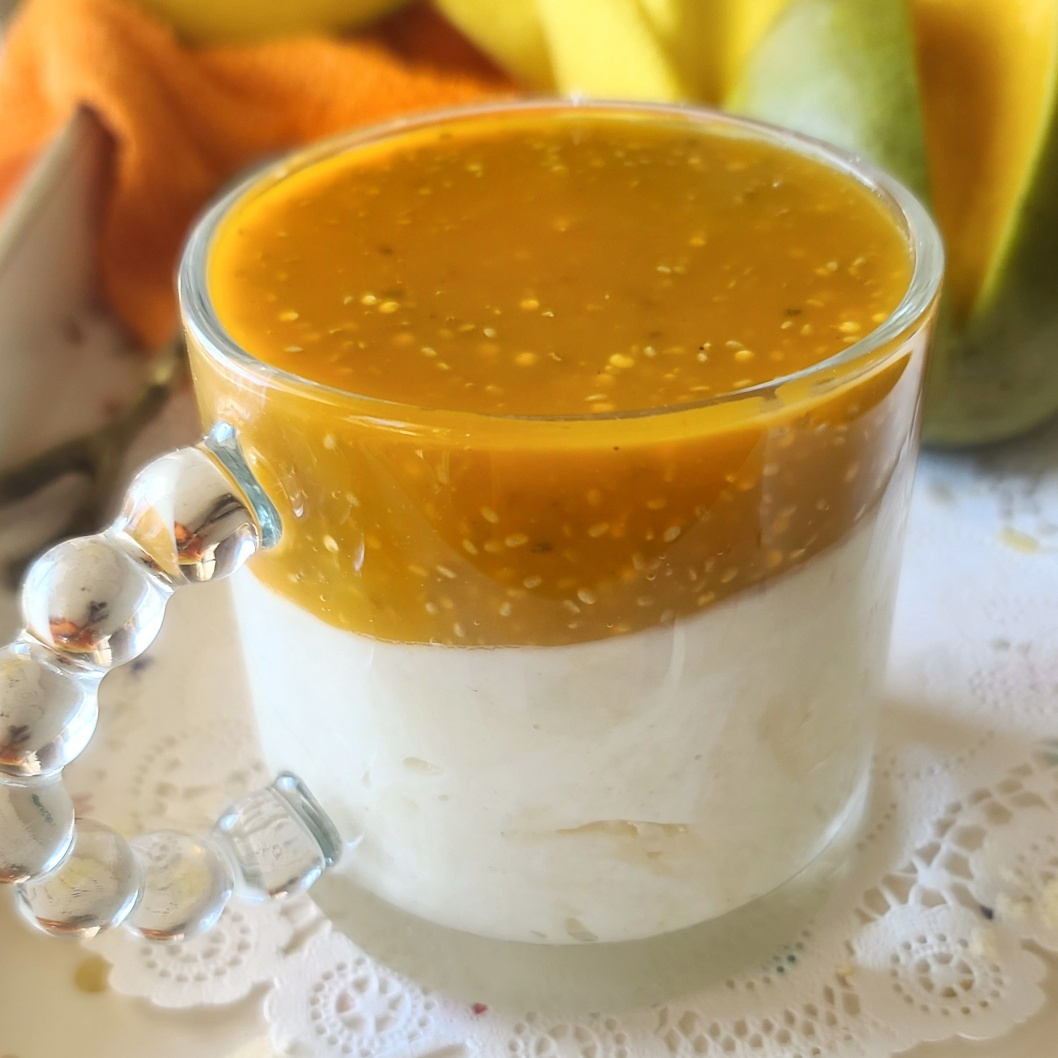
Sweet, creamy, and packed with protein, these Lemon Protein Cheesecake Cups with Blackberry Chia Topping taste like summer in a jar! If you’re craving a light yet satisfying treat that fuels your body while satisfying your sweet tooth, this single-serve no-bake dessert is just the thing. Each spoonful offers a refreshing burst of citrus with a creamy, cheesecake-like texture—no oven required.

The magic starts with blended cottage cheese—a high-protein, low-sugar dairy superstar—combined with fresh lemon juice and zest plus a scoop of vanilla protein powder for that cheesecake-style richness. It’s silky smooth and layered with a luscious blackberry chia “jam” that sets up beautifully in just minutes thanks to the natural gelling powers of chia seeds.
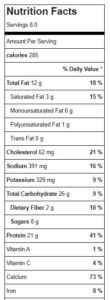
Whether you’re powering up for a workout, recovering after one, or simply looking for a nutritious snack or dessert, this high-protein cheesecake cup delivers. At around 250–300 calories with 30g protein, 28g carbs, and just 8g fat per serving (macros vary slightly by protein powder), it’s a feel-good indulgence that works for your goals.
Why You’ll Love These Lemon Protein Cheesecake Cups:
- Bright and zesty lemon flavor meets creamy cottage cheese.
- Blackberry chia topping adds fruity, jammy goodness with fiber and healthy fats.
- Around 30g protein per serving to help you stay full and support muscle recovery.
- No baking required—ready in minutes!
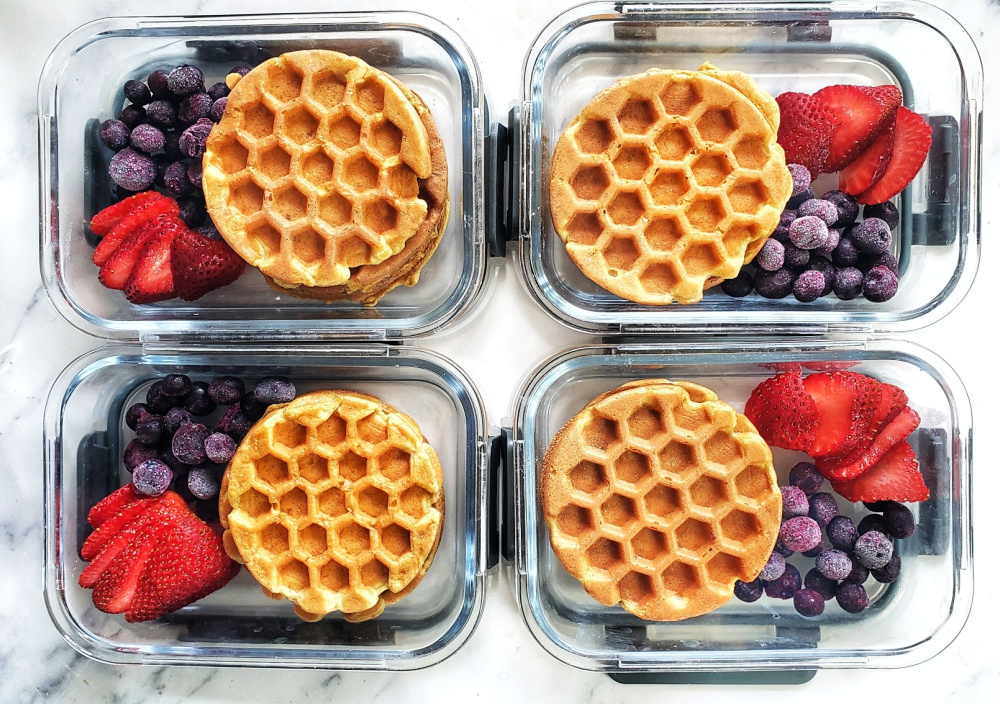
- Perfect for meal prep, post-workout, or a nutritious dessert. Easy to double up recipe, keeps in fridge for up to 5 days.

Ingredient Power-Ups:
- Cottage Cheese: Rich in casein protein, which digests slowly to keep you satisfied longer. It’s also a good source of calcium and vitamin B12. I’ve used 2% milkfat cottage cheese, but you can also go 0% – however, it just won’t be as creamy tasting.
- Chia Seeds: Packed with omega-3 fatty acids, fiber, and antioxidants. Just a tablespoon turns mashed fruit into a thick, spoonable “jam.”
- Protein Powder: Boosts protein intake to support lean muscle, energy, and satiety. Use your favorite clean-label vanilla variety – I’ve been using plant-based Nourify
- Plus by Previnex (save 15% code: thefitfork )


More Healthy Protein Cheesecake Recipes to Try:
If you love this lemon version, don’t miss these other creamy, protein-packed favorites:
- Mango Protein Cheesecake Cup for One: Tropical flavor meets creamy indulgence—perfect for a solo treat.
- Boston Cream Protein Cheesecake for Two: A dreamy two-layer dessert with a silky custard topping and rich chocolate glaze.
Note: This post contains affiliate links. I earn a small commission on purchase made through those links. Proceeds help offset operating costs for The Fit Fork. Thanks!

A high-protein, no-bake dessert or post-workout snack (even breakfast) made with cottage cheese, lemon, and protein powder—topped with fruity chia “jam” featuring the season's best blackberries. Sweet, creamy, and macro-friendly!
- 1.5 cups 2% cottage cheese blended smooth
- 1 small lemon juiced + zested (about 2tbsp juice)
- 2 scoops vanilla protein powder 56g
- 6 oz blackberries more or less, can also sub thawed frozen (just use a skosh less water below)
- 2 oz water
- 1.5 tbsp chia seeds
-
Mix together blended cottage cheese, lemon juice/zest, and protein powder until combined, divide among two 16-oz containers. Set in fridge while making blackberry topping.
-
In a separate bowl or jar, mash/muddle blackberries with water and chia seeds. Let gel up for 15 min in fridge before dividing over cheesecakes!
Macros can vary based on type of protein powder used.