Sheet Pan Mixed Berry Clafoutis (No Added Sugar)

Ooh-la-la! I really love my easy Mixed Berry Sheet Pan Clafouti recipe. My take on the famous French dessert is easy, it’s bursting with beautiful berries, has been “low carbed” with sweetener alternatives and a portion of the flour with almond meal. This berry sheet pan breakfast also features a good amount of protein thanks to six eggs in the recipe.  
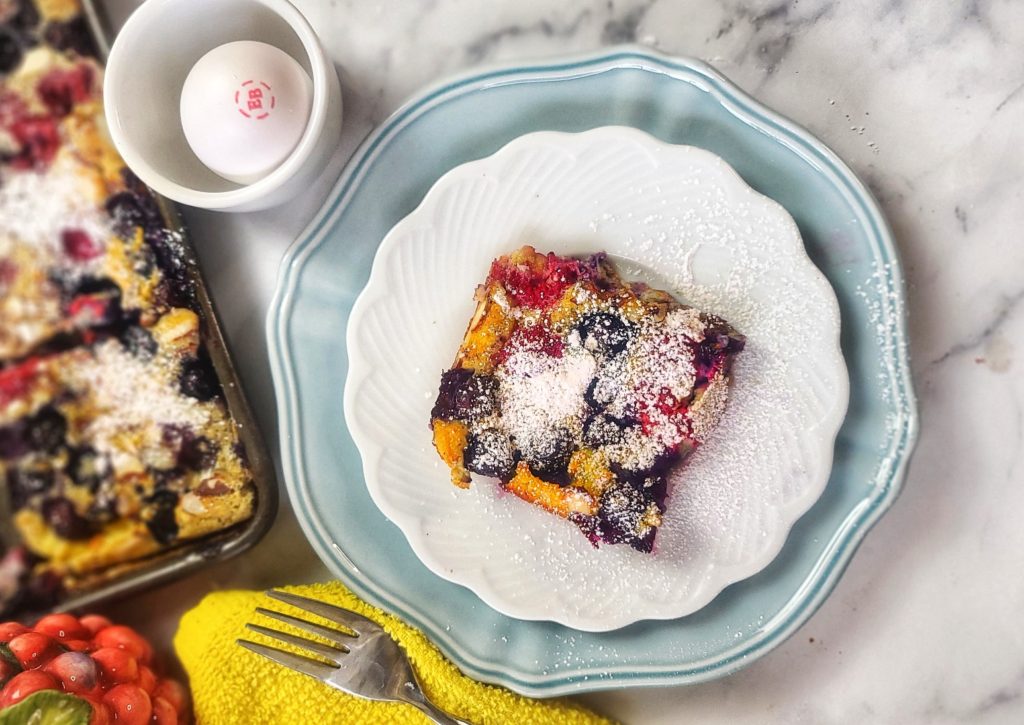
Based on a famous French dessert, but with mindful low-carb tweaks, this Berry Clafoutis makes a delicious brunch, breakfast or healthy dessert. It reminds me of a hybrid flan-pancake. Lower cal and lots of protein from eggs. Size up for a sheet pan to make a little more than the traditional recipe.

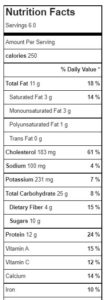
For all these reasons and more, I declare my Clafouti in a sheet pan suitable for breakfast or brunch, any day!  Macros on a generous-sized serving come in at 250 calories, 12g fat, 24g carbohydrates, 4g dietary fiber, and 12g protein.
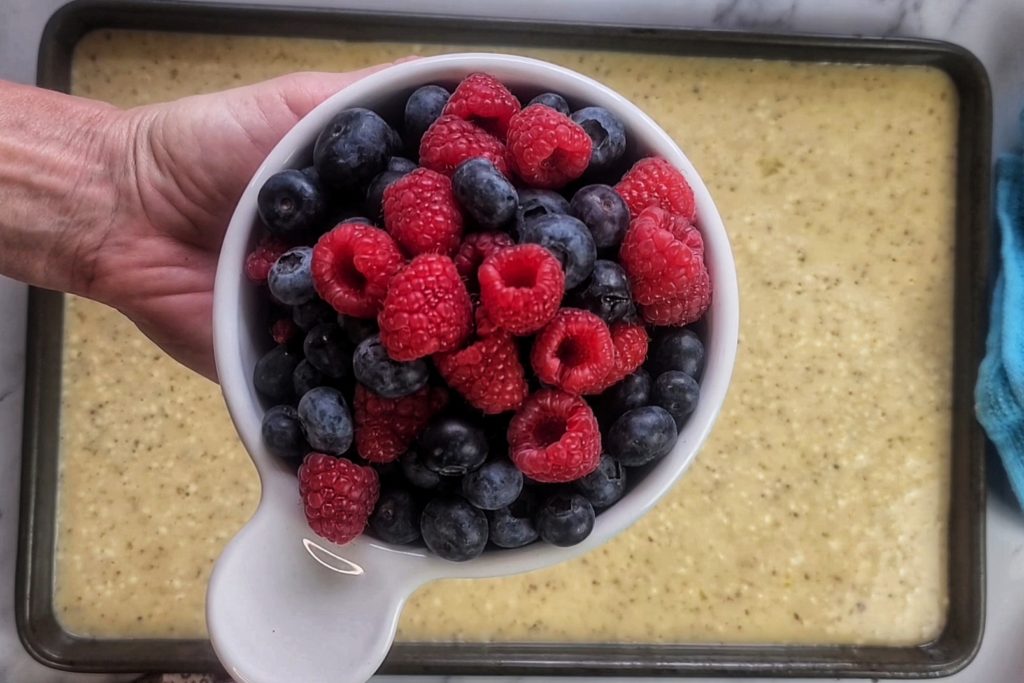
Based on a famous French dessert, but with mindful low-carb tweaks, this Berry Clafoutis makes a delicious brunch, breakfast or healthy dessert. It reminds me of a hybrid flan-pancake. Lower cal and lots of protein from eggs. Size up for a sheet pan to make a little more than the traditional recipe.
Use berries . . . or another favorite fruit!

If you’ve never heard of clafoutis, it’s one of those French things. Clafoutis (the “S” is silent) is a baked dessert classically featuring black cherries (but most any fruit will work) arranged in a buttered dish and covered with a thick flan-like batter. It’s served slightly warm or room-temperature, with a dusting of powdered sugar or whipped cream.

My version is baked up in a sheet pan (actually a Jelly Roll Sheet Pan (10.5″ x 15″ x 1″), for a larger scale dish that can serve a big hungry family – or be meal-prepped to eat for breakfast, brunch or dessert throughout the week. This sheet pan clafoutis also freezes beautifully – just thaw out and warm up in the microwave on busy mornings.
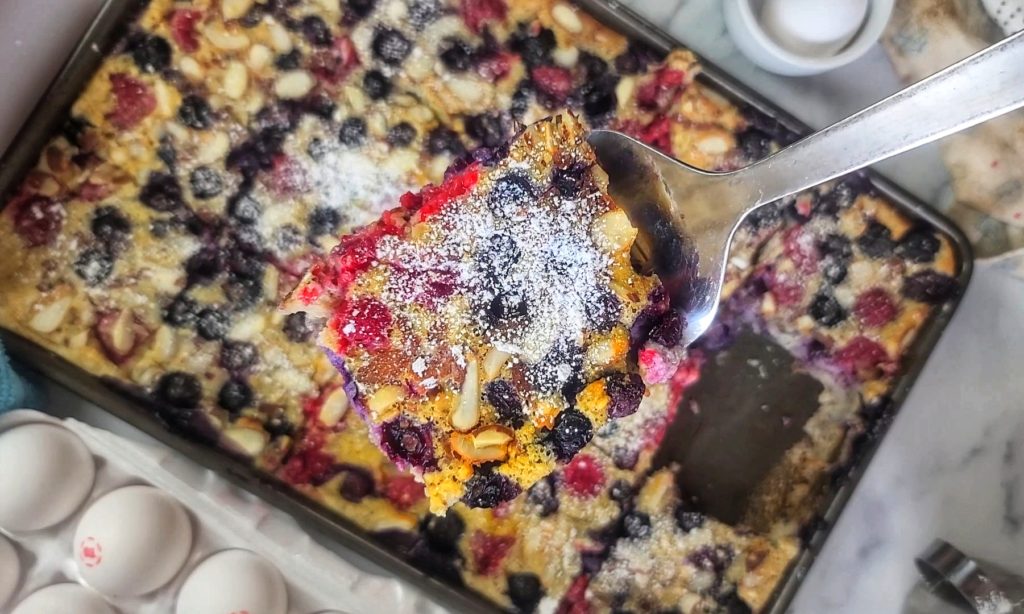
The batter is pretty thin, it’s just eggs, flour (or gluten-free alternative), almond flour, and a low-carb sweetener that measures as a cup-for-cup for granulated white sugar. I really just see the atter as the binder to hold the berries together! You don’t need a mixer or blender to make it, in fact, that would over work the batter– all you need is a whisk. I’m in love with this kitchen-drawer space-saving Collapseable Whisk.
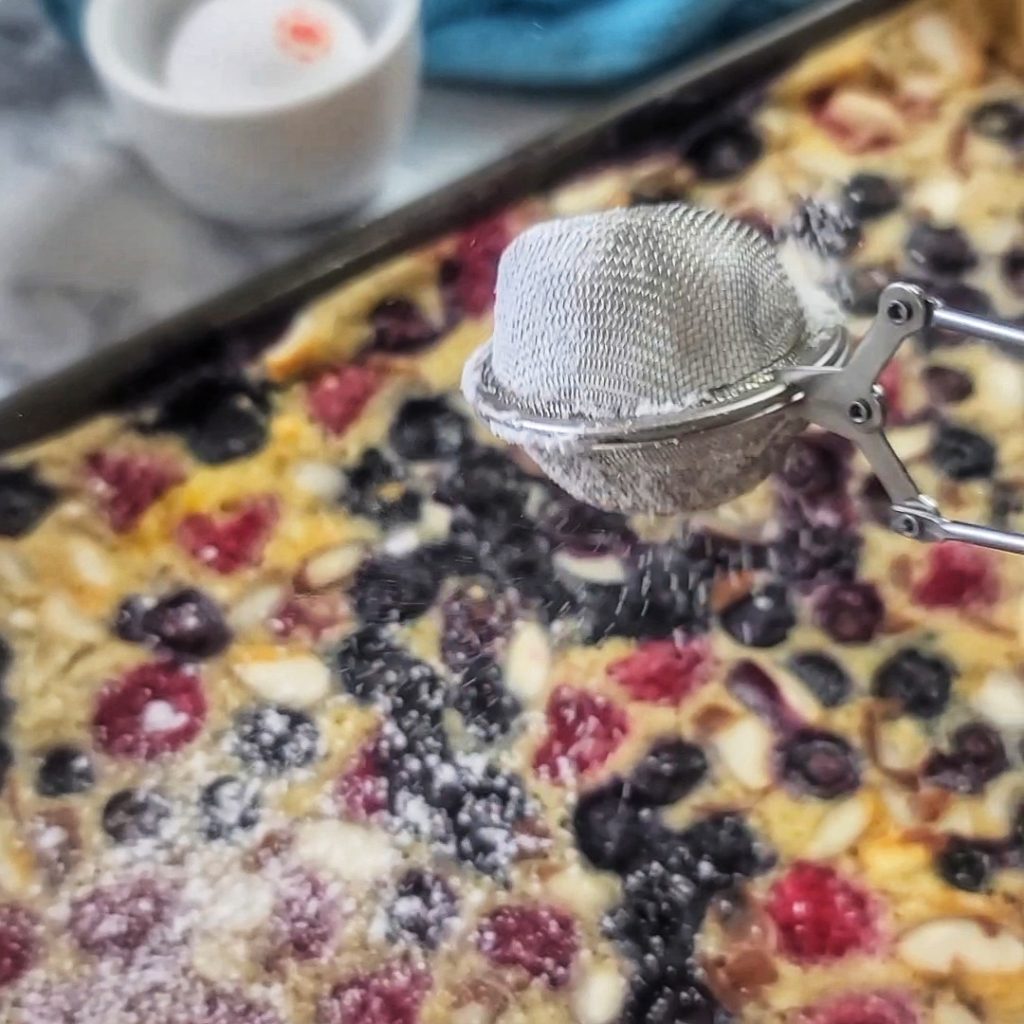
Based on a famous French dessert, but with mindful low-carb tweaks, this Berry Clafoutis makes a delicious brunch, breakfast or healthy dessert. It reminds me of a hybrid flan-pancake. Lower cal and lots of protein from eggs. Size up for a sheet pan to make a little more than the traditional recipe.

PRO TIPS:

  1. Let batter rest for 20 minutes to prevent a rubbery final product
  2. Use a mesh tea strainer to sprinkle on powdered sugar.
  3. Cut into 6 large slices (1 per serving) or 12 slices (2 per serving), your preference.
  4. Freeze leftovers, cut into portions and then warm up on defrost button for about 45 seconds until thawed and lightly warm.
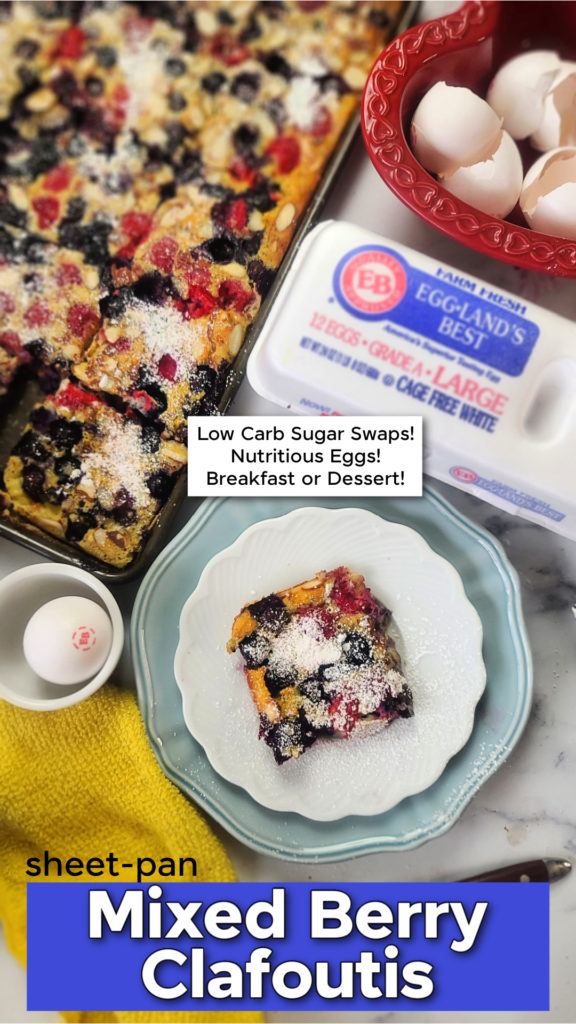

Based on a famous French dessert, but with mindful low-carb tweaks, this Berry Clafoutis makes a delicious brunch, breakfast or healthy dessert. It reminds me of a hybrid flan-pancake. Lower cal and lots of protein from eggs. Size up for a sheet pan to make a little more than the traditional recipe.
Save this pin for later!
Sheet Pan Mixed Berry Breakfast Clafoutis (Lower Carb)
Prep Time
5 mins
Cook Time
40 mins
Total Time
45 mins
 

Based on a famous French dessert, but with mindful low-carb tweaks, this Berry Clafoutis makes a delicious brunch, breakfast or healthy dessert. It reminds me of a hybrid flan-pancake. Lower cal and lots of protein from eggs. Size up for a sheet pan to make a little more than the traditional recipe.

Course: Breakfast, brunch, Dessert
Keyword: blueberries, clafoutis, low carb, sheet pan
Servings: 6 Servings
Calories: 250 kcal
Ingredients
  • 6 large eggs
  • 2 tsp. vanilla extract
  • 1/8 tsp. salt
  • ½ cup baking sweetener 1:1 cup measuring equivalency, I used a stevia blend
  • ½ cup unbleached all-purpose flour or gluten-free alternative
  • ½ cup packed almond meal
  • 2 cups whole milk
  • Baking spray for baking sheet
  • 1 lb. mixed fresh berries such as blueberries, raspberries, blackberries, sliced strawberries (rinsed and dried) about 3 to 3.5 cups
  • 1/2 cup sliced almonds about 2 ounces
  • Optional Powdered sugar for dusting (I used a zero-carb powdered sweetener)
Instructions
  1. Preheat oven to 350F.
  2. In large bowl, crack open eggs and whisk smooth. Whisk in milk until incorporated.
  3. Next, whisk in sweetener, flour, almond meal and salt until smooth.
  4. Spray 10” x 15” “jelly roll” sheet pan with baking spray. Do NOT try to use a standard 9” x 13” low-rimmed sheet pan, it will be too small and overflow. As an alternative, you can use a 9” x 13” ceramic or glass baking dish with HIGHER sides (cooking time will need to be increased).
  5. Pour egg batter into pan. Gently scatter berries as evenly as possible on top of batter. Next, sprinkle on sliced almonds.
  6. Bake on center rack for 40 minutes, or until turning golden on top and set. If using the 9”x13” glass baking dish, the batter will be deeper, so add on 5 to 10 more minutes of cooking time (so 45 – 50 minutes cooking time).
  7. Remove from oven at let cool 5 minutes. Dust with powdered sugar or alternative, if desired. Cut into either 6 large squares or 12 smaller squares (2 smaller pieces per serving).
  8. Store leftovers in fridge for up to 3 days. Reheat in microwave for about 45 seconds.
Recipe Notes

Chocolate Gingerbread Mini Loaves

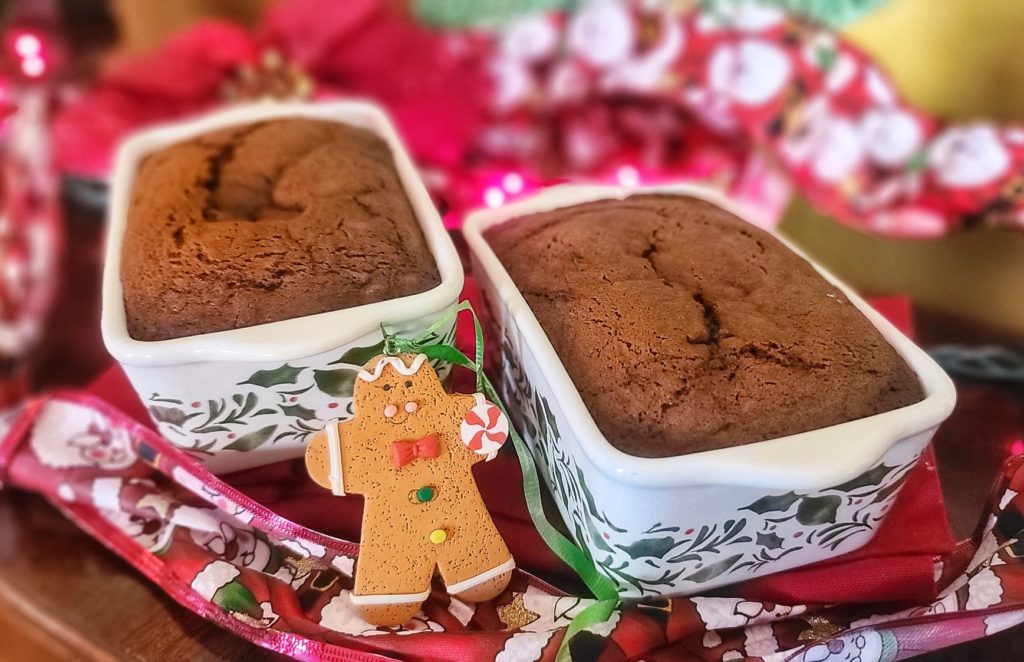
Gingerbread or chocolate . . .why choose? You’ll “loaf” the joining of these two popular holiday flavors in this recipe for Chocolate Gingerbread Mini Loaves.

Gingerbread is the quintessential holiday treat and most of have fond memories of the delicious aroma and warm, spicy taste of this flavor profile that is incorporated in cookies, cakes, and other yummy Christmas treats. Adding chocolate even deepens the flavor experience and speaks to a chocolate-lover’s soul!

This is a smaller-scale gingerbread recipe making two loaves in approximate-sized 5.5” x 3” loaf pans. You can also use all the batter in a single 6” diameter small cake pan. You can also half the recipe and make a single mini loaf and you can also double the recipe to make 4 mini loaves or fill a bigger 8” to 9” diameter cake pan.

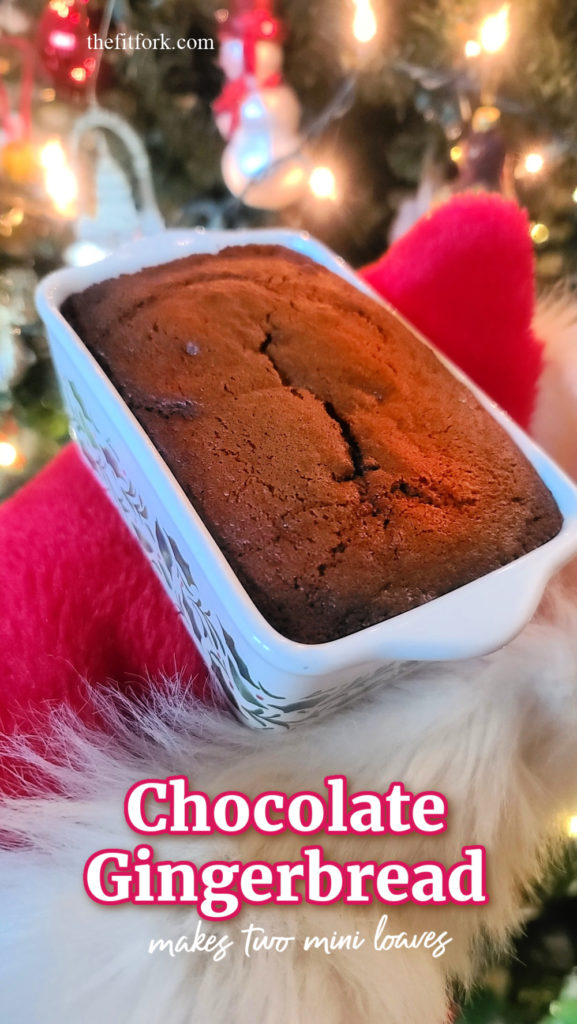
Pin for later!

Slice them up and serve warm with ice cream or whipped cream, or the toppings of your choice. If you’d rather gift them to a friend or family present them in nicer, disposable mini loaf liners or, even better, a beautiful ceramic mini loaf pan (can be used long after the food gift is gone)!  If you are wrapping in plastic wrap or a cellophane food gift bag, make sure the gingerbread loafs are completely cooled. You can also store in the freezer for up to 6 months, in wrapped in plastic wrap and sealed in a freezer bag.

Mini Chocolate Gingerbread is easy to make, sharable, delicious! Enjoy!

This post contains affiliate links.

Chocolate Gingerbread Mini Loaves

A chocolate-lover's twist on the quintessential holiday season treat – gingerbread! Simple and delicious, makes two little loaves, one for you and one for sharing!

Course: bread, Breakfast, brunch, Dessert
Keyword: cake, christmas, gingerbread, holiday
Servings: 2 loaves
Ingredients
  • 4 tablespoons unsalted butter
  • 1/2 cup packed brown sugar
  • 1 large egg
  • 1/2 cup buttermilk hack: whole milk + ½ tsp vinegar, let sit 5 min
  • 1/3 cup molasses
  • 1/2 teaspoon baking soda
  • 2 tablespoons unsweetened cocoa powder
  • 1 teaspoon ground cinnamon
  • 1 teaspoon ground ginger
  • 1/8 tsp ground nutmeg
  • 1/4 teaspoon salt
  • 1 cup flour or gluten free blaking blend
  • 1/2 cup mini chocolate chips
Instructions
  1. Preheat the oven to 350F and lightly grease TWO mini loaf pans (about 5.5” x 3”) or one 6" round cake pan.

  2. Cream the butter and brown sugar then beat in the egg. Mix the buttermilk and molasses into butter mixture. Stir in baking soda, cocoa powder, cinnamon, ginger, nutmeg and salt until combined. Next stir in flour until a smooth batter forms. Fold in chocolate chips.
  3. Bake for about 25 or until a toothpick inserted in center pulls clean. Cool 10 minutes before slicing.

Giant Peanut Butter Protein Cookie for One

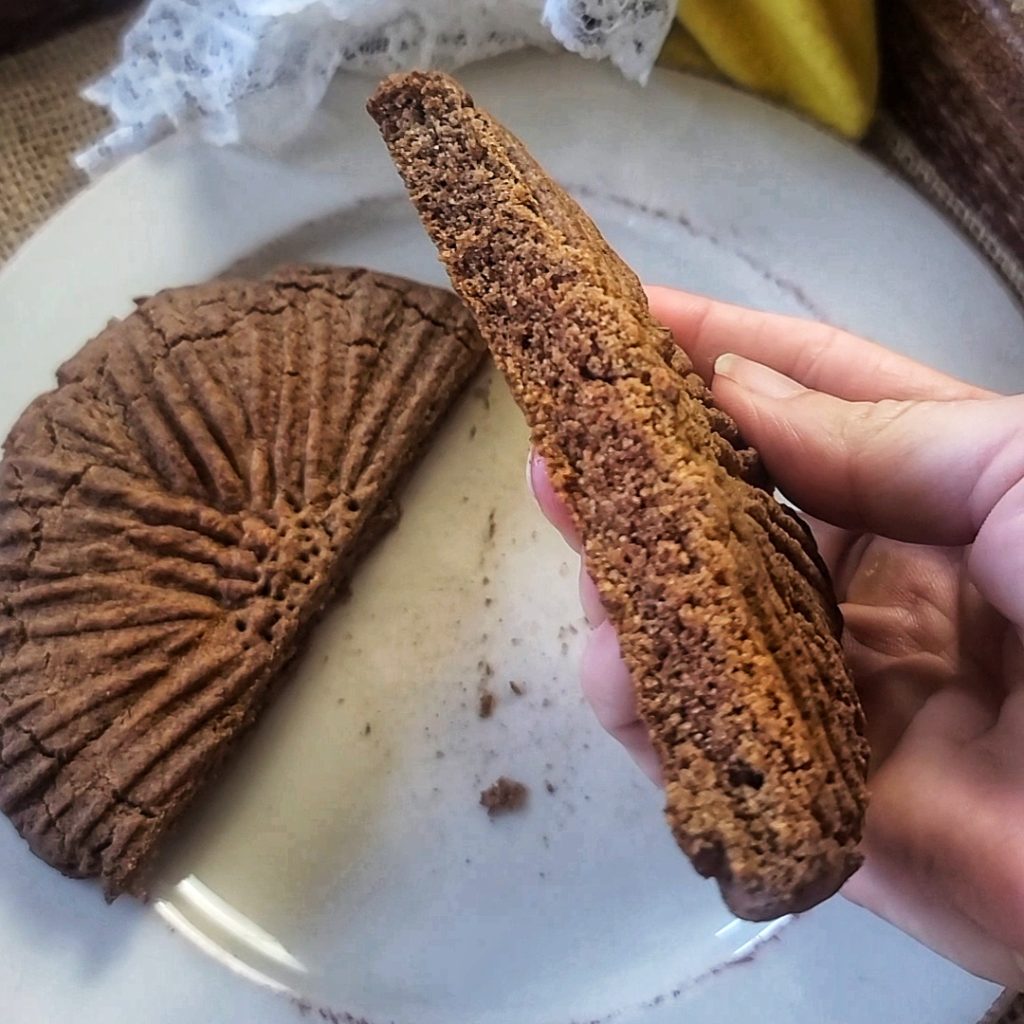
A great way to keep your hand mindless out of the cookie jar is to bake up a single serve cookie — when it’s gone, it’s gone! My Giant Peanut Butter Protein Cookie for One tastes nostalgically amazing, yet is packed with protein so that it fills you up and you CAN be satisfied with just one.

Actually, you may even be happy and your sweet tooth satisfied with just half a cookie — it’s HUGE! I typically eat half and save the other half for later in the day, for double the yum time!

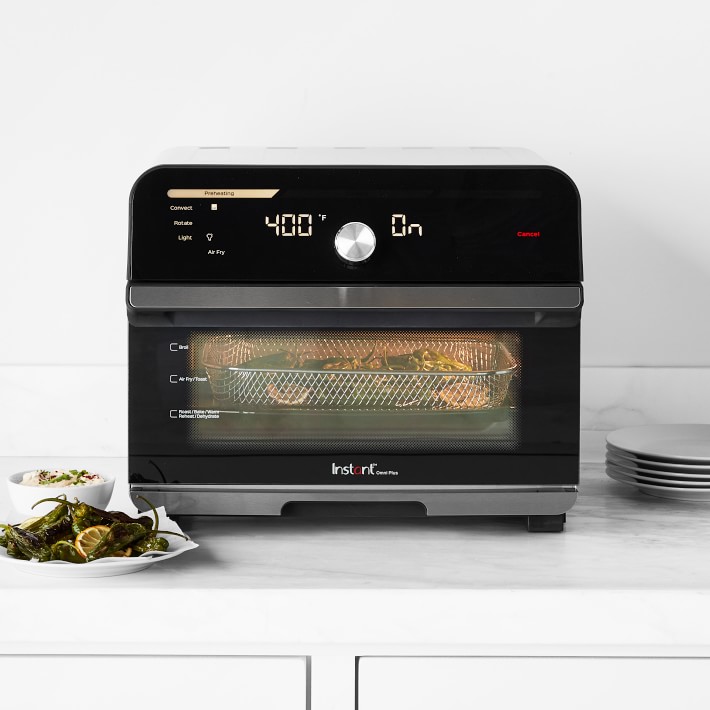
In order to avoid heating up a big oven to bake just one cookie, I made this protein peanut butter cookie in the toaster oven — I use the Instant Oven™ 18L Air Fryer Toaster Oven which is an air fryer and multi-purpose toaster oven. Only a few minutes to put the batter together and about 9 to 10 minutes to bake. In less than 15 minutes you’ll be enjoying a fresh-from-the-oven protein dessert.

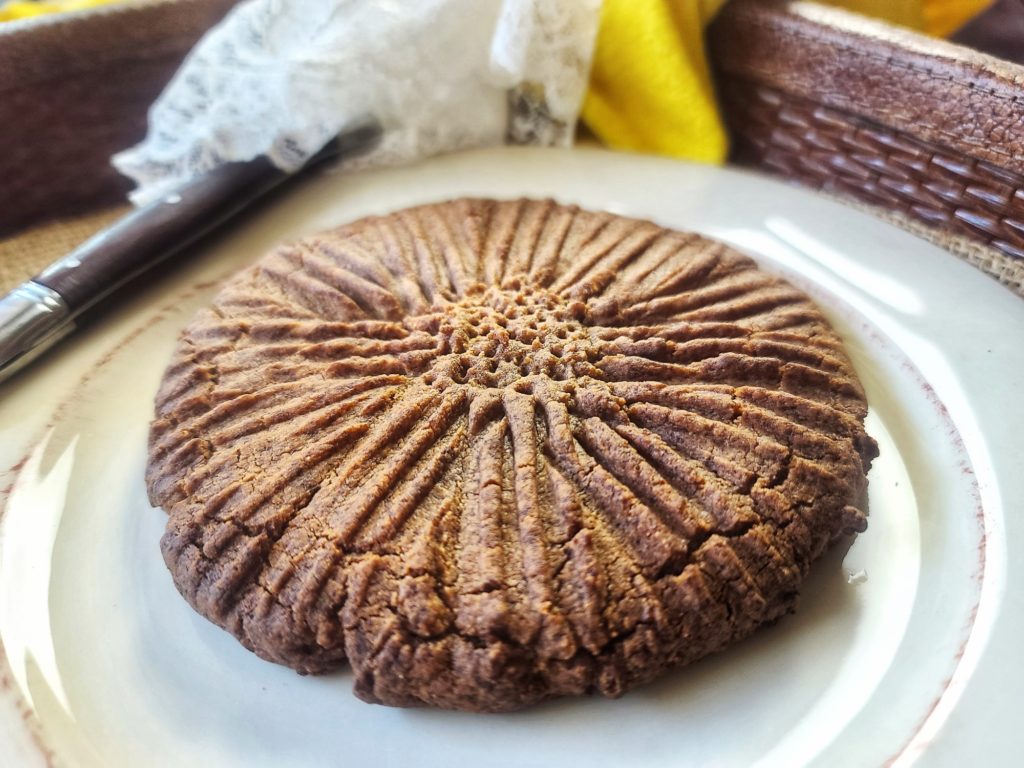
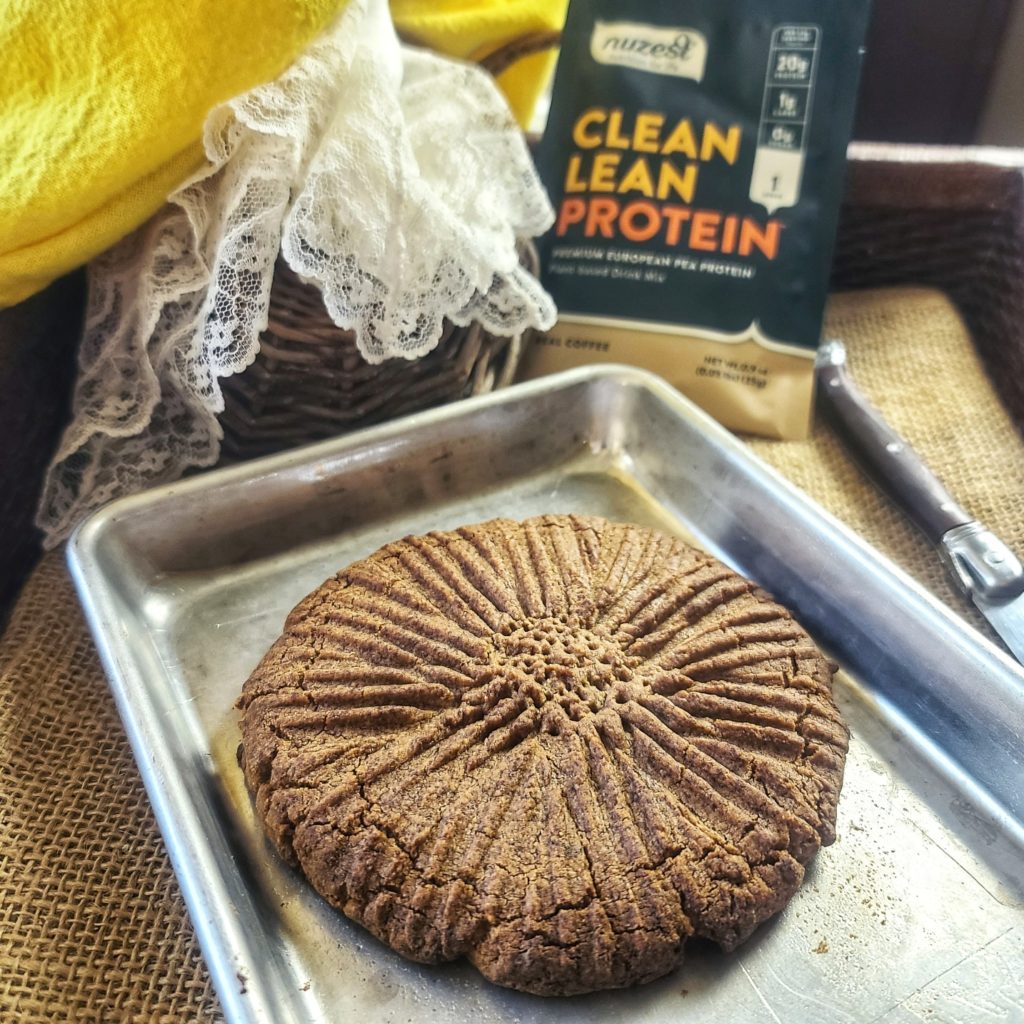
Giant Peanut Butter Protein Cookie for One is HUGE, big enough to share (or not)!

Ingredients are natural peanut butter (you could swap for almond butter or, better yet, homemade sunflower seed butter), butter, egg white, coconut flour, baking soda, granulated stevia blend and a plant-based protein powder.

In terms of the best plant-based protein powder, I like the Clean Lean Protein Powder from Nuzest –it has a great nutrient profile and works for vegan, vegetarian and paleo diets. I love it for this protein powder cookie recipe and smoothies and other uses too! You can save `15% with my discount code: FITFORK .

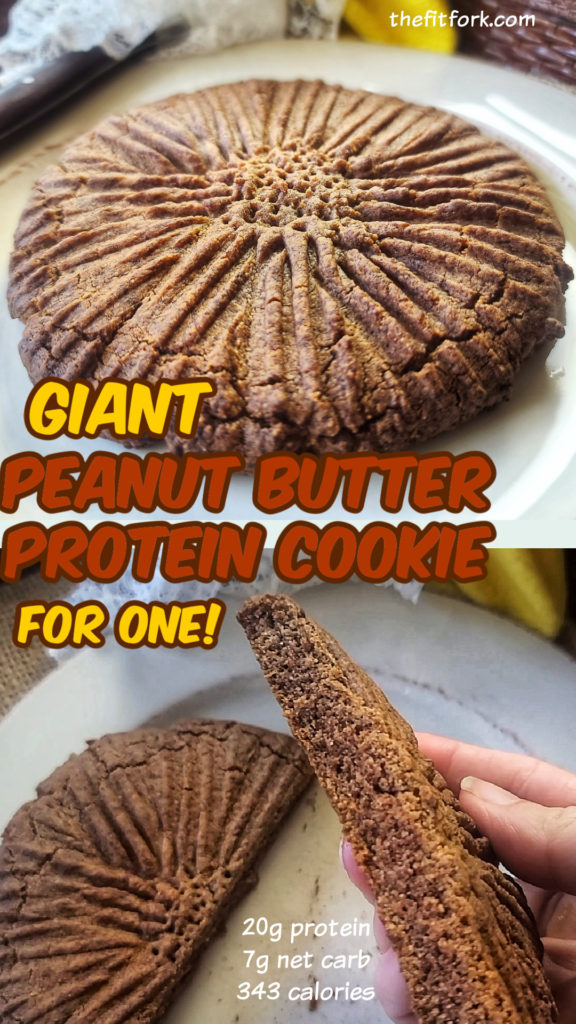
Before baking the cookie, you want to press the dough ball out into an approximate 5″ diameter circle, and then make the fork marks which as SO nut butter cookie important. Because this protein cookie is bigger that an standard old fashioned peanut butter cookie, you can’t really to the criss-cross hatch marks. Instead, I used the tins of the for to go around the edges of the cookie with points of for going up almost to center of cookie, but not quite — this made a “center” that I then used the tips of the fork to make a bunch of little pock marks. It all looked like a flower to me in the end and didn’t puff out the design during baking either!

Pin this for later!

Note: This post contains affiliate links. I may earn a small commission from purchases made through links, however price to you remains the same. Proceeds help offset operating costs for The Fit Fork. Thank you!

5 from 4 votes
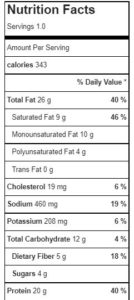
This ginormous cookie made with protein powder is a A delicious, low-carb peanut butter that will make you feel nostalgic for the treats of your childhood, but offers 20g of protein and only 7g net carb. Bake it in a toaster oven! Big enough to share, but you may not want too
Giant Peanut Butter Protein Cookie for One
Prep Time
5 mins
Cook Time
10 mins
Total Time
15 mins
 

A delicious, low-carb peanut butter that will make you feel nostalgic for the treats of your childhood, but offers 20g of protein and only 7g net carb. Bake it in a toaster oven! Big enough to share, but you may not want too!

Course: Dessert, Snack, treat
Keyword: cookie, cooking for one, peanut butter, protein powder
Servings: 1 serving
Calories: 343 kcal
Ingredients
  • 2 tbsp. butter softened
  • 2 tbsp natural-style peanut butter
  • 2 tbsp granulated stevia blend baking sweetener
  • 1 tbsp liquid egg white
  • 1/8 tsp baking soda
  • 1 scoop Nuzest Lean Clean Protein Powder (chocolate or vanilla) or 2tbsp other protein powder
  • 1 tbsp coconut flour
Instructions
  1. Mix together butter, peanut butter, stevia and egg white.
  2. Stir in baking soda, protein powder and coconut flour. Shape into big dough ball. Press out into thick circle with clean hands.
  3. Use tins of fork to press out remainder of way to about 1/3” thickness and approx. 5” diameter.
  4. Bake for 9 to 10 minutes. Let cook for 5 minutes on baking sheet
Recipe Notes

Air Fryer Banana with Oatmeal Cookie Crumble Topping

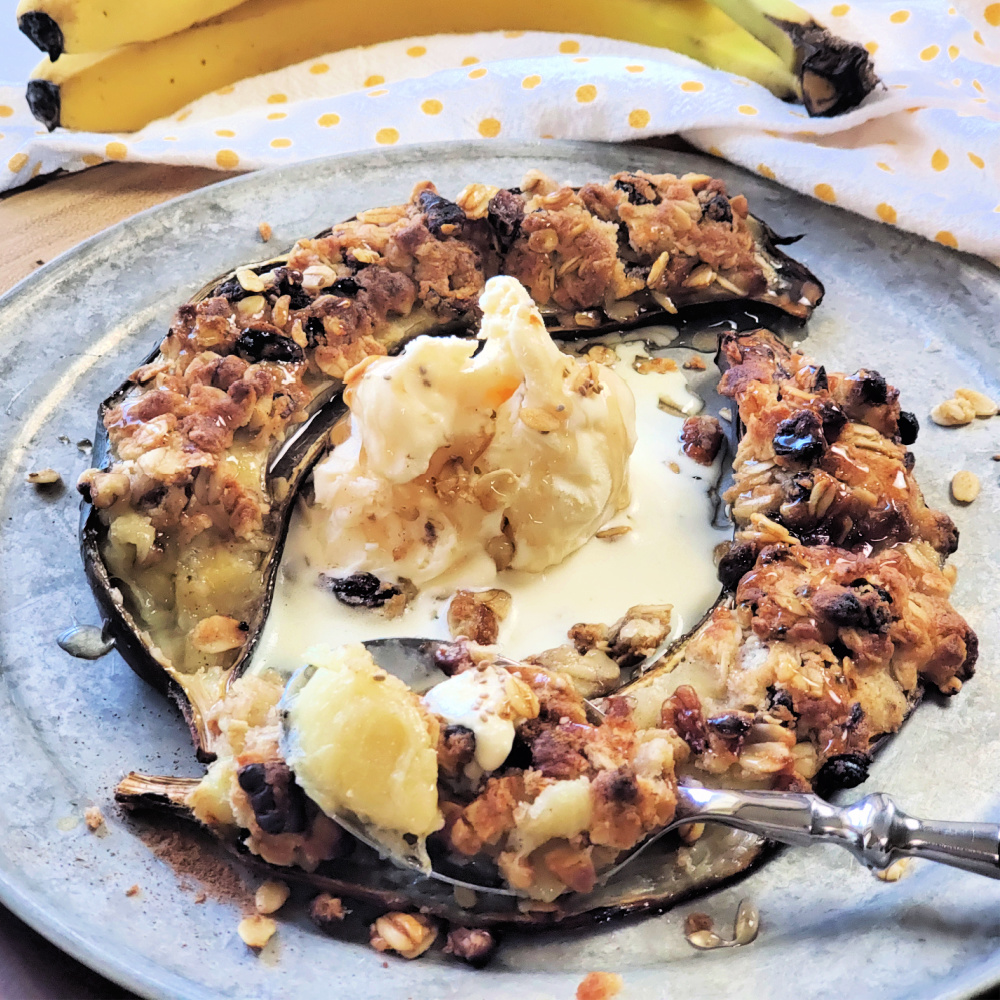
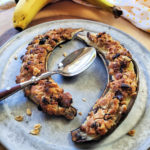
Air Fryer Bananas are the latest trend going around with the recipe crowd on social media . . . and I can see why this banana dessert recipe is so “a-peeling.” LOL!  In minutes, you can make an amazing banana dessert that cooks right in the skin, has almost no prep or clean-up, can be scaled up easily depending on the size and appetite of your crowd, and is incredibly delicious.

Banana dessert recipe, Air fryer bananas, Simple dessert recipe, banana recipes

When my kids were little, we used to frequently grill banana “boats” in foil and this air fryer banana recipe seemed like a similar concept to me!

Banana dessert recipe, Air fryer bananas, Simple dessert recipe, banana recipes

I decided to dress up my version of Air Fryer Bananas with a crumbled topping (reminiscent of a fruit crisp topping) but with the vibe of a comforting homemade oatmeal cookie!

The banana flesh softens quickly in the air fryer into a spoonable delight, and the buttery topping with oats, raisins and pecans browns up into a yummy crust.

Air Fryer Bananas are so EASY to make!

An Air Fryer Banana with Oatmeal Cookie Crumble Topping is ah-mazing served warm, as is – or pair up with something creamy like Greek yogurt, ice cream, or cottage cheese blended with a few drops of stevia.

Banana dessert recipe, Air fryer bananas, Simple dessert recipe, banana recipes
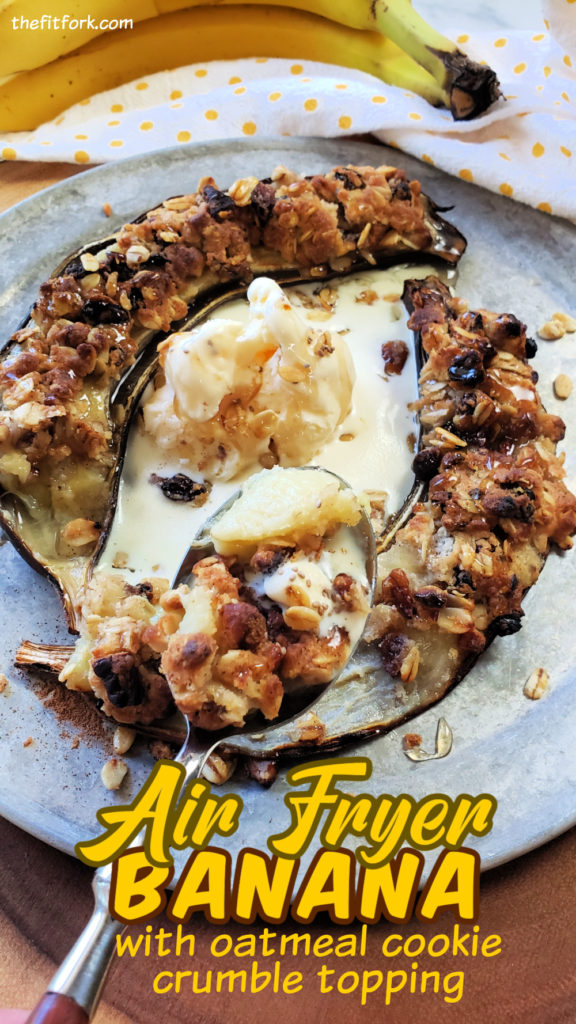
Pin this for later!

P.S. I use the Omni Plus XL Air Fryer Toaster Oven from Instant Pot — it’s like a little oven for my countertop — it broils, roasts, bakes air-frys and more plus I love the larger capacity and how the door and shelves work similar to my traditional oven set up. It’s just easy!

This is the toaster over – air fryer I use , the Omni XL from Instant.

Disclaimer: This post contains affiliate links. I may earn a small commission for purchases made, however the price to you remains the same. Proceeds are used to offset operating expenses for The Fit Fork. Thank you!

5 from 6 votes
Air Fryer Banana with Oatmeal Cookie Crumble Topping
Prep Time
2 mins
Cook Time
8 mins
Total Time
10 mins
 

Quick, easy and absolutely delicious, this simple dessert recipe features a banana air-fryed right in the it's skin. A healthier option for dessert — serve with Greek yogurt for extra "a-peel"!

Course: Dessert, Snack
Keyword: air fryer, banana, dessert
Servings: 2 servings
Ingredients
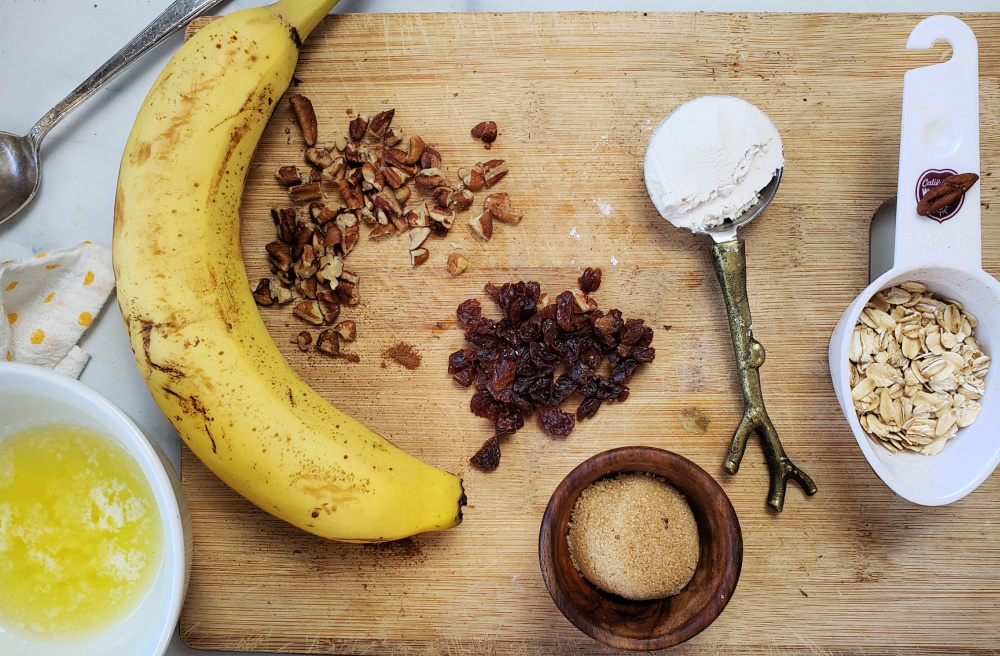
  • 1 large banana
  • 1 ½ Tbsp. butter melted
  • 1/8 tsp ground cinnamon
  • 1 Tbsp. coconut sugar date sugar or brown sugar
  • 2 Tbsp rolled oats
  • 2 Tbsp gluten-free baking blend
  • 1 Tbsp chopped raisins
  • 1 Tbsp chopped pecans
  • Toppings of choice
Instructions
  1. Pre-heat air-fryer to 350F .
  2. Slice banana in half crosswise and place in basket.
  3. In small bowl, mix up remaining ingredients (except toppings) into a “dough” and press onto each half of banana. Cook in air-fryer for about 5 to 8 minutes or until top golden brown.
  4. Serve hot with toppings of choice like whipped cream, ice cream, yogurt or whatever pleases you.
Recipe Notes

Nutritious Pantry Staples for Quick Meals & Snacks

This post is sponsored by BabbleBoxx.

March is National Nutrition Month. It’s a great time to become better informed about your food choices and make any tweaks necessary to support healthful eating that fuels your body and goals.

March is National Nutrition Month, a great time make informed food choices and add better-for-you staples to the pantry. Find out my must-have condiments, prepped whole grains, and nuts I keep on hand for easy meal and snack making.

For example, my goal is to eat a balanced diet rich in lean proteins, fruits and veggies, and whole-grain carbs to give me enough energy to perform my runs and workouts along with the proper nutrients to recover quickly. I like making homemade meals, but often convenience is king. However, I’m not willing to scrap my nourishing meals for takeout, so I keep my pantry stocked with quality convenience foods, condiments and better-for-me snacks to help ensure success.

Nutritious Pantry Staples for Quick Meals & Snacks  

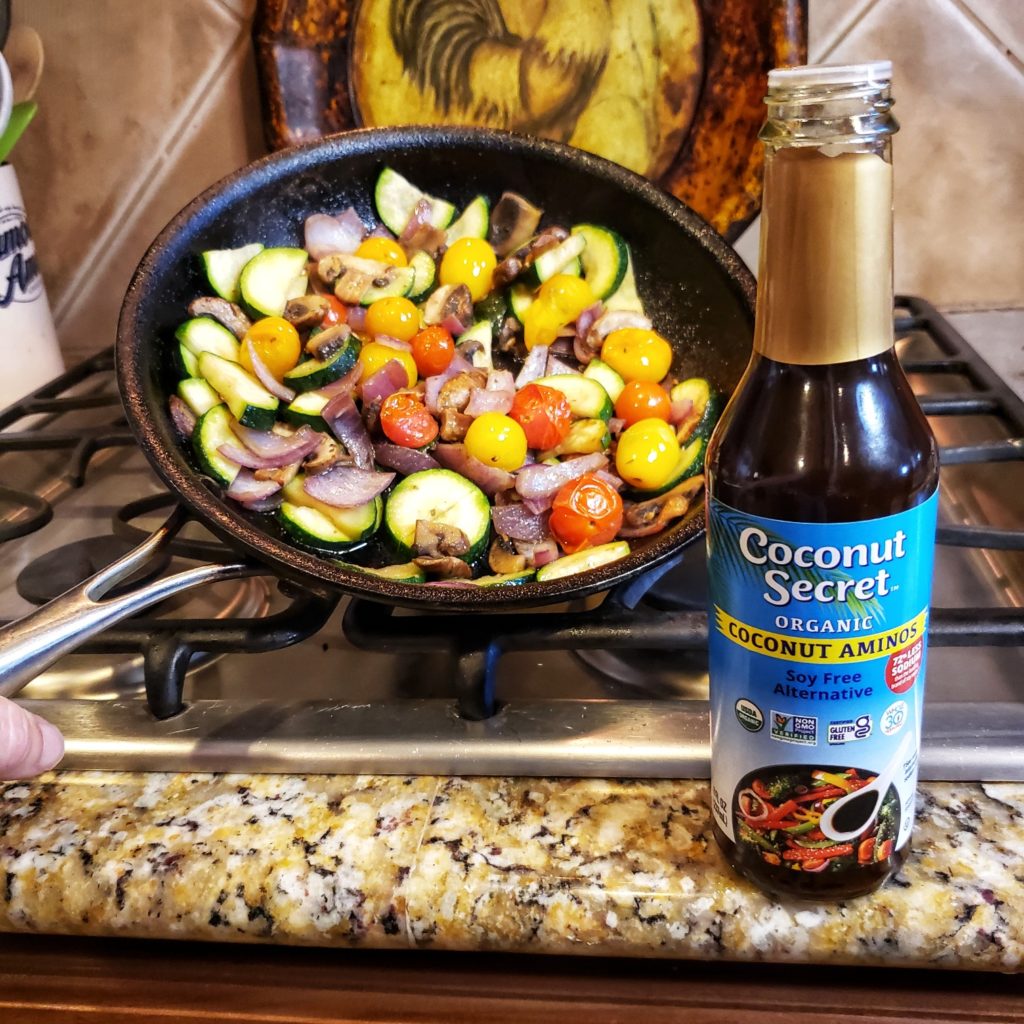
is Organic Coconut Aminos from Coconut Secret -- organic, non GMO, lower sodium, soy free. A great substitute for soy sauce.
Coconut Secret Coconut Aminos are a lower sodium, soy-free way to add flavor!

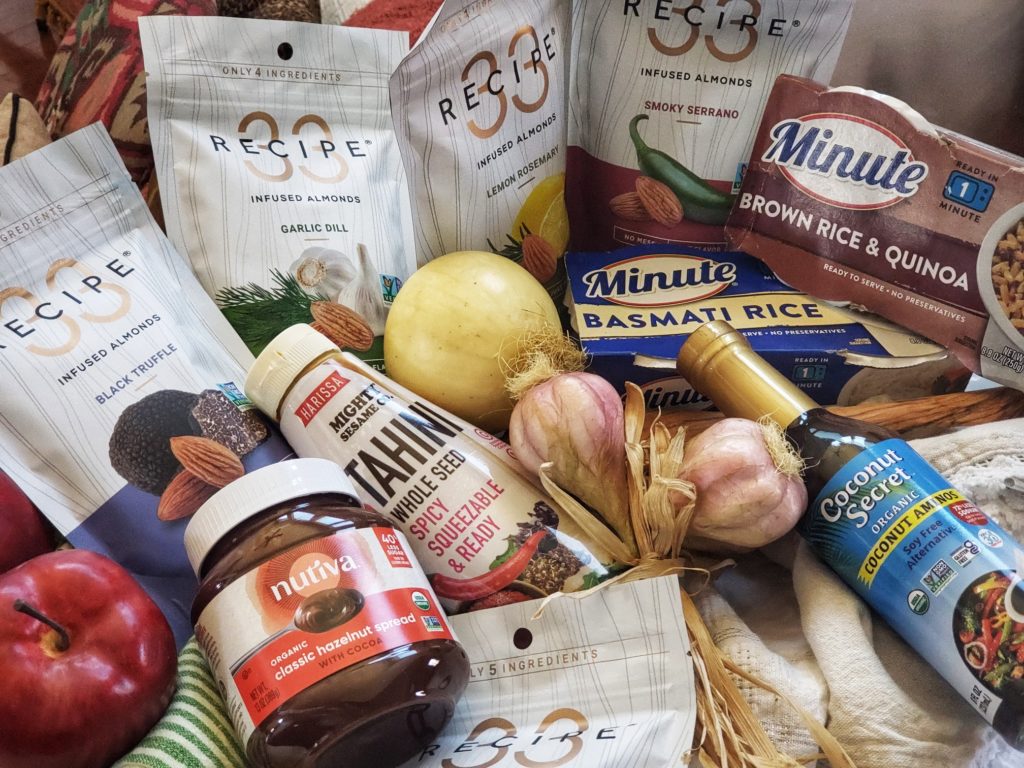
Coconut Aminos: One of my must-have pantry staples is Organic Coconut Aminos from Coconut Secret. For those of you who don’t do soy products or are being mindful of salt consumption, this soy sauce alternative really delivers that slightly sweet yet savory punch of umami you crave from a condiment. Made from hand-harvested, naturally fermented organic coconut blossoms, the only other ingredient in Coconut Aminos, is just a hint of sea salt. Coconut Aminos has 72% less sodium than the leading soy sauce brand. It’s also gluten-free, msg-free, has no added sugar, and is Whole30 approved. A 1:1 ratio soy sauce replacement, I use Organic Coconut Aminos in so many ways including in my ramen bowls, in marinades and glazes for grilling and oven roasting, and in veggie skillets.

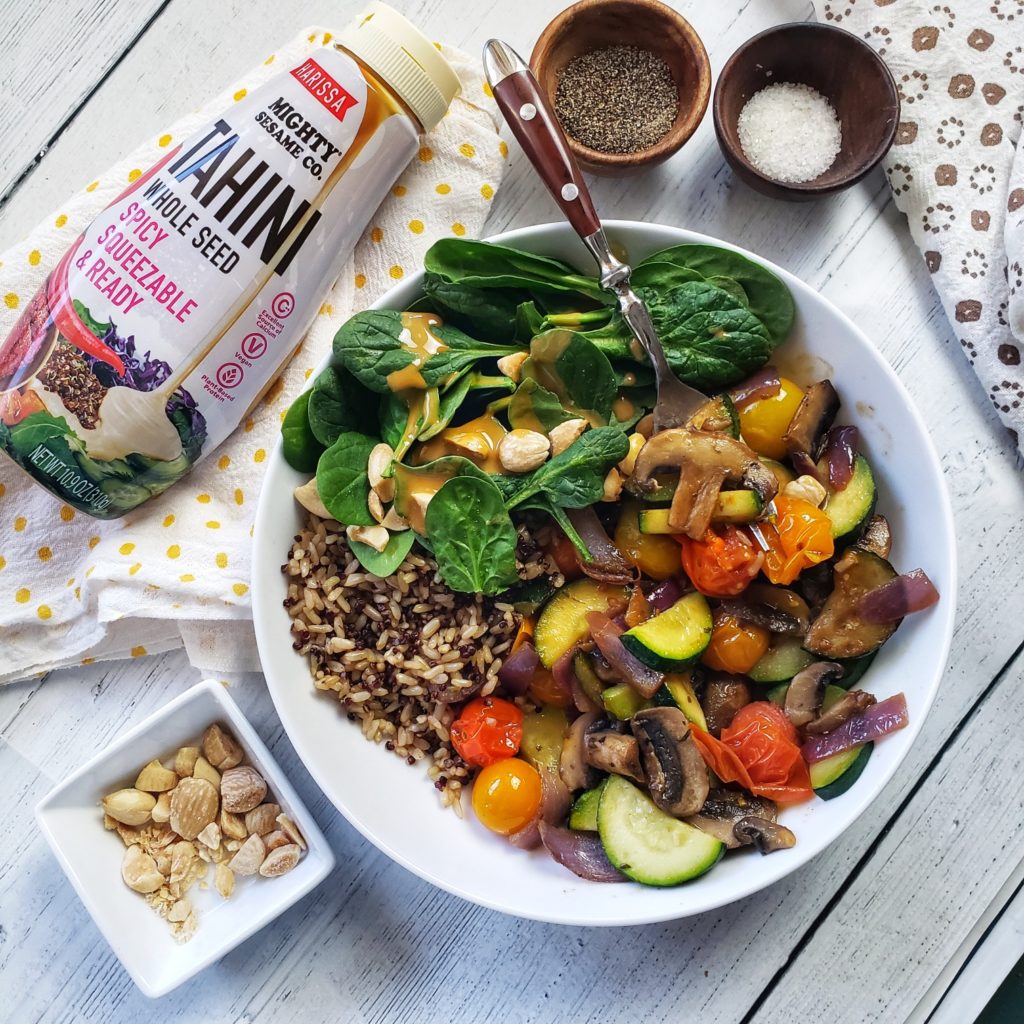
Mighty Sesame Organic Tahini is a delicious seed based product ready to drizzle on salads, sandwiches and more thanks to the awesome squirt bottle.
I love how Might Sesame Co. Tahini comes in a squirt bottle – so convenient!

Tahini:  It’s amazing what kind of amazingly flavorful dishes you can create in a flash with a bottle of Mighty Sesame Organic Tahini. If you’re not familiar with tahini, it’s a creamy product made from sesame seeds. The squeeze-bottle on the Mighty Sesame Harissa Tahini is SO CONVENIENT and VERSATILE — it’s shelf-stable, always creamy, always drizzle-ready and is kicked up with a little bit of roasted chili pepper! There is no gunky stirring and spooning from a jar like I’ve persevered with other tahini brands. Perfect to drizzle on salads, grain bowls, tacos and raw veggie snacking for a boost of flavor, healthy fats and extra protein (7g per serving). Suitable for vegan, glute-free, dairy-free, kosher, and halal diets.

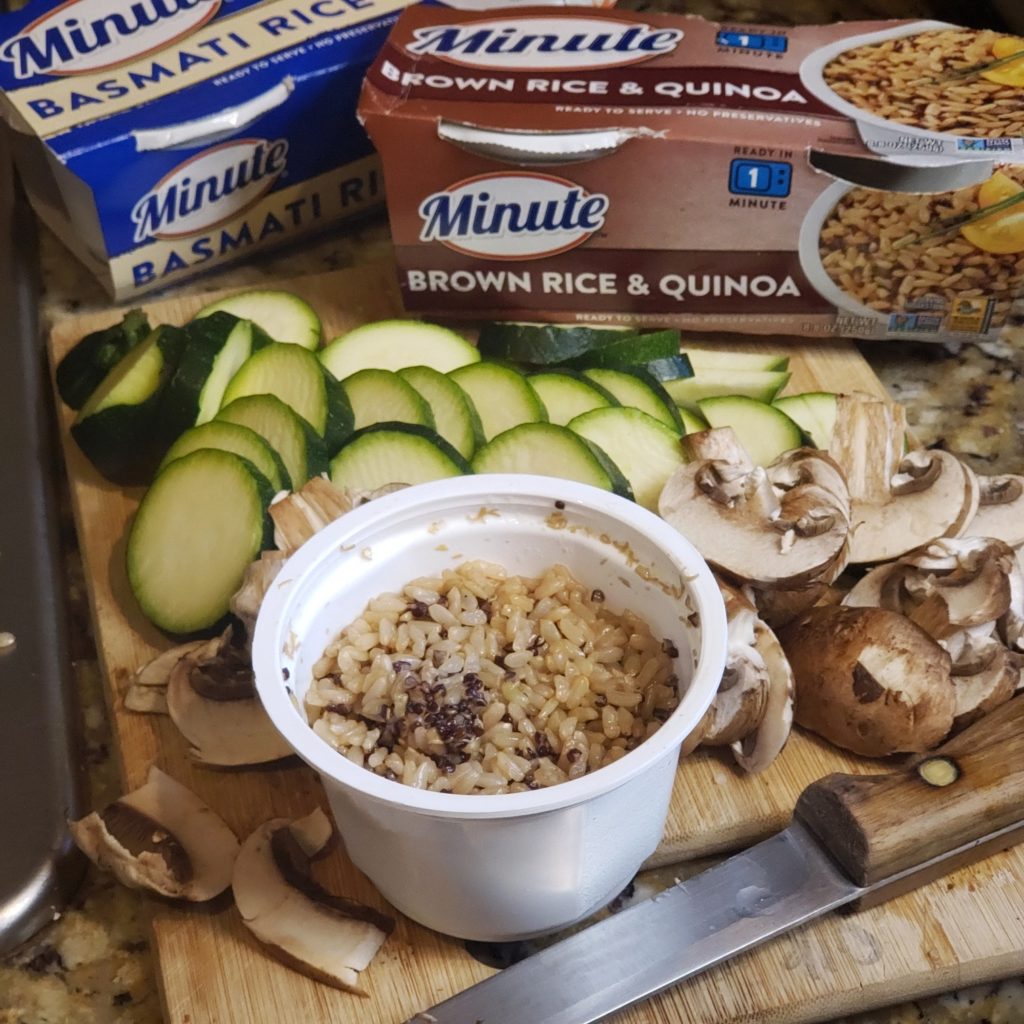
Minute rice cups and brown rice & quinoa cups can be made in 60 seconds. Simple ingredients, nothing artificial, no weird processing. The cups are BPA free and can be recycled.
Oh, hello! Wholesome whole grains in 60 seconds with Minute rice cups!

Pre-Cooked Grains: Keeping shelf-stable, pre-cooked grains (like rice and quinoa) in the pantry allows for quick, creative meal-making on even the busiest nights. I’ve stocked up with Minute rice cups, they are easily made in the microwave in about 60 seconds, perfectly portioned so I don’t overeat, and feature just quality rice – no weird chemicals, harmful ingredients, or weird processing methods. Even the plastic cups are BPA-free and can be recycled.  The Minute Basmati microwavable rice cups offer that nutty, aromatic rice experience that’s hard to resist and Minute Brown Rice & Quinoa microwavable rice cups have a delightful texture with chewy brown rice and crunchy quinoa. Both are non-GMO, preservative-free, MSG-free, gluten-free, cholesterol-free and suitable for vegan and vegetarian diets. These easy rice cups are a smart and simple way to add the beneficial nutrients, like fiber from whole grains, into your busy lifestyle.

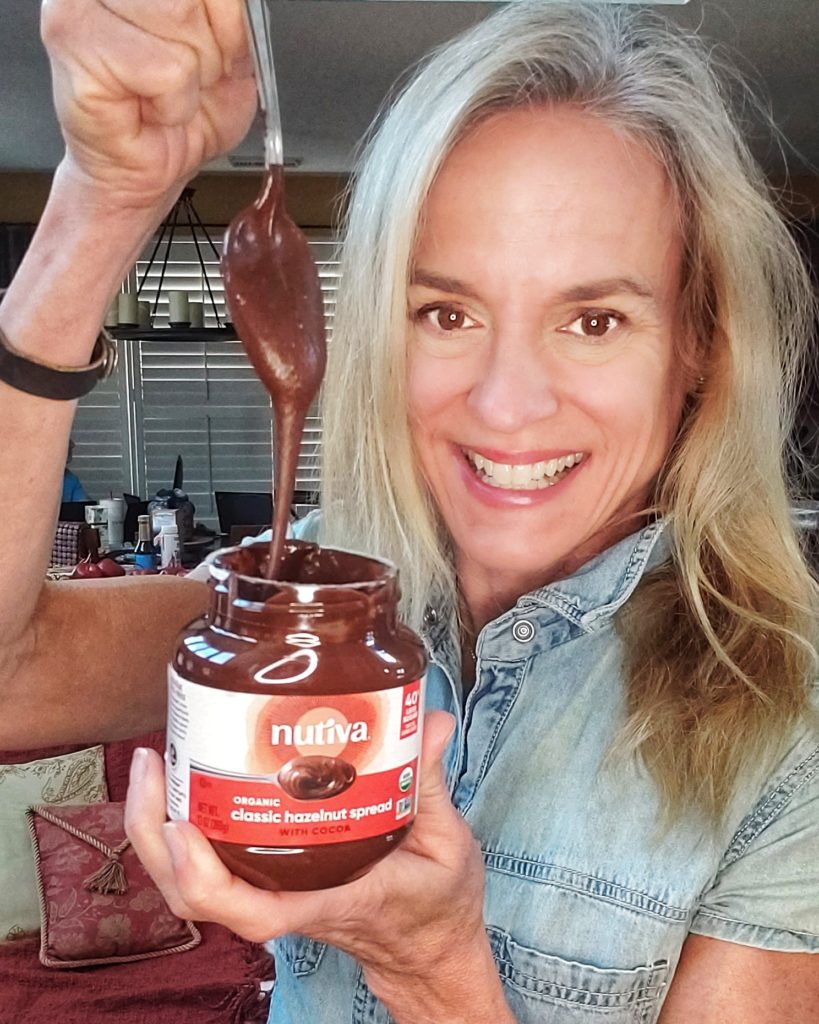
Looking for a vegan nutella? Classic Hazelnut Spread from Nutiva is a win-win with delicious creamy hazelnut taste and 40% less sugar than the leading brand.
Yes, please! Nutiva Hazelnut Spread with 40% less sugar than the leading brand.

Nut-based Spreads: Naturally, almond butter, cashew butter and peanut butter are always stocked in my pantry – -but sometimes something chocolatey can really sooth that sweet tooth!  When cravings hit, I grab a jar of Nutiva Organic Classic Hazelnut Spread from the pantry. It’s creamy, it’s decadent-tasting, it’s delicious all while being a product I can feel good about eating. Not only does it have 40-percent less sugar that the leading brand (that’s huge!), it’s non-GMO, suitable for vegan diets and the hazelnuts are harvested in a way that is rainforest and orangutan safe.  My favorite ways to enjoy this vegan nutella -like spread is to smear it on whole-grain toast, drizzle on my oatmeal, or use as a dip for fruit!

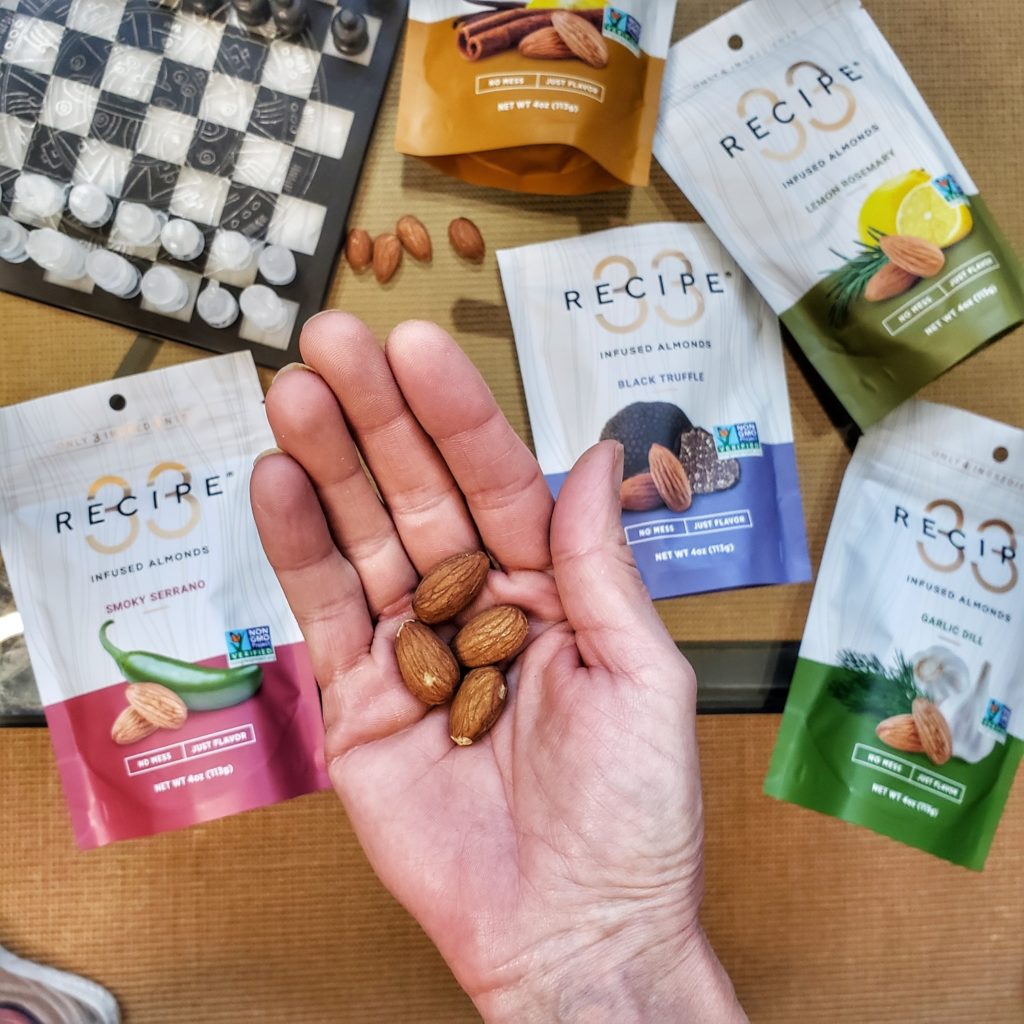
Flavored nuts that are mess free? RECIPE 33 infused almonds are nutritious, delicious and don't leave unwanted residue on your fingers.
The first rule of game night is to always have nuts nearby! RECIPE 33 infused almonds keep my hands neat and are yummy to eat!

Nuts: I LOVE nuts, especially almonds! They store so well in the pantry and are a good source of grab-and-go nutrients including fiber, protein, vitamin e and more. A favorite brand is RECIPE 33 infused almonds, not only for the inherent benefits of nuts, but also because the are flavored yet mess free! A proprietary, small-batch process takes real ingredients to infuse flavor into each almond without artificial flavors or additives. The result is an amazingly flavorful snack that leaves no messy, oily, sticky or other unwanted residue on your hands. These mess free almonds are so perfect for squashing hunger when out and about (I keep a bag in my purse), on salads and other recipes, or for charcuterie boards!  Save $2 on any 4-ounce infused almond bag with code Try RECIPE33. SHOP HERE