Fuel up for your day with Cinnamon Protein Waffles, a quick and easy protein powder breakfast idea that tastes decadent enough to be dessert yet is packed with protein, lower in carbs, and boasts no added sugar. Plus, gluten-free, vegetarian and paleo-friendly.
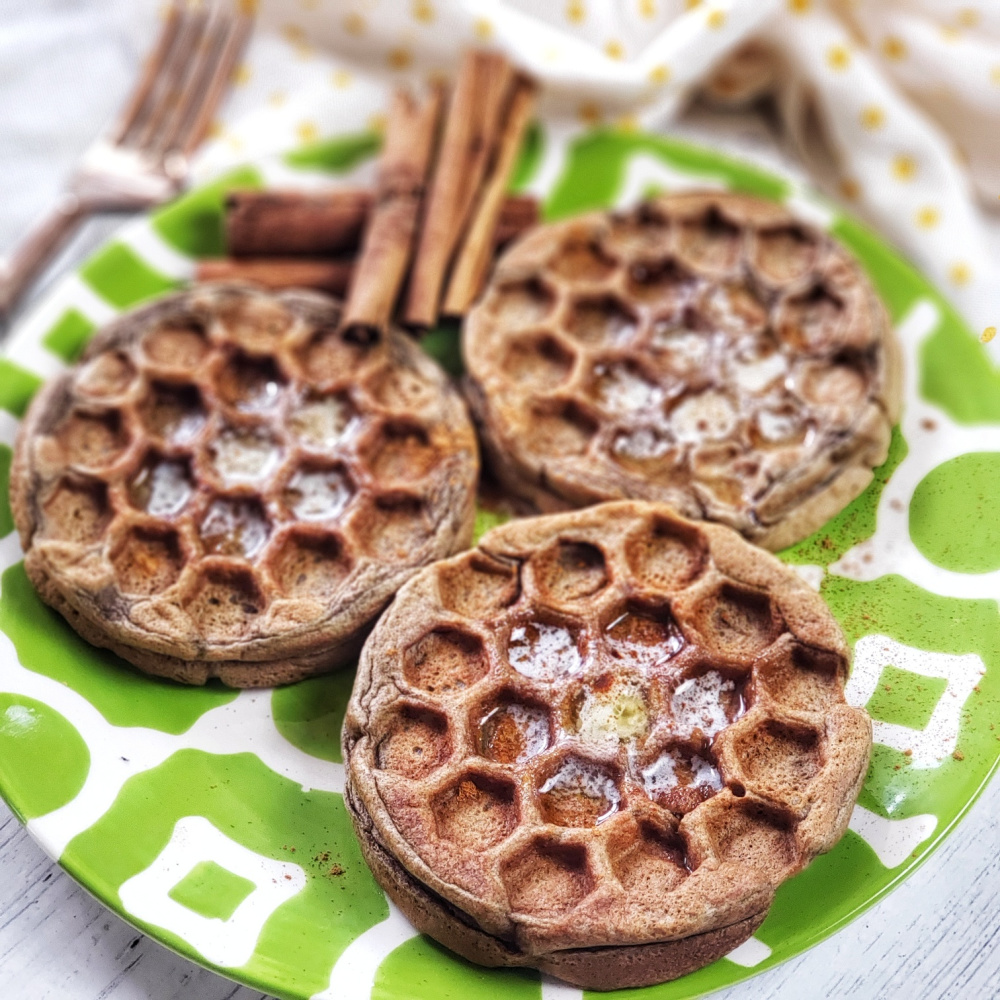
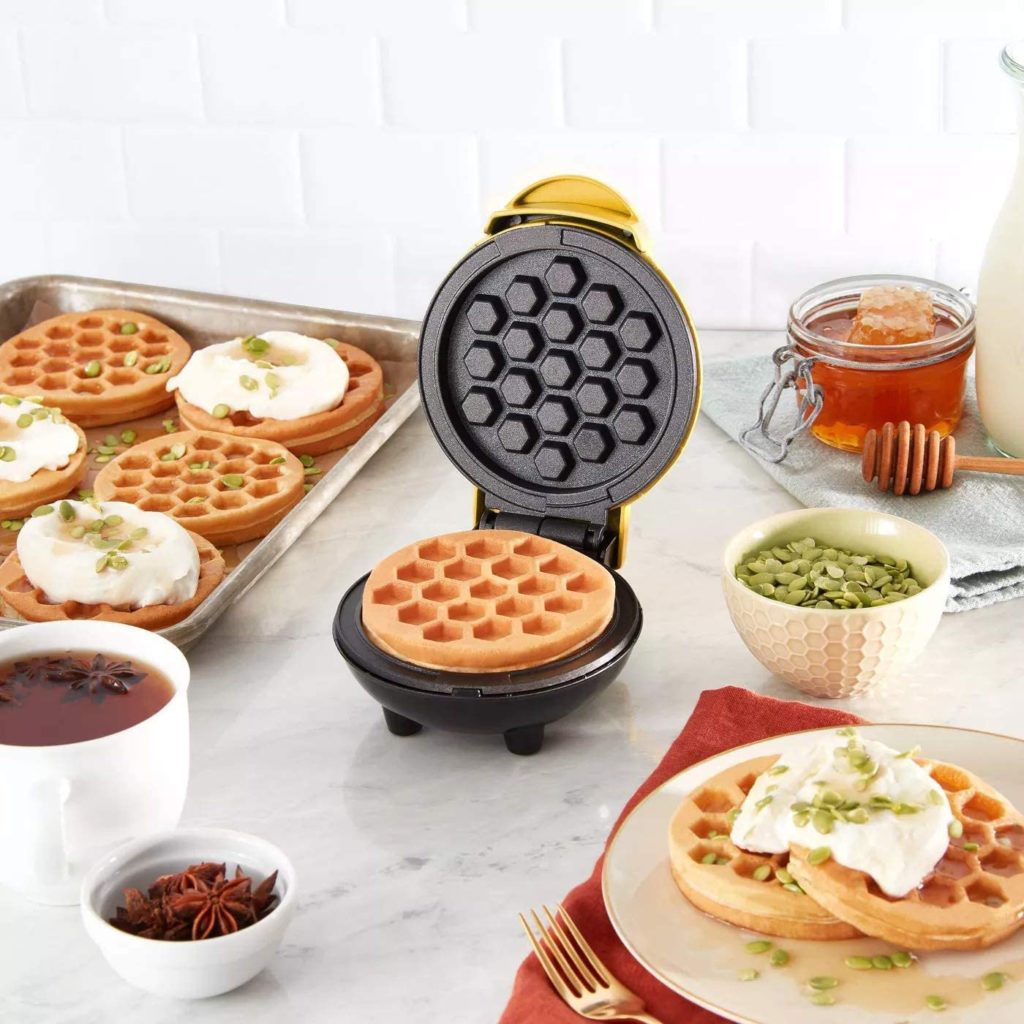
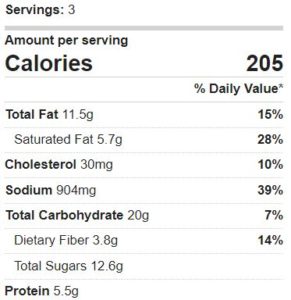
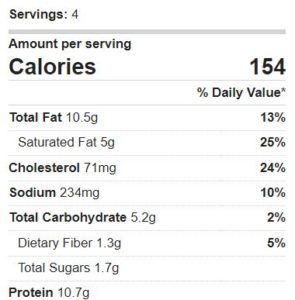
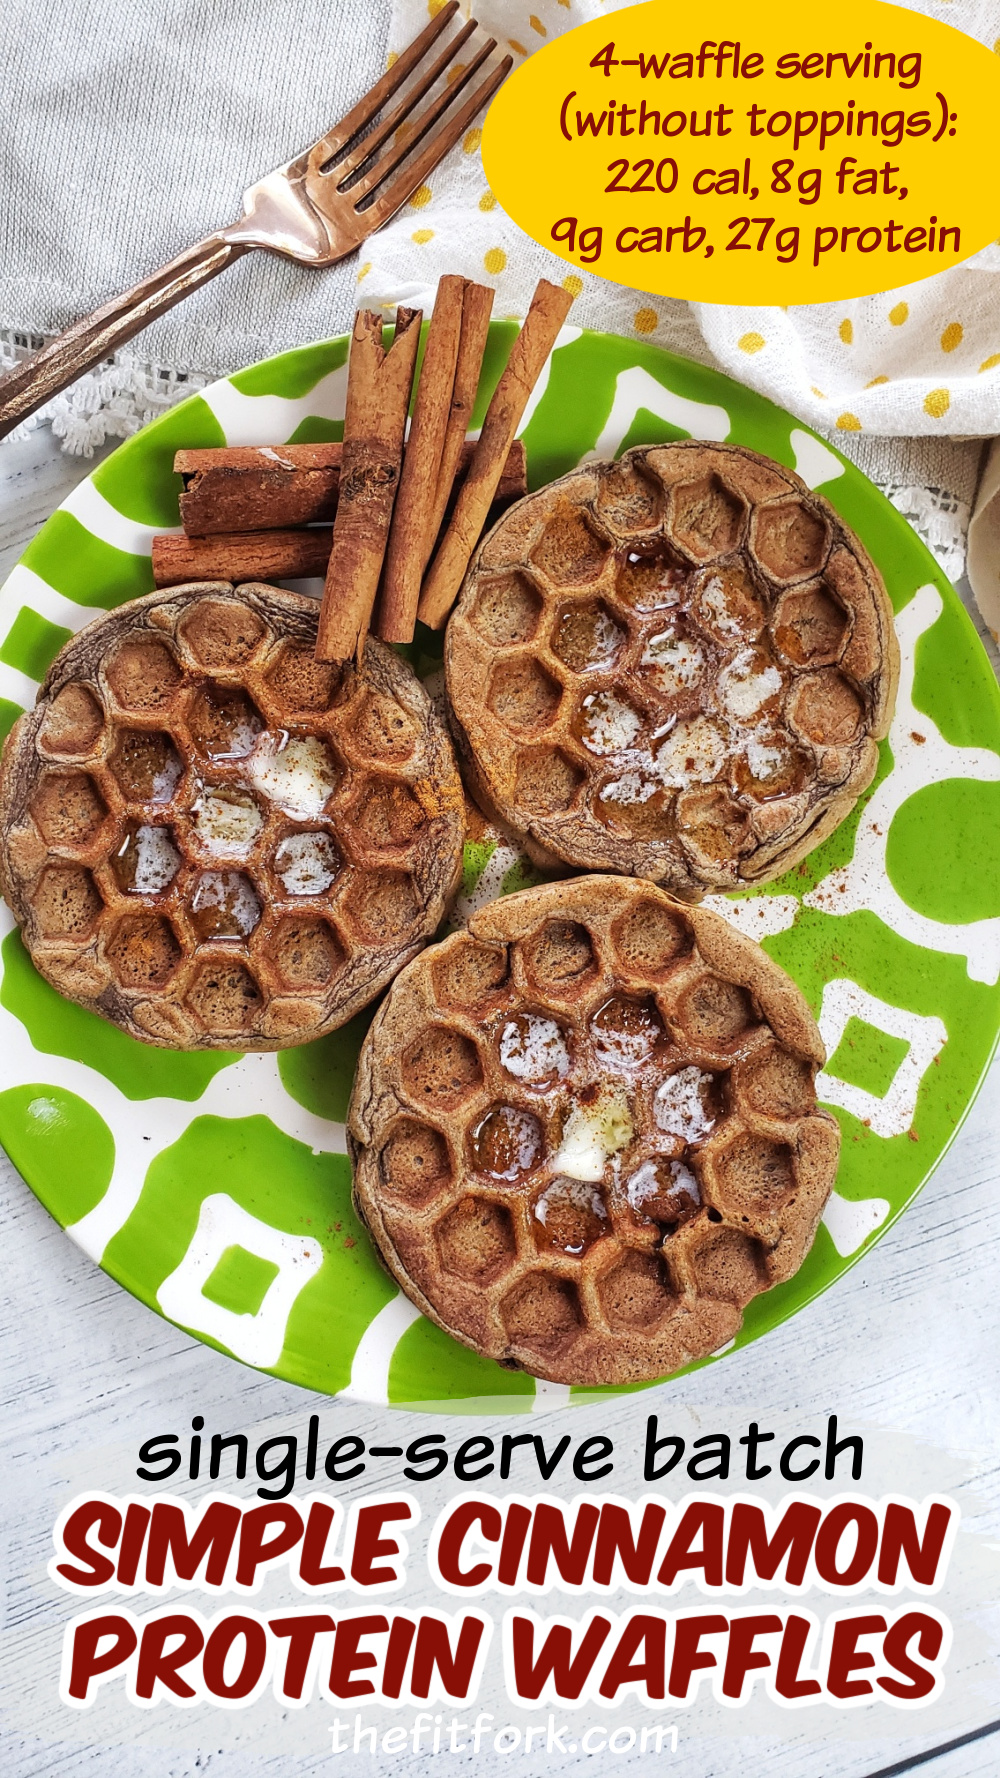
A protein waffle recipe for one, a single batch makes either four waffles in a mini waffle iron, or one large waffle in a traditional (4-square) waffle iron. And, let me mention from experience – eating all four waffles is VERY filling and the macros are amazing. The entire batch is only 222 calories, with 9g carb, 8g fat and 27g protein. Toppings are extra though, please note!
The featured ingredient in this cinnamon protein powder waffle is, you guessed it . . . protein powder! Use the protein powder product of your choice, but I am a fan of the plant-based Clean Lean Protein from Nuzest (I used the Smooth Vanilla flavor for this recipe). Here’s a Nuzest protein powder coupon (also good for their other nutrition products) – THEFITFORK15
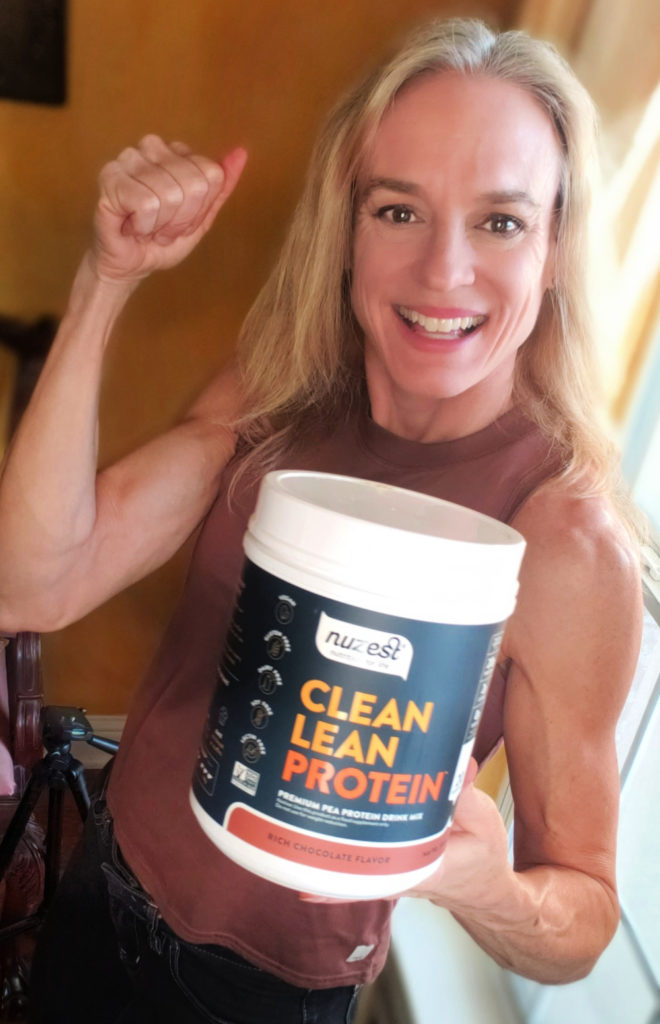
FITFORK is a discount code for 15% off your order at Nuzest-USA.com
Other Ingredients in Simple Cinnamon Protein Waffles:
Green Banana Flour: This alternative “flour” is packed with minerals, loaded with gut-helping prebiotics and can help reduce your glycemic load. It’s also naturally gluten-free. You may swap in an equal amount of another flour, if preferred. Like a coconut flour, oat flour, a gluten-free blend, or traditional wheat flours.
Egg: The incredible, edible egg adds 6g of protein to this recipe and help keep the waffles ligher and fluffier – not like some sort of protein powder brick.
Almond Milk: or, another unsweetened milk alternative
Ground Cinnamon: Cinnamon is an amazing superfood spice! I like using Ceylon Cinnamon, referred to by many as the one “true cinnamon.” It offers a great source of cinnamaldehyde, the essential oil that provides the signature cinnamon flavor and smell – along with assisting in certain metabolic, infections, digestive and/or respiratory disorders. The studies with cinnamon that have grabbed my attention is how the spice can help lower blood sugar, and thusly may have positive implications for those with/or avoiding diabetes and metabolic syndromes.
Making Cinnamon Protein Waffles:
Start by whisking egg in a small bowl and then stir in the remaining ingredients.
The batter should be a medium thickness, meaning “pourable” but not too runny. If your batter seems too gloppy, add more almond milk (a teaspoon at a time). If too thin, add more flour, a half-teaspoon at a time.
Make sure to pre-heat waffle iron. My protein waffles did not stick to the iron at all, but it was a new mini waffle iron, with non-stick coating. If needed, oil or spray the waffle iron plates as needed.
Meal Prepping and Freezing Waffles with Protein Powder:
To freeze cinnamon protein waffles, allow them to cool completely, in a single layer. If you used a large waffle iron, pull them apart along the perforation to make single pieces. Place waffles on pan in the freezer for about an hour to “pre freeze.” This will keep them from ultimately sticking together in the bag.
Transfer partially frozen cinnamon waffles into a zip-top bag or storage container and keep in the freezer for up to 3 months.
You can reheat frozen waffles in the toaster. Or, also in an oven preheated to 350F for 10 minutes, or air-fryer set at 390 F for 5 minutes or until thoroughly warmed and crispy.
Although this vanilla protein powder waffle recipe is written for a individual portion, you can meal prep it my simply multiplying how many servings you’d like. For example, 1 1/3 cup of protein powder, 4 eggs, 1 cup almond milk, ¼ cup green banana flour and 1 tsp baking soda would allow you to meal prep protein waffles and stock your freezer for busy mornings.
Optional Apple Maple Topping for Cinnamon Protein Waffles :
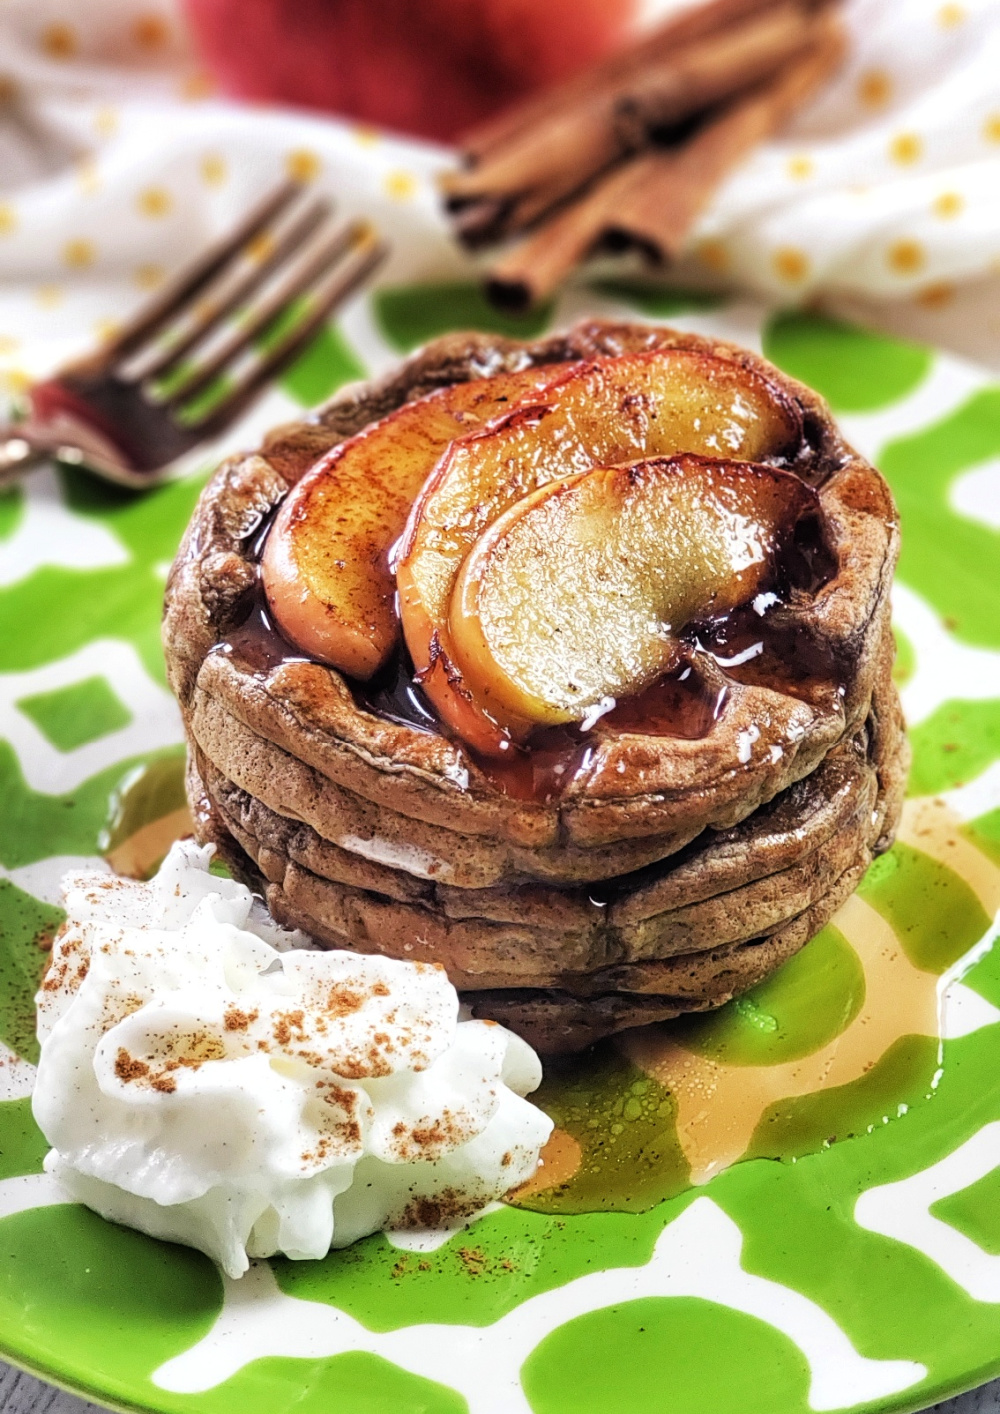
Need protein waffle topping ideas?! On of my favorites is the sugar-free maple apple topping you see in the photo below. Simply dice up 1/4 of an apple and microwave with a pat of butter until softened. Then, stir in 1/4 cup sugar-free maple flavored syrup before drizzling all over your cinnamon waffles with protein powder.
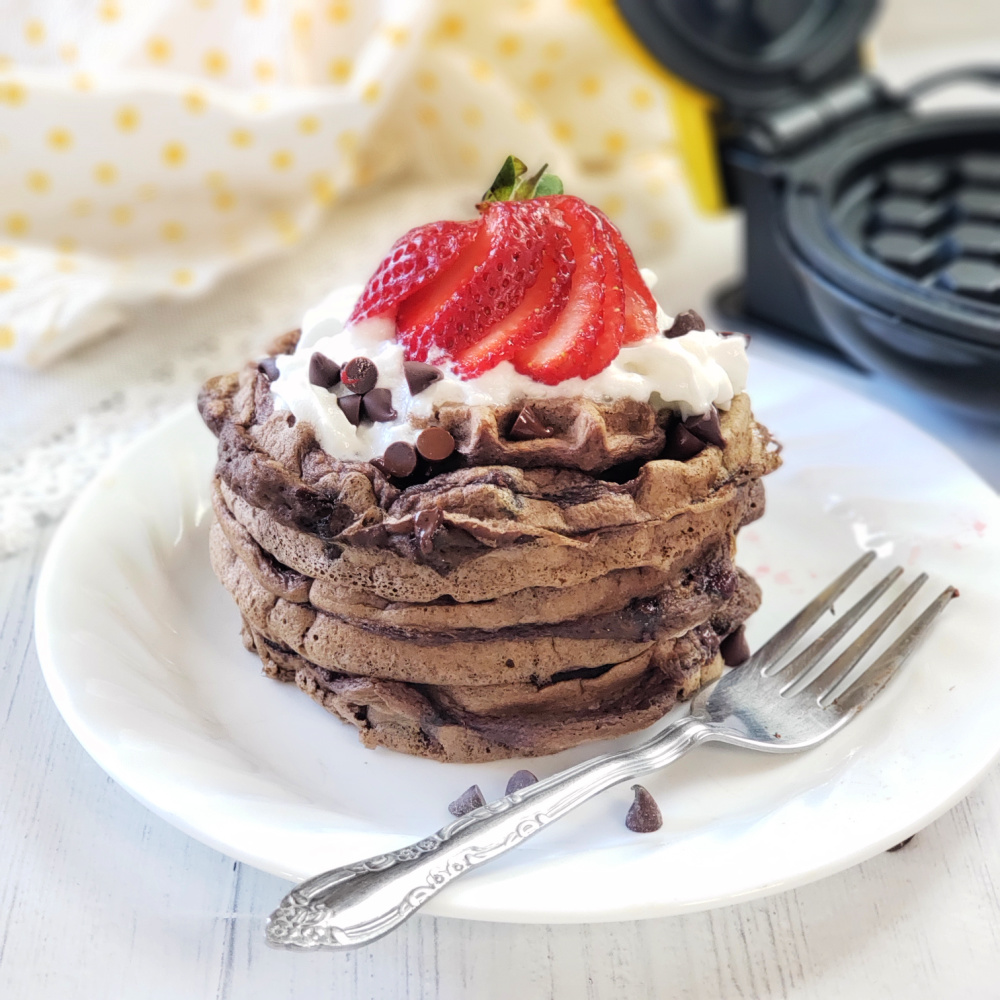
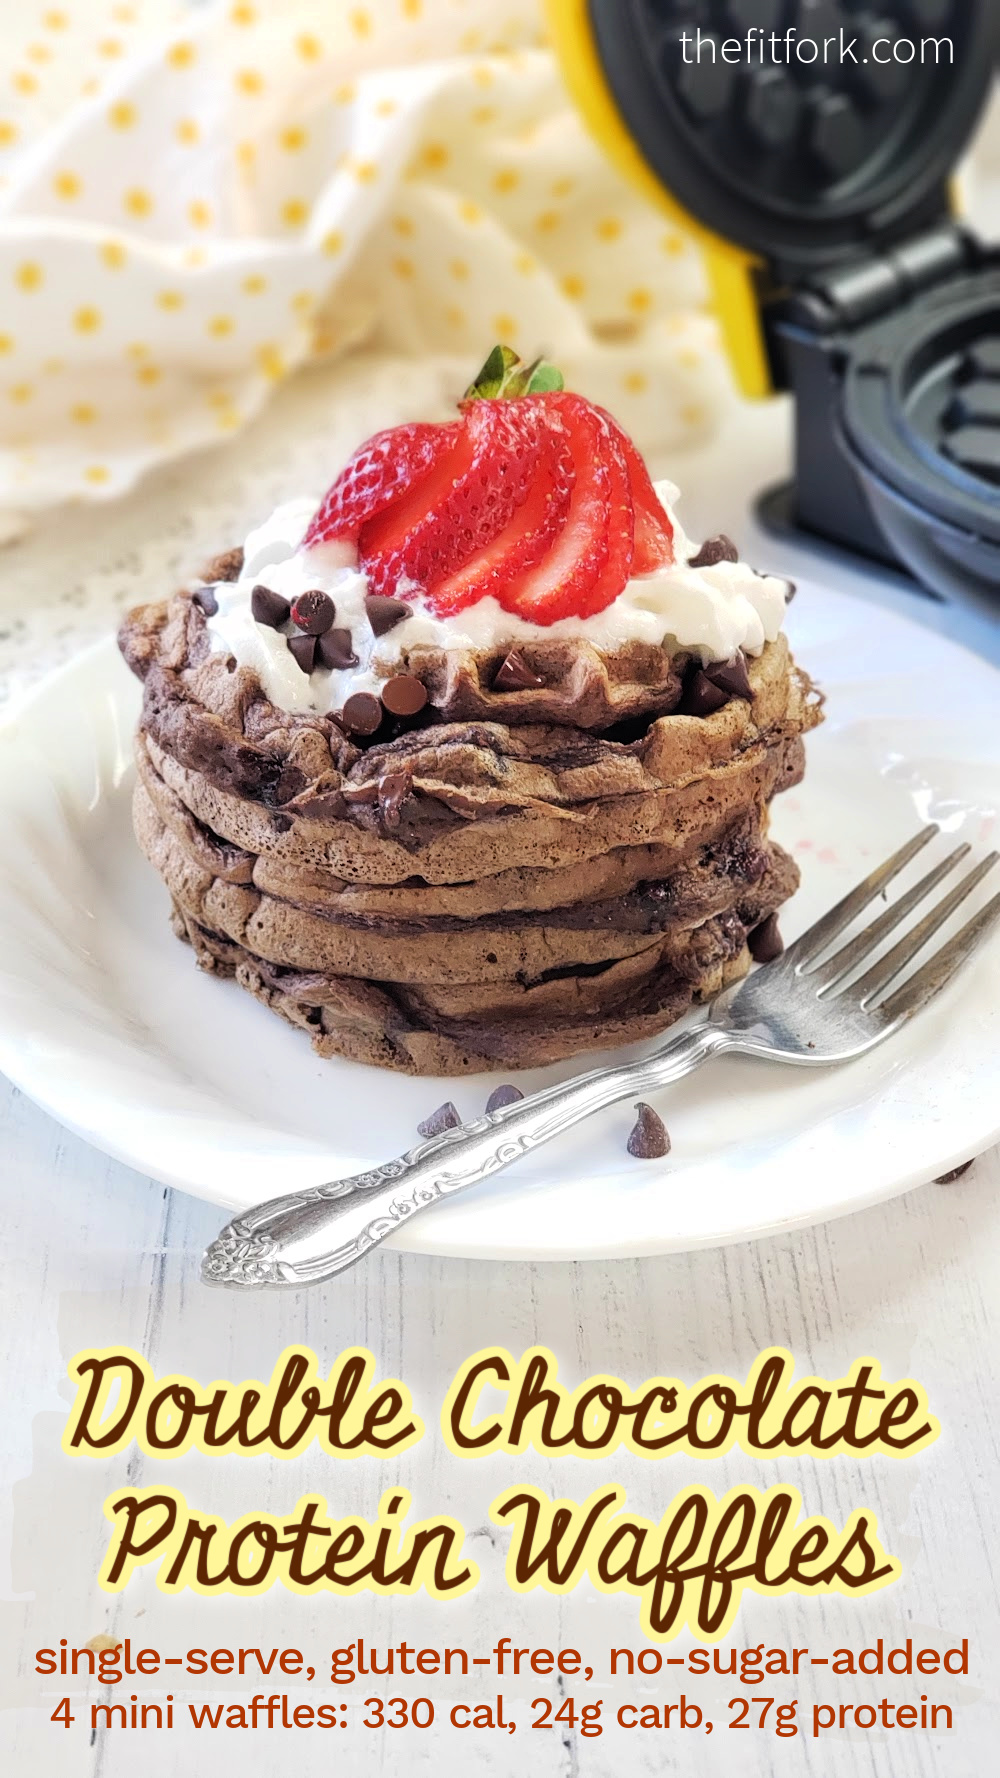
AND, if you’re a chocolate fan, you’ll not want to miss my Double Chocolate Protein Waffles – another delicious way to incorporate more plant-based protein into your morning. A very similar recipe to the Cinnamon Protein Waffles – only with flavor changes!
Disclaimer: This post contains affiliate links. I may earn a small commission for sales generated through links, however the price to you remains the same. Proceeds are used to offset operating expenses at The Fit Fork.

A single-serving batch of Cinnamon Protein Waffles can bewhipped up in minutes to help fuel you’re the day’s adventures (or endless taskof errands, by default). Gluten-free, no added sugar, and low in carbs. Simple to scale up for meal prep and store in freezer.
- 1 egg
- 1/2 cup unsweetened almond milk plus a little more if batter super thick
- 2/3 cup plant-based protein powder I used Nuzest Smooth Vanilla
- 1 tbsp green banana flour or another type flour
- 1/2 tsp ground cinnamon
-
Wisk egg, stir in almond milk. Mix in protein powder, flour and cinnamon until combined.
-
Heat mini waffle iron (or large iron). Pour ¼ batter into mini iron (or all batter into large 4-section iron), close lid and cook until indicator light goes off.
Macros (for 4 mini waffles or 1 large waffle with 4 squares. Toppings not included
220 calories, 8g fat, 9g carbs, 27g protein