Watermelon with cinnamon might sound a little unexpected… but nutritionally, this pairing actually makes a lot of sense. Whether you’re looking for a refreshing snack, a smarter way to satisfy a sweet tooth, or a simple performance-friendly bite, this combo delivers more than just flavor.
Let’s break down why it works 👇
🍉 Hydration + Blood Sugar Balance: Watermelon is about 90% water, making it one of the most hydrating fruits you can eat—especially helpful before or after workouts, during hot weather, or anytime you need a refresh.
Because it’s naturally sweet, watermelon can spike blood sugar quickly on its own. That’s where cinnamon comes in. Cinnamon has been studied for its ability to help improve insulin sensitivity, which may support a more balanced blood sugar response when paired with fruit.
🔥 Metabolism + Flavor Boost: Cinnamon contains compounds like cinnamaldehyde, which may help support metabolic function. While it’s not a magic bullet, adding cinnamon is an easy, natural way to enhance your overall nutrition strategy.
Bonus: cinnamon amplifies sweetness without adding sugar—so your watermelon tastes even better with zero extra calories.
🛡️ Antioxidant Power Combo: This pairing brings together two antioxidant-rich foods:
- Watermelon is packed with lycopene, which is linked to heart health and reduced inflammation
- Cinnamon provides polyphenols that help combat oxidative stress
Together, they can help support recovery from workouts and protect against everyday wear and tear on the body.
🌿 Digestive Support: Cinnamon has traditionally been used to support digestion and may help reduce bloating or discomfort that some people experience with fruit. Adding a light sprinkle can make watermelon easier on your stomach—especially if you’re sensitive to high-water or high-sugar fruits.
💪 A Workout-Friendly Snack: Simple, effective, and easy to digest plus, it’s hydrating, light on the stomach, and naturally energizing. This combo works well pre-workout for quick fuel or post-workout to rehydrate and replenish.
✨ Why I Use Ceylon Cinnamon Instead of Regular
Not all cinnamon is created equal. Most grocery store cinnamon is Cassia cinnamon, which contains higher levels of coumarin—a compound that isn’t ideal in larger amounts over time.
Ceylon cinnamon (often called “true cinnamon”) is my go-to because it’s:
✔️ Lower in coumarin
✔️ Milder and slightly sweeter in flavor
✔️ Better suited for regular, everyday use
If you’re using cinnamon frequently, upgrading to Ceylon Cinnamon is a small change that can make a difference.
🍽️ Recipes with Watermelon and Cinnamon
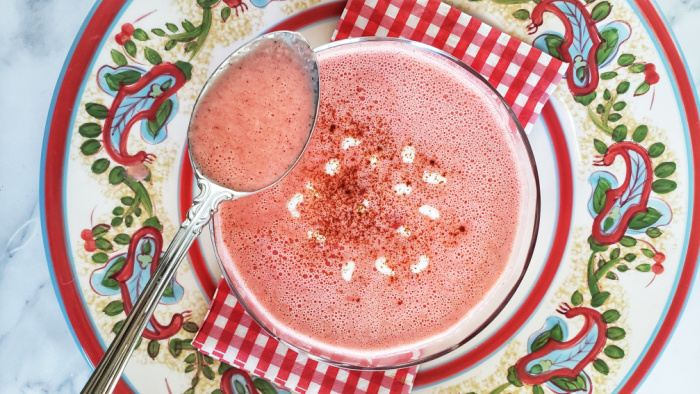
Creamy Cinnamon Vanilla Watermelon Soup
Light, refreshing, and surprisingly indulgent—perfect for warm weather.
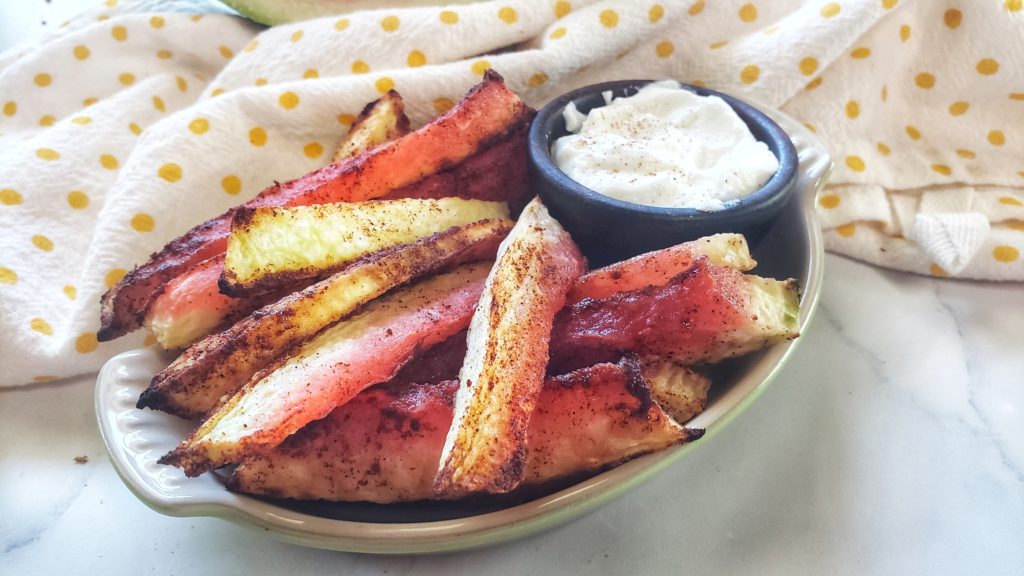
Cinnamon Churro Watermelon Rind Fries
A fun, low-waste recipe that transforms watermelon rind into a sweet, spiced treat.

Mulled Watermelon Apple Cider
Cozy and spiced—great warm in cooler months, or served over ice in summer for a refreshing twist.

Watermelon Apple Switchel A refreshing watermelon drink with anti-inflammatory benefits from cinnamon and all sorts of health perks from fermented apple cider vinegar.