Small Batch Hummus to Serve One or Two

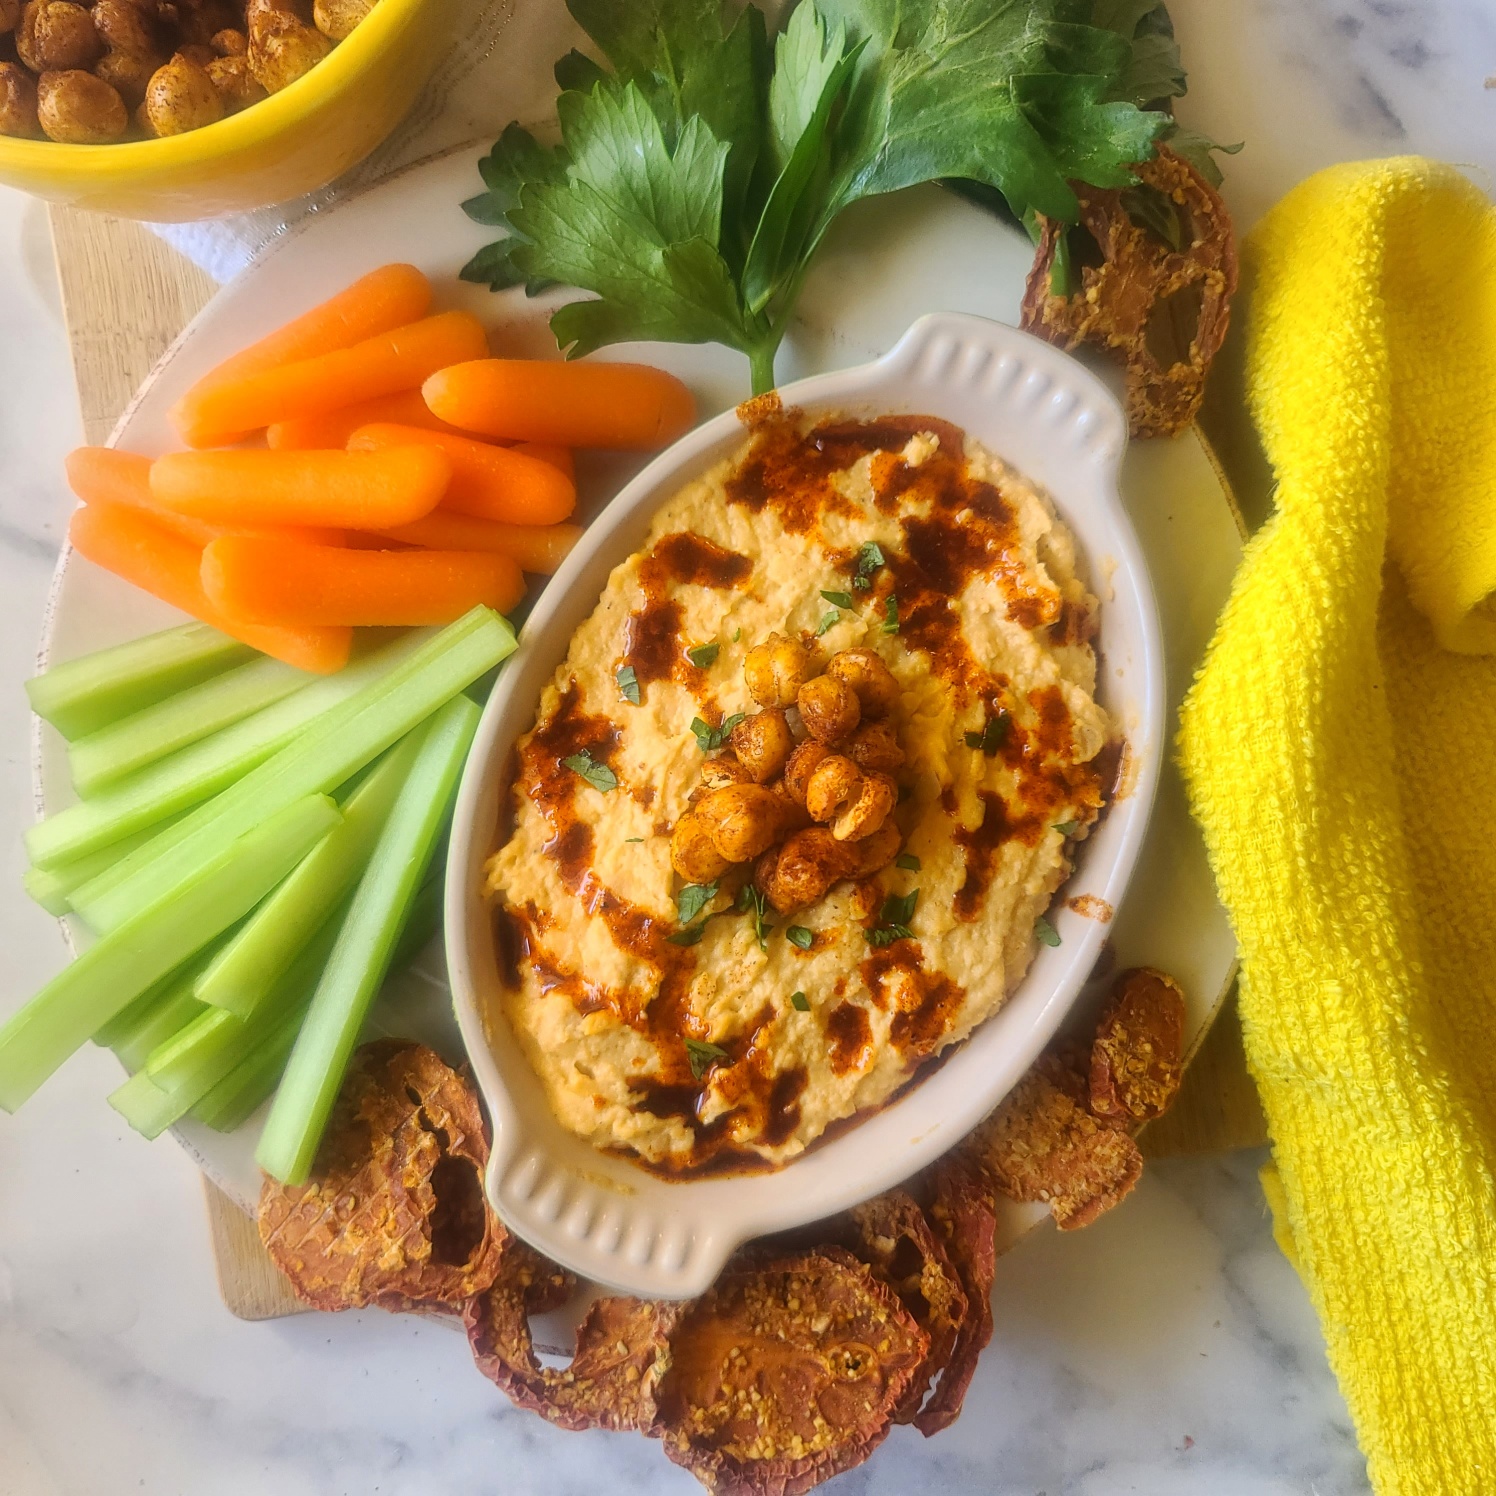
Buying a big tub of hummus can seem like such a commitment, especially if you’re snacking solo or with a just friend or two.  My Small Batch Hummus recipe is perfectly proportioned so that you can finish it off in two sittings (or one snack session if super hungry) – or share it with a buddy and have no leftovers clogging up the fridge!   
Small Batch Hummus - Cooking for One

Exciting News:

This small batch dip (or spread) is featured in my upcoming cookbook, Cooking for One for Dummies (which can be pre-ordered now, ships on March 7, 2023)

Plus, when you make homemade hummus, you’re in total control of the ingredients – there’s no weird preservatives, additives, or yucky stuff.  Plus, you get all the benefits of chickpeas, they are abundant in dietary fiber and also a good source of plant protein, iron, folate and other essential nutrients.
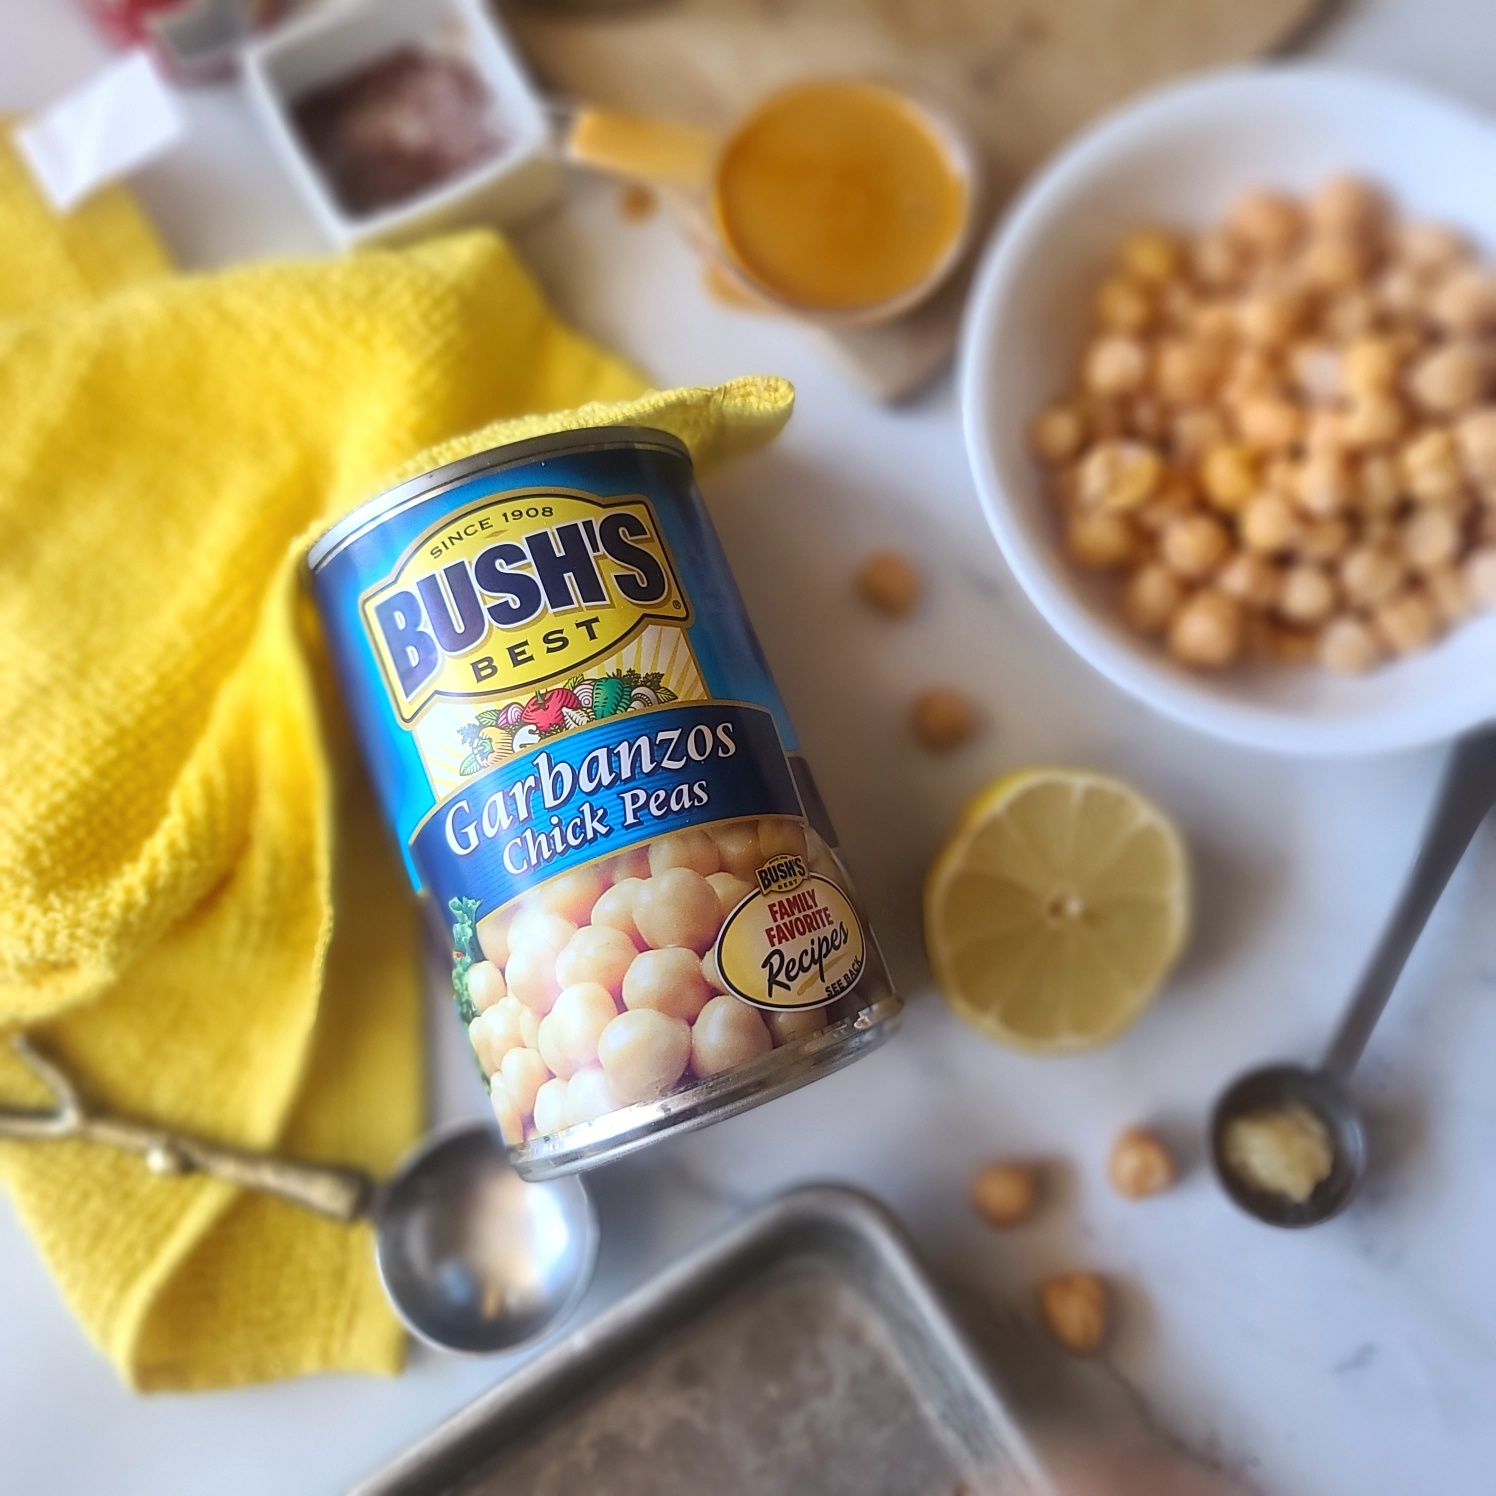
It’s fast, it’s easy, there is no cooking – you start with a can of chickpeas. Of course, you can make your own chickpeas, but that adds a lot of time and hassle to what is an easy-peasy snack recipe for one or two.
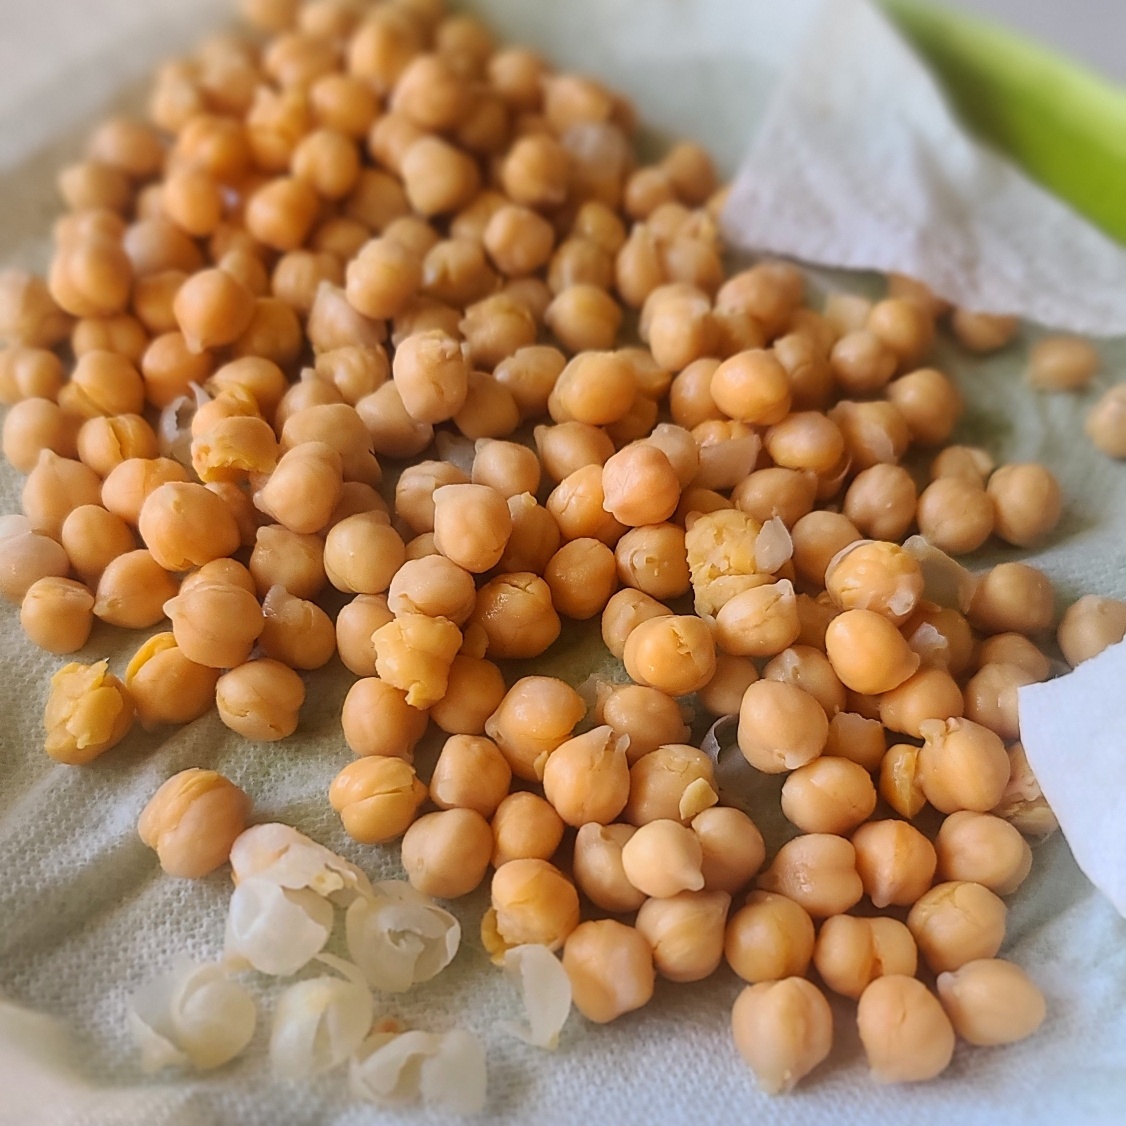
skin on chickpeas
Gently rub any remaining skins off your chickpeas for smoother hummus.

After draining the chickpeas (a legume sometimes referred to as garbanzo beans), pour them out onto a clean dishcloth or paper towels and lightly rub dry. In addition to drying the chickpeas, the other goal here is to remove any lingering skins. The light patting dry will encourage stragglers to fall off, simply pick the skins out and discard. The skins will do no harm if they end up in your hummus, it will just be not quite as smooth and creamy.  
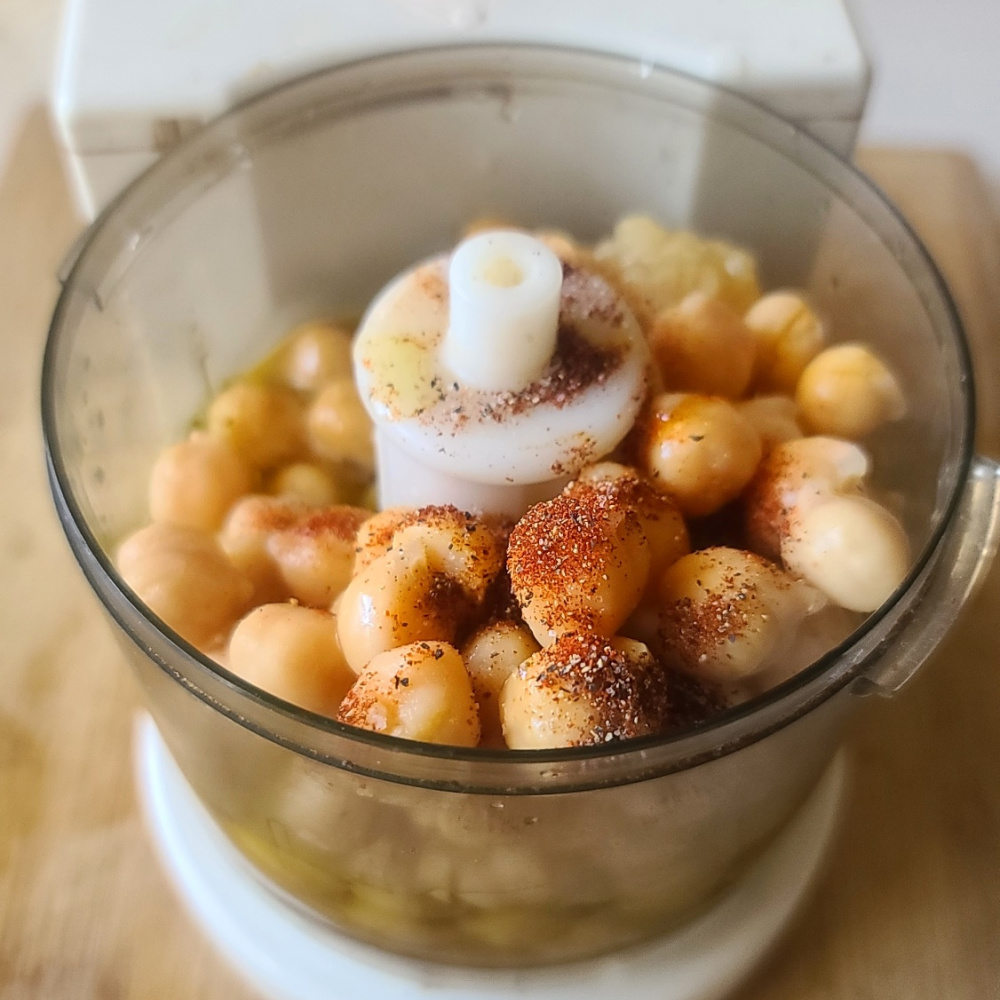
Then, it’s just a matter of whipping everything up in a food processor or blender. Since this is a small batch appetizer recipe, a mini food processor or personal sized blender will work best.

How to Serve Small Batch Hummus

  • Simply paired with raw veggies like carrots, celery, radishes, squash rounds are my favorite way to eat hummus.
  • Serve with pita wedges for dipping, smear on crackers, or spread on slices of toasted baguette.
  • Elevate sandwiches, wraps and quesadillas by spreading around as part of the filling.
  • Get creative and toss with hot pasta or zoodles for an instant chickpea sauce.
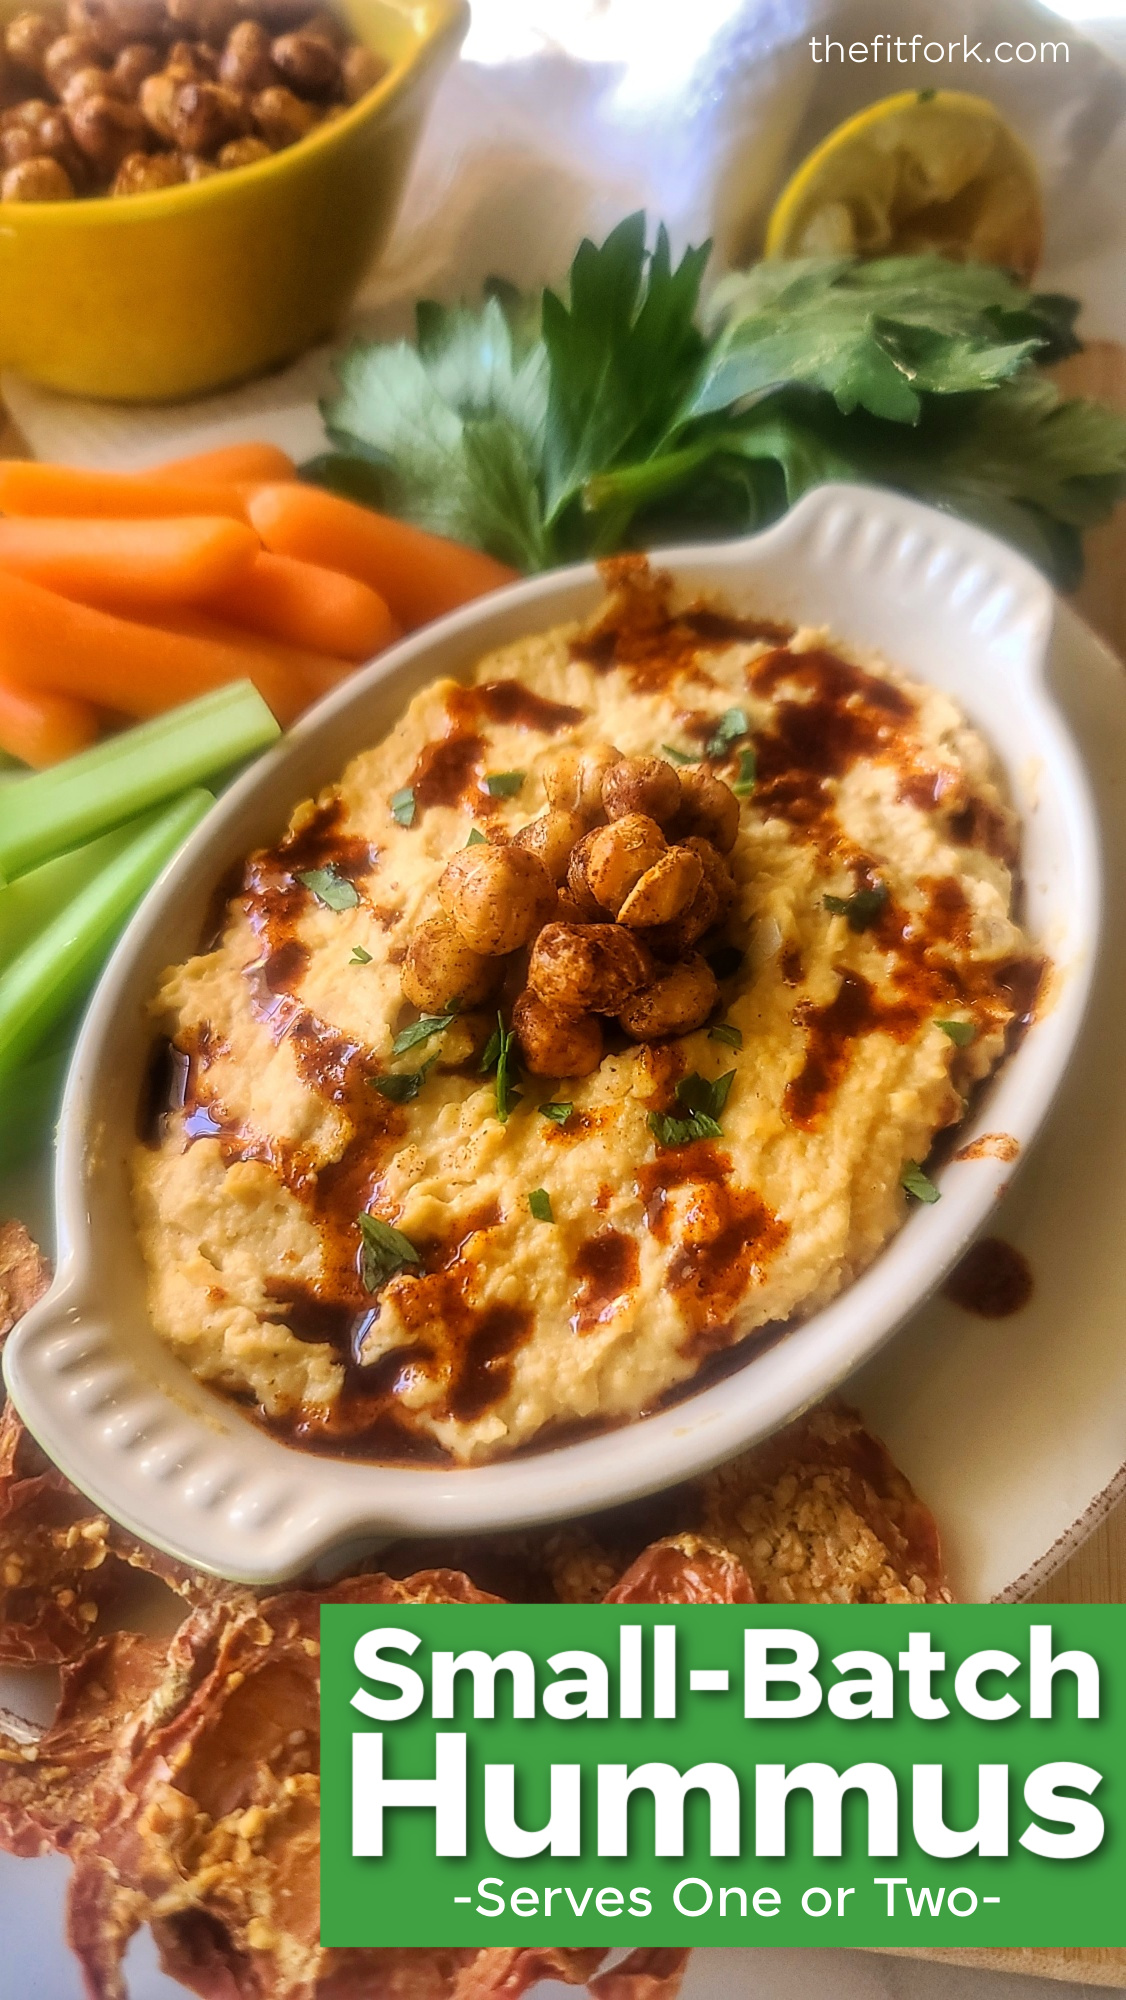
Pin this for later!

Leftover Chickpeas in Can? While this homemade hummus for two uses just half a can of chickpeas, don’t throw the remainder out — you have options. First, you could easily double the homemade dip recipe, it scales up beautifully (however, do note the capacity of your mini food processor and use a bigger processor or blender, if needed). I also have another “1/2 can chickpea” recipe — Air-Fryer Crispy Chickpeas for One which also make a fabulous, heathy snack or salad topper.
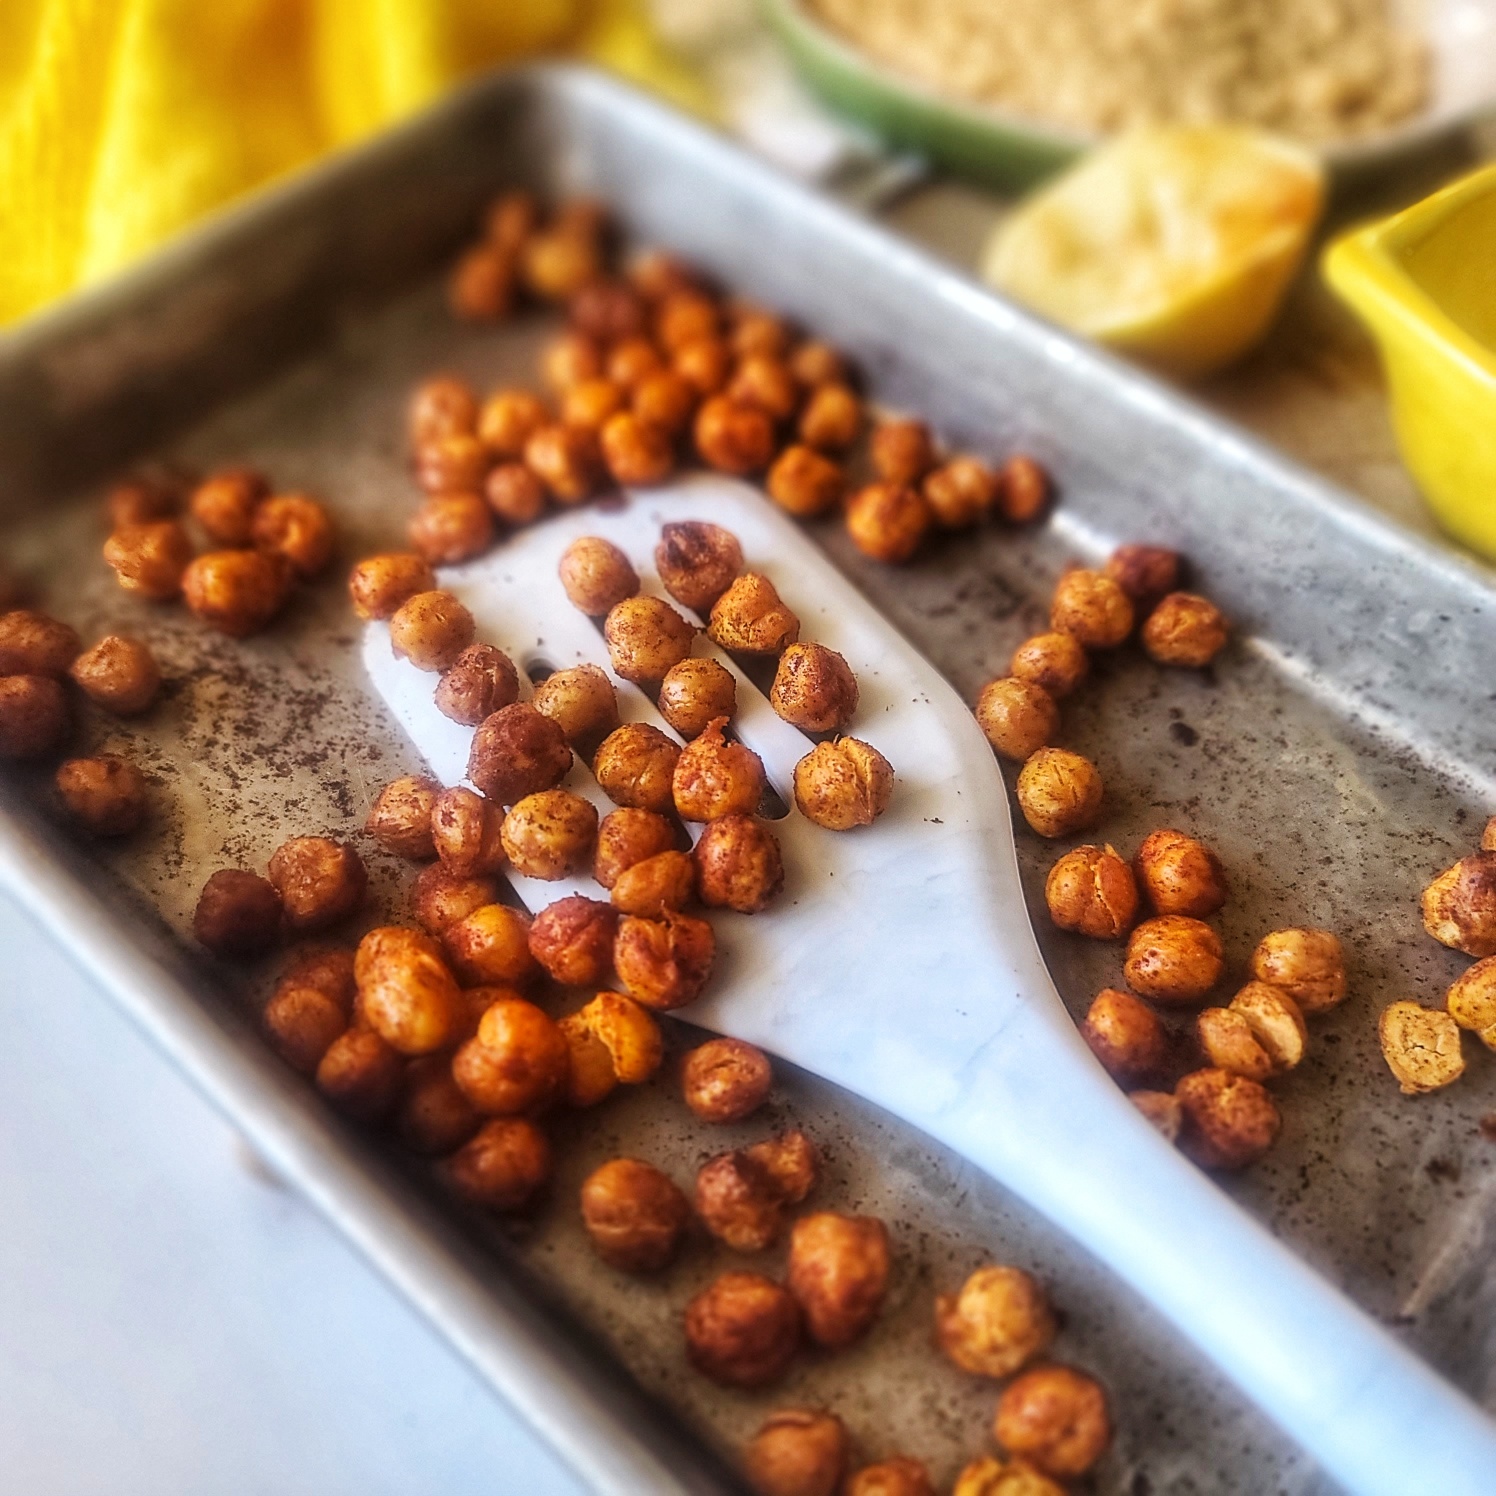
Air Fryer Crispy Chickpeas for One a=is a quick, easy and healthy snack with lots of dietary fiber plus protein, iron, and folate.

Make both the Small Batch Hummus and the Air-Fryer Crispy Chickpeas for Ones and kill off the whole can at once making healthy snacks.

This post contains affiliate links.

5 from 9 votes
Small Batch Hummus - Cooking for One
Small Batch Hummus
Prep Time
5 mins
Total Time
5 mins
 

Make just enough homemade hummus to get your through a couple health snack sessions — or to share with a friend. Easy, healthy, and homemade, a fantastic snack and spread to add to your active lifestyle. Lots of dietary fiber and a good source of plant protein, dietary fiber, iron, folate and other important nutrients.

Course: appetizers, dips, snacks, spreads
Cuisine: Mediterranean
Keyword: appetizer, chickepeas, dip, garbanzo beans, snacks, spread
Servings: 2 servings
Ingredients
  • ¾ cup canned chickpeas drained and rinsed (about half a 15.5-ounce can)
  • 3 tbsp olive oil plus an additional 1 teaspoon for topping, if desired
  • 1½ tbsp tahini
  • 1 tbsp lemon juice
  • ½ tsp garlic or garlic paste
  • ¼ teaspoon salt
  • ¼ teaspoon ground black pepper
  • 1/2 teaspoon smoked paprika
Instructions
  1. Place all the ingredients in a personal-sized blender or mini food processor; process until smooth. If the consistency seems too pasty or thick, blend in 1 teaspoon of water at a time until desired texture is achieved.
  2. Transfer the hummus to serving bowl and drizzle with 1 teaspoon of olive oil and a sprinkle of paprika.
Recipe Notes

NOTE: Store the leftovers in an airtight container in fridge for up to 4 days.
VARY IT! Extra chickpeas from can be kept in an airtight container in fridge for a few days and added to salads, soups, and wraps

LEARN MORE! This small batch dip (or spread) is featured in my upcoming cookbook, Cooking for One for Dummies (which can be pre-ordered now, ships on March 7, 2023)
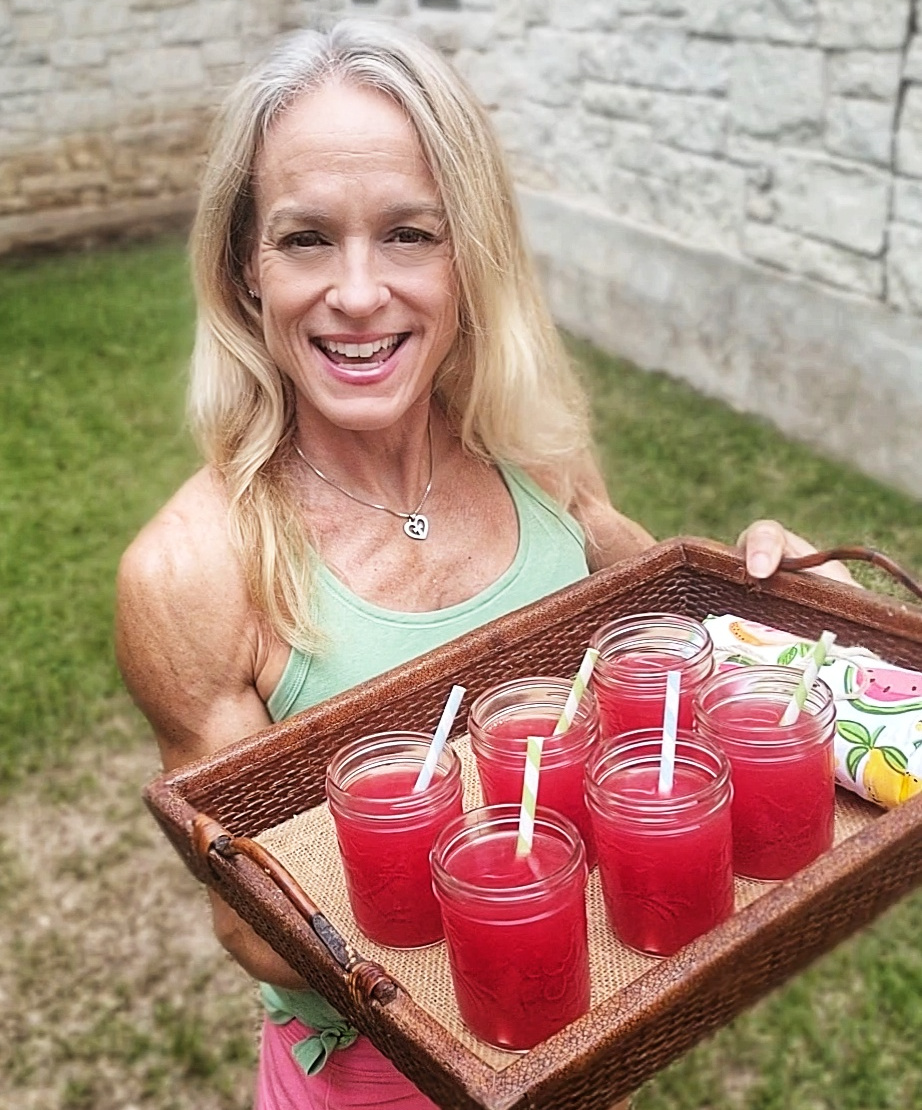
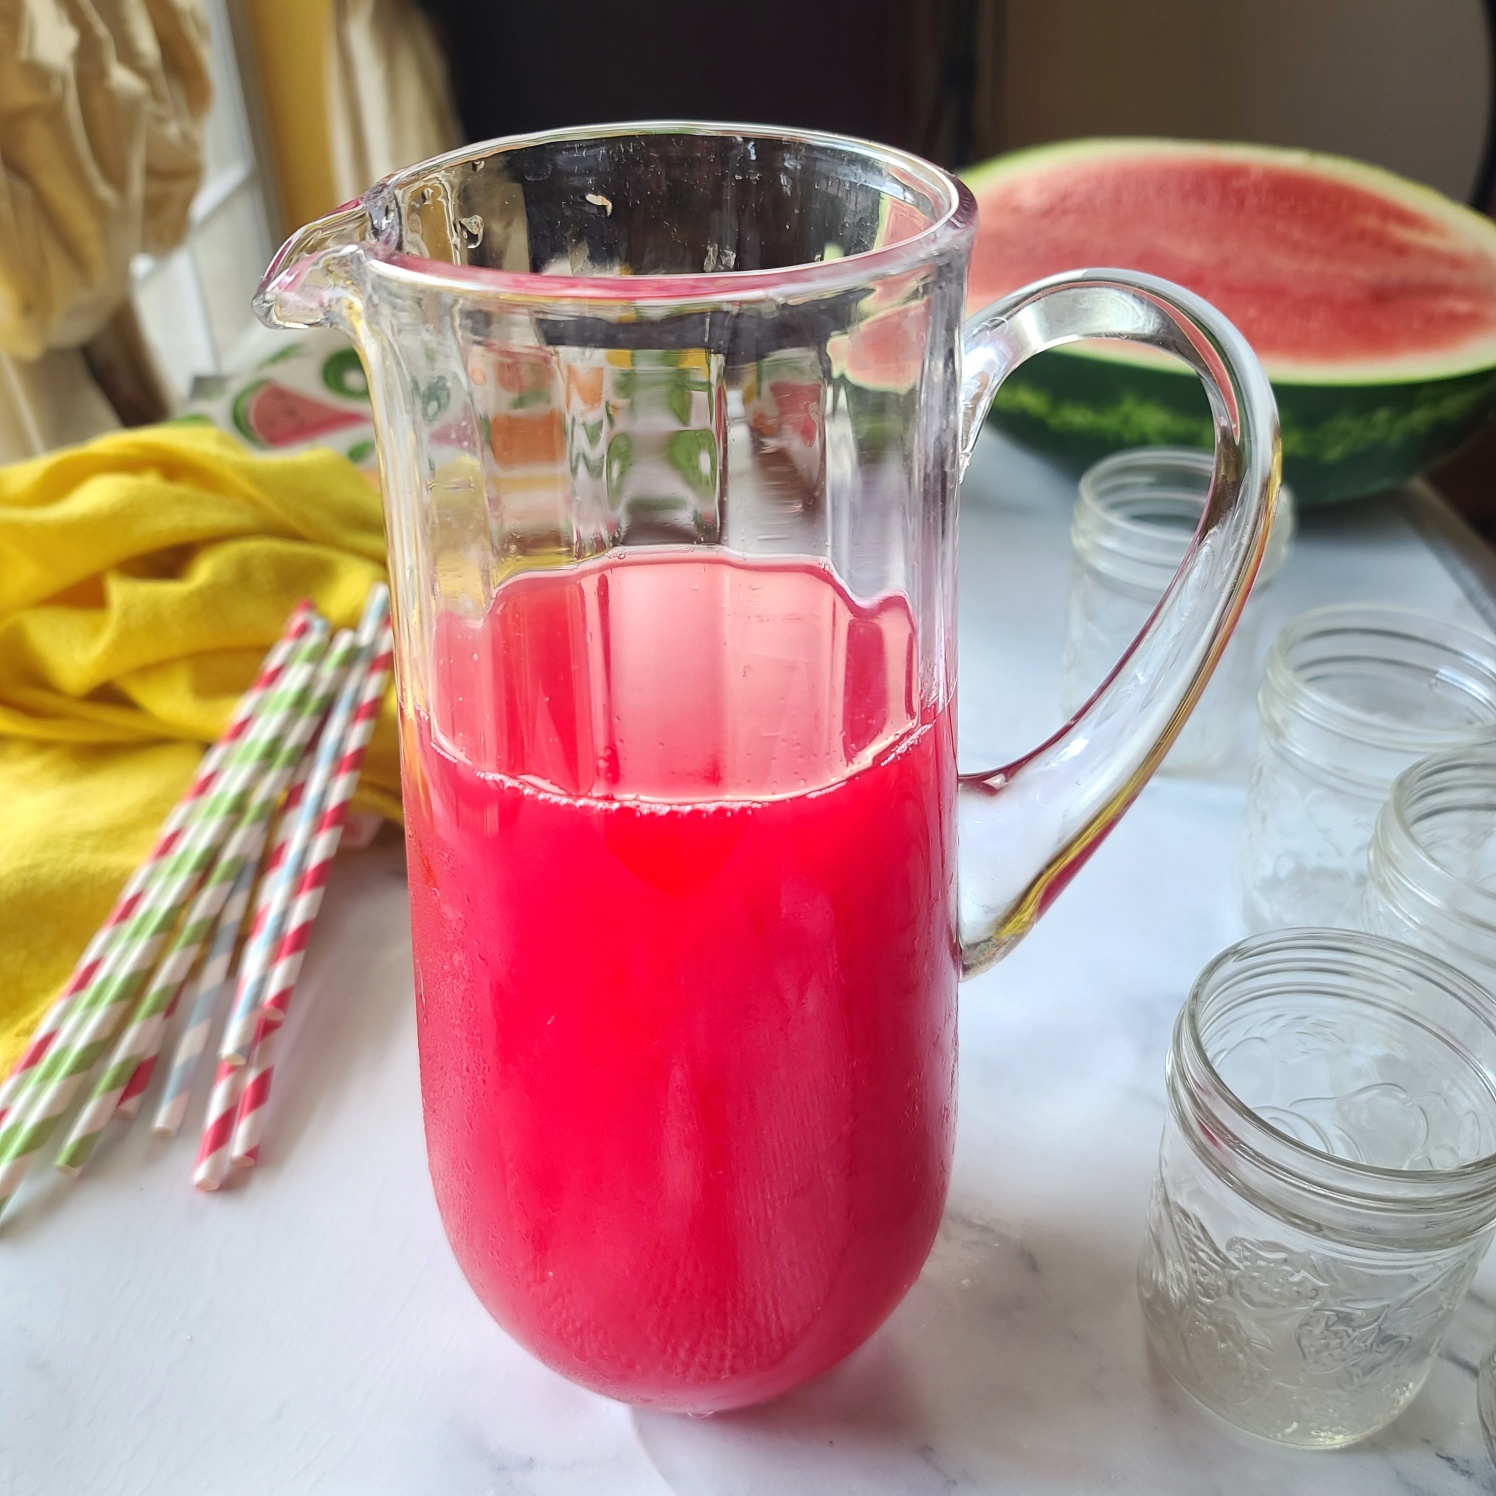
Watermelon Juice 101: How to Make, Store, and Serve with a Boost

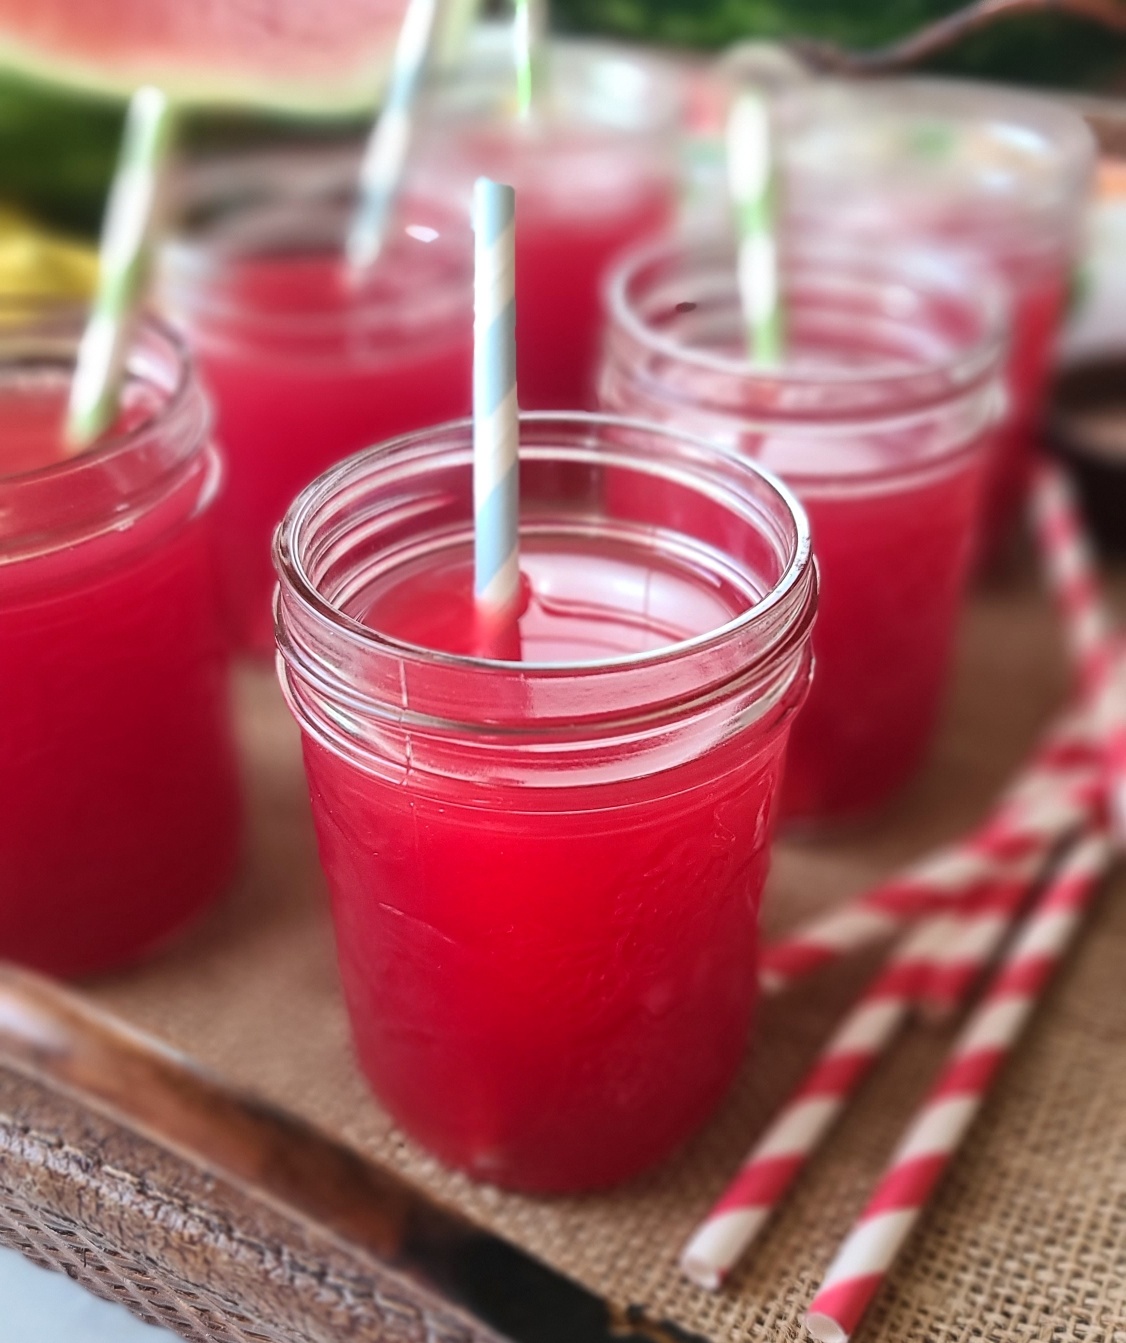
I’m here to give you all the juicy details about watermelon juice. Not just why I personally adore it, but why you will be hard-pressed not to love it too! Ex-squeeze me for all the puns. Also, learn how to make watermelon juice at home, how to store it plus how long it will stay fresh, and discover simple 1-ingredient stir-ins to entertain your taste buds.

At 92% water, watermelon is one of my favorite choices to stay hydrated, especially after runs, workouts and other active endeavors. During the summer season, icy cold juice (or even handful of frozen cubes) is so refreshing and in the winter months, I’ve been known to warm it up, which is surprisingly delicious. Either way, an 8-ounce serving of watermelon juice provides me fluids, vitamins and minerals that my body needs like vitamin C (19.4mg), vitamin A (67.2mcg), and B6 (108mcg), potassium (269mg), and lycopene (10.9mg).

Watermelon is a Smart Alternative to Soda

If had to name one vice, it would be drinking soda. But swapping with watermelon juice satisfies my craving in a naturally sweet way and helps me avoid the refined sugar, caffeine and artificial stuff.  At 72 calories per 8-ounce serving, watermelon juice is a great alternative to sodas – plus you can even add sparkling water to make it a bigger, bubblier treat.

How to Make Watermelon Juice

Watermelon juice is really something you should make at home if you want to ensure the best beverage every time plus save a ton of money. I’ve seen bottled fresh watermelon juice in some better stores, but you really have to scrutinize the label to make sure you’re getting 100% juice and not flavorings and sugar fillers. Also, those elusive cold-pressed bottles of watermelon juice out there are expensive – anywhere from $3 to $5 or more for a “single” serving bottle.  Heck for $5 or a little more here in Texas, I can get the whole watermelon and make much, much more juice (plus have leftovers enjoy a wedge or two on the side). 

Also, here’s an easy watermelon juice tutorial from Watermelon.org You can see it’s as easy as cutting, blending and straining (if you desire).

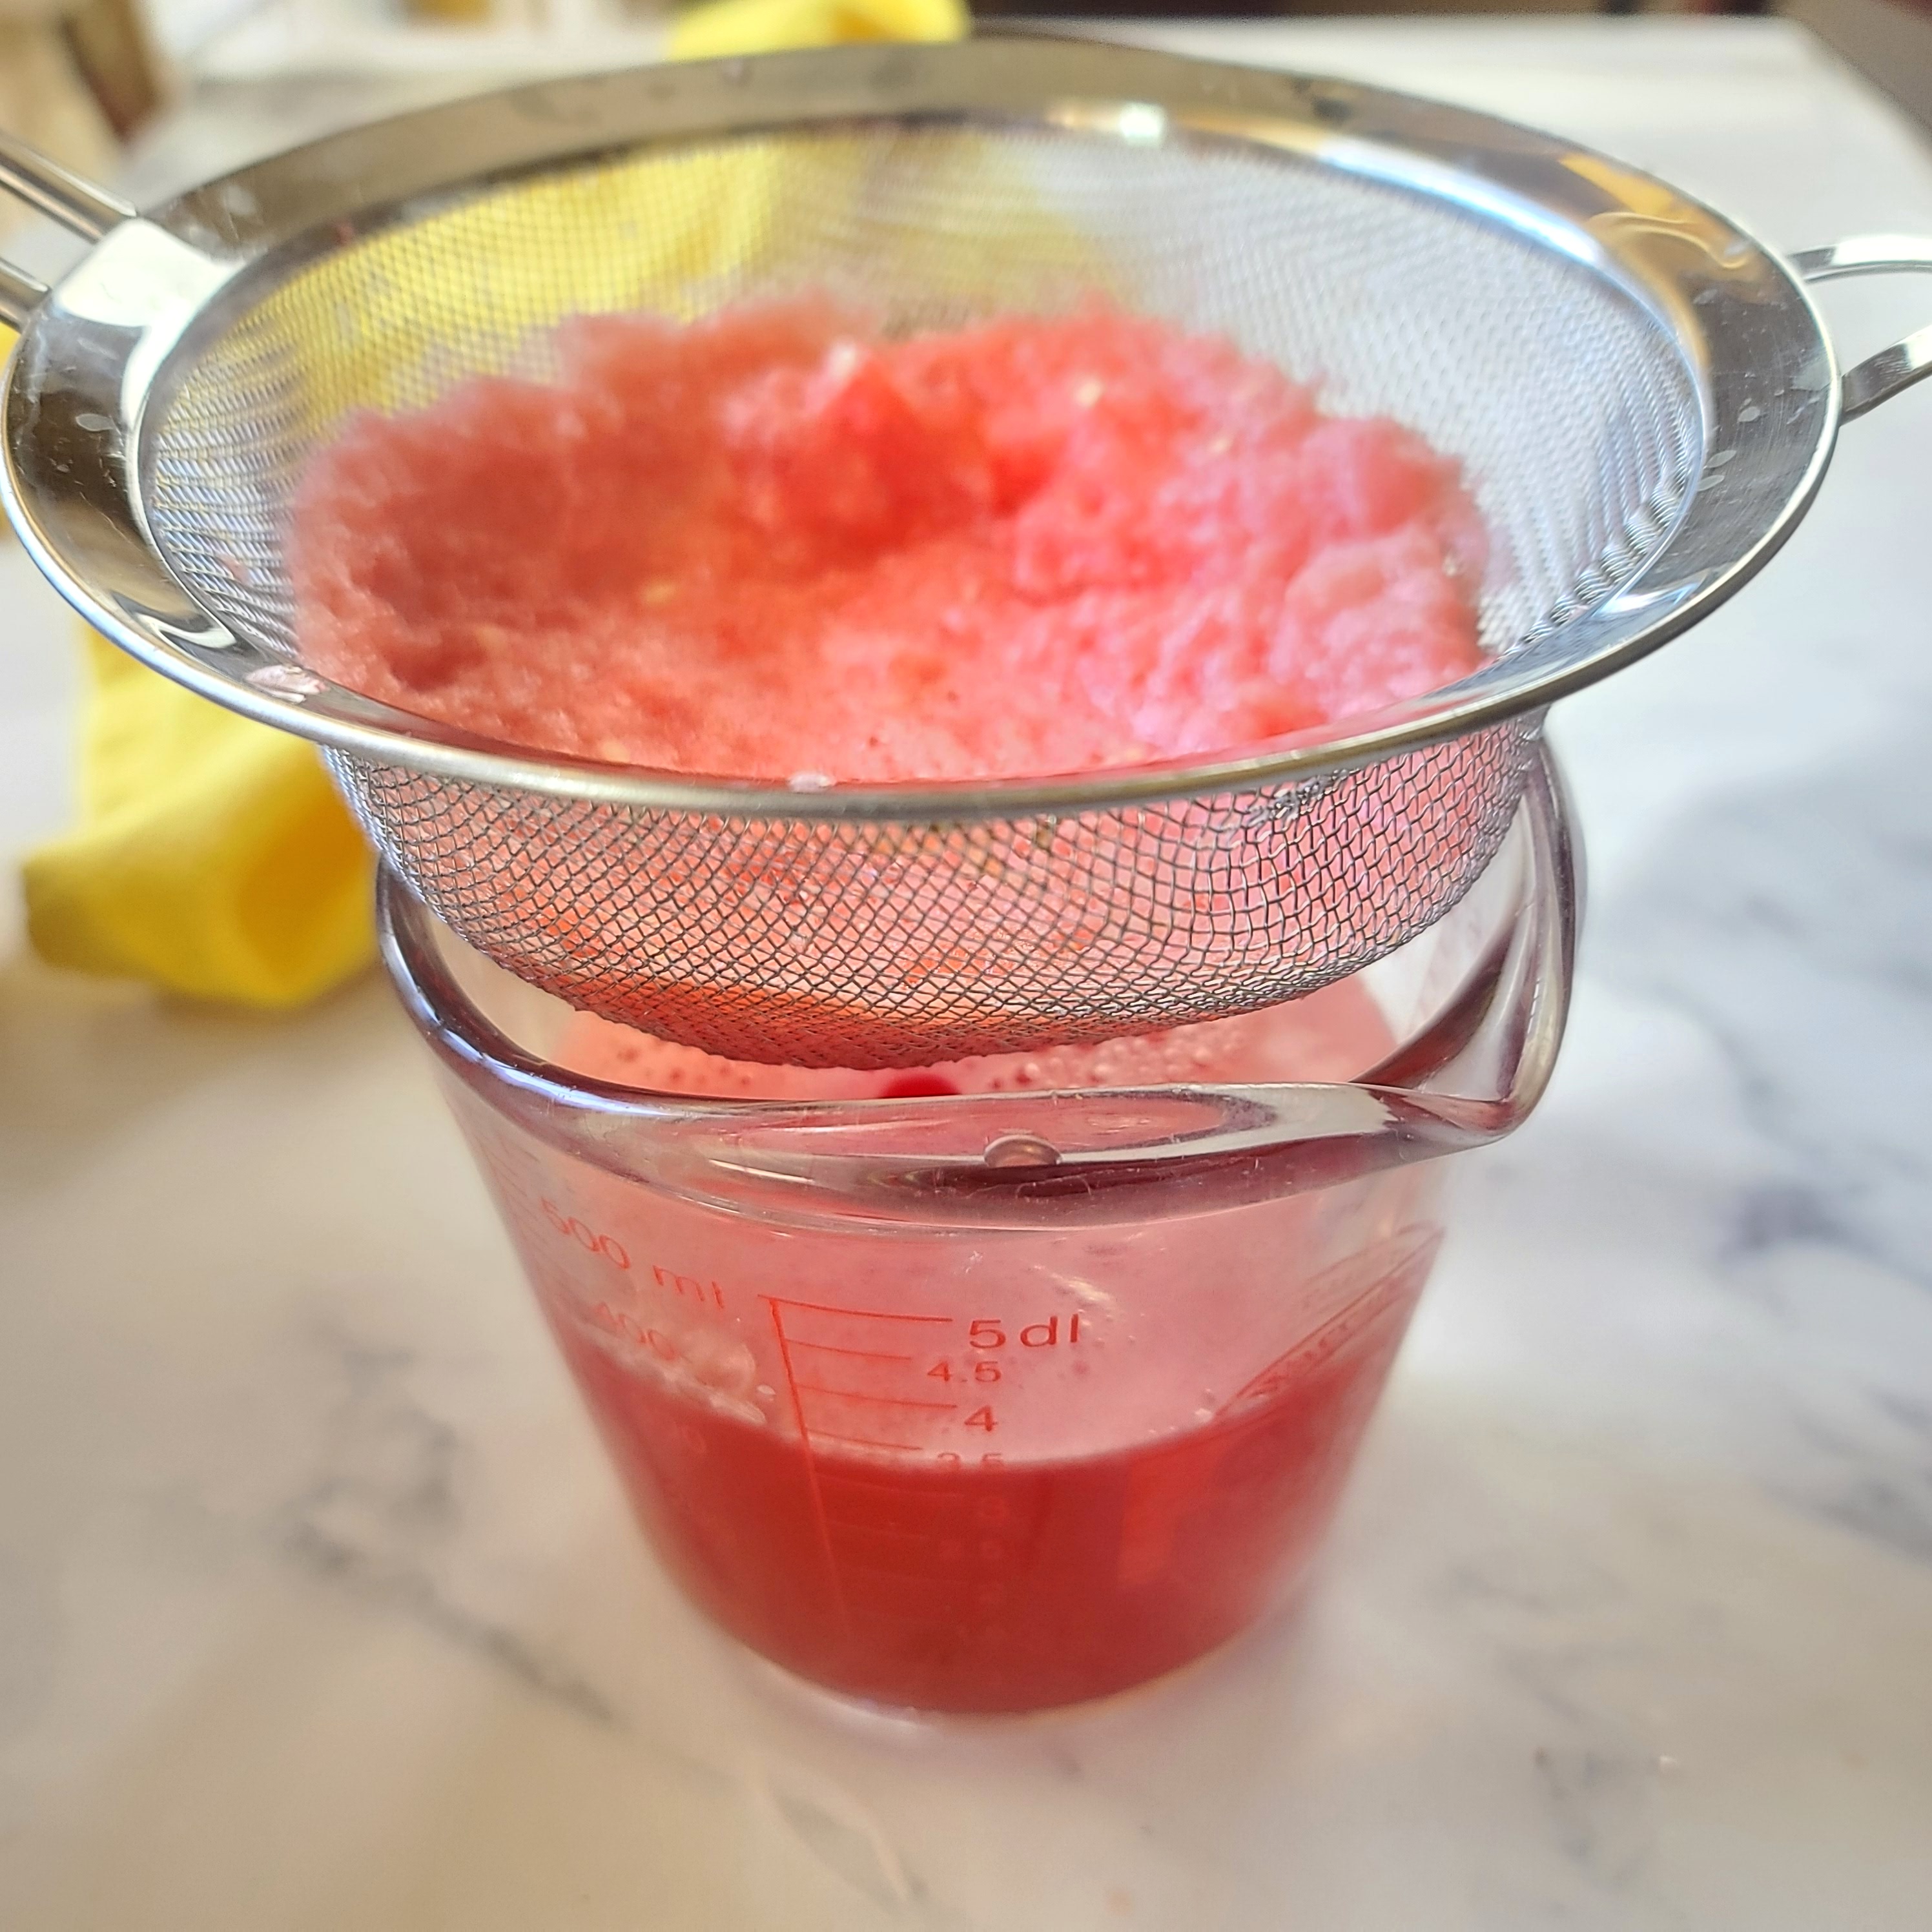
Straining watermelon juice is not necessary, just stir up pulp before serving.

You can also avoid food waste by making watermelon juice with the remaining flesh of a cut watermelon that is over-ripe or is about to reach expiration in the fridge. Watermelon.org says that a large watermelon can last up to 7 days chilled between 9°F and 36°F.  Also, I have another watermelon juice collecting hack. After I cut up a big watermelon to store in the fridge, I pour off the seeped juice sitting in the bottom of the container every night and morning – it’s amazing how much juice you collect, even when you end up eating all the watermelon! I also feel like it helps keep the texture of the cut watermelon at its best.

How Long Does Watermelon Juice Stay Fresh? Watermelon juice, because it is fresh and unpasteurized, should be consumed in 24 to 72 hours after juicing and kept chilled between 9°F-36°F In addition, the USDA recommends not leaving unpasteurized juice sitting out for more than 2 hours to prevent bacteria growth. At this time, watermelon juice can be frozen for longer term storage

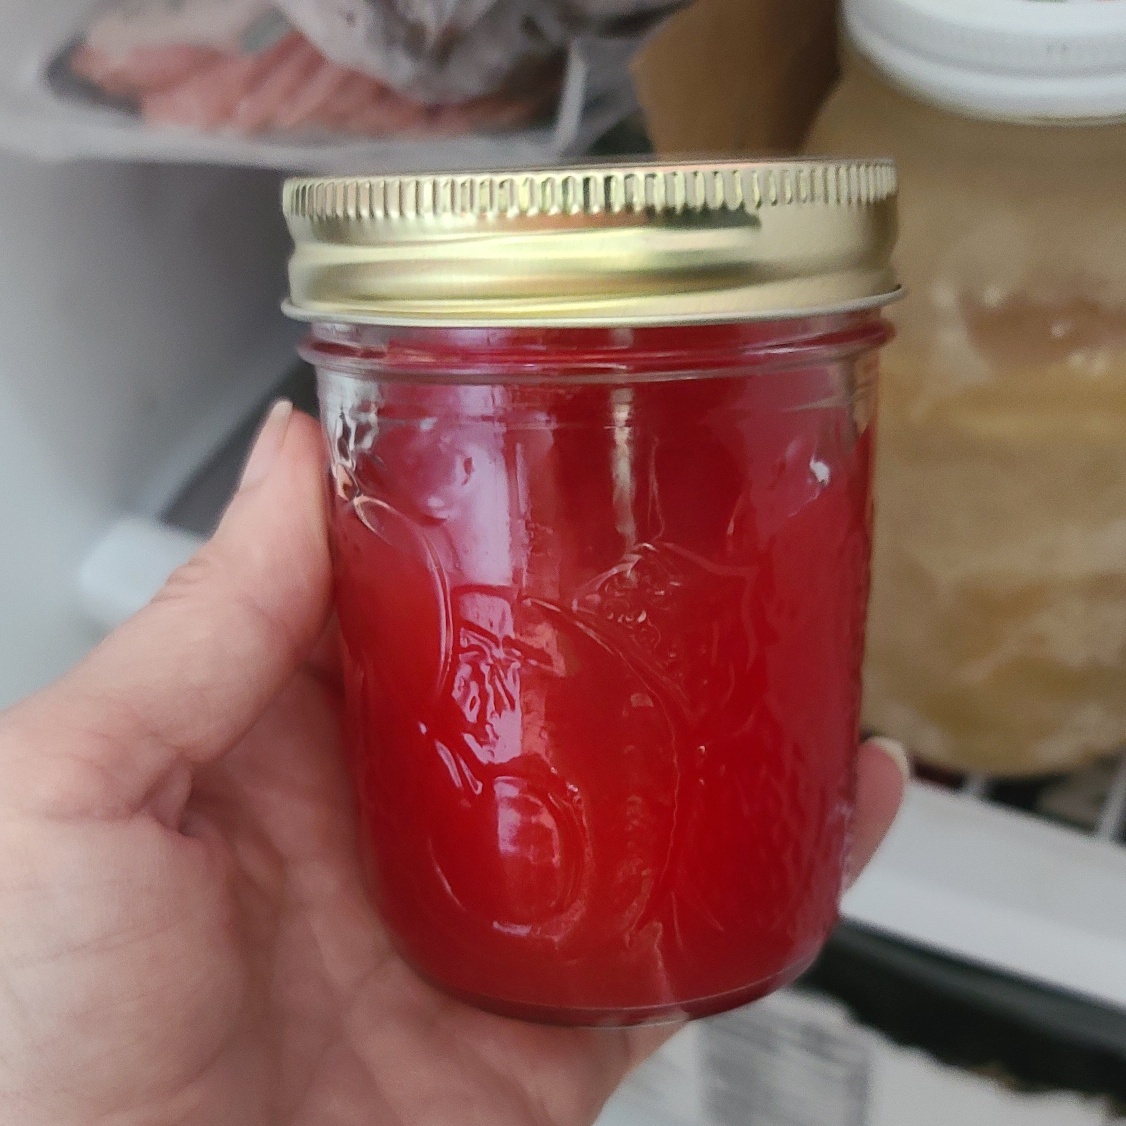
How to Freeze Watermelon Juice Freeze watermelon juice within 24-72 hours of making it and having storing it properly in the fridge. You can freeze watermelon juice for up to 6 to 12 months in a freezer set to 0°F.  Freeze watermelon juice in glass canning jars, air-tight freezer containers (tubs or heavy baggies), or even ice cube trays (later pop out and store in a freezer bag).  Make sure that your container has enough headroom at the top, about 1 or 2 inches for a jar, to allow for expansion during the freezing process.  When ready to thaw, please set in the refrigerator overnight rather than leaving on the counter

Other Food Safety Tips for Cutting Watermelon & Juicing

Only use watermelon that are free from signs of damage. Bruises, fissures and mushy spots could indicate contamination. Wash hands thoroughly with soap and water before cutting watermelons. Before cutting watermelon for juicing (or just eating), wash the outer surface thoroughly with cool tap water to remove surface dirt. Use a clean knife. Chill cut watermelon within 4 hours of cutting and store between 9°F-36°F for no more than 7 days.

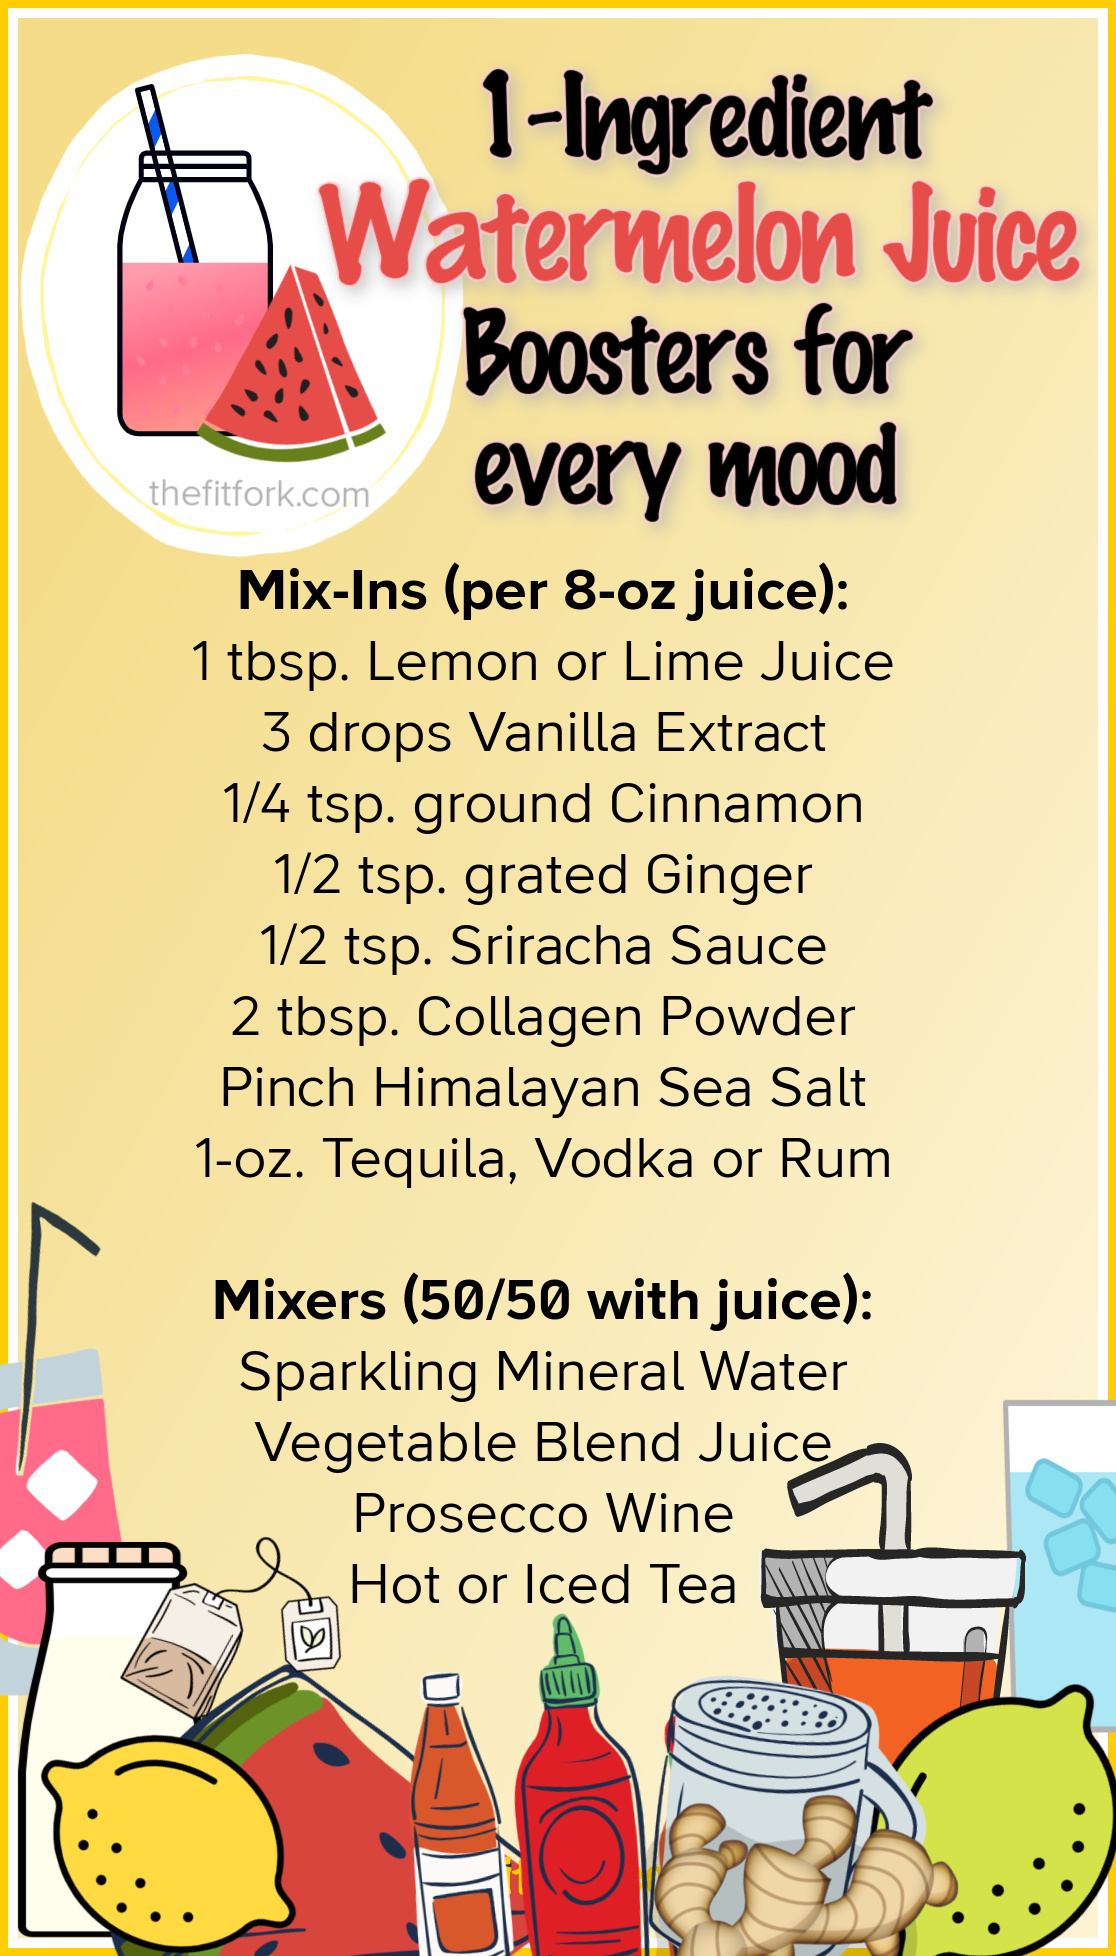
Single-Ingredient Watermelon Juice “Mix-Ins”

Looking for a simple way to switch it up! Have fun with these easy flavor ideas to boost your watermelon juice.

Watermelon Juice Pro-Tips for School-Age Parents:

  • Pour watermelon juice into ice-pop molds for a naturally sweet dessert.
  • Add a frozen bottle of watermelon juice to a child’s lunchbox as a drink that will thaw out by lunch and also keep the lunchbox cool.
  • Add sparkling water to watermelon juice as a faux-soda for children who are starting to beg for bubbly drinks.
Simple Watermelon Juice (1 ingredient)
Prep Time
10 mins
Total Time
10 mins
 

Enjoy a refreshing, hydrating, nutrient-packed beverage by making watermelon juice. Making your own watermelon juice is much more economical the purchasing fresh in the store (if you can even find it). So great for post workout refueling (or to make cocktails and mocktails)!

Course: Beverage, beverages, Fruit
Keyword: fruit, immersion blender, juice, juicing, watermelon
Ingredients
  • 1 watermelon (or part of one watermelon) cut into 1" chunks
OPTIONAL INGREDIENTS
MIX-INS: Add to 8-ounces watermelon juice:
  • tbsp. Lemon or Lime Juice
  • 3 drops Vanilla Extract
  • 1/4 tsp. ground Cinnamon
  • 1/2 tsp. grated Ginger
  • 1/2 tsp. Sriracha Sauce
  • 2 tbsp. Collagen Powder
  • Pinch Himalayan Sea Salt
  • 1- oz. Tequila Vodka or Rum
MIXERS – Choose one, mix 50/50 with juice:
  • Sparkling Mineral Water
  • Vegetable Blend Juice
  • Prosecco Wine
  • Hot or Iced Tea
Instructions
  1.  Wash outside of watermelon. Slice and cut into1” chunks.    .

  2.  Place in blender pitcher, and pulse for about 15to 30 seconds until liquified.

  3. Pour through strainer to remove pulp. Discard pulp to compost or save for another use.

  4. If preferred, you can leave pulp in juice for a thicker effect. Remember to stir back in before serving.

  5. Store in fridge for 24to 72 hours or freeze inair-tight containers for up to 12 months.

  6. Amazing to drink "as-is" but add optional mix-ins or mixers, as desired, to satisfy any given mood.

Recipe Notes

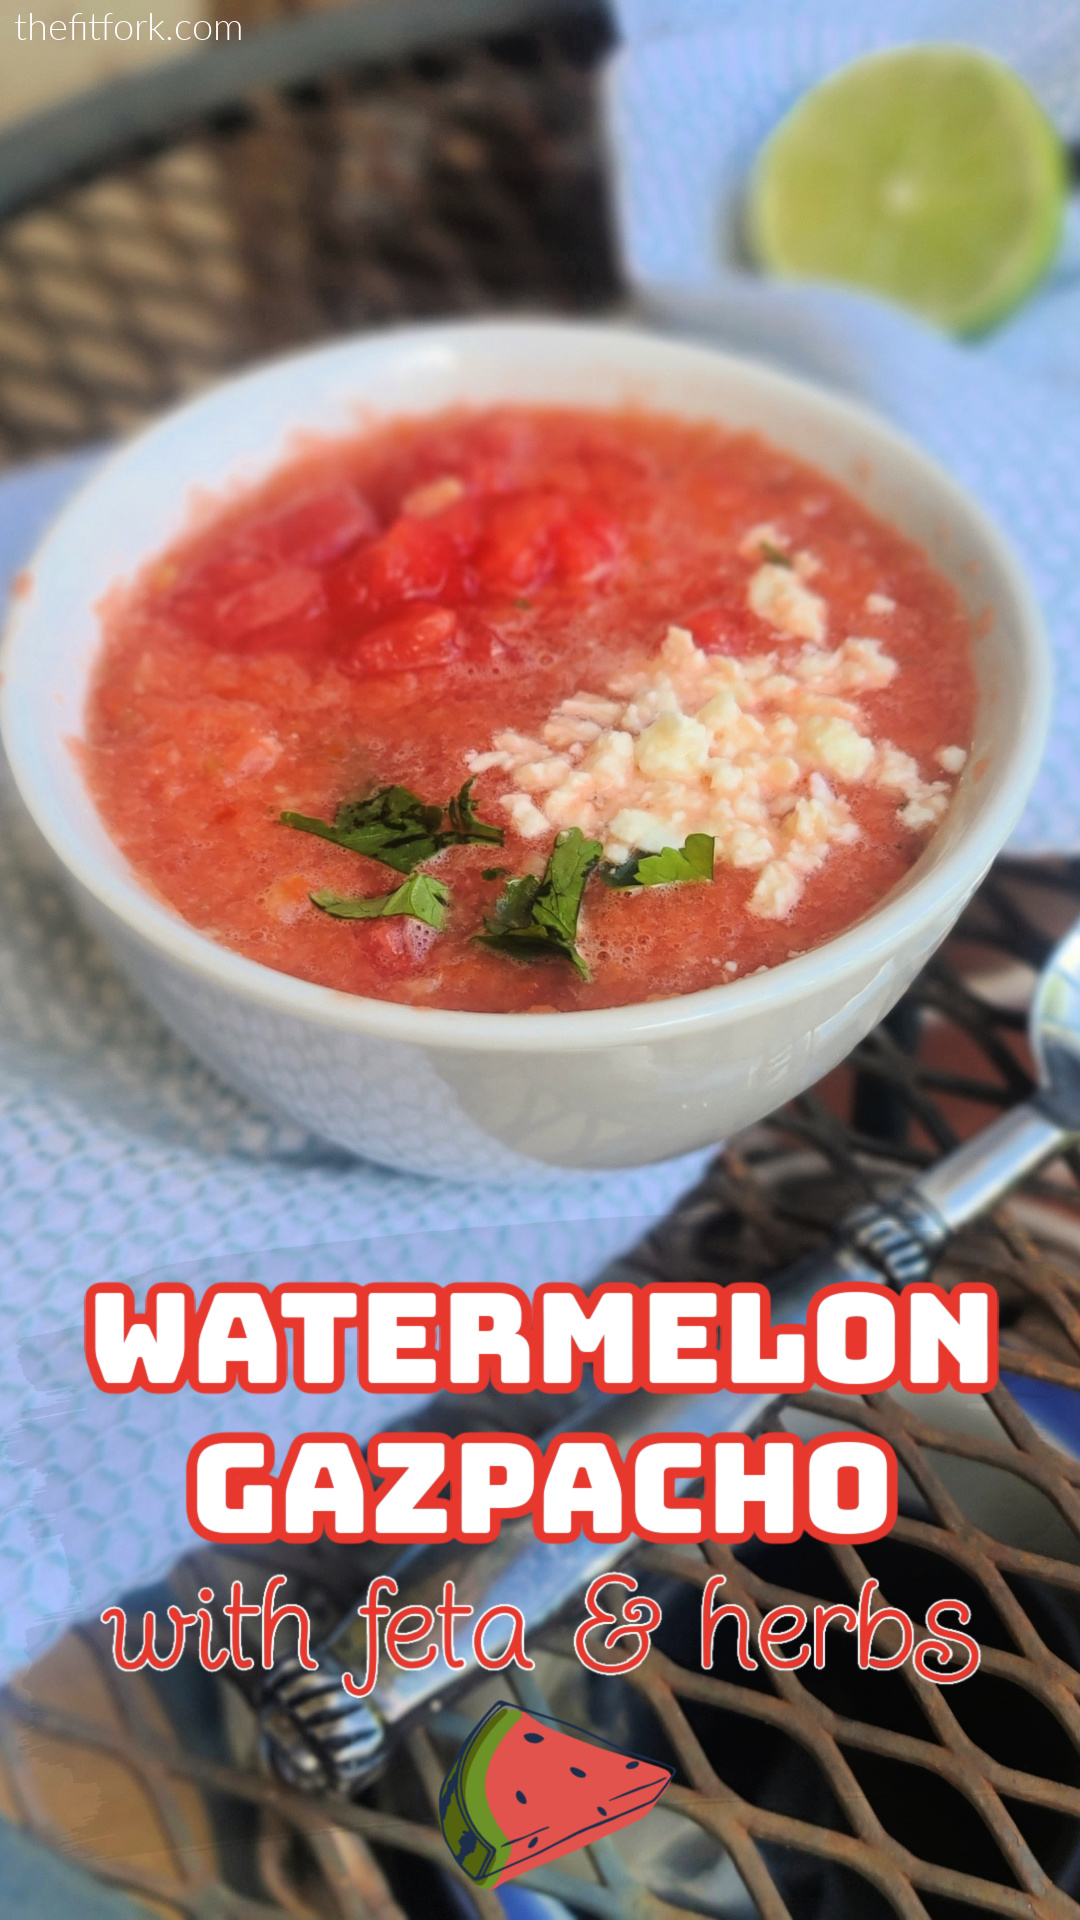
Watermelon Gazpacho (with Feta) for One

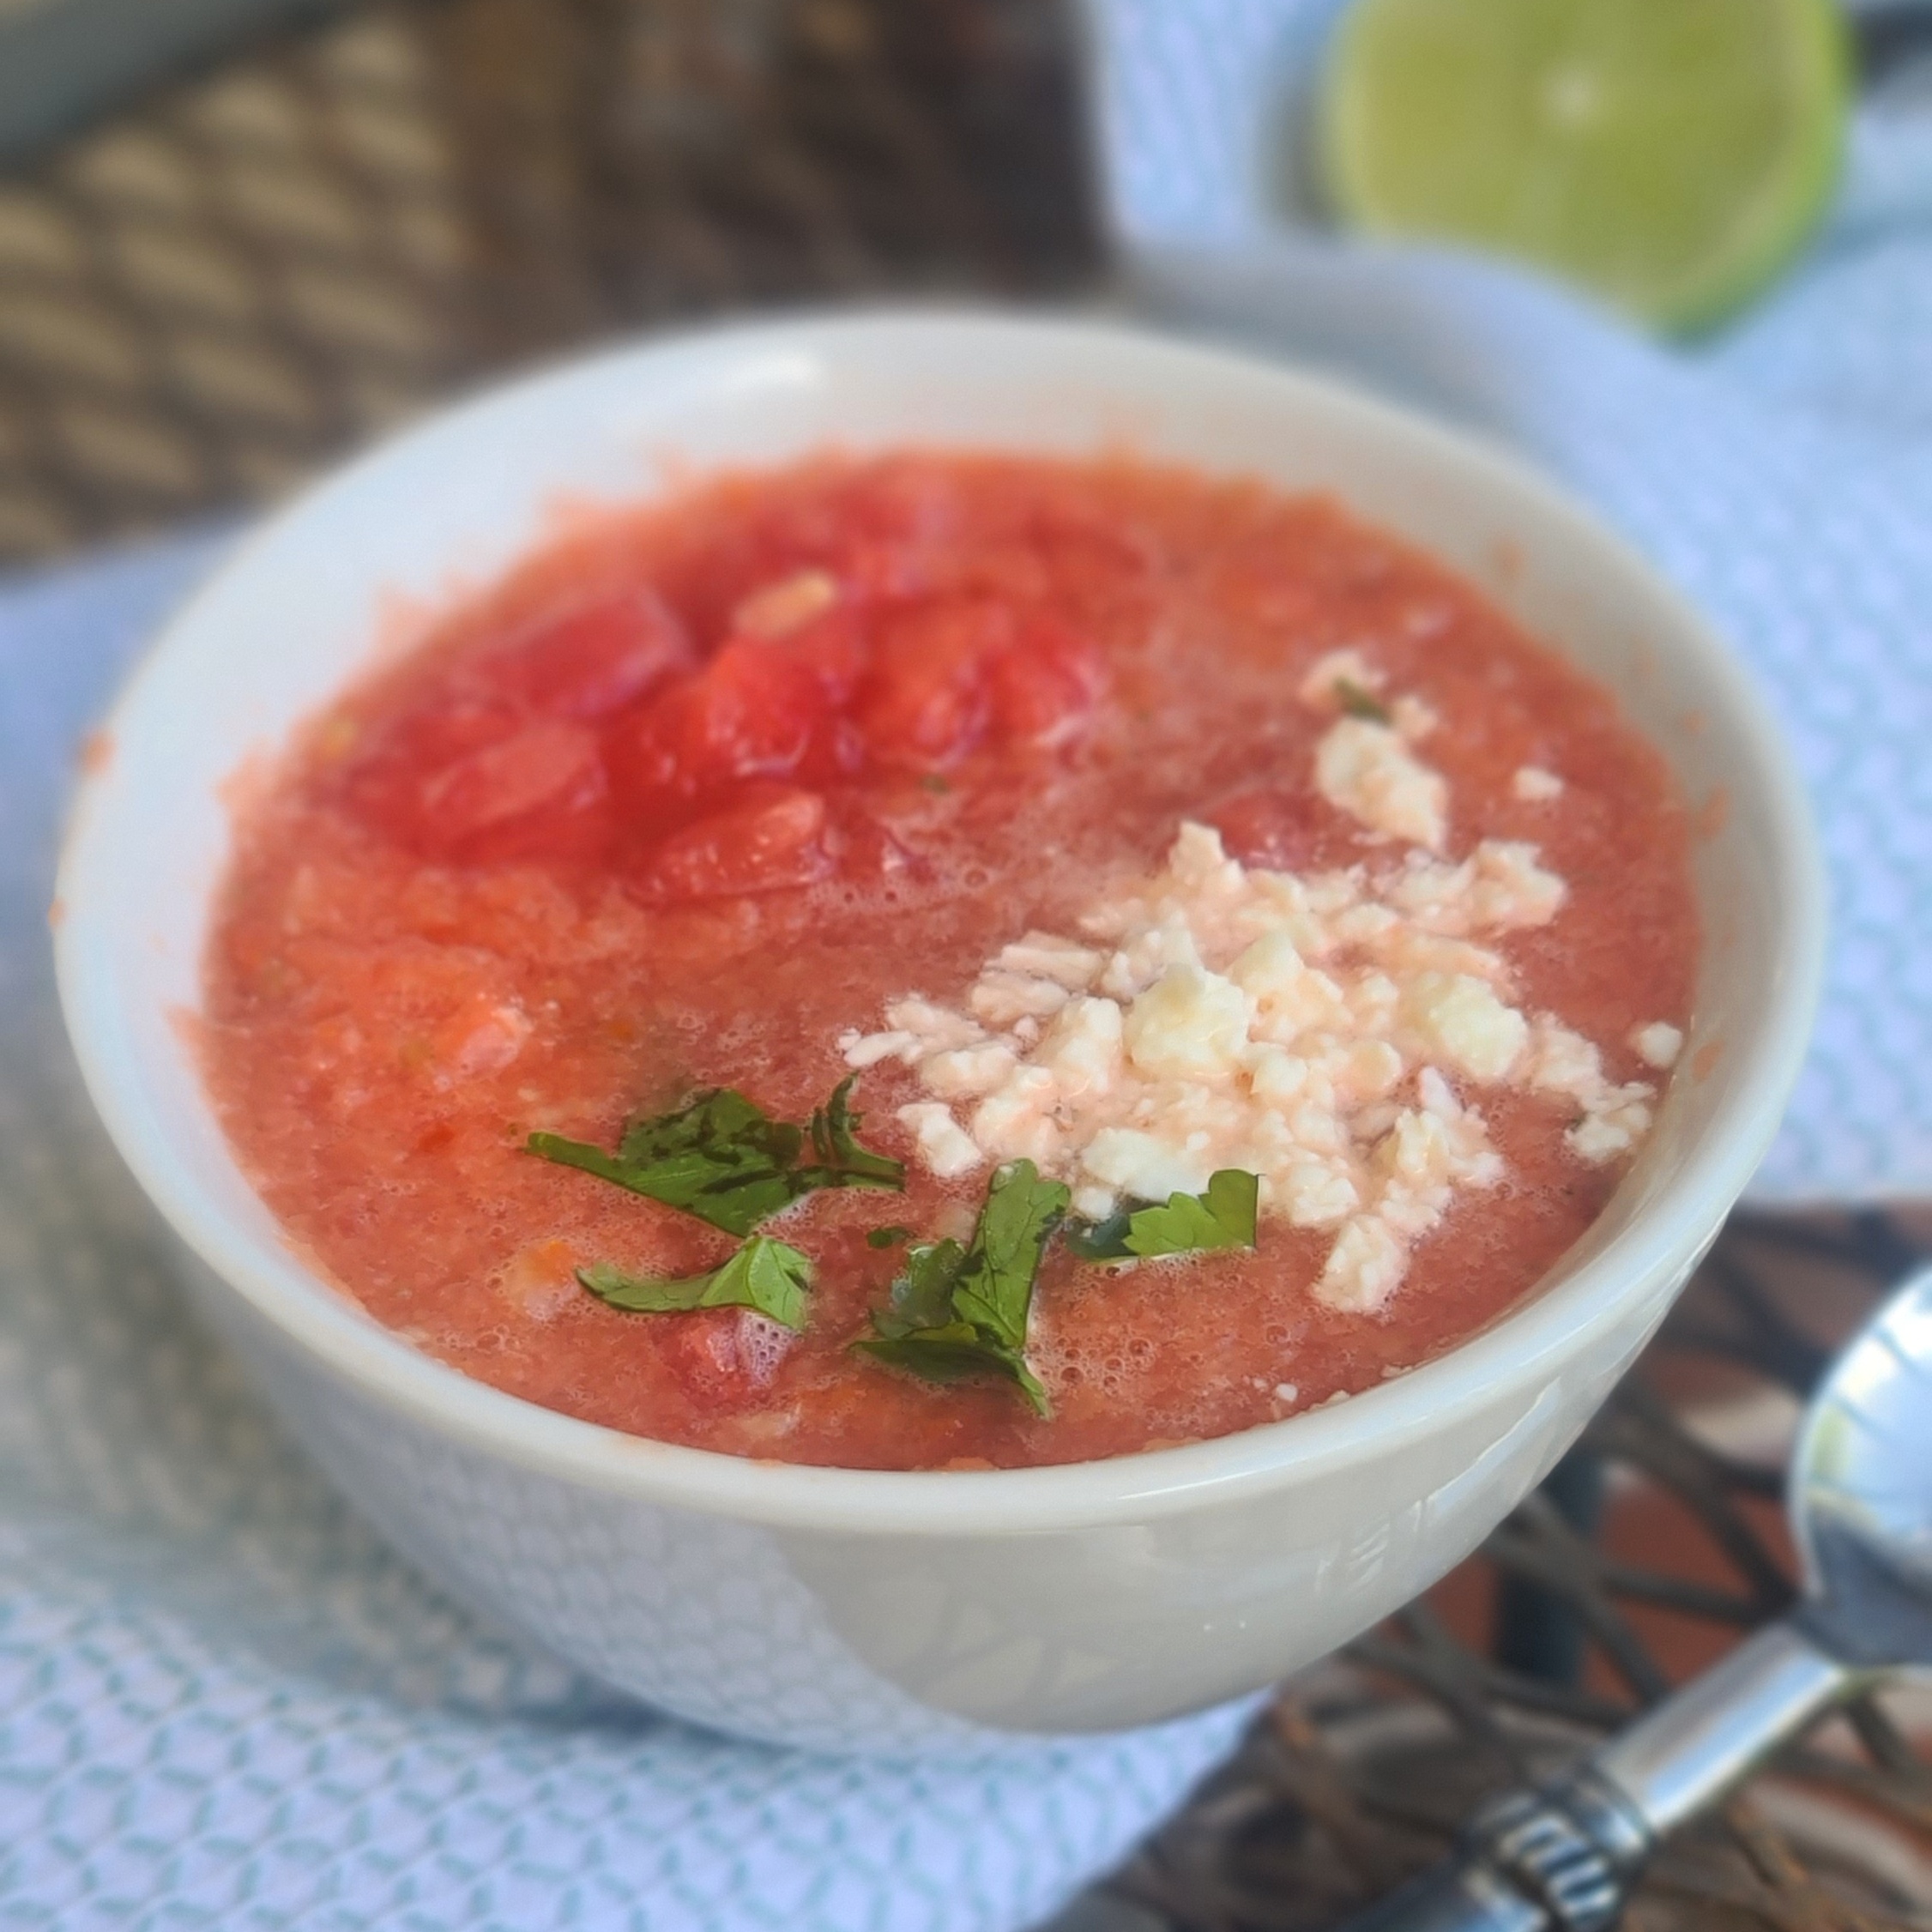
Say YES to this watermelon soup in the summer, it’s so refreshing – naturally light and sweet-spicy and hydrating – a good way to “eat” your water. The cucumber and watermelon in the recipe are loaded with water (96% water and almost 93% water respectively) which makes it no surprise the pair up are actually botanic siblings.

Refreshing and just for you! Whip up a single-serving batch of this hydrating, delicious cold soup made with watermelon, cucumbers and tomato -- no-cook and ready in minutes.

In addition to staying hydrated on a hot day, I like slurping up a bowl of this cold soup because it doesn’t make me feel bloated and heavy — in fact, it’s detoxing after an indulgent weekend thanks to robust levels of water, fiber, important vitamins, minerals and antioxidants.

Watch this 15-second tutorial!

 I have been on a binge of “recipes for one” lately and have been working behind the scenes on a cooking for one cookbook. Making soup for one, may seem like too much effort, but trust me this simple and speedy recipe is almost no effort at all. And, even with college kids at home this summer, I still like to make this single-serve gazpacho and other recipes for one because I hate food waste, and they are most often always going their separate ways at the dinner area (such social lives)!

Refreshing and just for you! Whip up a single-serving batch of this hydrating, delicious cold soup made with watermelon, cucumbers and tomato -- no-cook and ready in minutes.

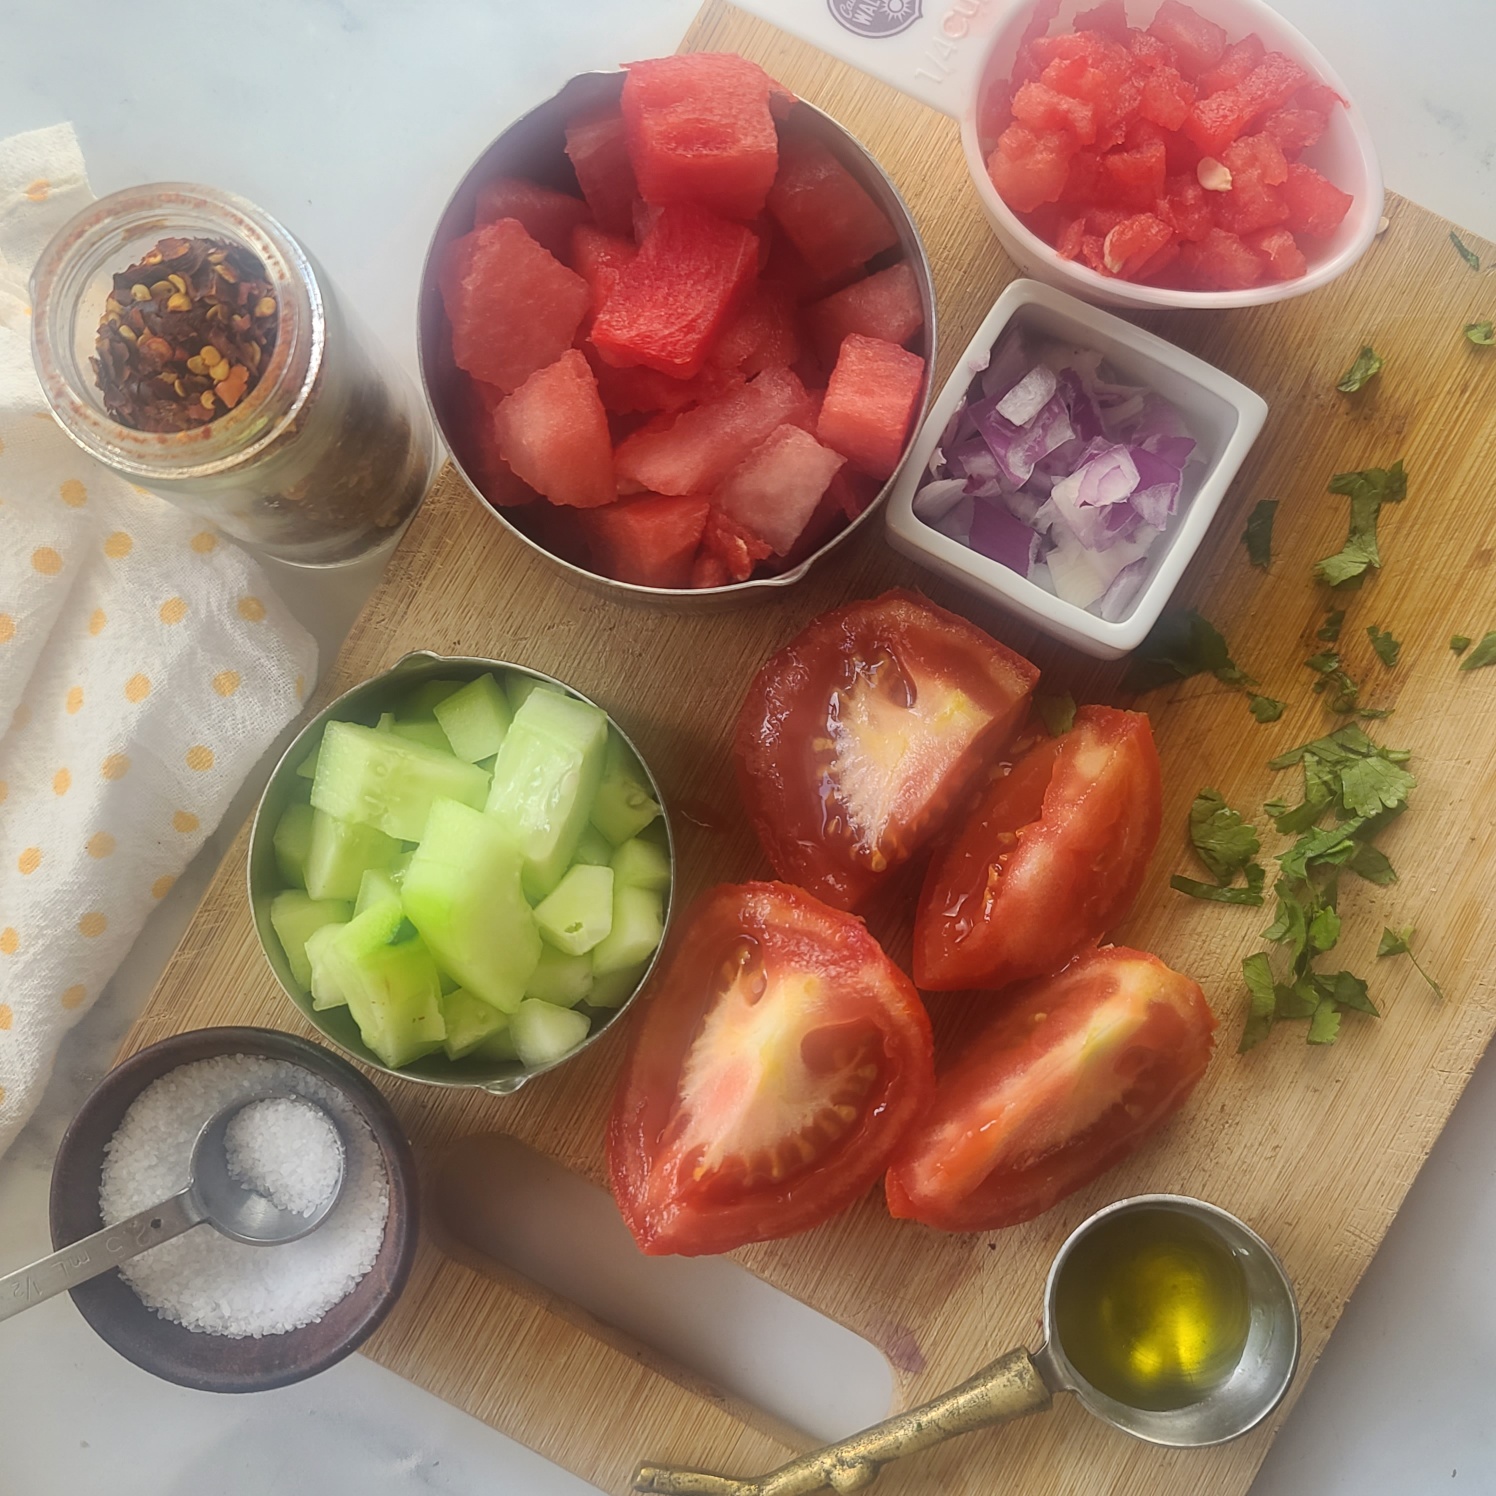
Making this cold soup with watermelon is easy-breezy – just gather up the ingredients (a little chopping involved, but it’s not intense), and then drop most everything in the blender (except reserve some extra watermelon that’s be diced up really find to stir into the blended soup for texture). And, top with crumbled feta cheese and extra fresh herbs, if desired.  

BTW, for single-batch recipes like this watermelon gazpacho, I like to use a mini-blender for effective blending. Often in my larger blender, the ingredients don’t rise high enough over the blade level.

Pin this for later!

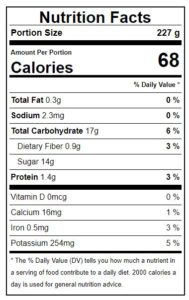
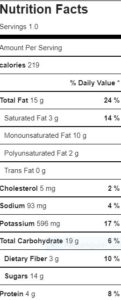
Fruit soups make a good substitute for dessert when I’m being mindful of my diet.  The recipe makes about 12-ounces and has 219 calories, 15g fat, 19g carb, 3g dietary fiber, and 4g protein. If you want to cut down the fat and calorie count, you can trim down the olive oil from 1 tablespoon to 2 teaspoons and by omit the tablespoon of crumbled feta cheese as the topping.  Together this is about a 60-calorie reduction – it’s still a tasty recipe, however, I think the recipe is more satisfying how originally written.

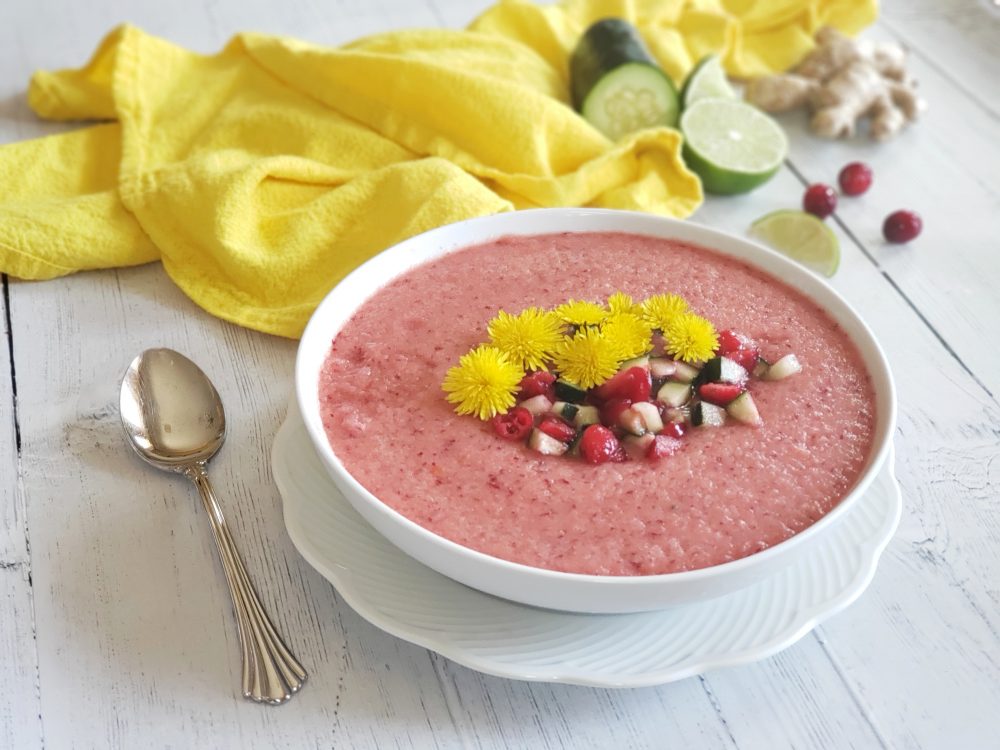
Detoxing Cranberry Gazpacho makes a lovely light chilled soup for your meal. Blended with healthful ingredients like cranberries, watermelon, cucumber to flush the body of excess water and toxins.

If you love cold fruit soups and watermelon, I think you’ll be berry excited about a past recipe of mine — Cranberry Watermelon Gazpacho.

Note: This post contains affiliate links. I earn a small commission from products purchased, but price to you remains the same. Proceeds help offset operating costs for The Fit Fork. Thank you!

5 from 5 votes
Watermelon Gazpacho! Refreshing and just for you! Whip up a single-serving batch of this hydrating, delicious cold soup made with watermelon, cucumbers and tomato -- no-cook and ready in minutes.
Watermelon Gazpacho (with Feta) for One
Prep Time
5 mins
Total Time
5 mins
 

Refreshing and just for you! Whip up a single-serving batch of this hydrating, delicious cold soup made with watermelon, cucumbers and tomato — no-cook and ready in mintues.

Course: Snack, Soup
Keyword: watermelon
Servings: 1 serving
Calories: 219 kcal
Ingredients
  • 1 cup chopped cold watermelon reserve ¼ cup
  • 1 5- ounce ripe tomato
  • ½ cup chopped cucumber peeled and seeded
  • 1 tablespoon olive oil
  • 1 teaspoons lime juice
  • ½ teaspoon red wine vinegar
  • 1/8 teaspoon red pepper flakes
  • 1/8 teaspoon black pepper
  • 1/8 teaspoon salt more or less to taste
  • 1 tablespoon chopped fresh cilantro or other fresh herb like mint or basil divided
  • 1 tablespoon crumbled feta cheese
Instructions
  1. Set aside 1/4 cup of watermelon and dice down into small bits (will be stired in at the end).

  2. Add watermelon, tomato, cucumber, olive oil, lime juice, vinegar, red pepper, most of the fresh herbs (save some for garnish), red and black pepper, and pinch of salt to blender. Blend for about 30 seconds or until mostly smooth.

  3. Best served cold, so if you did not start with cold watermelon, chill gazpacho for at least 30 minutes.

  4. Pour into bowl and stir in diced watermelon. Top with crumbled feta cheese and herbs.

Recipe Notes

No-Bake Strawberry Chocolate Cheesecake Bomb for One

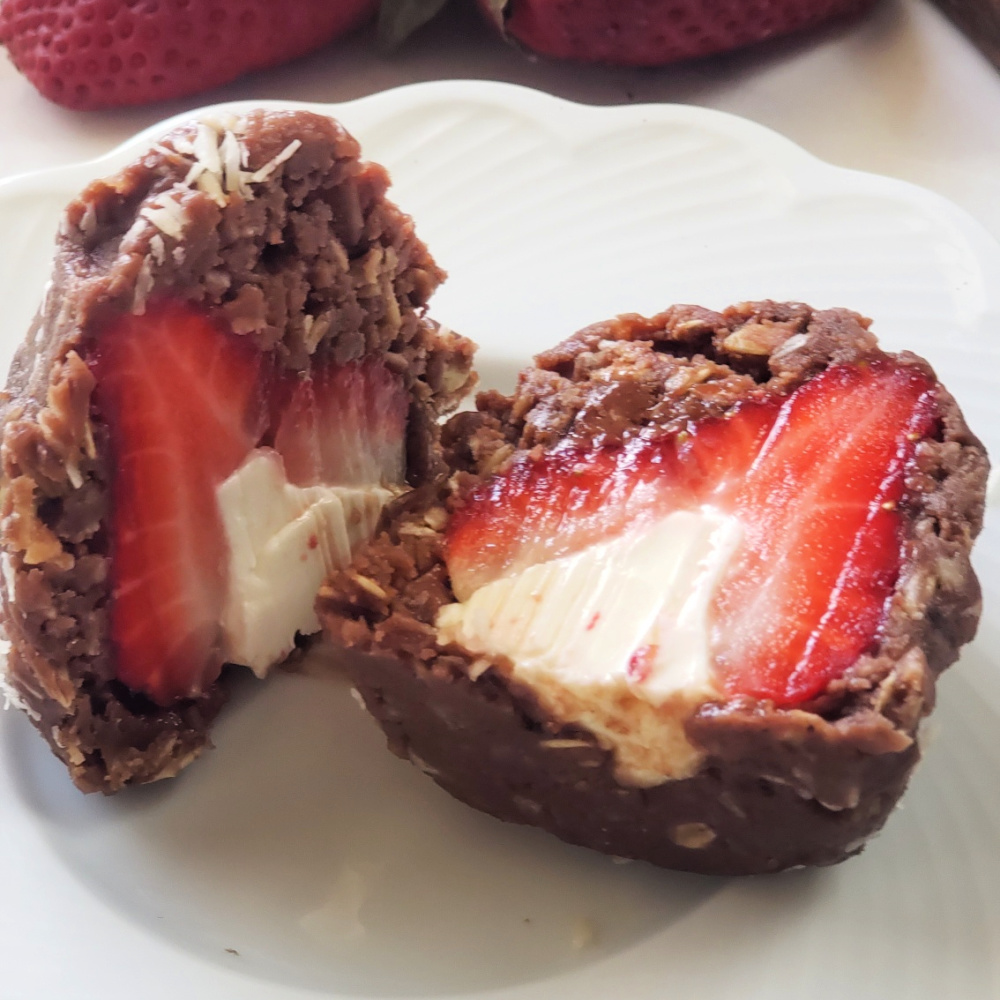
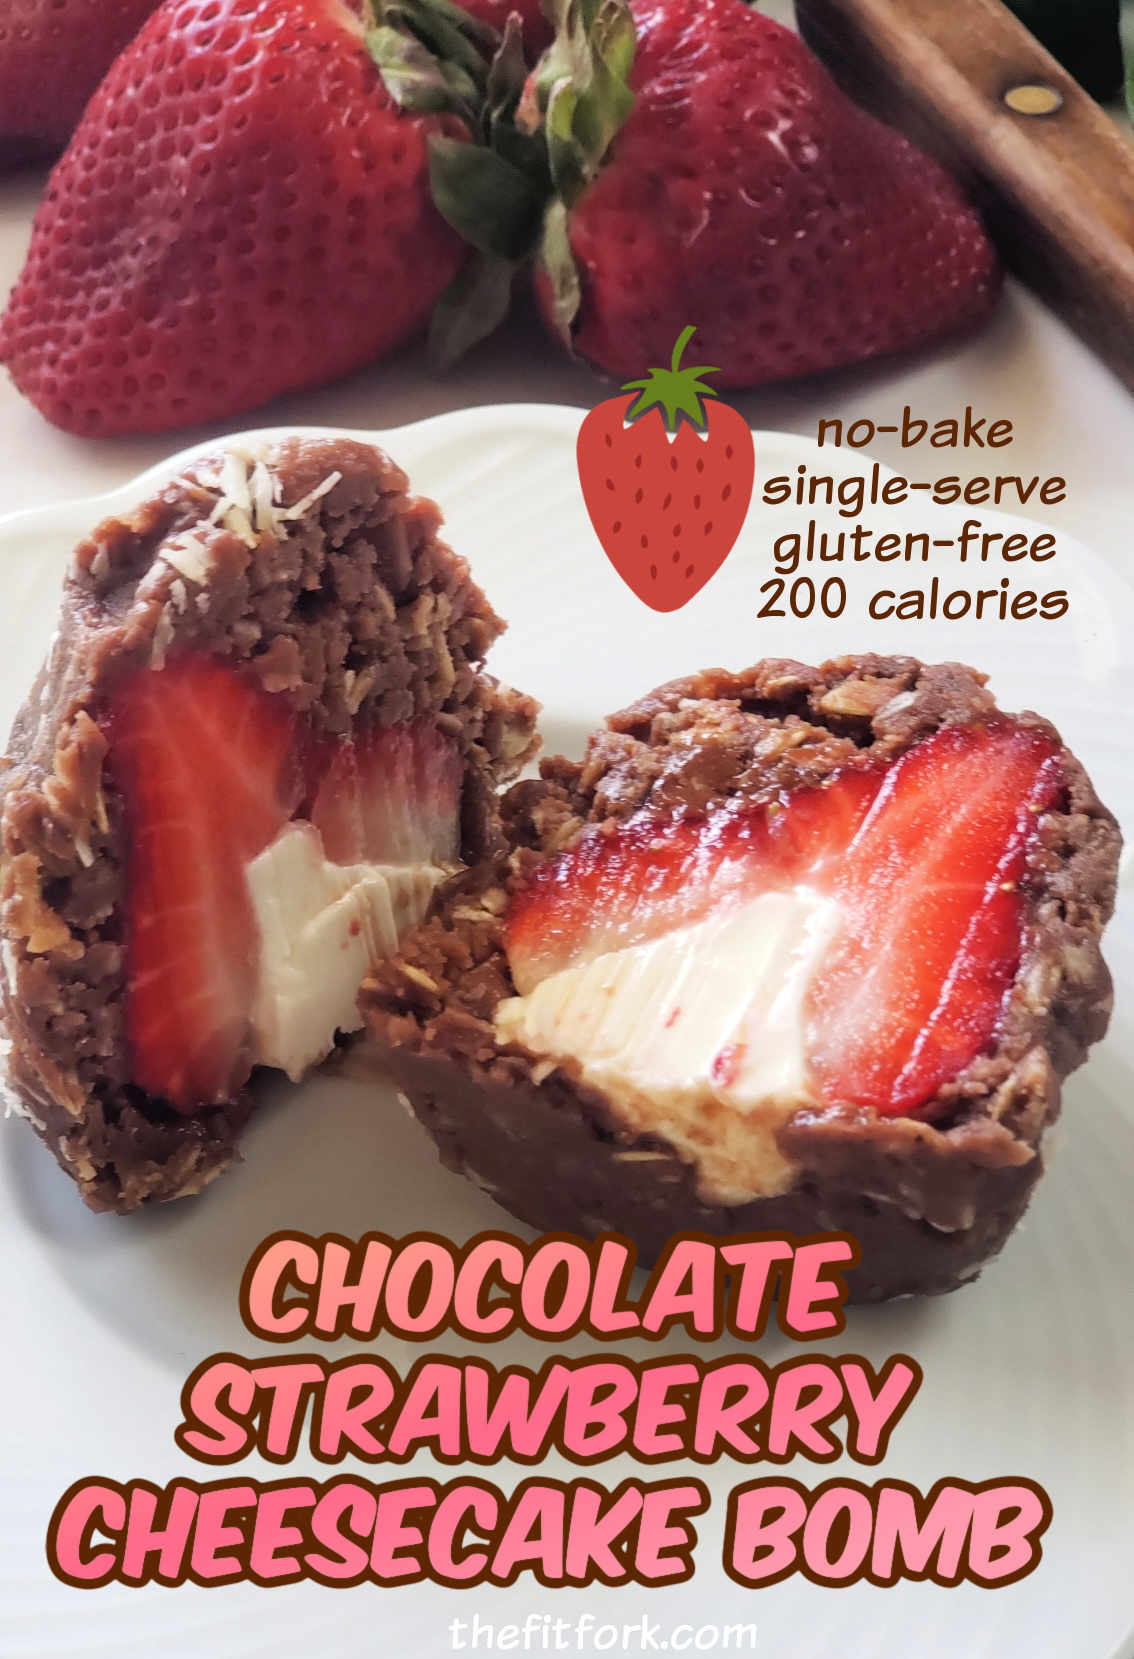
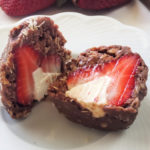
This better-for-you, no-bake, single-serving dessert is an explosion of flavor without fallout.  Only 200 calories per the single ginormous bomb of deliciousness! All the adjectives I crave in a quick dessert – creamy, juicy, chocolatey, and healthy!

Satisfy your sweet tooth with this single-serve strawberry recipe stuffed with cream cheese and covered in a no-bake chocolate oatmeal cookie. Gluten-free, no added sugar.

Cooking for one dessert recipes are a favorite of mine – I can make just enough to satisfy me at the time, without lots of leftovers sitting around tempting me. Plus, I have young adult sons – they tend to want decadent desserts while I go for the more mindful recipes that fuel my sports goals.

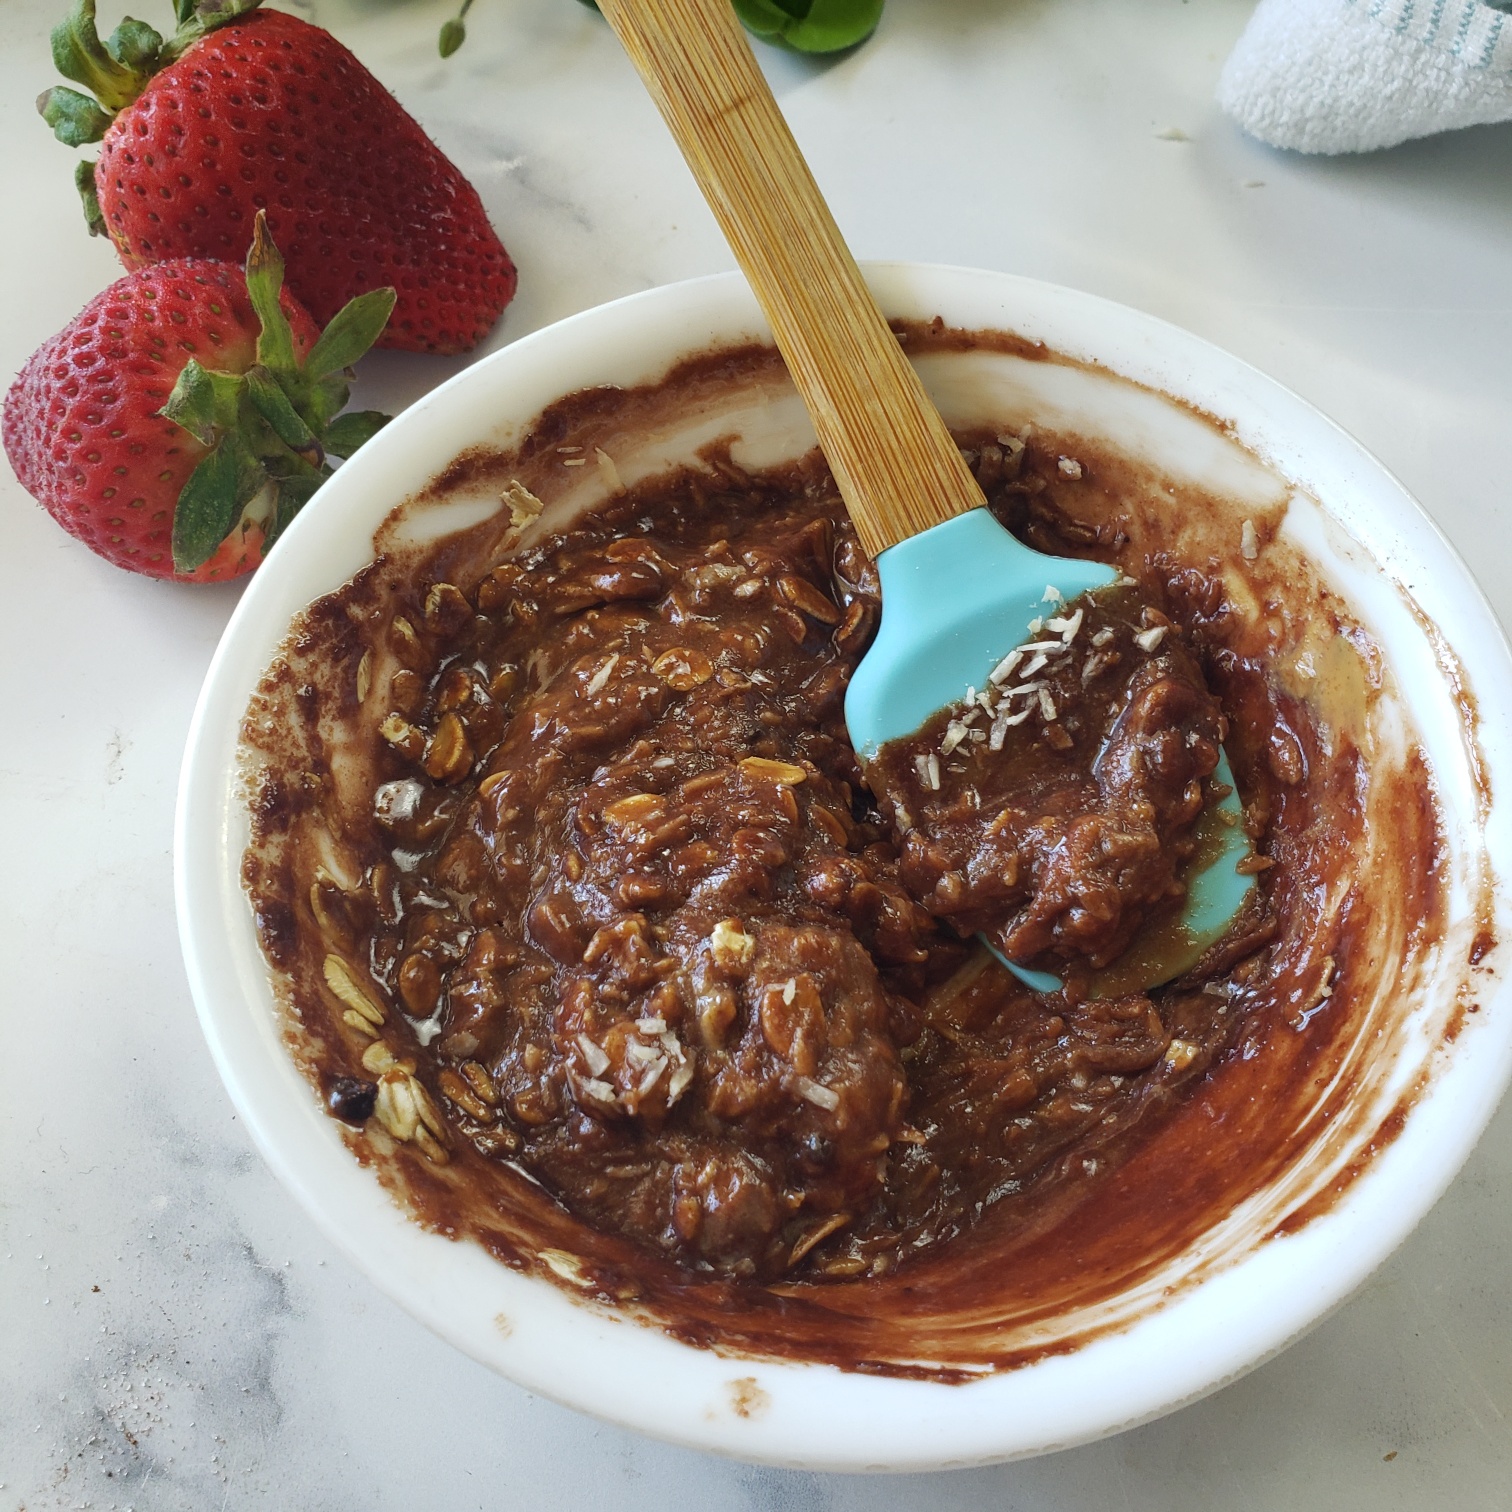
This strawberry cheesecake bomb is based on a childhood favorite recipe, no-bake oatmeal cookies. You just quickly microwave unsweetened cocoa, milk and sugar option (old days we used real sugar, today I’ve used a lower-carb monk fruit blend). Be careful it doesn’t boil over your bowl. Immediately stir in nut butter of choice, oats and coconut.

Satisfy your sweet tooth with this single-serve strawberry recipe stuffed with cream cheese and covered in a no-bake chocolate oatmeal cookie. Gluten-free, no added sugar.

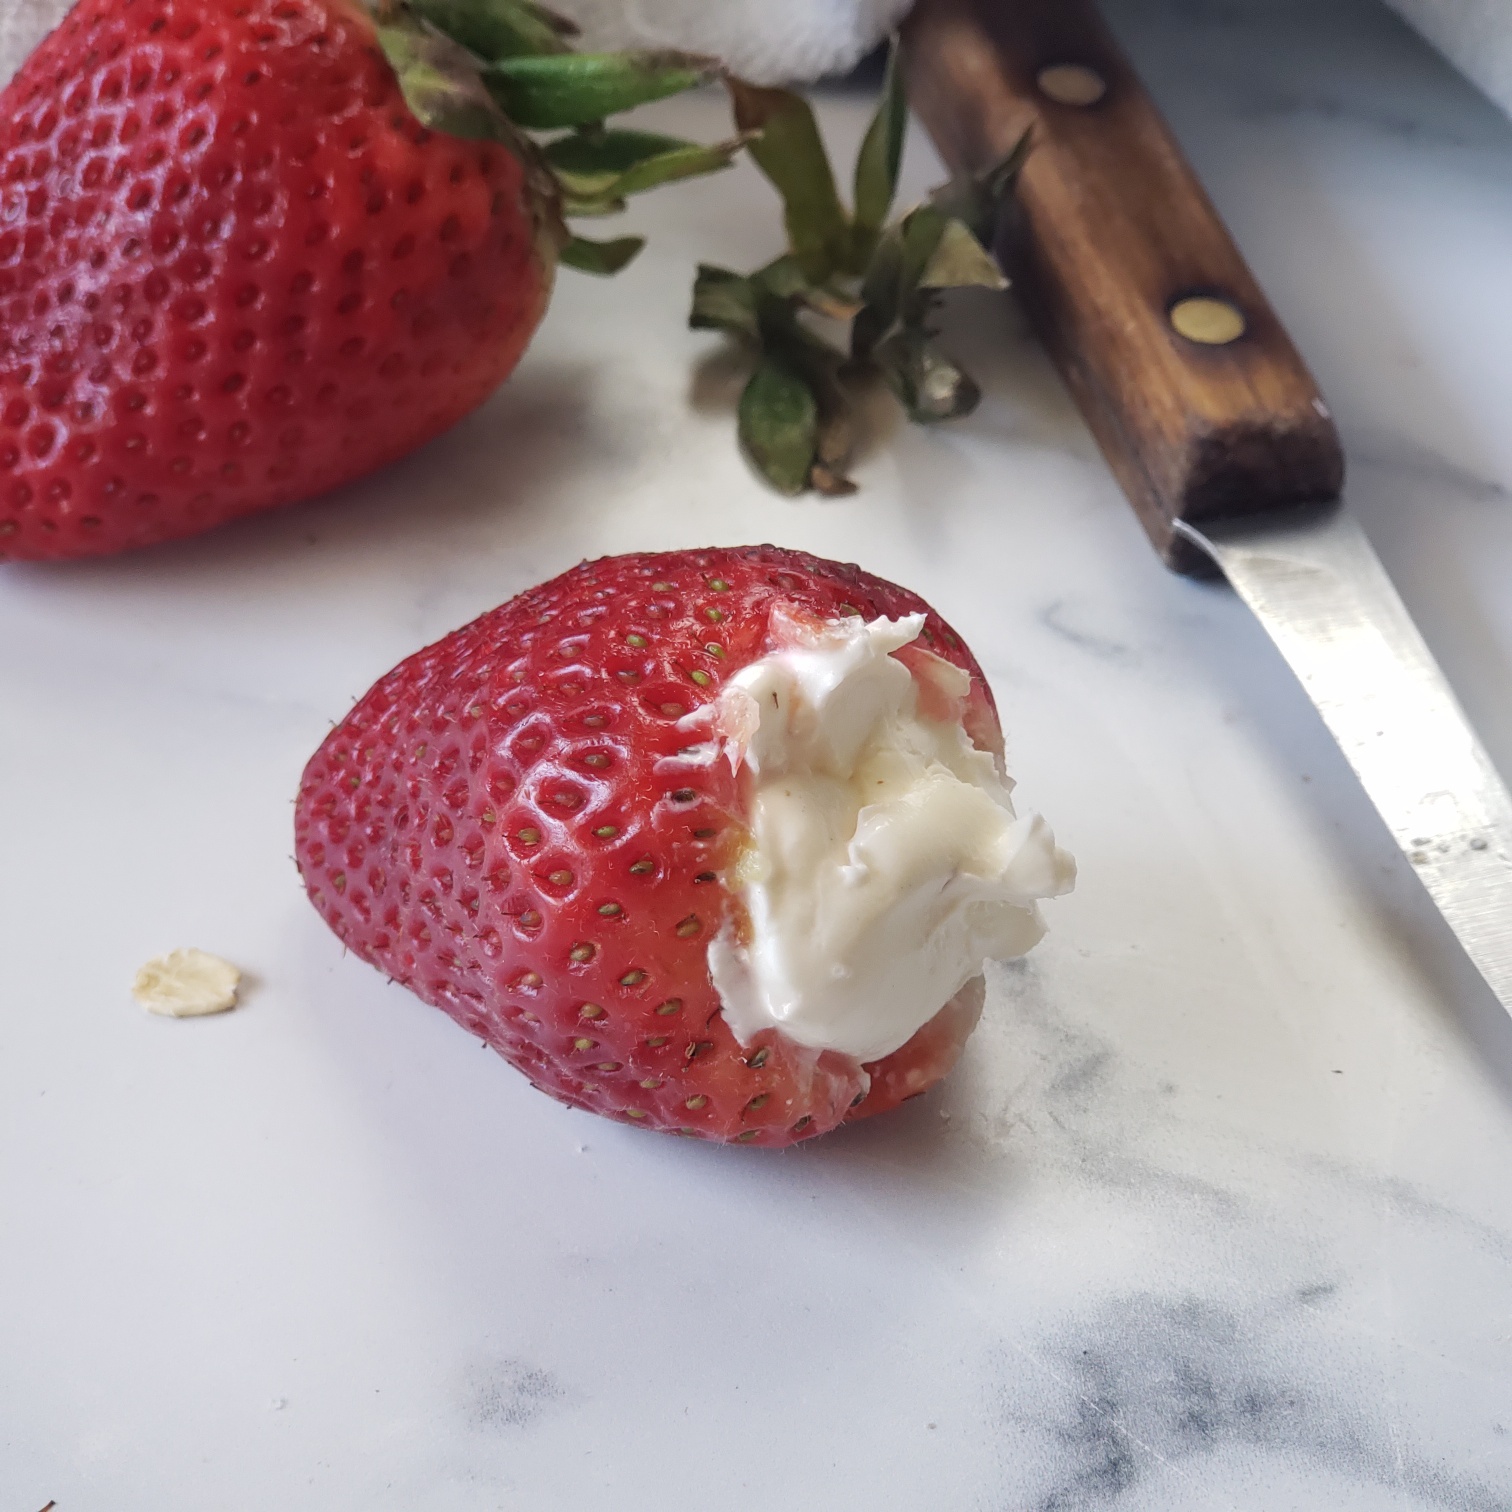
While this quick strawberry dessert sets up for 5 minutes in the freezer, hull an extra-large strawberry (or two smaller ones) and stuff with a bit of cream cheese (no need to sweeten it, this no-bake dessert recipe is already sweet enough.

Just mush and mold the cookie dough over the stuffed strawberry, then pop in the freezer for another 5 minutes to firm up. It’s not the most attractive thing as a whole, but when you slice it open or bite in you see the layers – that vibrant red of the berry pops and the cream cheese, well, looks so creamy!

Satisfy your sweet tooth with this single-serve strawberry recipe stuffed with cream cheese and covered in a no-bake chocolate oatmeal cookie. Gluten-free, no added sugar.
Pin this for later!

This strawberry dessert for one is gluten-free and 200 cal per serving with 12g fat, 24g net carb, 6g protein! Enjoy!!!!!   

This post contains affiliate links.

No-Bake Strawberry Chocolate Cheesecake Bomb
Ingredients
  • 2.5 Tbsp. granulated sweetener cup-for-cup sugar alternative
  • 1 tsp. unsweetened cocoa powder
  • 1 Tbsp. milk
  • 1 Tbsp. creamy nut butter
  • 1 Tbsp. old-fashioned oats
  • 1 Tbsp. unsweetened shredded coconut
  • 1 extra-large strawberry or two smaller
  • 1 tsp. cream cheese
Instructions
  1. Mix together sweetener, cocoa powder, and milk. Microwave on high for 45 seconds, watching to ensure it doesn’t overflow. Remove, immediately stir in nut butter, oats and coconut. Stick in freezer for 5 minutes. Meanwhile, hull strawberry and stuff with cream cheese. Remove dough from freezer, mold around strawberry. Return to freezer for 5 minutes to set up. Remove and enjoy!
Recipe Notes

This strawberry dessert for one is gluten-free and 200 cal per serving with 12g fat, 24g net carb, 6g protein! Enjoy!!!!!

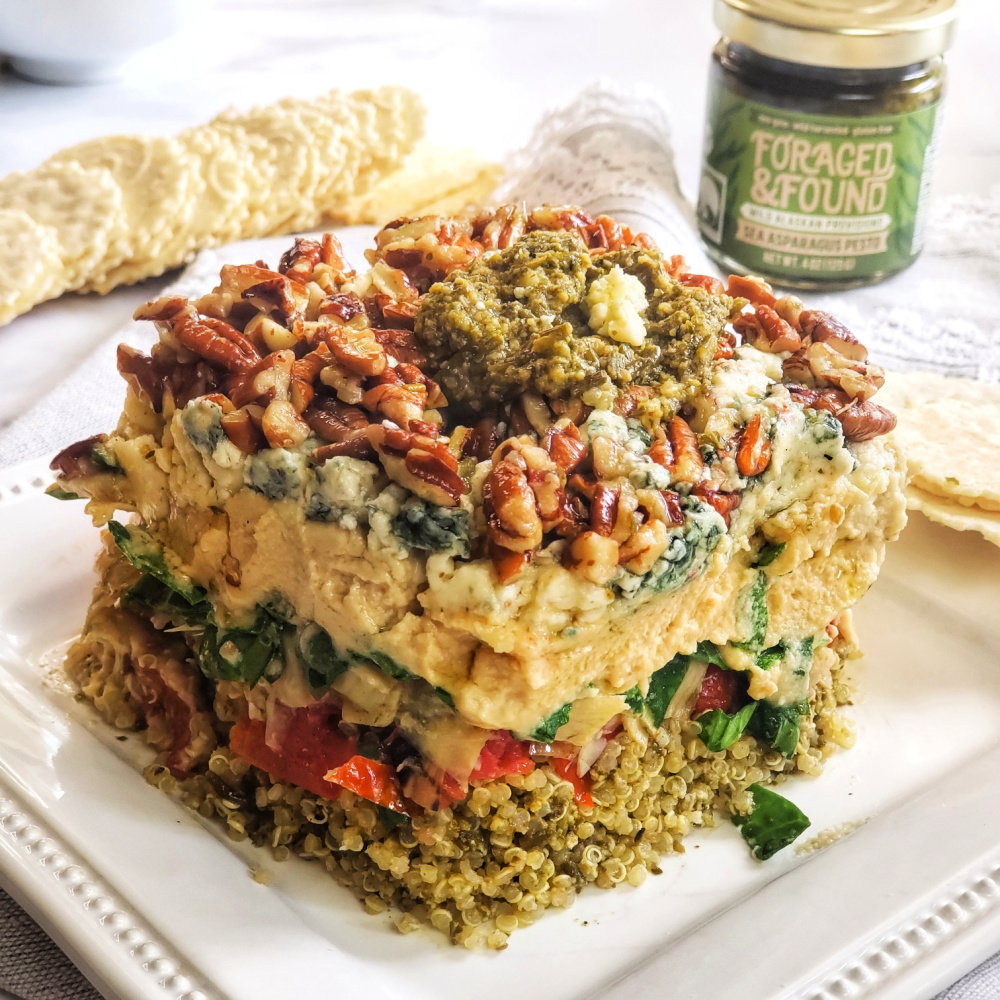
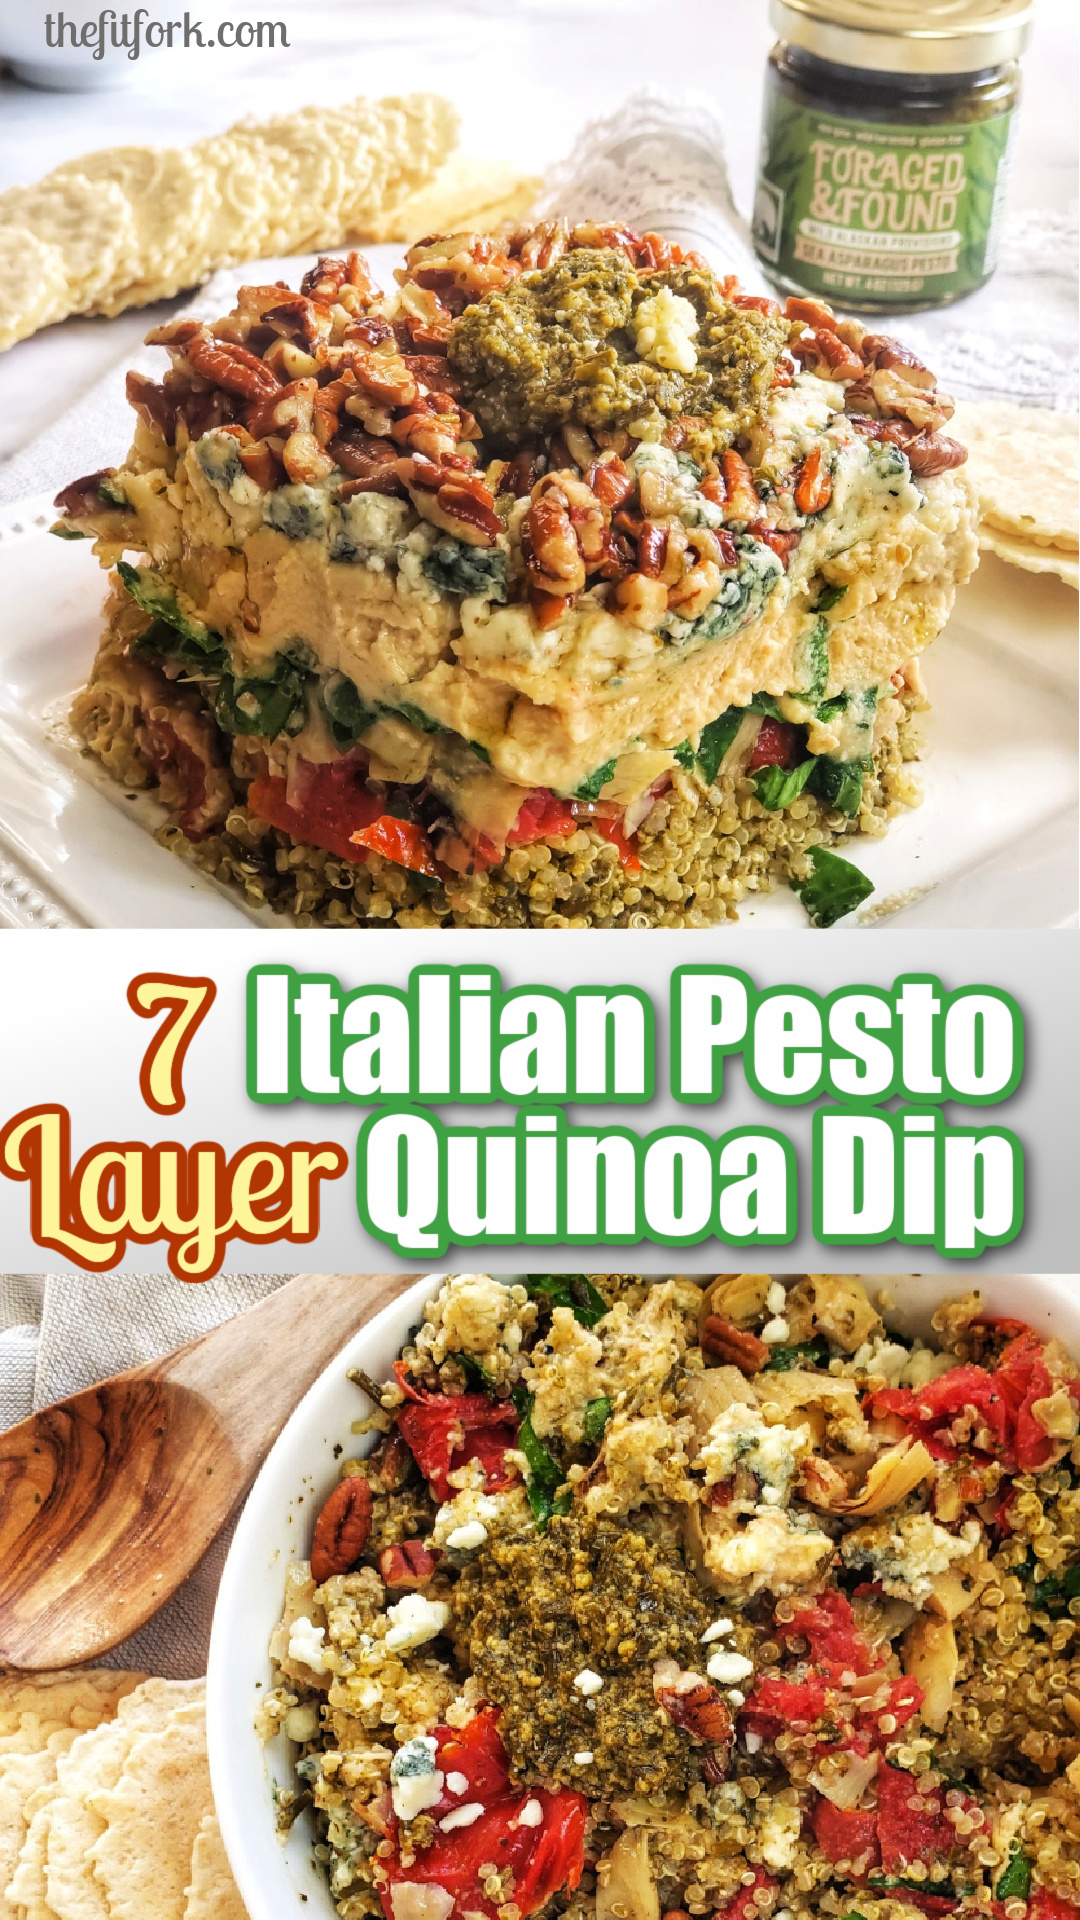
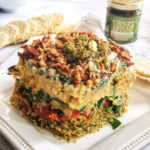
7-Layer Italian Pesto Quinoa Dip – Easy Appetizer

Seven Layer Italian Pesto Quinoa Dip is a quick, easy and elegant appetizer for holiday entertaining or just everyday munching. Made with flavorful, nourishing items convenient to keep on hand in the pantry and fridge, this simple-to-assemble party dip can be ready to serve in under 10 minutes – and stores beautifully overnight if you want to make ahead.

This quick and easy layered dip makes a show-stopping appetizer in just a few minutes thanks to bottled pesto sauces (I used Sea Asparagus Pesto - but feel free to get creative). You can also serve mixed up in a bowl for an easier presentation. Great scooped onto crackers, or with chips -- also leftovers fantastic on a green salad for lunch or a light dinner.

Inspired by easy party dips my mom used to make in the 80s as well as elegant molded and stacked tartare dishes, this layered dish features strata upon strata of marinated and bold flavors and various textures that play well together when scooped up with a chip, dolloped on a cracker or just eaten by the spoon! I like to use up any leftovers sprinkled on a green salad!

This quick and easy layered dip makes a show-stopping appetizer in just a few minutes thanks to bottled pesto sauces (I used Sea Asparagus Pesto - but feel free to get creative). You can also serve mixed up in a bowl for an easier presentation. Great scooped onto crackers, or with chips -- also leftovers fantastic on a green salad for lunch or a light dinner.

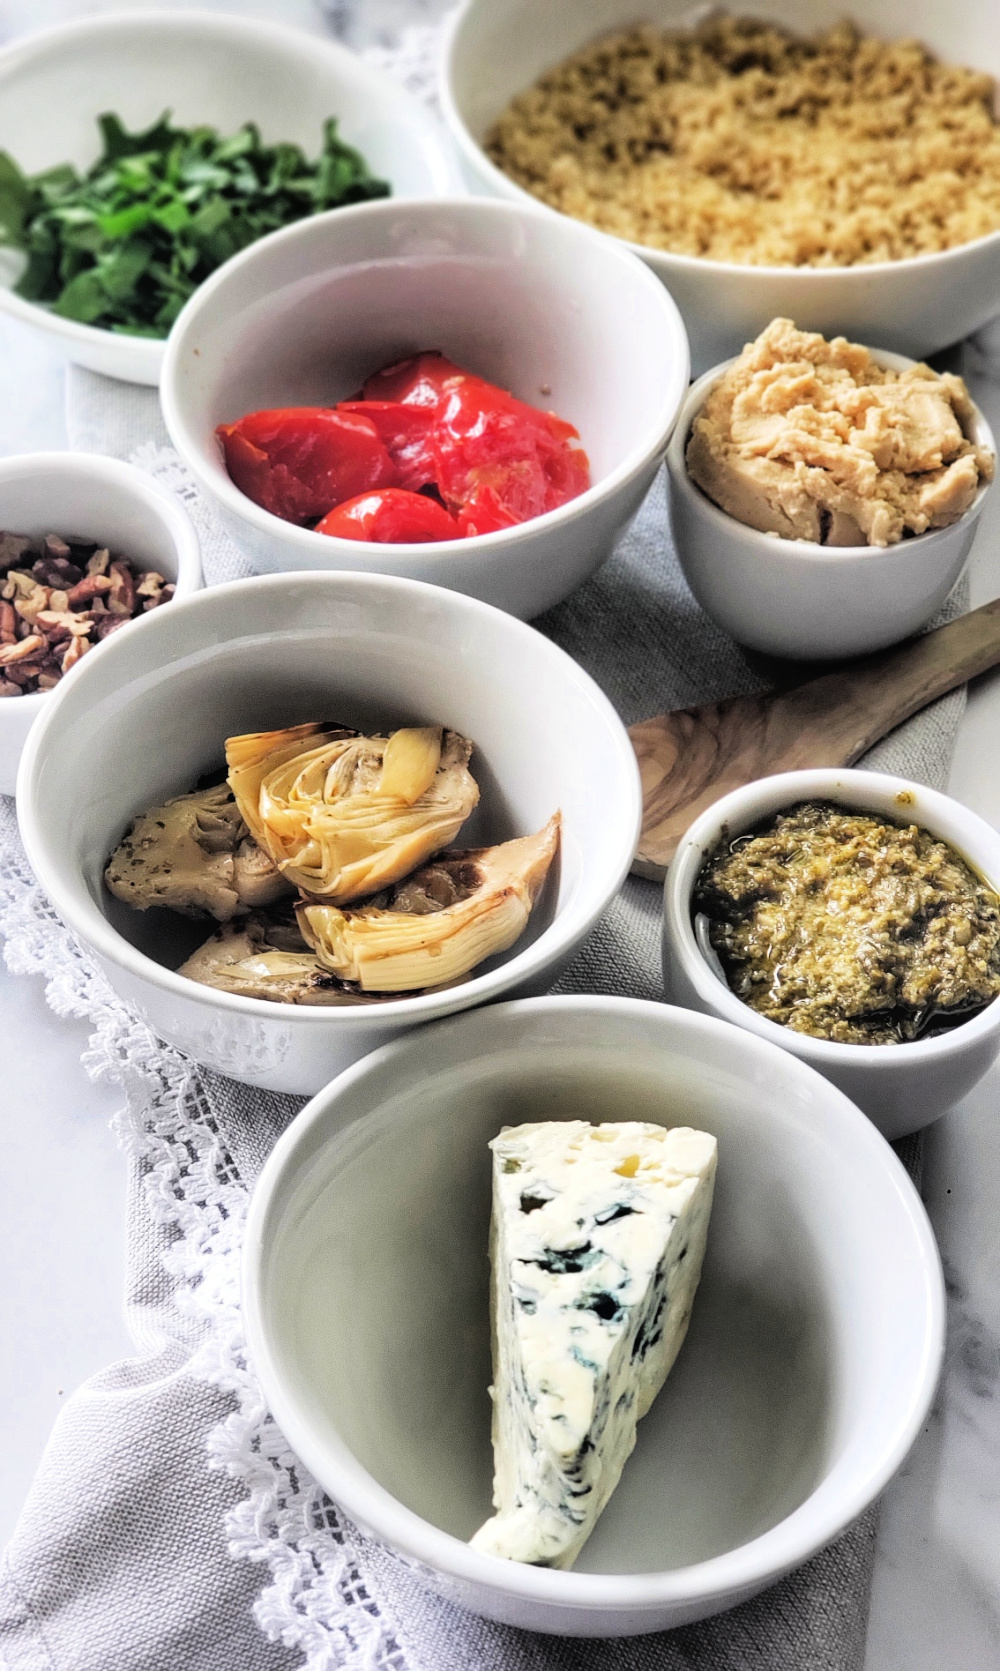
Many of the ingredients (such as the hummus, marinated artichokes, and sun-dried tomatoes) can be conveniently purchased pre-prepared in the deli or gourmet aisle of your favorite market. To make things speedy, you can also pick up a pouch of pre-cooked quinoa on the grain aisle – or defrost a bag of frozen cooked quinoa that has been meal prepped (that is my economical way – see quinoa freezer and meal prep post here).

This quick and easy layered dip makes a show-stopping appetizer in just a few minutes thanks to bottled pesto sauces (I used Sea Asparagus Pesto - but feel free to get creative). You can also serve mixed up in a bowl for an easier presentation. Great scooped onto crackers, or with chips -- also leftovers fantastic on a green salad for lunch or a light dinner.

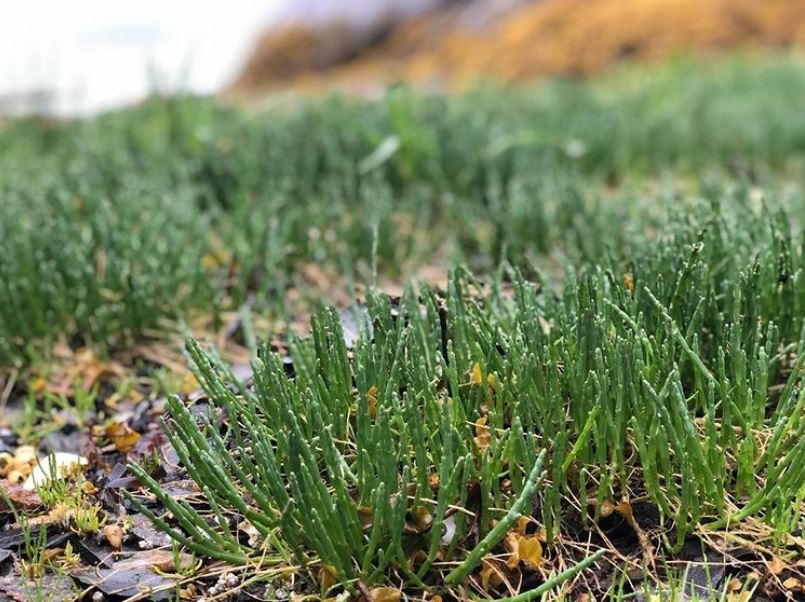
The flavor cornerstone of this Italian layered dip is pesto – but not just any ole pesto! I used Sea Artichoke Pesto from Foraged & Found. I must admit, when I was sent some jars to try out, I did have to Google “What is Sea Asparagus.” What I found out is that Sea Asparagus (Salicornia) is a sea succulent that has a salty, ocean taste when eaten raw and brined, mellower flavor when cooked — used as an ingredient it really maximizes the umami taste in so many dishes from pasta and pizza to seafood and grilled meats.

Sea Asparagus sustainably harvested in Alaska.

What I love about the Foraged & Found company is that they have found a way to share healthful Alaskan foods from the wild that have been sustainably harvested and transformed into some of my favorite kitchen staples – like this Sea Asparagus Pesto. The sea asparagus pesto tastes very similar to a traditional pesto (but better) made with additional ingredients such as almonds, Parmesan cheese, olive oil, garlic and lemon. So clever and eco-conscious!

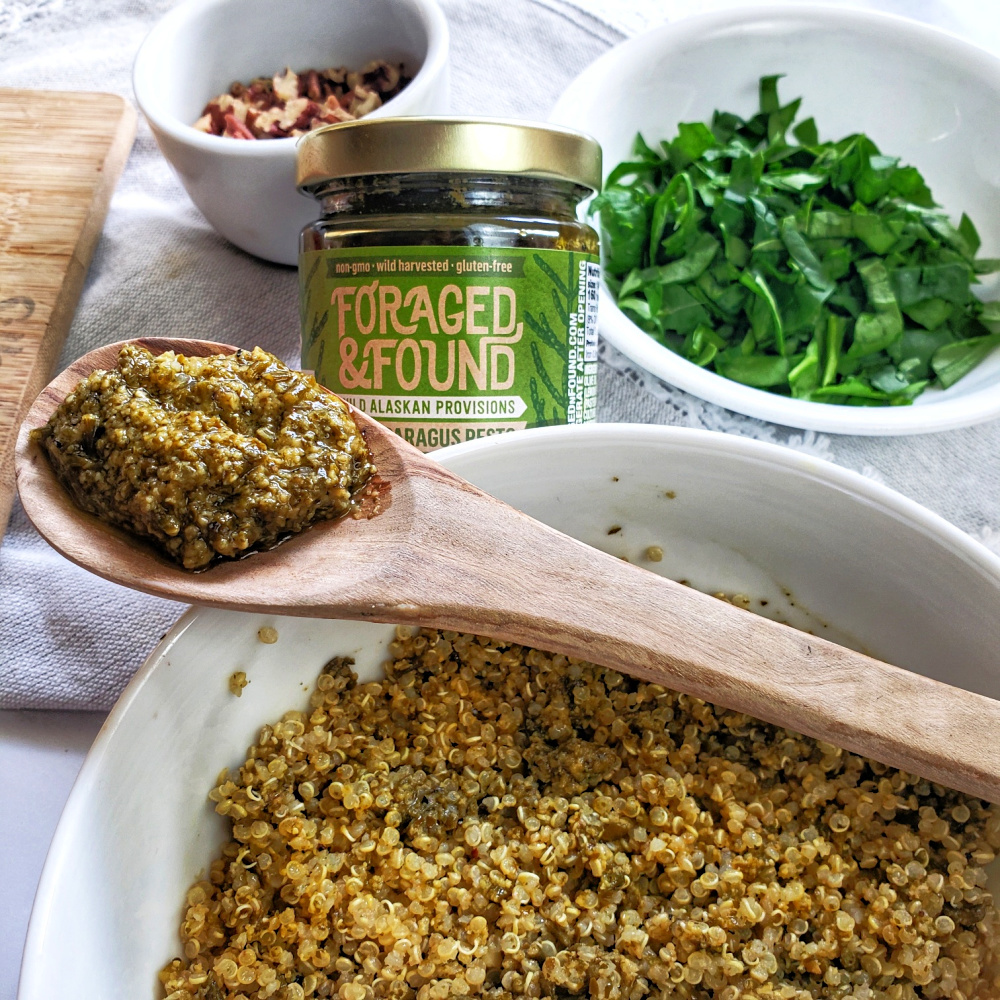
Sea Asparagus Pesto
Sea Asparagus Pesto from Foraged & Found is mixed into quinoa.

Turning this pesto layered dip is a snap! Most of the pesto is soaked into the quinoa, and a generous dollop is saved for the top.

This quick and easy layered dip makes a show-stopping appetizer in just a few minutes thanks to bottled pesto sauces (I used Sea Asparagus Pesto - but feel free to get creative). You can also serve mixed up in a bowl for an easier presentation. Great scooped onto crackers, or with chips -- also leftovers fantastic on a green salad for lunch or a light dinner.
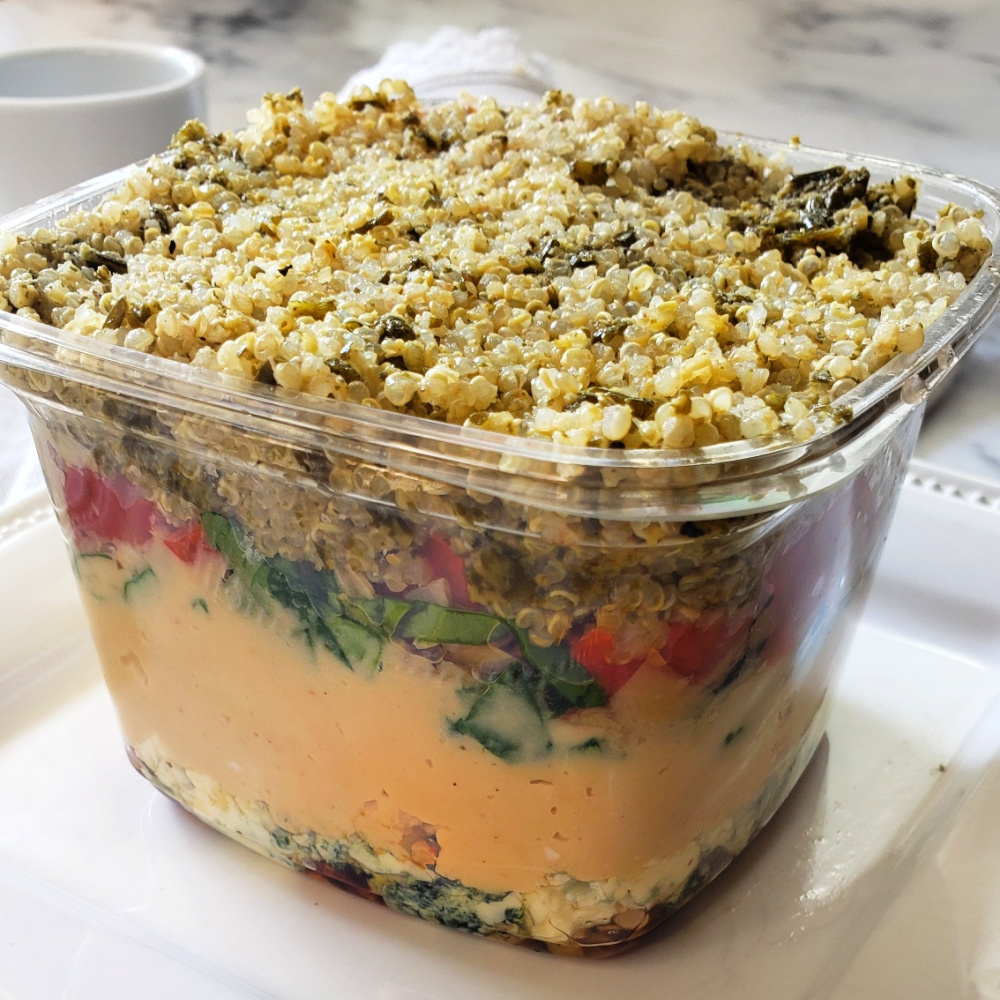
Use a 16-oz. container for a mold.

You’ll need a 16-ounce container to use as a mold – it can be cylinder-shaped (like a yogurt or sour cream container) or even a bowl – just make sure that the bottom (which will be the “top” when inverted) is narrower than the opening. I simply used the square plastic container that was provided at the olive bar when I loaded up on marinated tomatoes and artichokes for the recipe!

When layering this creative Italian dip, remember that each level loaded in goes in reverse of how it will look when presented. When inverting on a plate and releasing from a mold, the first ingredients put in at the bottom of the container become the items on top.

Order for Layers (press down lightly, as needed, after each layer):

Note: Start with 1 Tbsp. of reserved oil from the marinated artichokes or tomatoes (this helps release from the mold)

  • Pecans, chopped
  • Blue Cheese, crumbled
  • Garlic Hummus
  • Sun-dried Tomatoes, chopped
  • Marinated Artichokes, chopped
  • Fresh Spinach, shredded
  • Quinoa Mixed with Pesto

Chill a bit if needed to firm up and then, invert by placing a plate on top and flipping over quickly.

This quick and easy layered dip makes a show-stopping appetizer in just a few minutes thanks to bottled pesto sauces (I used Sea Asparagus Pesto - but feel free to get creative). You can also serve mixed up in a bowl for an easier presentation. Great scooped onto crackers, or with chips -- also leftovers fantastic on a green salad for lunch or a light dinner.
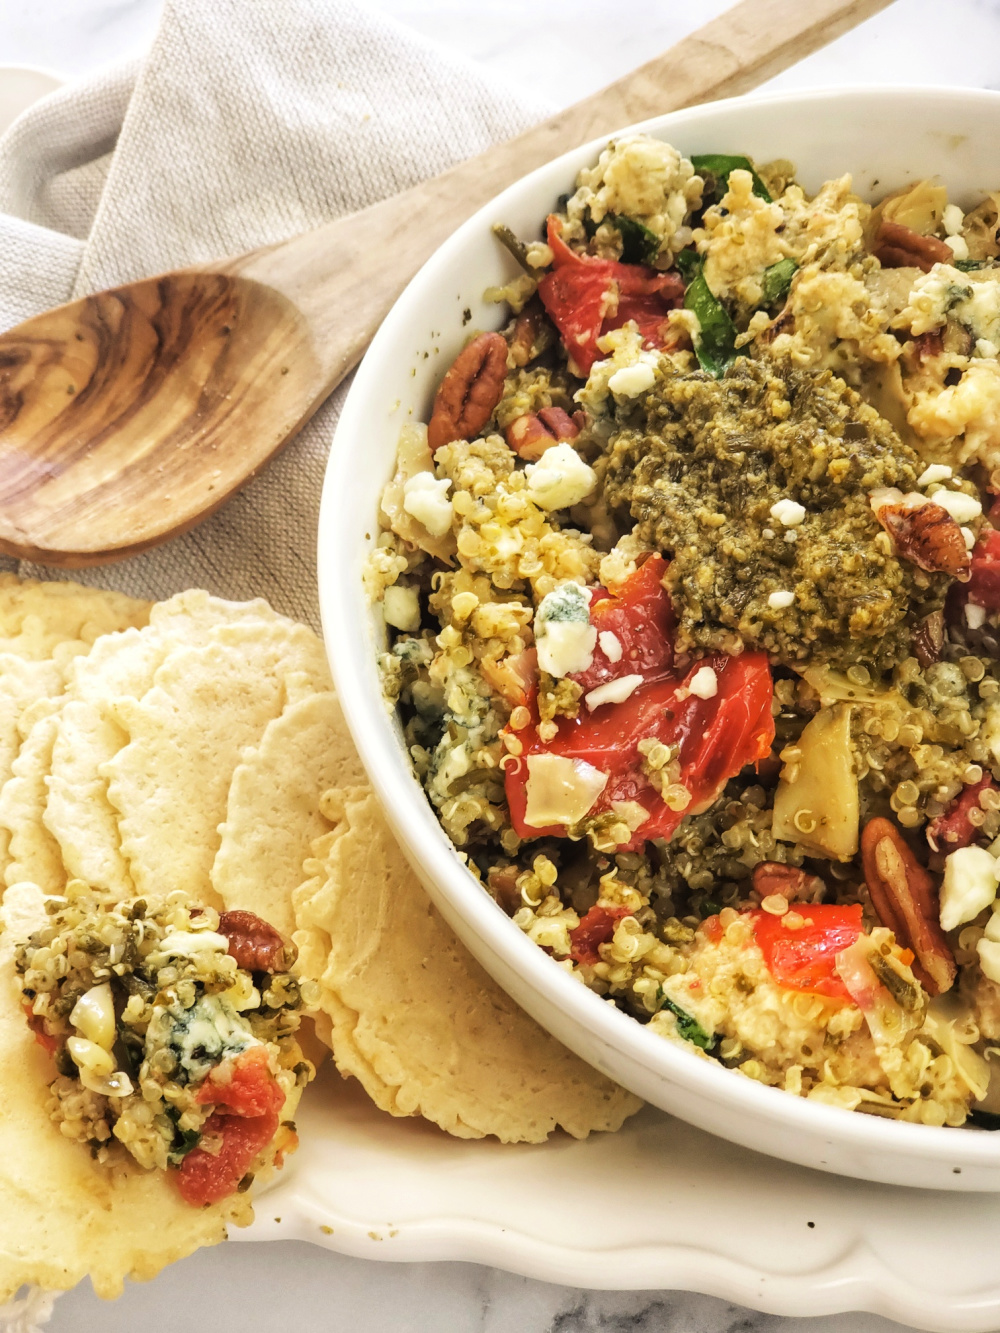
If your mold fails, just serve it jumbled up in a bowl — it still tastes great!

The cool thing about this Italian quinoa recipe is that if you have a “fail” when trying to release the mold, and it falls all over the place, you can just throw it all into a bowl and stir up! It tastes just the same, and still looks pretty because it’s so colorful – in fact, I’ve made it this way on purpose before! Also, you can just skip the inverting and stand-alone presentation – just layer it up how you want in a dish. The only downside here is that all the pretty ingredients can’t be seen at once.

Learn more about Foraged & Found and get more sea asparagus recipes:

Note: This post is sponsored by Foraged & Found as part of a bloggers recipe contest. #foragednfoundak #eatwild #wildalaskanprovisions

5 from 3 votes
This quick and easy layered dip makes a show-stopping appetizer in just a few minutes thanks to bottled pesto sauces (I used Sea Asparagus Pesto - but feel free to get creative). You can also serve mixed up in a bowl for an easier presentation. Great scooped onto crackers, or with chips -- also leftovers fantastic on a green salad for lunch or a light dinner.
7-Layer Italian Pesto Quinoa Dip
Prep Time
10 mins
Total Time
10 mins
 

r a light dinner.

Course: Appetizer, entree salad, Snack
Cuisine: Italian
Keyword: appetizer, dip, party food, pesto, quinoa
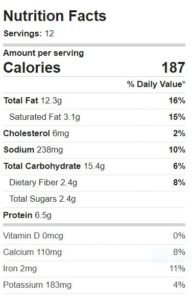
Calories: 187 kcal
Ingredients
  • ¼ cup chopped pecans
  • 2 oz. blue cheese crumbled
  • 4 oz. garlic hummus
  • 1 cup fresh spinach chopped
  • 4 oz. sun-dried tomatoes packed in oil (mostly drained*) chopped
  • 4 oz. artichokes packed in oil mostly drained, chopped
  • 4 oz. Sea Asparagus Pesto from Found & Foraged reserve 2 Tbsp. for garnish
  • 1 cup cooked quinoa
  • * Reserve 1 tbsp oil from marinated tomatoes or artichokes to use as a “lube” for the mold.
Instructions
  1. Use a 16-ounce square or round “mold” that is slightly tapered, meaning the bottom is narrower than the top – this will allow layered dip to slide out easily when inverted. A sour cream or yogurt container works nicely.
  2. In medium bowl, mix together cooked quinoa with most of the 4 ounces of pesto (save about 2 tablespoons for garnish).
  3. Add the approximate 1 Tbsp. of reserved oil from the marinated artichokes or tomatoes to bottom of mold container and swirl around. This helps release layers later).
  4. Add layers in this order: Chopped Pecans, Crumbled Blue Cheese, Hummus, Chopped Sun-dried Tomatoes, Chopped Marinated Artichokes, Shredded Spinach, Pesto Quinoa Mixture.
  5. If needed, stick in fridge for 10 minutes to firm up (sometimes the hummus gets too soft at room temperature).
  6. Remove from fridge and carefully run knife around edges of container to help release layers when inverted (but taking care not to “smear” it all together).
  7. Place plate on top of mold opening and quickly invert, gently pulling off mold container. ***
  8. Dollop with remaining pesto.
  9. *** If you have a failure when trying to release the mold, the nice thing about this recipe is that it can be served in a bowl stirred together as a jumble! It tastes just the same, and still looks pretty because it’s so colorful!
Recipe Notes