Air Fryer Crispy Chickpeas (for One)

Air Fryer Crispy Chickpeas make snack time a happy time and a healthy experience, especially when that craving for something salty-crunchy hits but are trying to stay away from chips.
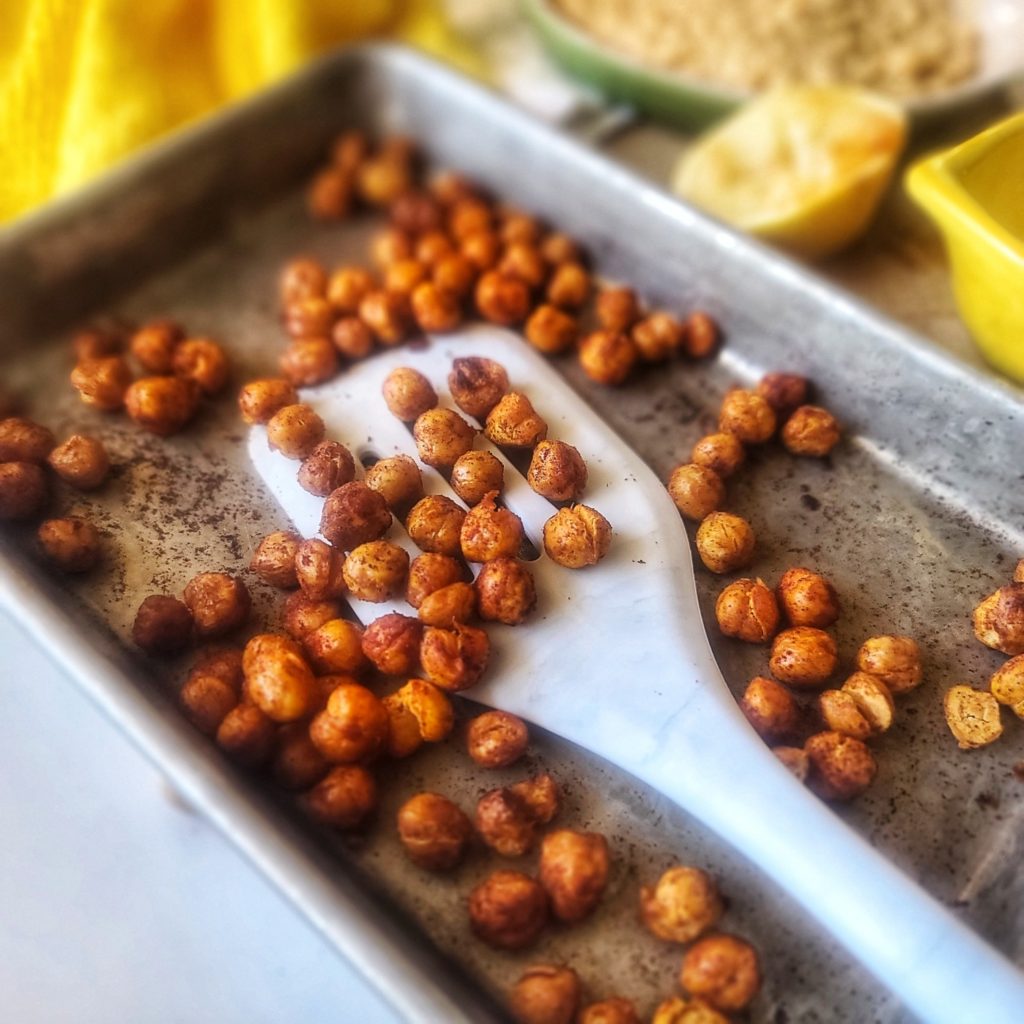
If you’re like me, you’ll want to eat theses roasted chickpeas warm, right off the air-fryer and pop the lightly-seasoned, crispy delights into your mouth, one after one! Definitely one of my favorite single-serve snack ideas!

The good news is that unlike typical crunchy snack foods, you control the fats, the sodium, and the flavor. Nothing is processed or yucky, it’s just the goodness of garbanzo beans (the other common name for this legume) simply dressed up with a hint of flavor.  

This quick snack recipe for one makes a single serving (as hinted, lol) and uses ¾ cup of chickpeas (also called garbanzo), about half a can. To use up the other half of the can, check out this Small Batch Hummus recipe (or just easily double the ingredient list for the Air Fryer Crispy Chickpeas below).

PRO TIPS:
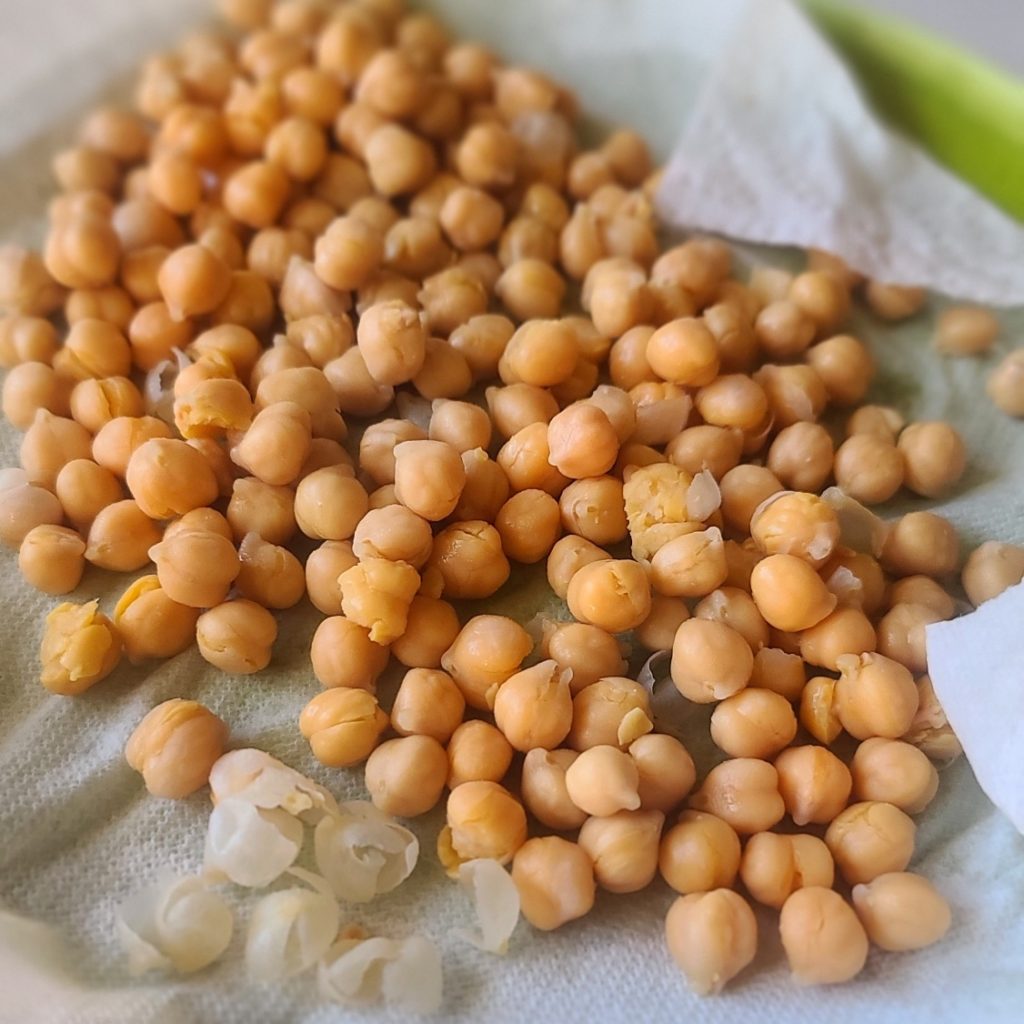
Remove skins from chickpeas to help oil & spices adhere.

Remove Skins:  Often canned chickpeas still loosely have their “skins” on. Most fall off during rinsing but any remaining can be removed by patting dry on a paper towel and loosely rubbing around until removed. You CAN eat chickpeas with the skins still hanging on, there is no harm! But removing helps the oil and spices cling onto the legume better in this recipe and for hummus recipes, it creates a smoother outcome.

Oven Option: If you don’t have an air fryer (I LOVE my Omni Pro Plus 18L), the general rule of thumb for crisping up garbanzo beans in the regular oven is to use the same temperature, but double the cooking time (shaking pan around every 10 minutes to promote even cooking).

Seasonings: Instead of smoked paprika, try curry powder, chili powder, Italian seasoning, Everything Bagel spice, or any other spice or blend you can dream up. Even homemade gingerbread spice with a pinch of stevia would make a delicious, unique chickpea snack.

How to Serve: Of course, eating warm off the pan is the obvious way to serve roasted chickpeas! They are also delightful tossed on a salad for extra nutrition and texture. Also try soups (instead of croutons) and as a garnish atop dips (like hummus) or your main entrée (like so yummy with salmon and greens)

How to Store: To maintain crunch, store roasted chickpeas covered at room temperature, for up to a couple days. If desired, pop back into a pre-heated 350F air fyer for 1 to 2 minutes to warm and re-crunch.
This post contains affiliate links.
5 from 5 votes
Air Fryer Crispy Chickpeas for One is a quick, easy and healthy snack with lots of dietary fiber plus protein, iron, and folate. A mindful way to satisfy that salty-crunchy craving when trying to stay away from chips and processed foods.
Air Fryer Crispy Chickpeas for One
Prep Time
5 mins
Cook Time
15 mins
Total Time
20 mins
 

Crunchy, crispy and addictive! This fun and easy-to-make snack offers lots of dietary fiber and also is a good source of plant protein, iron, folate and other essential nutrients. Note: If you want to use up the entire can 15-ish ounce can of chickpeas, just double the recipe!

Course: Snack
Cuisine: healthy, Indian, Mediterranean
Keyword: air fryer, chickpeas, garbanzo beans, legumes
Servings: 1 serving
Ingredients
  • ¾ cup canned chickpeas about half a 15.5-ounce can
  • 2 tsp olive oil
  • 1/2 tsp lemon juice
  • 1/8 teaspoon salt
  • ¼ teaspoon ground black pepper
  • ½ teaspoon smoked paprika
Instructions
  1. Pre-heat air fryer to 390 F degrees.
  2. Drain and rinse chickpeas.
  3. Pour out on paper towel and dry, gently rubbing to release any skins; discard skins.
  4. Add chickpeas to small bowl and drizzle on olive oil and lemon juice, stirring to coat evenly.
  5. Sprinkle with salt, pepper, and smoked paprika and stir around to adhere to chickpeas.
  6. Pour chickpeas out on rimmed baking sheet that fits in air fryer.
  7. Stick in preheated air fryer for about 15 minutes, stopping to shake around once halfway through. Chickpeas should be toasted and crunchy when finished. IF needed (because air fryer models vary in heating), cook for another 2 to 4 minutes.

  8. Remove and let cook a couple minutes before eating. Store leftovers in air-tight container at room temperature, for up to 3 days. If desired, you can warm up in air fryer preheated to 350 for 1 to 2 minutes.

  9. Note: For a conventional oven, cook at 390-400F degrees for 30 minutes, or until golden brown and crispy, stirring up every 10 minutes.

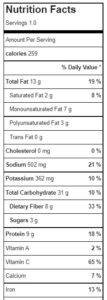
Recipe Notes

Watermelon Juice 101: How to Make, Store, and Serve with a Boost

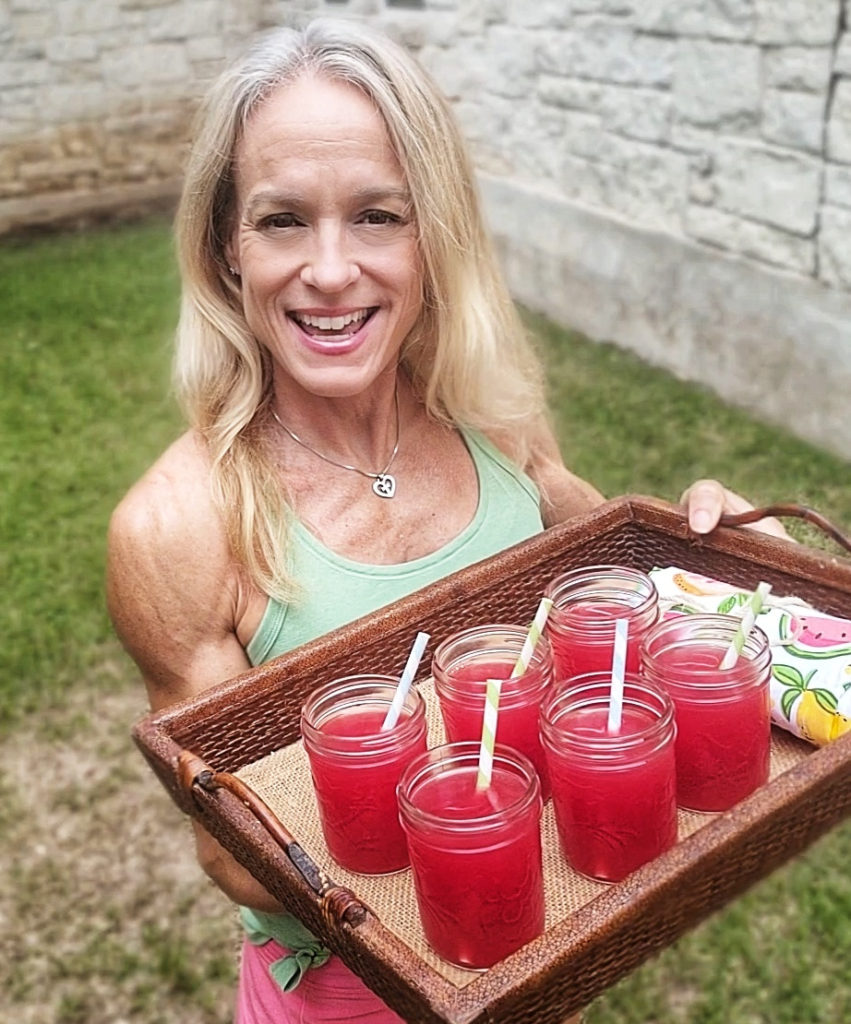
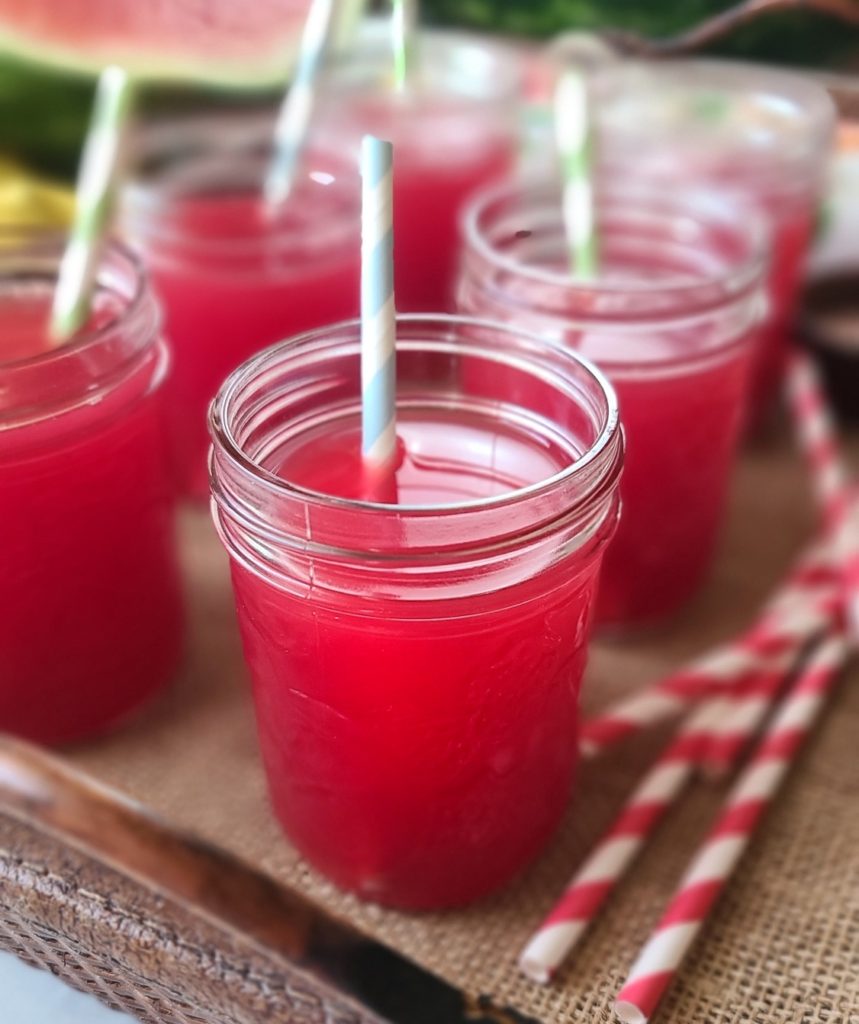
I’m here to give you all the juicy details about watermelon juice. Not just why I personally adore it, but why you will be hard-pressed not to love it too! Ex-squeeze me for all the puns. Also, learn how to make watermelon juice at home, how to store it plus how long it will stay fresh, and discover simple 1-ingredient stir-ins to entertain your taste buds.

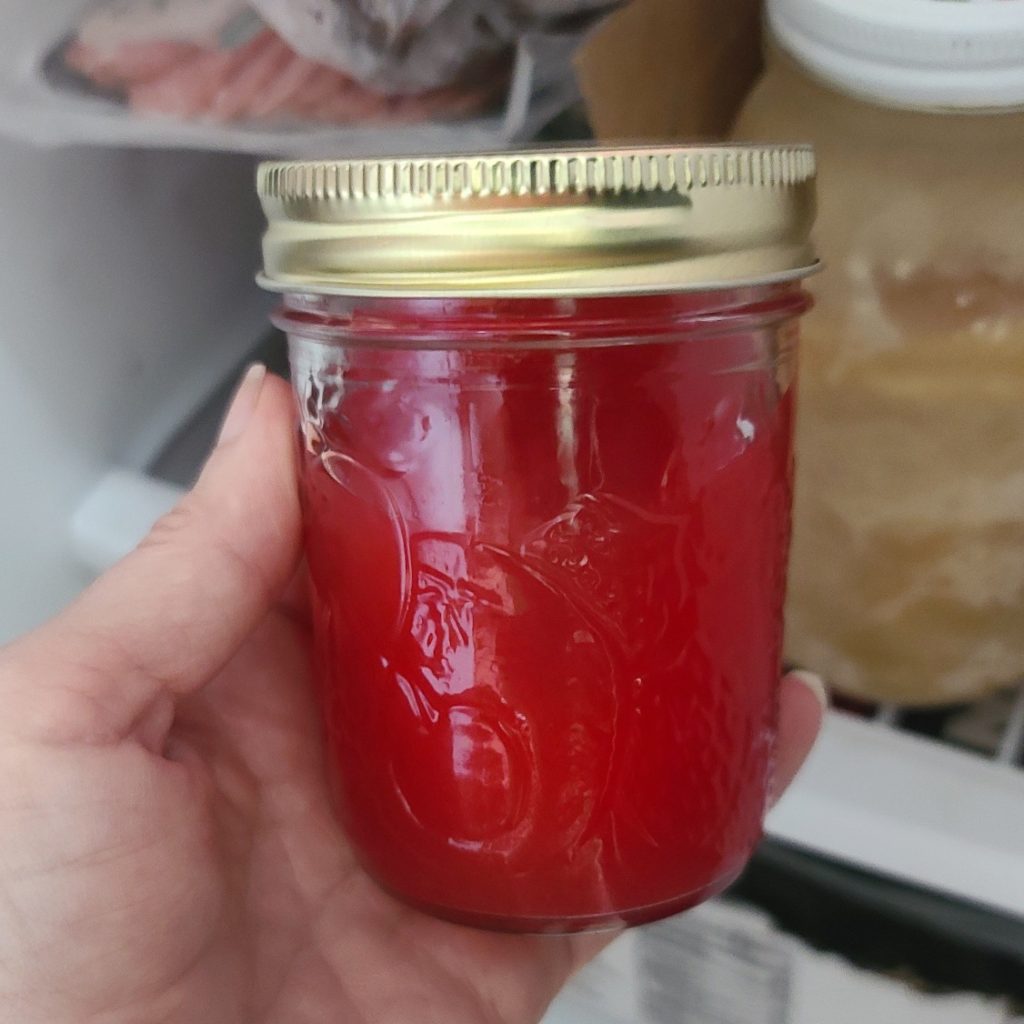
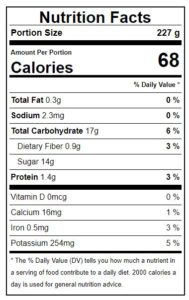
At 92% water, watermelon is one of my favorite choices to stay hydrated, especially after runs, workouts and other active endeavors. During the summer season, icy cold juice (or even handful of frozen cubes) is so refreshing and in the winter months, I’ve been known to warm it up, which is surprisingly delicious. Either way, an 8-ounce serving of watermelon juice provides me fluids, vitamins and minerals that my body needs like vitamin C (19.4mg), vitamin A (67.2mcg), and B6 (108mcg), potassium (269mg), and lycopene (10.9mg).

Watermelon is a Smart Alternative to Soda

If had to name one vice, it would be drinking soda. But swapping with watermelon juice satisfies my craving in a naturally sweet way and helps me avoid the refined sugar, caffeine and artificial stuff.  At 72 calories per 8-ounce serving, watermelon juice is a great alternative to sodas – plus you can even add sparkling water to make it a bigger, bubblier treat.

How to Make Watermelon Juice

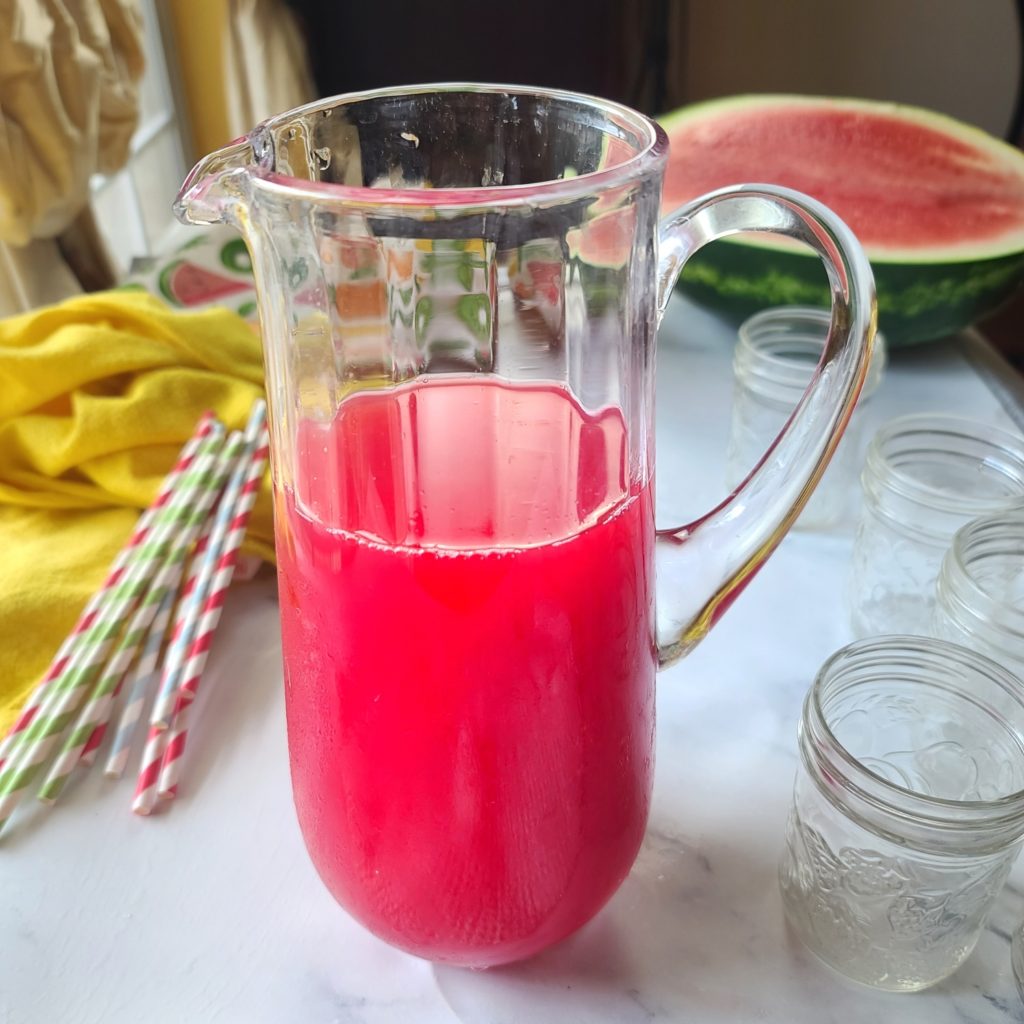
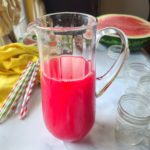
Watermelon juice is really something you should make at home if you want to ensure the best beverage every time plus save a ton of money. I’ve seen bottled fresh watermelon juice in some better stores, but you really have to scrutinize the label to make sure you’re getting 100% juice and not flavorings and sugar fillers. Also, those elusive cold-pressed bottles of watermelon juice out there are expensive – anywhere from $3 to $5 or more for a “single” serving bottle.  Heck for $5 or a little more here in Texas, I can get the whole watermelon and make much, much more juice (plus have leftovers enjoy a wedge or two on the side). 

Also, here’s an easy watermelon juice tutorial from Watermelon.org You can see it’s as easy as cutting, blending and straining (if you desire).

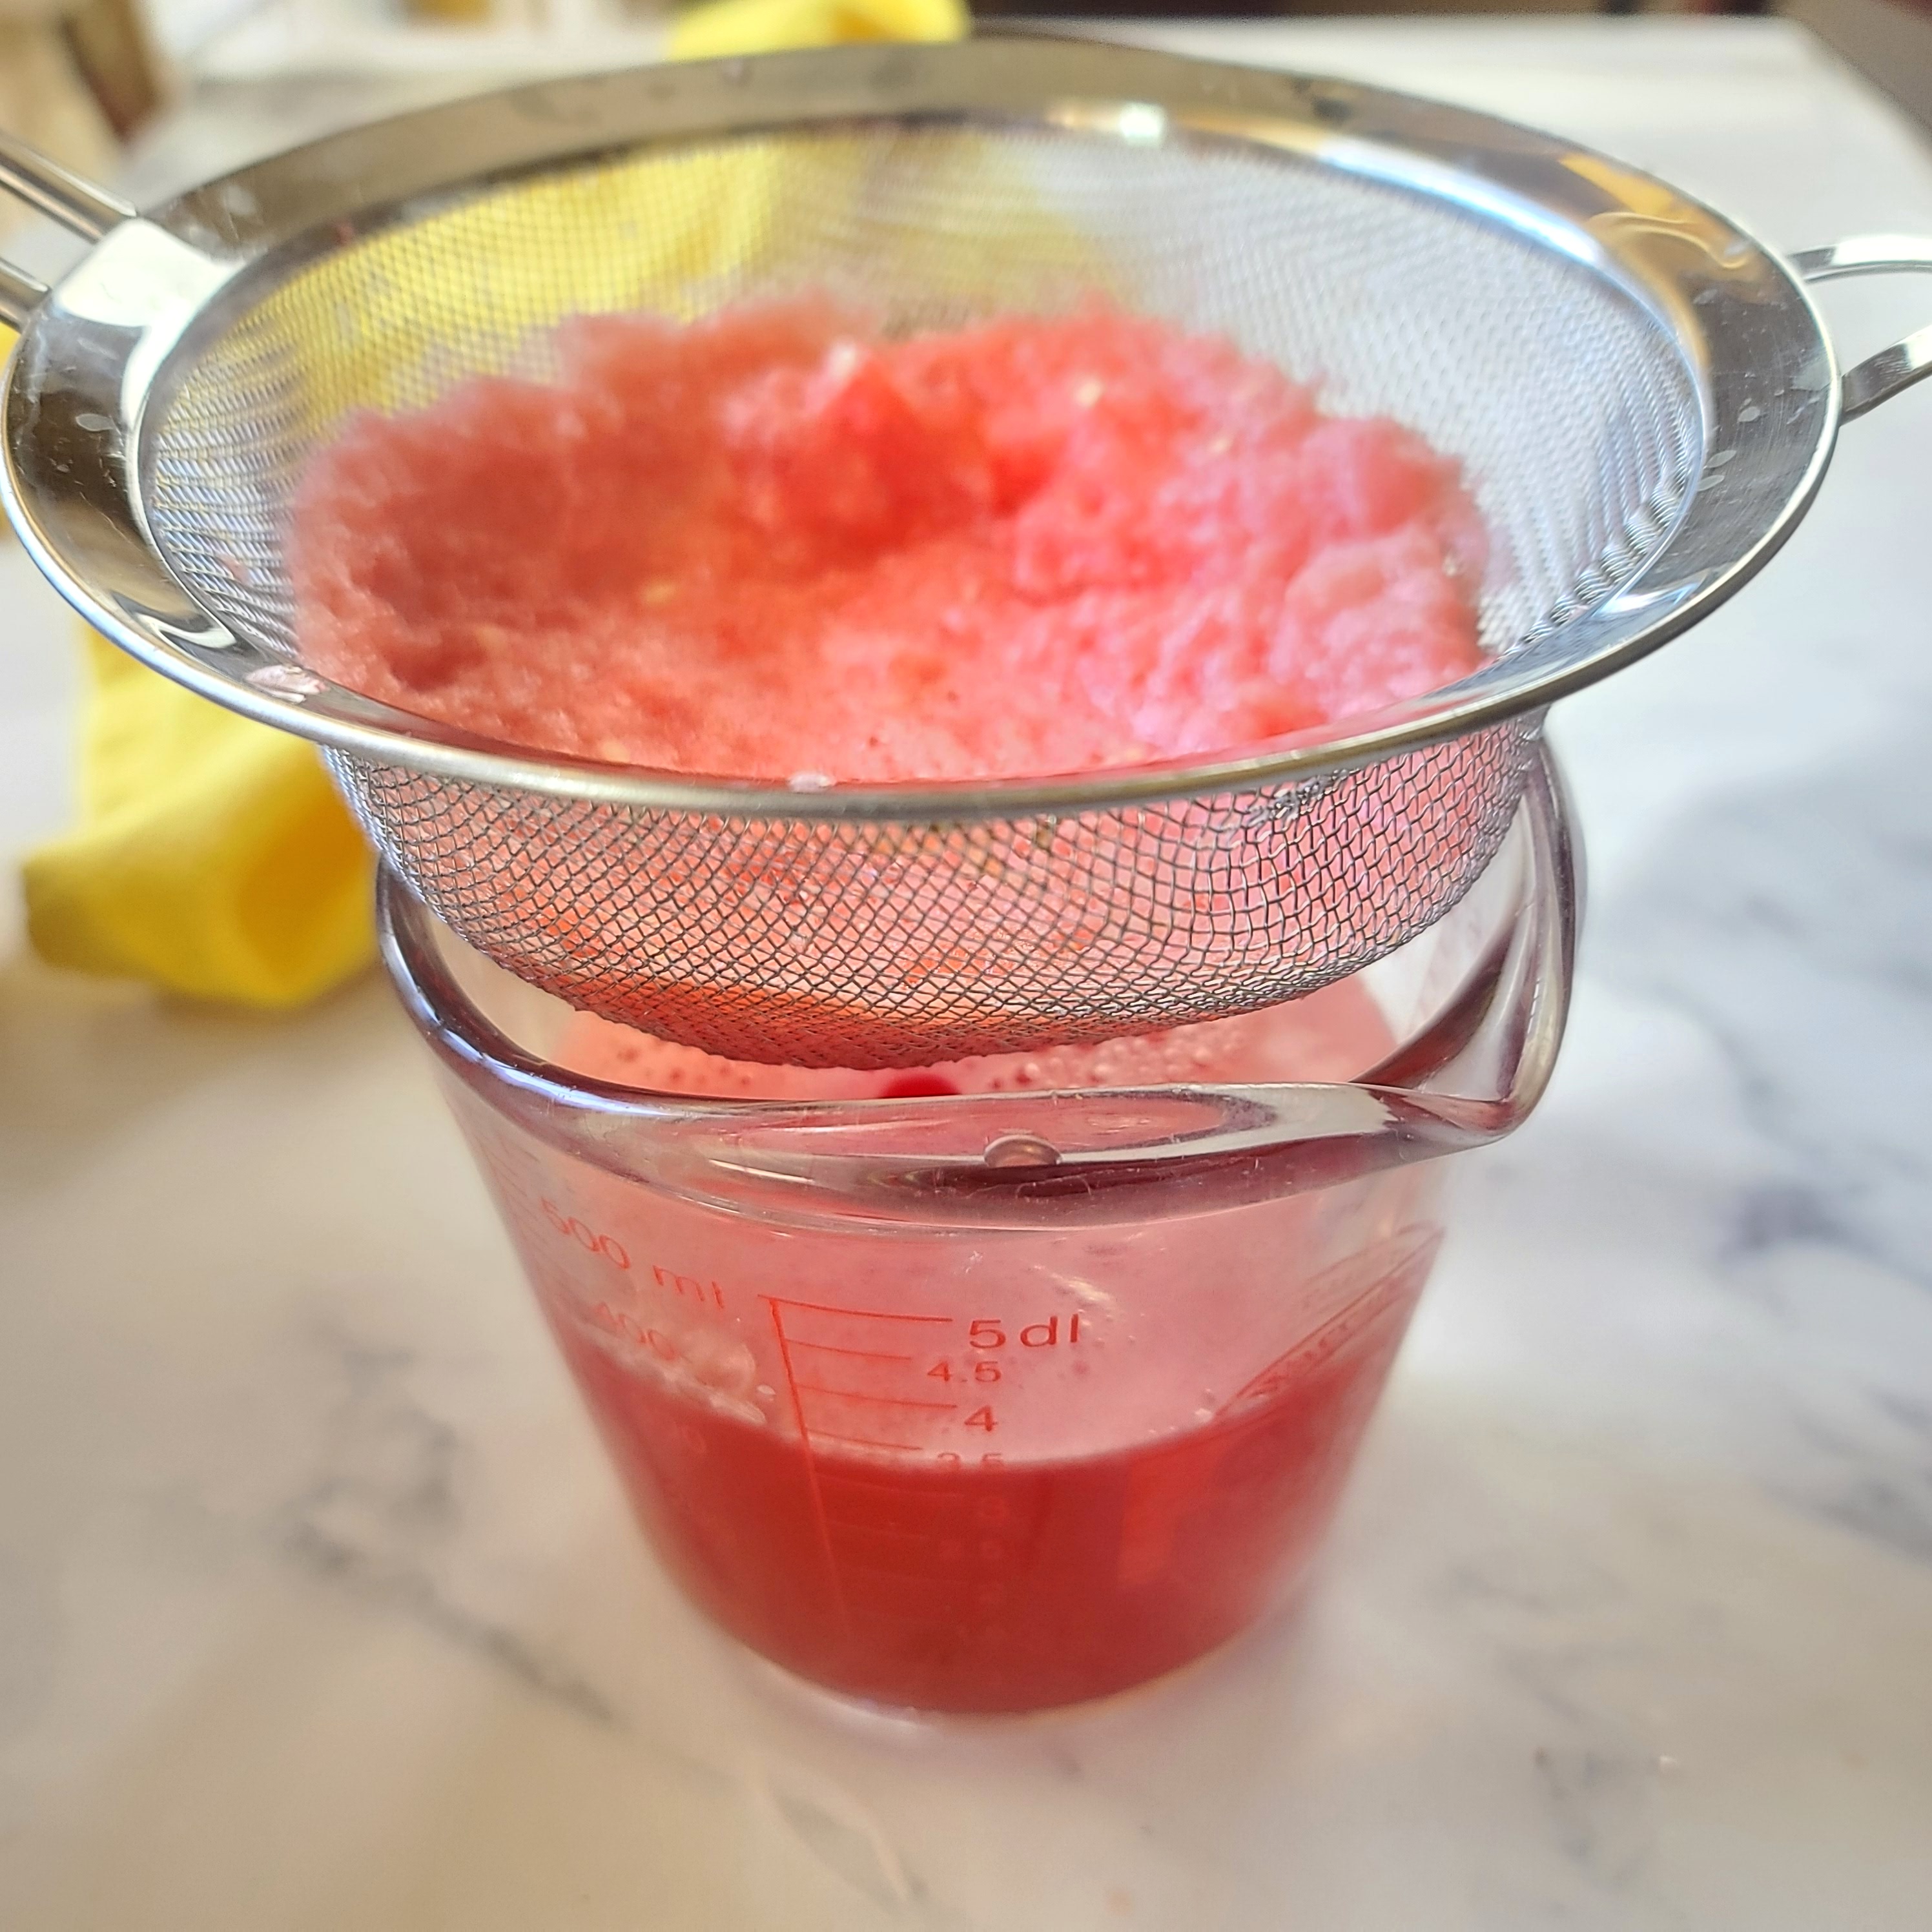
Straining watermelon juice is not necessary, just stir up pulp before serving.

You can also avoid food waste by making watermelon juice with the remaining flesh of a cut watermelon that is over-ripe or is about to reach expiration in the fridge. Watermelon.org says that a large watermelon can last up to 7 days chilled between 9°F and 36°F.  Also, I have another watermelon juice collecting hack. After I cut up a big watermelon to store in the fridge, I pour off the seeped juice sitting in the bottom of the container every night and morning – it’s amazing how much juice you collect, even when you end up eating all the watermelon! I also feel like it helps keep the texture of the cut watermelon at its best.

How Long Does Watermelon Juice Stay Fresh? Watermelon juice, because it is fresh and unpasteurized, should be consumed in 24 to 72 hours after juicing and kept chilled between 9°F-36°F In addition, the USDA recommends not leaving unpasteurized juice sitting out for more than 2 hours to prevent bacteria growth. At this time, watermelon juice can be frozen for longer term storage

How to Freeze Watermelon Juice Freeze watermelon juice within 24-72 hours of making it and having storing it properly in the fridge. You can freeze watermelon juice for up to 6 to 12 months in a freezer set to 0°F.  Freeze watermelon juice in glass canning jars, air-tight freezer containers (tubs or heavy baggies), or even ice cube trays (later pop out and store in a freezer bag).  Make sure that your container has enough headroom at the top, about 1 or 2 inches for a jar, to allow for expansion during the freezing process.  When ready to thaw, please set in the refrigerator overnight rather than leaving on the counter

Other Food Safety Tips for Cutting Watermelon & Juicing

Only use watermelon that are free from signs of damage. Bruises, fissures and mushy spots could indicate contamination. Wash hands thoroughly with soap and water before cutting watermelons. Before cutting watermelon for juicing (or just eating), wash the outer surface thoroughly with cool tap water to remove surface dirt. Use a clean knife. Chill cut watermelon within 4 hours of cutting and store between 9°F-36°F for no more than 7 days.

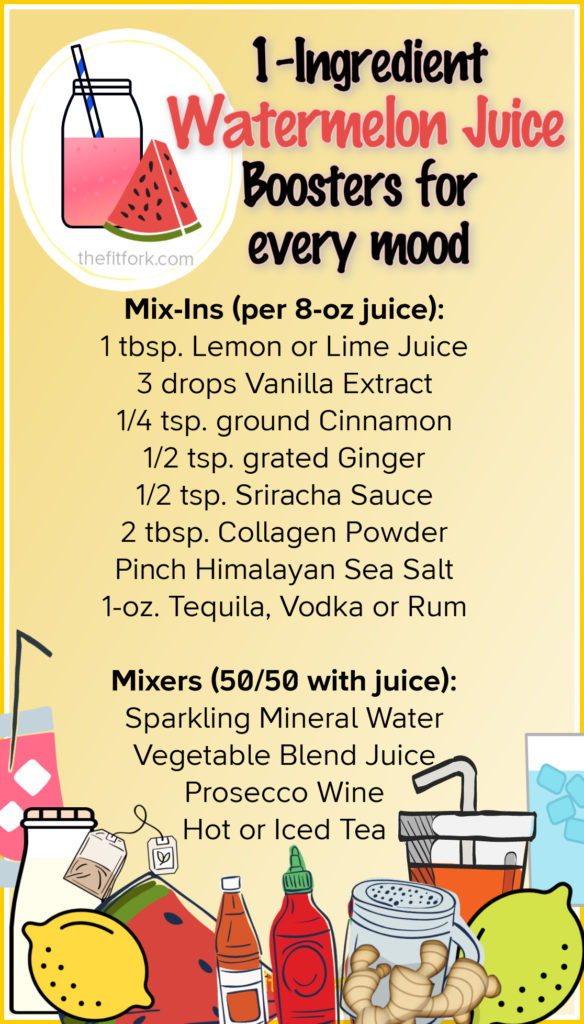
Single-Ingredient Watermelon Juice “Mix-Ins”

Looking for a simple way to switch it up! Have fun with these easy flavor ideas to boost your watermelon juice.

Watermelon Juice Pro-Tips for School-Age Parents:

  • Pour watermelon juice into ice-pop molds for a naturally sweet dessert.
  • Add a frozen bottle of watermelon juice to a child’s lunchbox as a drink that will thaw out by lunch and also keep the lunchbox cool.
  • Add sparkling water to watermelon juice as a faux-soda for children who are starting to beg for bubbly drinks.
Simple Watermelon Juice (1 ingredient)
Prep Time
10 mins
Total Time
10 mins
 

Enjoy a refreshing, hydrating, nutrient-packed beverage by making watermelon juice. Making your own watermelon juice is much more economical the purchasing fresh in the store (if you can even find it). So great for post workout refueling (or to make cocktails and mocktails)!

Course: Beverage, beverages, Fruit
Keyword: fruit, immersion blender, juice, juicing, watermelon
Ingredients
  • 1 watermelon (or part of one watermelon) cut into 1" chunks
OPTIONAL INGREDIENTS
MIX-INS: Add to 8-ounces watermelon juice:
  • tbsp. Lemon or Lime Juice
  • 3 drops Vanilla Extract
  • 1/4 tsp. ground Cinnamon
  • 1/2 tsp. grated Ginger
  • 1/2 tsp. Sriracha Sauce
  • 2 tbsp. Collagen Powder
  • Pinch Himalayan Sea Salt
  • 1- oz. Tequila Vodka or Rum
MIXERS – Choose one, mix 50/50 with juice:
  • Sparkling Mineral Water
  • Vegetable Blend Juice
  • Prosecco Wine
  • Hot or Iced Tea
Instructions
  1.  Wash outside of watermelon. Slice and cut into1” chunks.    .

  2.  Place in blender pitcher, and pulse for about 15to 30 seconds until liquified.

  3. Pour through strainer to remove pulp. Discard pulp to compost or save for another use.

  4. If preferred, you can leave pulp in juice for a thicker effect. Remember to stir back in before serving.

  5. Store in fridge for 24to 72 hours or freeze inair-tight containers for up to 12 months.

  6. Amazing to drink "as-is" but add optional mix-ins or mixers, as desired, to satisfy any given mood.

Recipe Notes

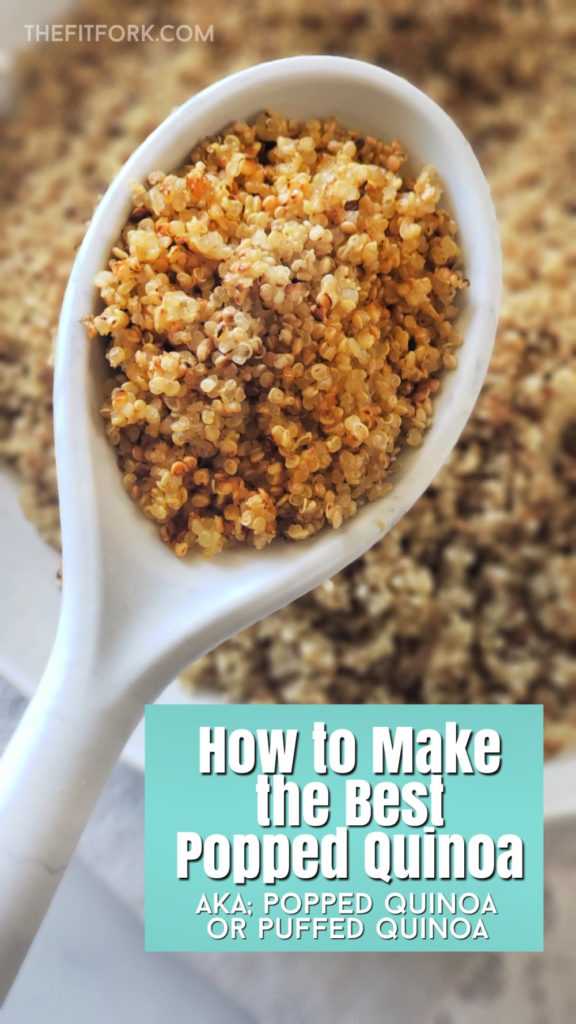
How to Make the Best Popped Quinoa

Toasting quinoa gives it a great texture, fabulous aroma, and magnifies the nutty flavor. Plus, it’s a great way to add more of this ancient grain (which is actually a seed), into your diet – the health benefits of quinoa are plentiful. It’s a good source of plant protein, fiber, and heart-healthy fats, just to name a few.

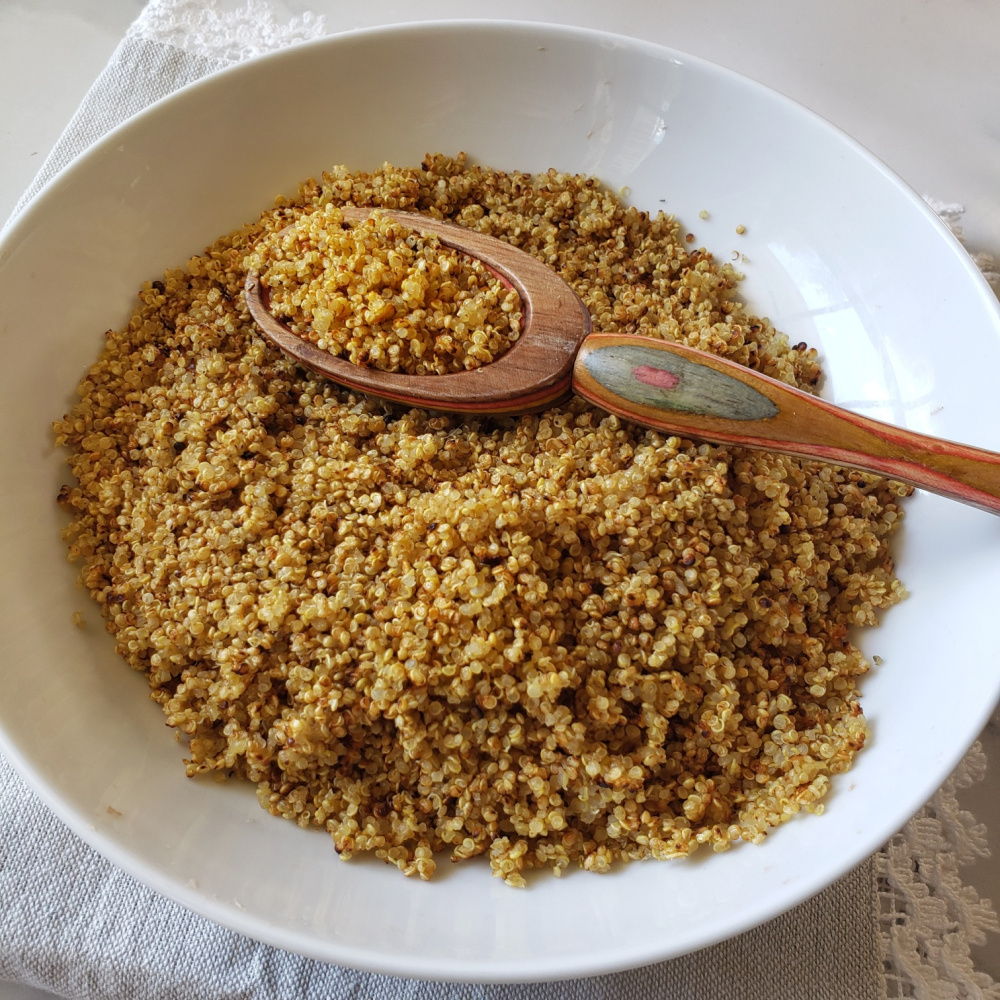
Popping quinoa gives it a wonderful aroma, crunchy yet chewy texture, and nutty flavor -- eat like popcorn, toss on everything from yogurt to salads, or use as an ingredient in recipes like energy balls or granola bars.
Whether you call it Toasted, Puffed or Popped, prepping quinoa this way will make you smile.

 The process of toasting quinoa is also referred to as “popping” or “puffing.” Store-bought puffed quinoa (like quinoa cereal) is very light and crispy. This is achieved through commercial-grade equipment and not 100-percent replicable at home. But just throwing quinoa kernels into a skillet (as is the usual method mentioned on internet sources), yields a very dry, hard result – almost like chewing on sand.

The best method for popping quinoa at home, in my opinion, is to cook it first, dry it out in the oven, and then pop on the skillet for a few minutes. I think you get a bigger “finished” kernel with better textures – it’s crunchy-chewy, but doesn’t feel like a mouthful of pea gravel.

Popping quinoa gives it a wonderful aroma, crunchy yet chewy texture, and nutty flavor -- eat like popcorn, toss on everything from yogurt to salads, or use as an ingredient in recipes like energy balls or granola bars. For more meal prep tips and quinoa recipes visit thefitfork.com

Here is the step-by-step on how to pop quinoa (you can also check out my PIN TUTORIAL).

Rinse quinoa in bowl of water and drain off in an extra fine-mesh strainer to remove the natural coating which can have a soapy, bitter taste. However, some people don’t notice an unpleasant taste, then lucky you – skip this somewhat tedious step!

Simmer 1 cup of rinsed quinoa with 1 ¼ cups of water for 15 minutes, with lid on – or until water is absorbed.

Popping quinoa gives it a wonderful aroma, crunchy yet chewy texture, and nutty flavor -- eat like popcorn, toss on everything from yogurt to salads, or use as an ingredient in recipes like energy balls or granola bars.

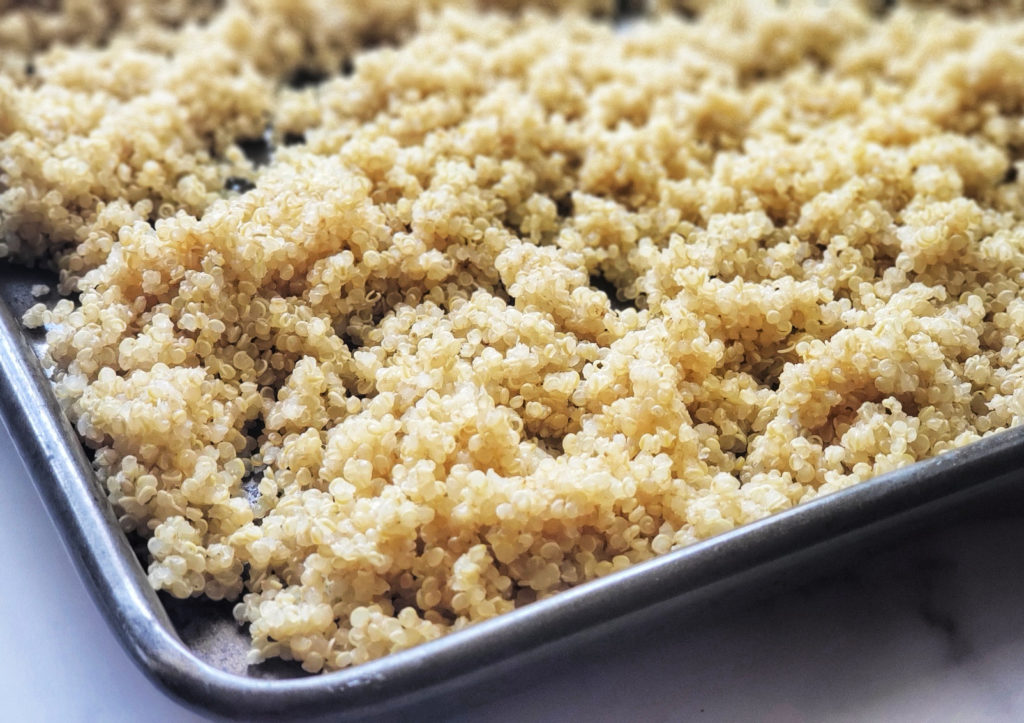
Dry out quinoa (which will have expanded to 3 cups) by spreading out on a rimmed, standard-sized sheet pan. Bake for 30 minutes 175F degrees to further dry out excess moisture. Every 10 minutes, use spatula to stir up quinoa, break apart any clumps, and keep from sticking on the pan.

Popping quinoa gives it a wonderful aroma, crunchy yet chewy texture, and nutty flavor -- eat like popcorn, toss on everything from yogurt to salads, or use as an ingredient in recipes like energy balls or granola bars.

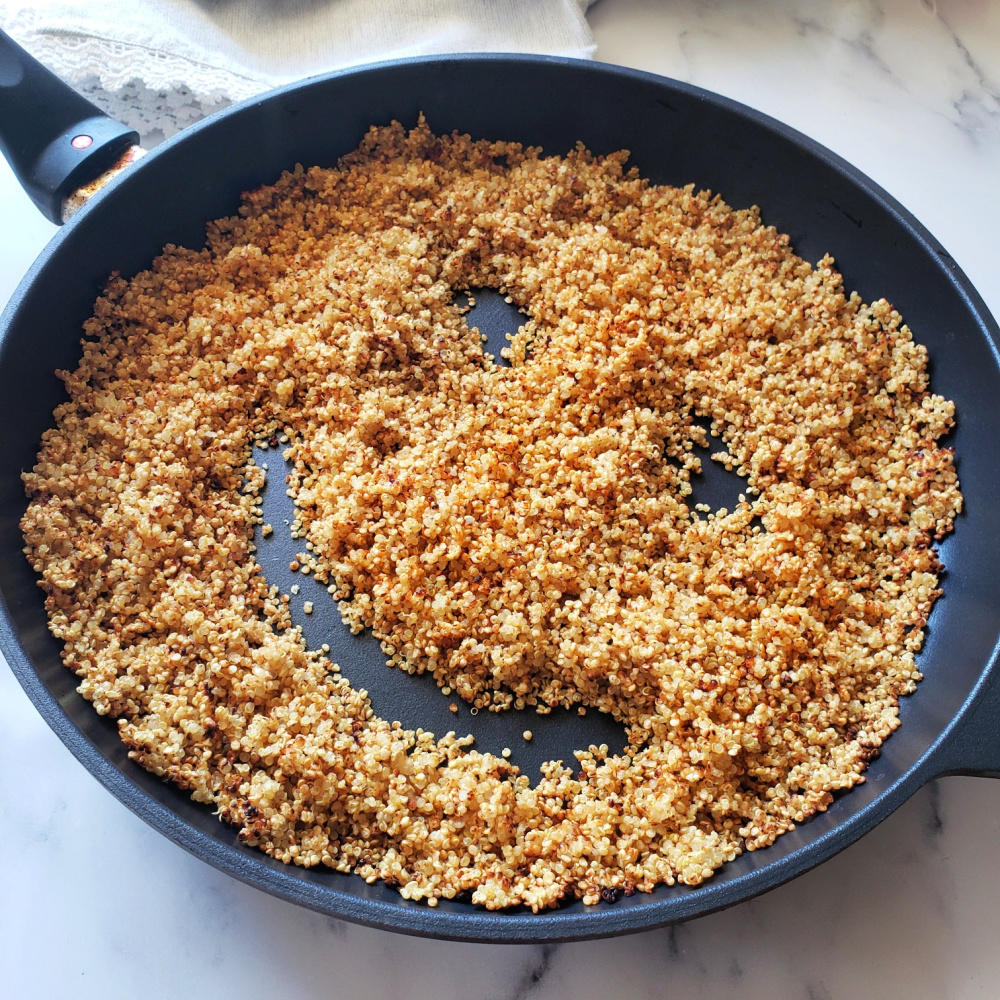
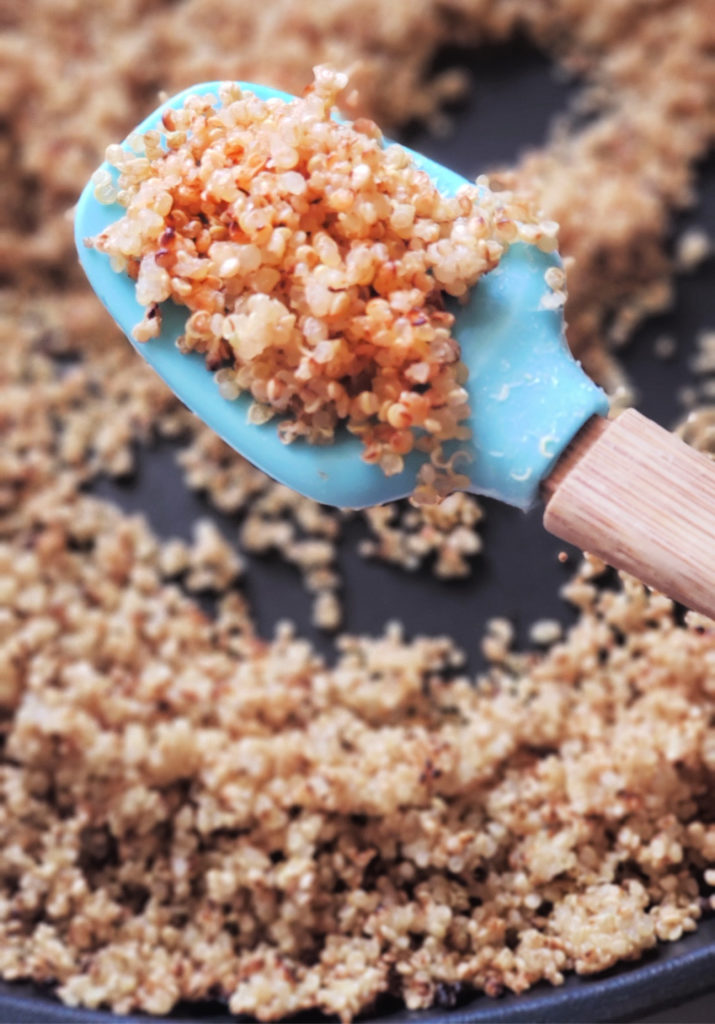
Skillet pop quinoa after you remove it from oven. Work in 1-cup batches, toast in large non-stick skillet, stirring constantly (no oil needed). Quinoa will be toasted properly when you hear the tiny popping sounds and it is turning golden brown and developing a crunchy texture.

Popping quinoa gives it a wonderful aroma, crunchy yet chewy texture, and nutty flavor -- eat like popcorn, toss on everything from yogurt to salads, or use as an ingredient in recipes like energy balls or granola bars.

You can use popped quinoa or toasted quinoa in a variety of ways. For example, add salt and eat like popcorn, sprinkle on salads or on yogurt, use in granola-bar type recipes. It’s one of my favorite ways to meal prep quinoa.  What you don’t use can be kept in the fridge in a zip top bag for a week.

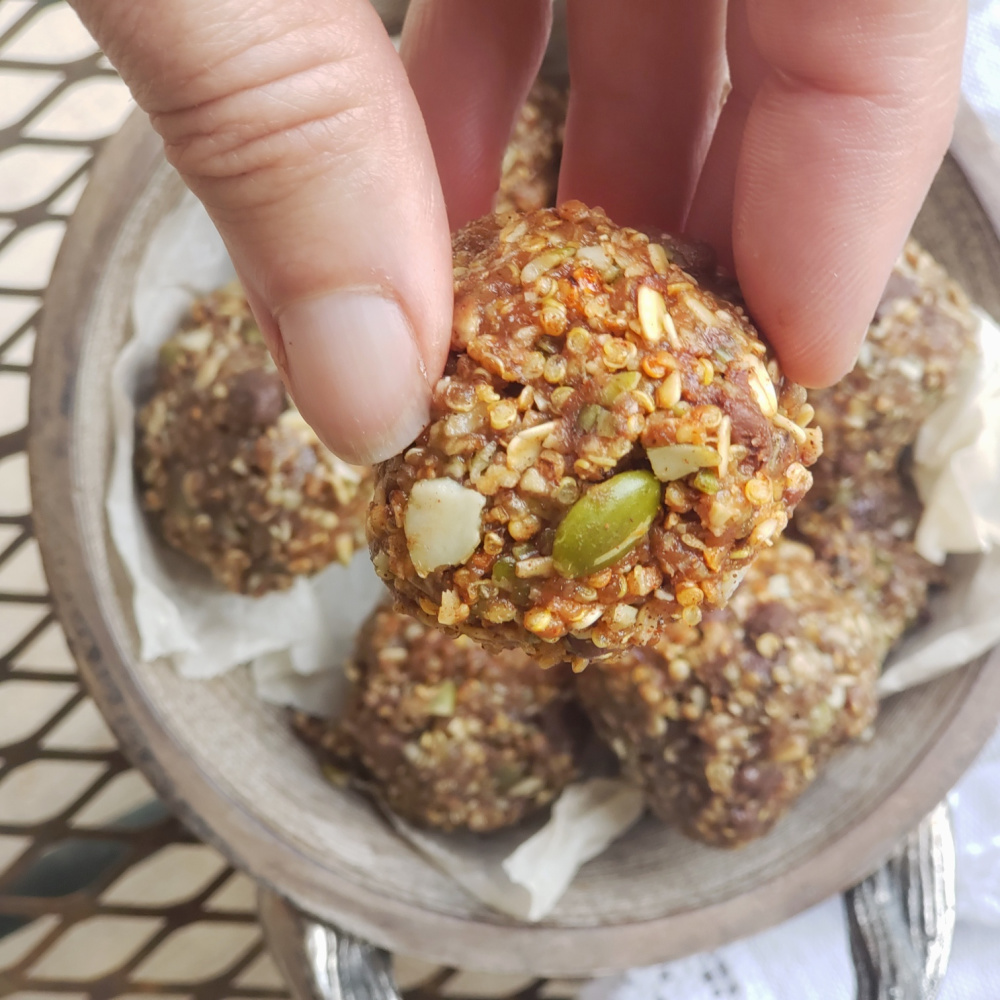
Pumpkin Seed Popped Quinoa Balls
Popped Quinoa (also called Puffed Quinoa or Toasted Quinoa)

Popping quinoa gives it a wonderful aroma, crunchy yet chewy texture, and nutty flavor — eat like popcorn, toss on everything from yogurt to salads, or use as an ingredient in recipes like energy balls or granola bars.

Course: meal prep, side, Snack
Keyword: meal prep, quinoa, whole grains
Ingredients
  • 1 cup dry uncooked quinoa, any color
  • 1 1/4 cup water
Instructions
  1. Rise quinoa in bowl of water and drain off in a fine-mesh strainer to remove the natural coating which can have a soapy, bitter taste. However, some people don’t notice an unpleasant taste, then lucky you – skip this somewhat tedious step!
  2. Simmer 1 cup of rinsed quinoa with 1 ¼ cups of water for 15 minutes, with lid on – or until water is absorbed.
  3. Spread out quinoa (which will have expanded to 3 cups) out on a rimmed, standard-sized sheet pan.
  4. Bake for 30 minutes 175F degrees to further dry out excess moisture. Every 10 minutes, use spatula to stir up quinoa, break apart any clumps, and keep from sticking on the pan.
  5. Remove quinoa from oven and, working in 1-cup batches, toast in large non-stick skillet, stirring constantly (no oil needed).
  6. Quinoa will be toasted properly when you hear the tiny popping sounds and it is turning golden brown and developing a crunchy texture.
  7. You can use popped quinoa or toasted quinoa in a variety of ways. For example, add salt and eat like popcorn, sprinkle on salads or on yogurt, use in granola-bar type recipes. What you don’t use can be kept in the fridge in a zip top bag for a week.

Paleo Blackberry Almond Tart (Vegan, Gluten-Free, Lower Carb)

Jump to Recipe

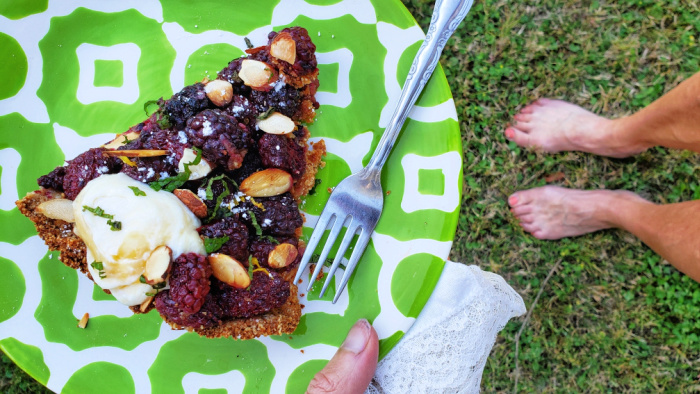
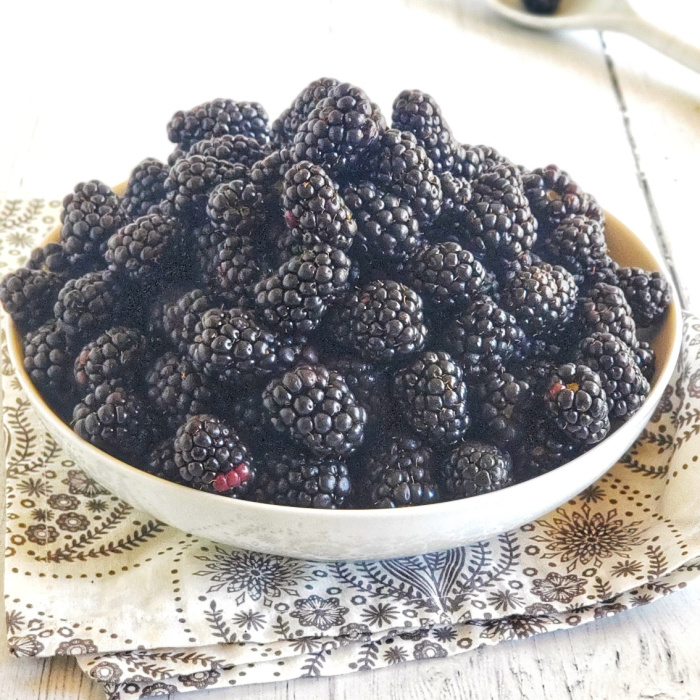
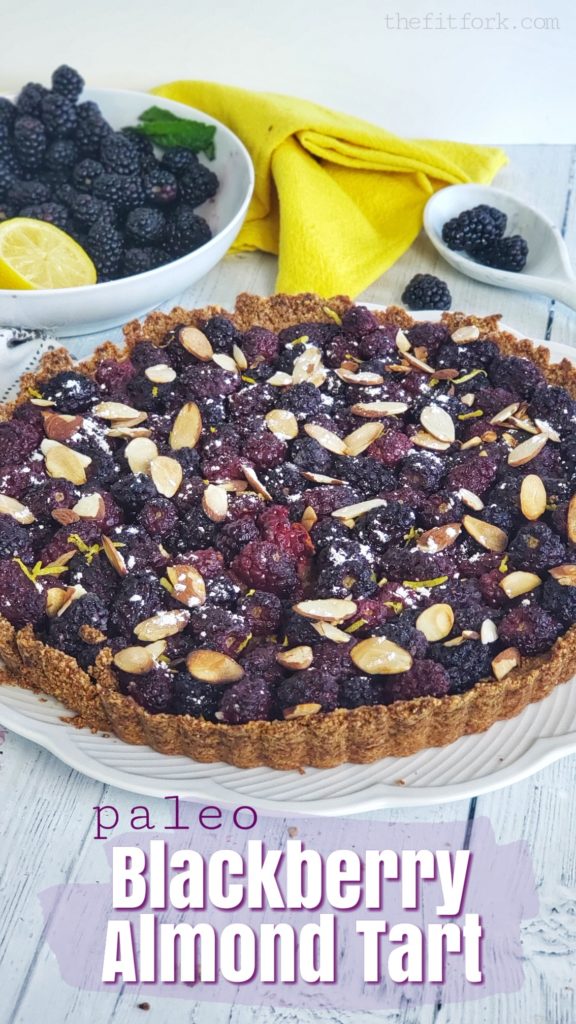
Fresh blackberries, yum! Nothing says toes-in-grass summer dessert more than a berry tart and that’s what I did with a recent windfall of plump, juicy blackberries!

My Paleo Blackberry Almond Tart is also gluten-free, vegan-friendly, made lower carb with some sweetener swaps. It’s a healthy berry dessert recipe that fits with so many dietary eating patterns!

Blackberries are rich in antioxidants, fiber, and a variety of other health promoting nutrients. If this, plus their sweet taste, isn’t enough motivation to eat them, check out the blackberry macros: just 6.1g of carbs 0.7g of fat, and 61.9 calories (plus, surprise – 2g protein)!

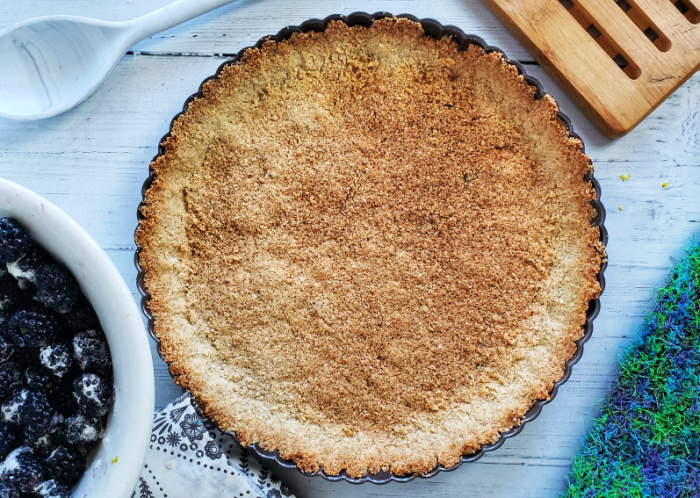
This is a super simple recipe, and starts with super-fine ground almond flour and coconut flour crust made without dairy, egg, or high calorie sweeteners (instead I used granulated Monk Fruit sweetener to moderate the carbohydrates and make it a (not LOW) but lower carb blackberry tart).

After baking the crust in an 11” Tart Pan, the fresh berries are simple tossed with a little more sugar substitute along with lemon juice and lemon zest. It’s popped back into the oven for 30 minutes until the berries are nearly bursting with juices.

Pin for Later!

Or, check out the Pinterest Story on how-to make this paleo blackberry tart with video demonstration.

Best served warm, as is – or with the creamy topping of your choice. I used a non-dairy yogurt mixed with lemon curd.

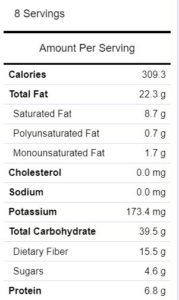
Each serving of this Paleo Blackberry Tart has 309 calories, 22g fat, 24g net carb (39 total with 15g fiber), and about 7g protein.

Do you have a favorite healthy berry dessert or Paleo blackberry recipe?! Please share – in need inspo for the rest of my fresh blackberries (which, BTW, were about $0.80 per pound where I picked them up!!!! A super deal!)

Also, another perfect blackberry recipe for summer entertaining: Skinny Blackberry Nectarine Margaritas!

This post contains affiliate links. I earn a small commission on any sales, however price to you remains the same. Proceeds help to offset operating expenses for The Fit Fork — thank you!

5 from 8 votes
BLACKBERRY ALMOND TART (PALEO, GLUTEN-FREE, VEGAN, LOWER CARB)
Prep Time
10 mins
Cook Time
40 mins
Total Time
50 mins
 

This delicious berry recipe is simple and perfect for summer entertaining!

Course: Dessert
Keyword: blackberry, blueberry, gluten free, paleo, tart
Servings: 8 servings
Calories: 309 kcal
Ingredients
  • 1 ½ cup super fine almond flour
  • ½ cup coconut flour
  • 1/3 cup cup-for-cup sugar substitute like Monk fruit or stevia
  • ¼ tsp baking soda
  • ¼ tsp salt
  • ½ tsp ground cinnamon
  • 1/3 cup coconut oil melted
  • ½ tsp vanilla extract
  • 4 to 5 cups fresh blackberries
  • ¼ cup cup-for-cup sugar substitute like Monk fruit or Stevia
  • 1 tablespoon fresh lemon juice
  • 2 ounces toasted almond slivers
Instructions
  1. Preheat oven to 350F degrees.
  2. Mix together dry ingredients: almond flour, coconut flour, sugar substitute, baking soda, salt, ground cinnamon. Mix in coconut oil and vanilla. Mixture will be crumbly, use hands to shape into ball.
  3. Set ball into middle of non-stick tart pan (11”) and press down and around with fingers until flattened and going up sides of tart pan. Bake for 10 to 12 minutes until turning golden on top.
  4. While crust baking, in bowl toss together blackberries, sugar substitute, lemon juice and lemon zest.
  5. Remove crust from oven and pour fresh berry mixture over rust. Return to oven and bake for 30 to 35 additional minutes, or until fruit starts to bubble.
  6. Remove at top with toasted almond slivers. Serve warm.
Recipe Notes

“Shake It Up” Paleo Watermelon Ice Cream

This post is sponsored by Watermelon.org, however all opinions, comments and enthusiasm remain my own!

Jump to Recipe

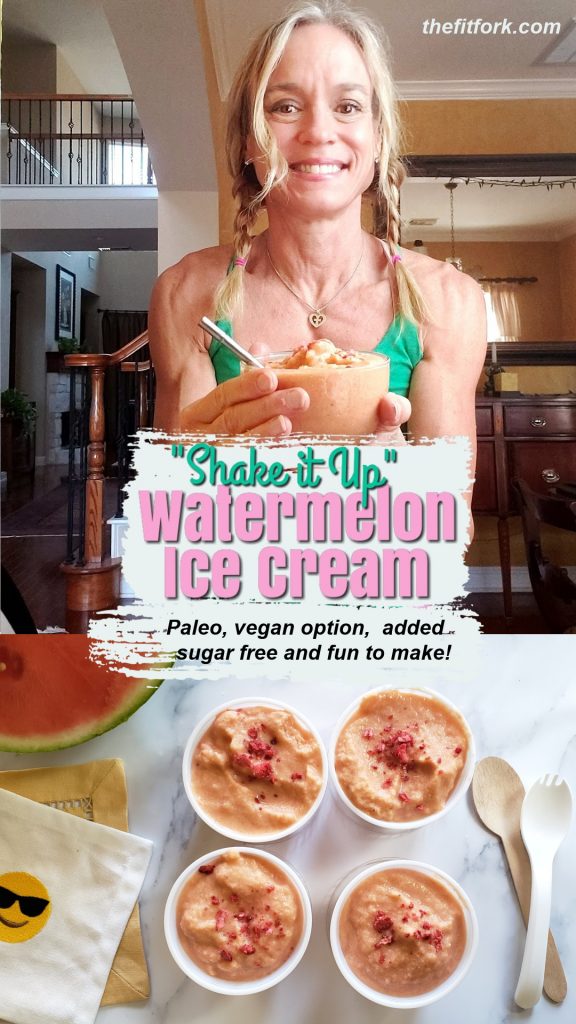
Warmer weather is on the way and I’m craving all the watermelon things and quite literally working my appetite up! Check out my “Shake It Up” Paleo Watermelon Ice Cream that is fun to make as it is to eat! 

Do you have memories of making “kick the can” ice cream at summer camp or spring break gathering as a kid? Back in the day, my mom would pour in the ingredients for ice cream into a can and then stick that can into a bigger can filled with ice and salt. Then my brother and I would kick, roll and throw that can around until a creamy sweet treat formed from our hard work!

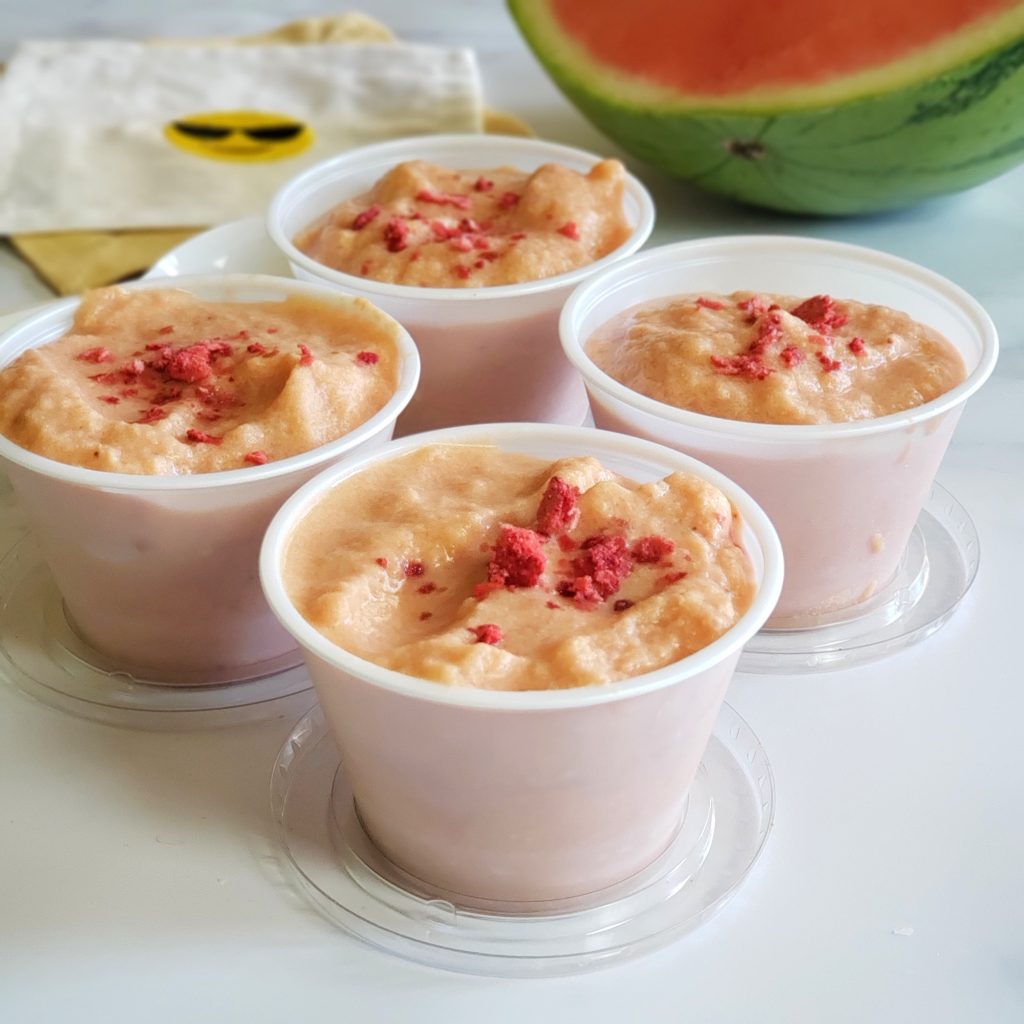
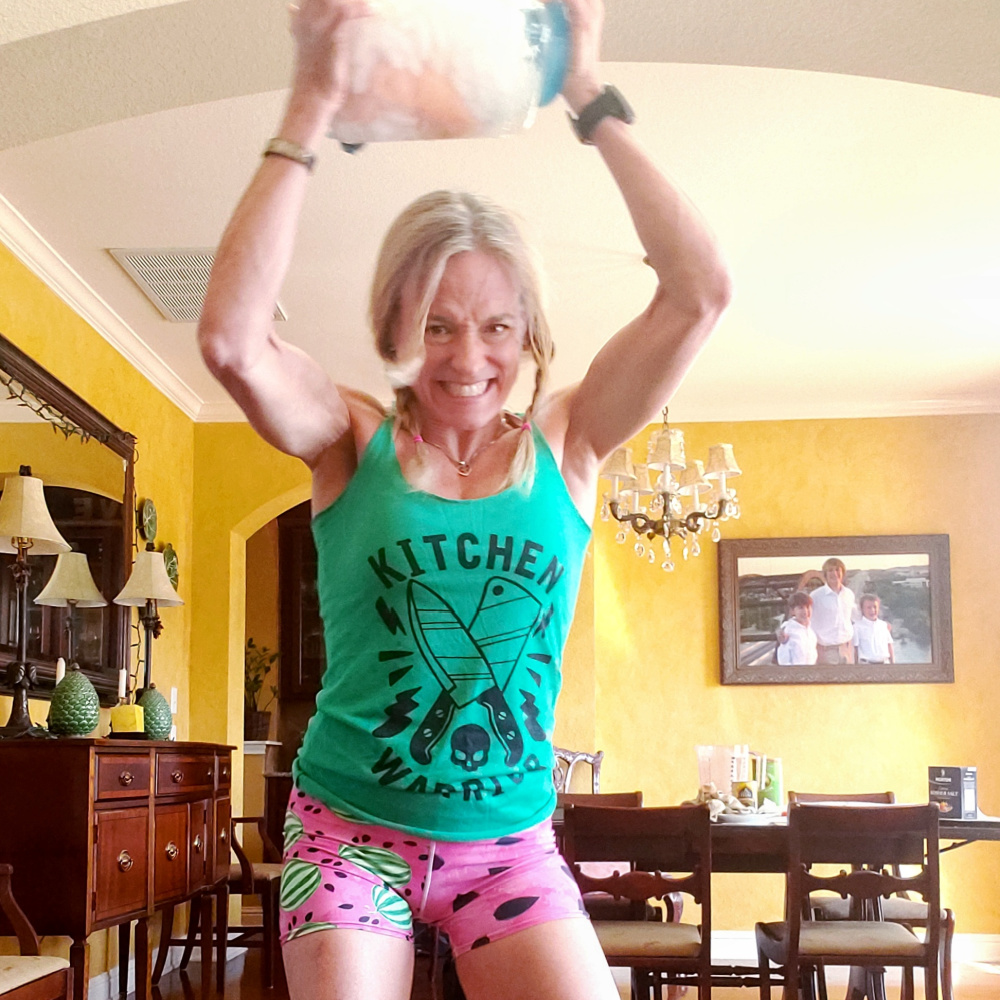
“Shake It Up” Paleo Watermelon Ice Cream - no ice cream machine or freezer necessary. Simple ingredients poured into a zip-top baggie and then place into a container with ice and salt. Then, it’s a 15-minutes of shake-shake-shaking to create a creamy frozen dessert treat that is added sugar free, lower carb, Paleo-friendly and with a vegan option. A fun family activity and way to sneak exercise into your day. #Ad
Pin this for later!

I took the same idea for this no-machine-needed, no-churn ice cream and turned it into a healthier version with fewer carbs and suitable for Paleo diets – and, of course, it features my favorite fruit – WATERMELON! Plus, you get a little 15-minute workout during the human-powered freezing process.

3 cups of watermelon has only 120 calories!
3 cups of chopped watermelon has only 120 calories!

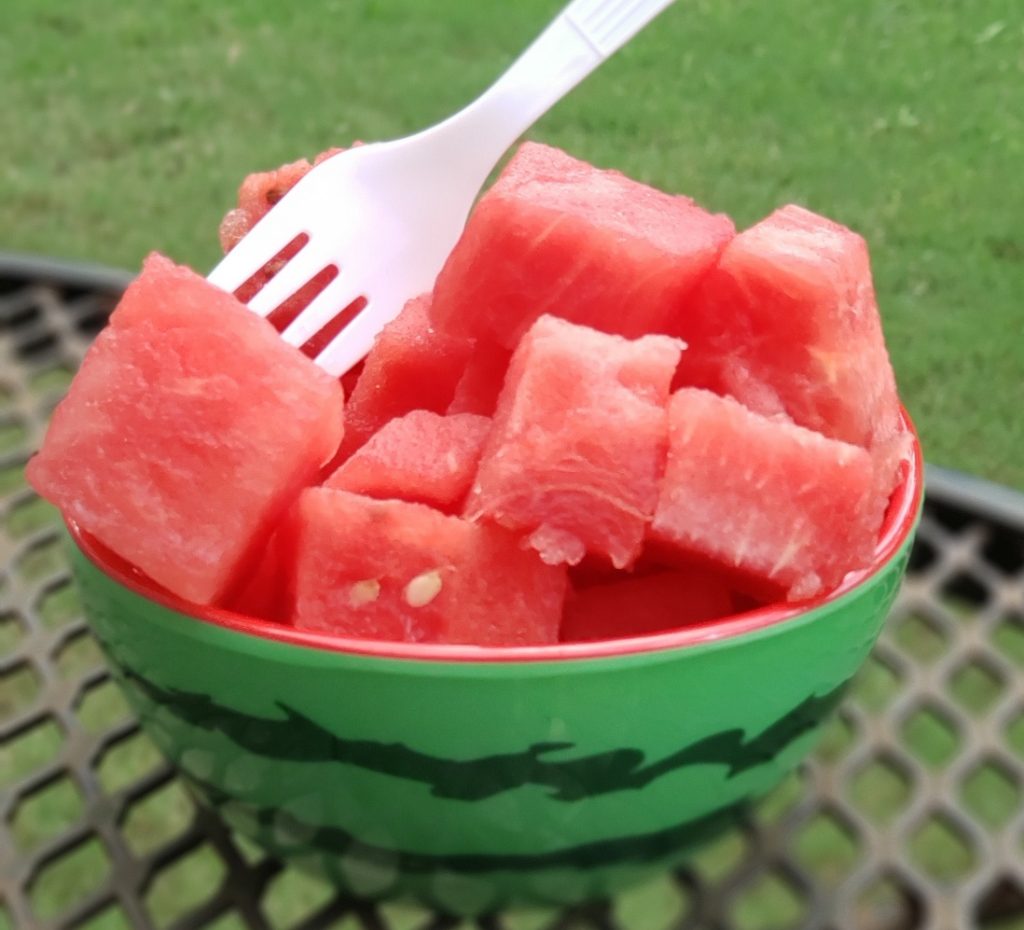
Technically, you can make “kick the can” ice cream (or in this case, “shake the container” ice cream) with any type flavor profile you desire. However, for me, watermelon was a non-negotiable featured ingredient – the amount and volume of watermelon used (3 cups cubed) helped me to cut some of the extreme richness and displace some of the calories used with the second main ingredient – full-fat coconut cream. Did you know that three cups of cubed watermelon have just 120 calories?!  

Watermelon also adds natural sweetness and a bumper crop of health benefits for my active lifestyle like vitamin C and A, lycopene for heart health, and the amino acid l-citrulline which studies show may help move blood through the body, lower blood pressure, and help lessen muscle soreness after a workout. Plus, watermelon always puts me in a happy mood.

Watermelon is deliciously sweet, but I added a few drops of stevia to bring up the coconut cream. Collagen powder from Great Lakes Wellness (save 10% code: THEFITFORK10OFF) is also added for a protein boost and other functional nutrition.

save 10% Great Lakes Wellness collagen and products with code THEFITFORK10off

For me specifically as an older runner and athlete, I use collagen to help support my joints, ligaments, bones and overall wellness. Collagen combined with the l-citrulline in watermelon is a big win-win for my workout recovery. Feel free to use an animal or plant-based collagen powder depending on your dietary needs – or, the collagen powder can be omitted completely without any change to the recipe.

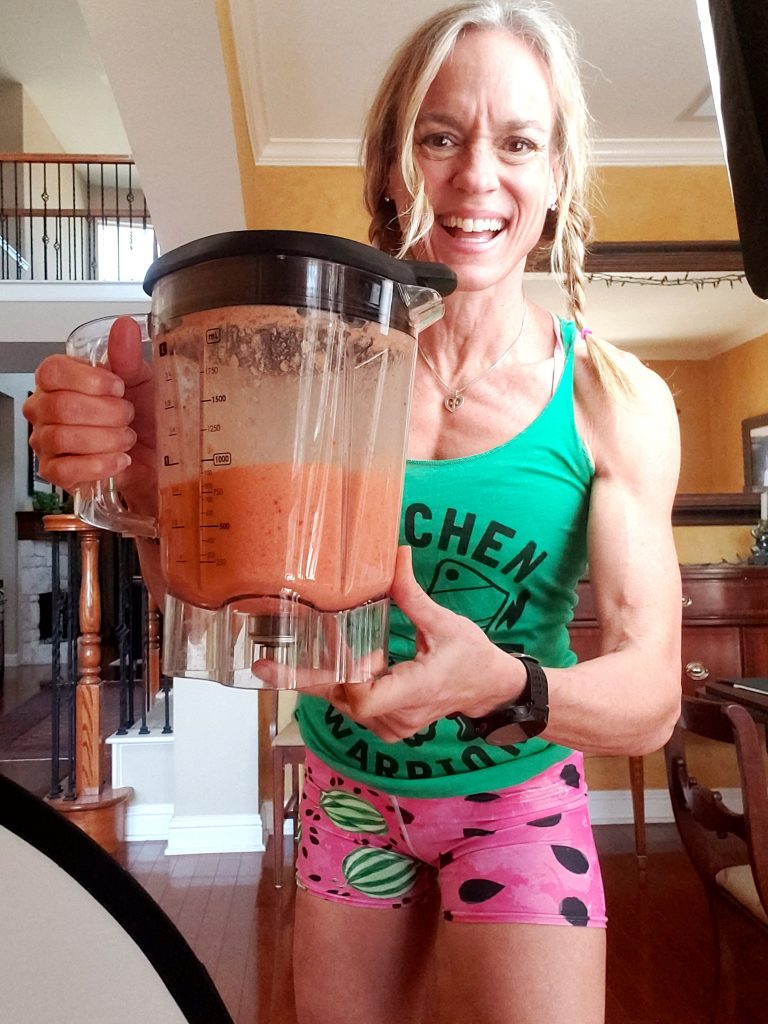
This low carb watermelon ice cream is super easy to make – let the kids make their own batch and have a family “shake off” to see who can get theirs to freeze first! Simply toss cubed watermelon in a blender with full-fat coconut cream, and puree it all up.

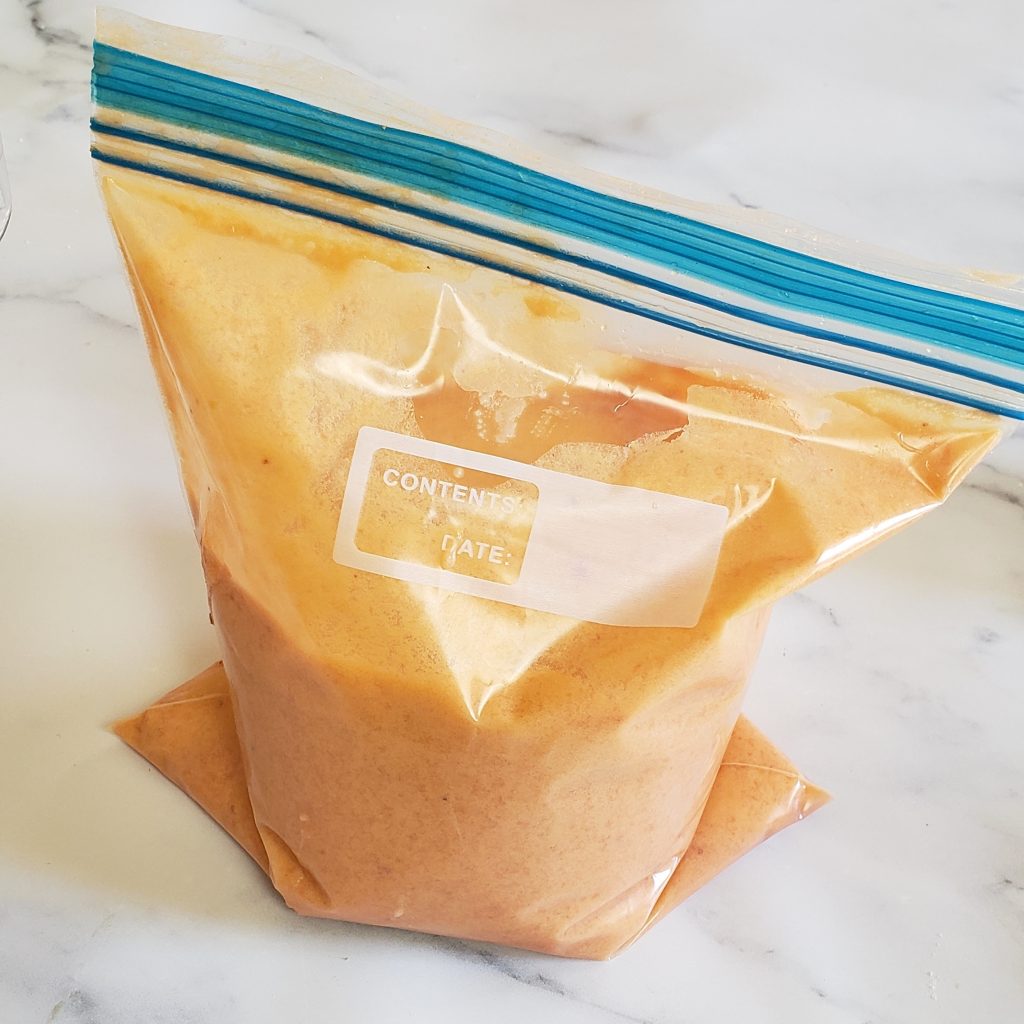
Next, pour watermelon coconut ice cream mixture in a heavy-duty zip-top bag and set inside a larger container filled with ice and 1/2 cup salt. Salt will typically be labeled “ice cream salt” or “rock salt,” in in a pinch you can use COARSE sea salt (but not regular table salt). I had to go this route as the rush on rock salt cause by the recent Texas storm. Now it is in the 80s – crazy Texas weather!

When choosing your container, you can use a big old coffee can like my mom did (if they even sell coffee like that anymore). I preferred to use a big-mouthed water jug with handle so that I could swing it around! In a pinch, you can also put the ice and salt in a bigger gallon-sized baggie.

Then all that’s left is shaking, swinging, kicking or rolling it around for about 15 minutes until the coldness of the ice (kept colder by the salt) and constant motion of the container creates a creamy sweet reward for your work!

“Shake It Up” Watermelon Ice Cream Exercise Ideas

Shake it Up Watermelon Ice Cream is a fun activity for kids of all ages — sneaking that exercise in is a win-win. Stock the freezer with frozen watermelon cubes for year-round enjoyment.

For a complete demo on how to make Shake it Up (Kick the Can) Watermelon Ice Cream, watch my IGTV video HERE.

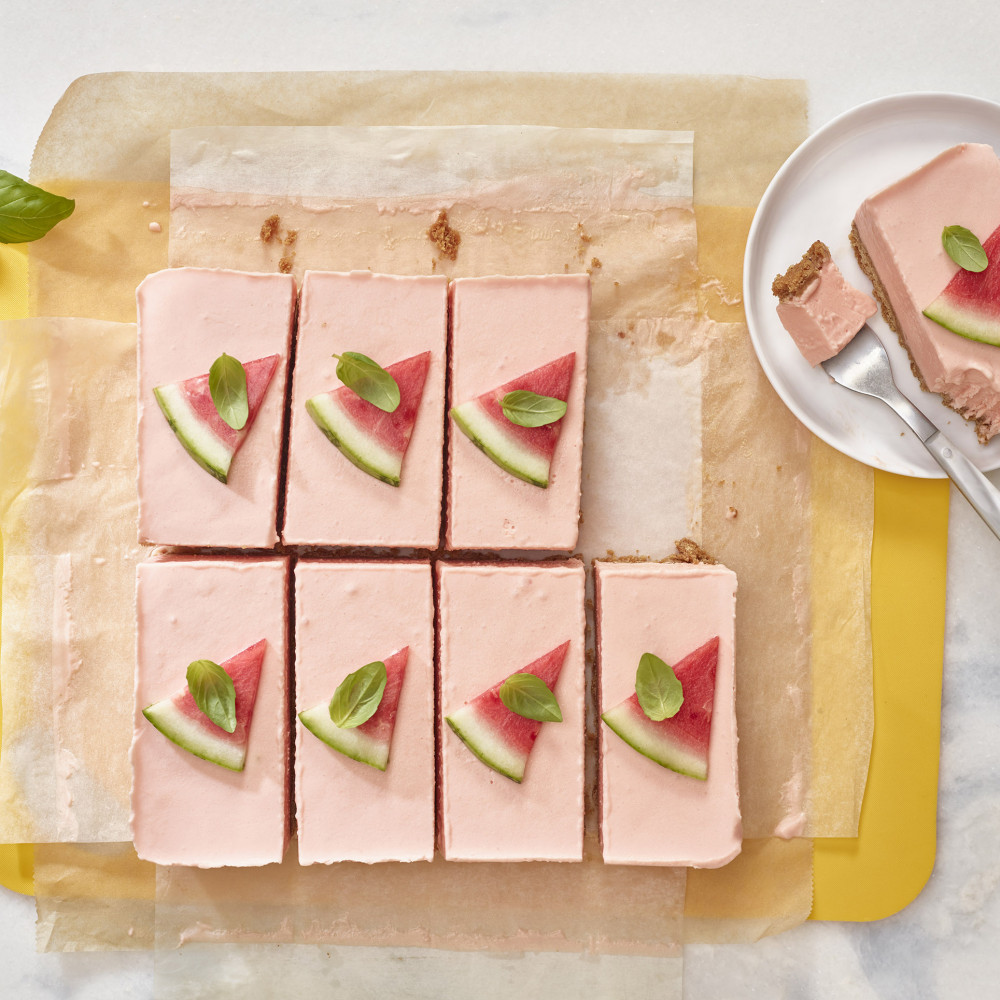
Check out the other amazing and creative watermelon recipes at Watermelon.org like Creamy Watermelon Sherbet  and Watermelon Ice Cream Bars.

watermelon ice cream bars
5 from 3 votes
“Shake It Up” Paleo Watermelon Ice Cream
Prep Time
5 mins
Cook Time
15 mins
Total Time
20 mins
 
Work up a hunger for this simple and naturally sweet watermelon ice cream that is friendly for lower carb and Paleo diets. No churning required, simply shake the ice and salt filled outer container for 15 minutes until you create a sweet reward! Fun for kids and whole family.
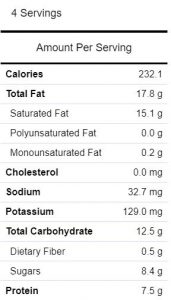
Servings: 4
Calories: 232 kcal
Ingredients
  • 3 cups chopped watermelon frozen if you want a head start, but not necessary
  • 1 13.5-oz can full-fat unsweetened coconut milk
  • ½ cup unflavored collagen powder optional
  • 5 – 15 drops liquid stevia
  • 5 to 6 cups ice cubes
  • ½ cup rock salt or coarse salt
  • Topping of choice
Instructions
  1. Add chopped watermelon to blender. Use cold watermelon chunks or if you want a head start, use frozen chunks.
  2. Add full-fat coconut milk to pitcher. Other milk options can be used (like almond milk, light coconut milk, or whole milk), but will create a less creamy result.
  3. If desired, add a plant-based or animal-based unflavored collagen powder to blender. This may be omitted completely without need to swap for another ingredient.
  4. Blend everything up until smooth, about 30 seconds. Taste test the mixture and add stevia drops to achieve your level of sweet preference.
  5. Pour mixture into a 1-quart freezer-style zip-top baggie; seal tightly.
  6. Fill container with half of the ice and salt. Use a container similar to a large coffee can, handled wide-mouth jug, or even gallon sized heavy-duty zip-top bag.
  7. Add tightly sealed smaller baggie of watermelon mixture in center. Top with remaining ice and salt. Close container lid or seal tightly.
  8. Shake vigorously for approximately 15 minutes, constantly moving the ice around ice cream mixture.
  9. Remove ice cream bag from container and snip off end. Pipe into four small bowl or cones. Enhance with toppings as desired (I used crushed freeze-dried strawberries).
Recipe Notes

Save at GreatLakesGelatin.com with code: THEFITFORK10OFF
Save 10% Code: THEFITFORK10OFF