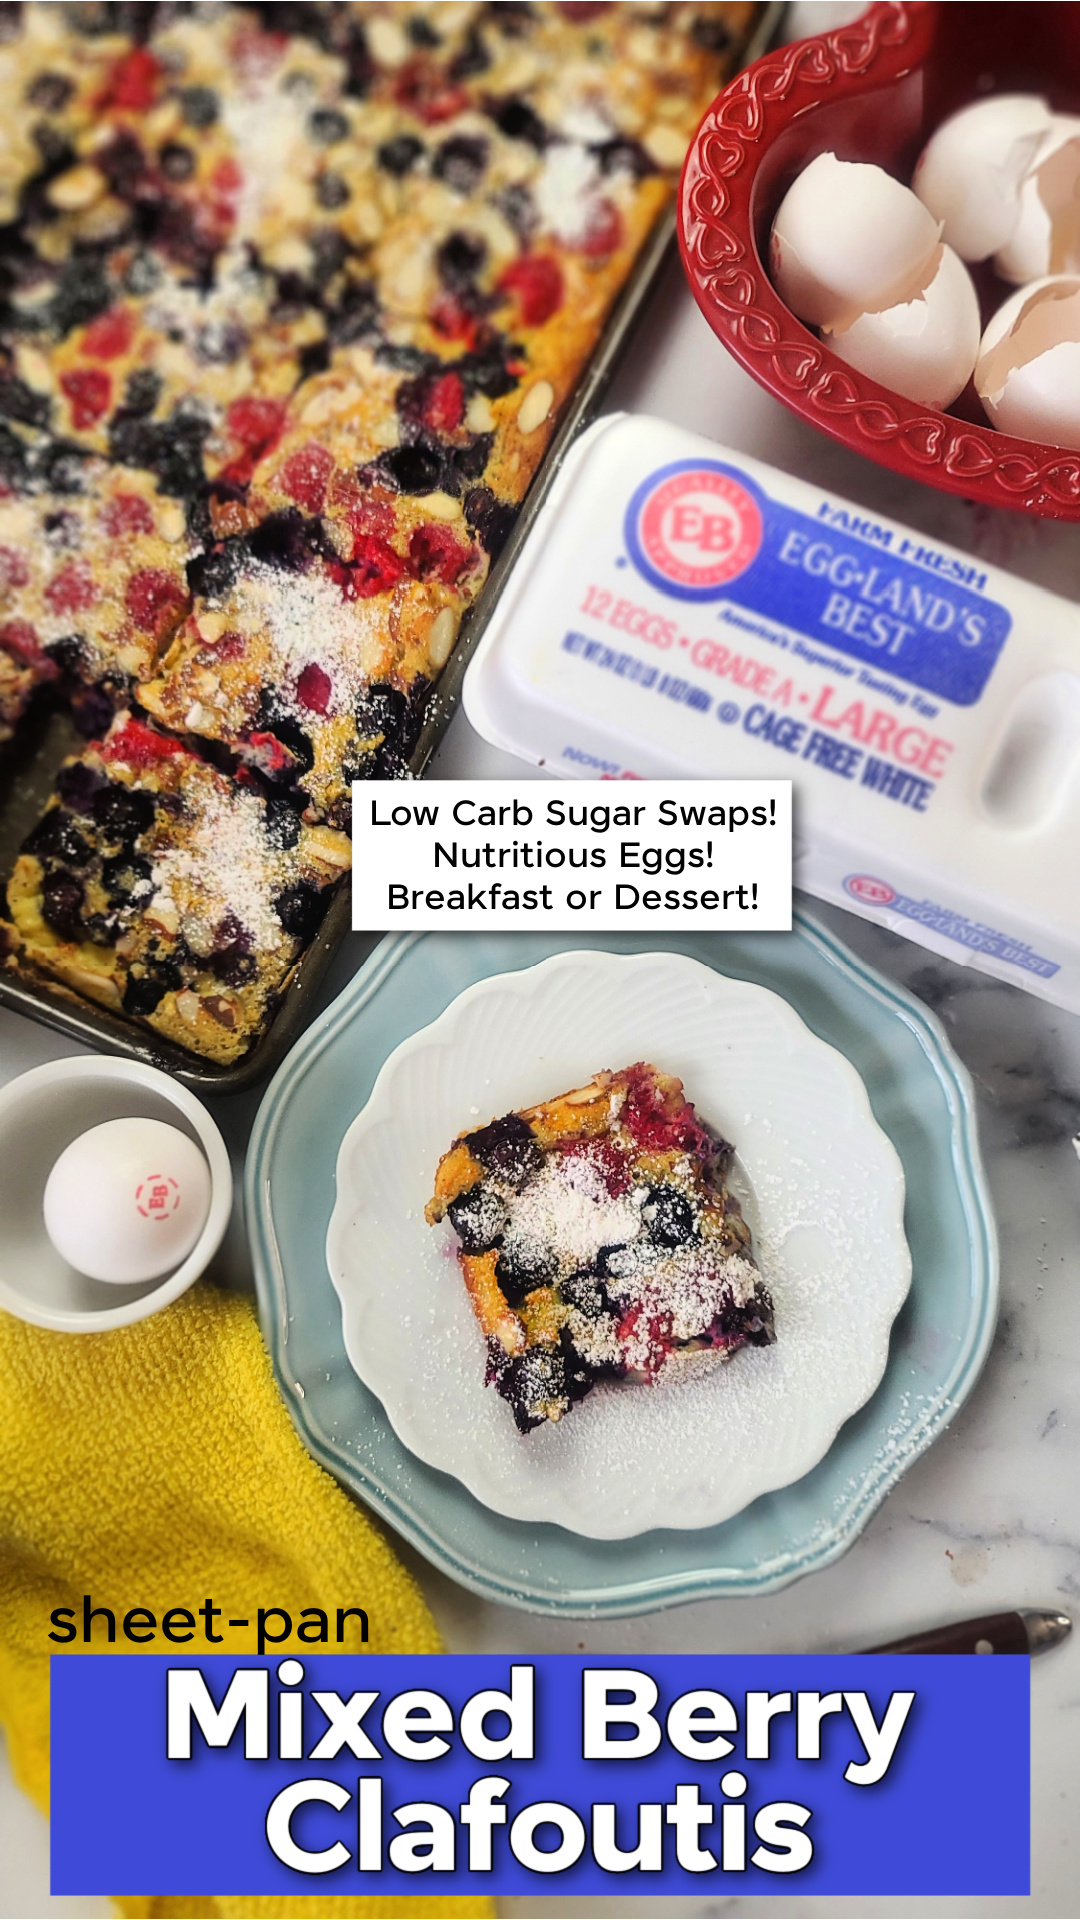
Ooh-la-la! I really love my easy Mixed Berry Sheet Pan Clafouti recipe. My take on the famous French dessert is easy, it’s bursting with beautiful berries, has been “low carbed” with sweetener alternatives and a portion of the flour with almond meal. This berry sheet pan breakfast also features a good amount of protein thanks to six eggs in the recipe.
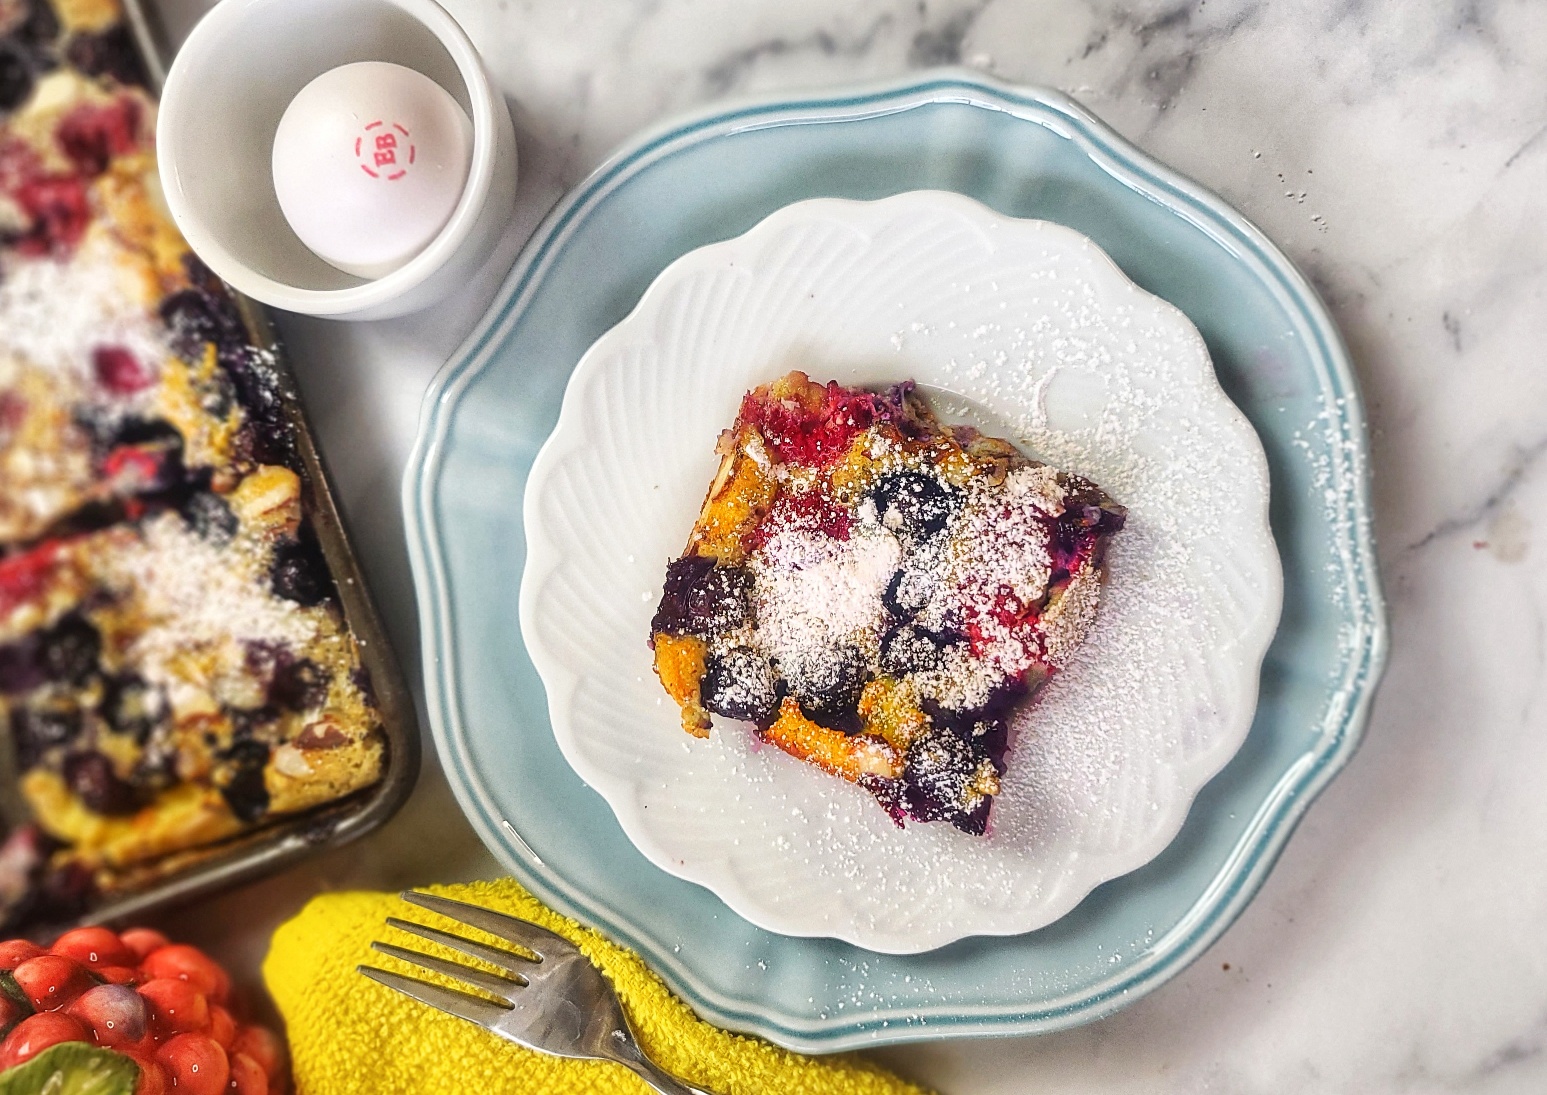
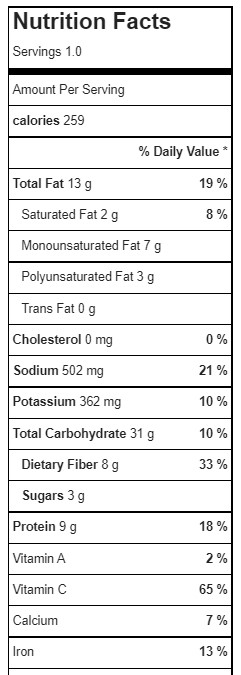
For all these reasons and more, I declare my Clafouti in a sheet pan suitable for breakfast or brunch, any day! Macros on a generous-sized serving come in at 250 calories, 12g fat, 24g carbohydrates, 4g dietary fiber, and 12g protein.

If you’ve never heard of clafoutis, it’s one of those French things. Clafoutis (the “S” is silent) is a baked dessert classically featuring black cherries (but most any fruit will work) arranged in a buttered dish and covered with a thick flan-like batter. It’s served slightly warm or room-temperature, with a dusting of powdered sugar or whipped cream.
My version is baked up in a sheet pan (actually a Jelly Roll Sheet Pan (10.5″ x 15″ x 1″), for a larger scale dish that can serve a big hungry family – or be meal-prepped to eat for breakfast, brunch or dessert throughout the week. This sheet pan clafoutis also freezes beautifully – just thaw out and warm up in the microwave on busy mornings.
The batter is pretty thin, it’s just eggs, flour (or gluten-free alternative), almond flour, and a low-carb sweetener that measures as a cup-for-cup for granulated white sugar. I really just see the atter as the binder to hold the berries together! You don’t need a mixer or blender to make it, in fact, that would over work the batter– all you need is a whisk. I’m in love with this kitchen-drawer space-saving Collapseable Whisk.
PRO TIPS:
- Let batter rest for 20 minutes to prevent a rubbery final product
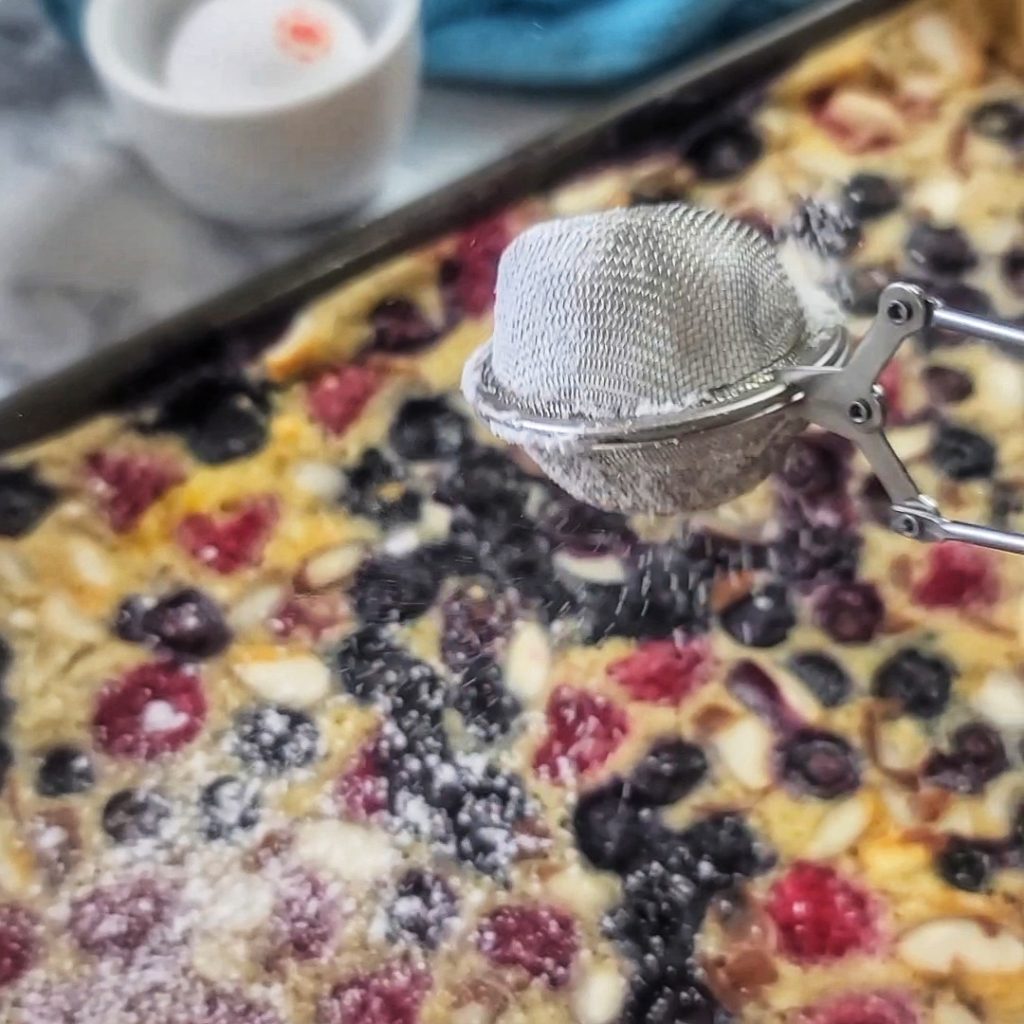
- Use a mesh tea strainer to sprinkle on powdered sugar.
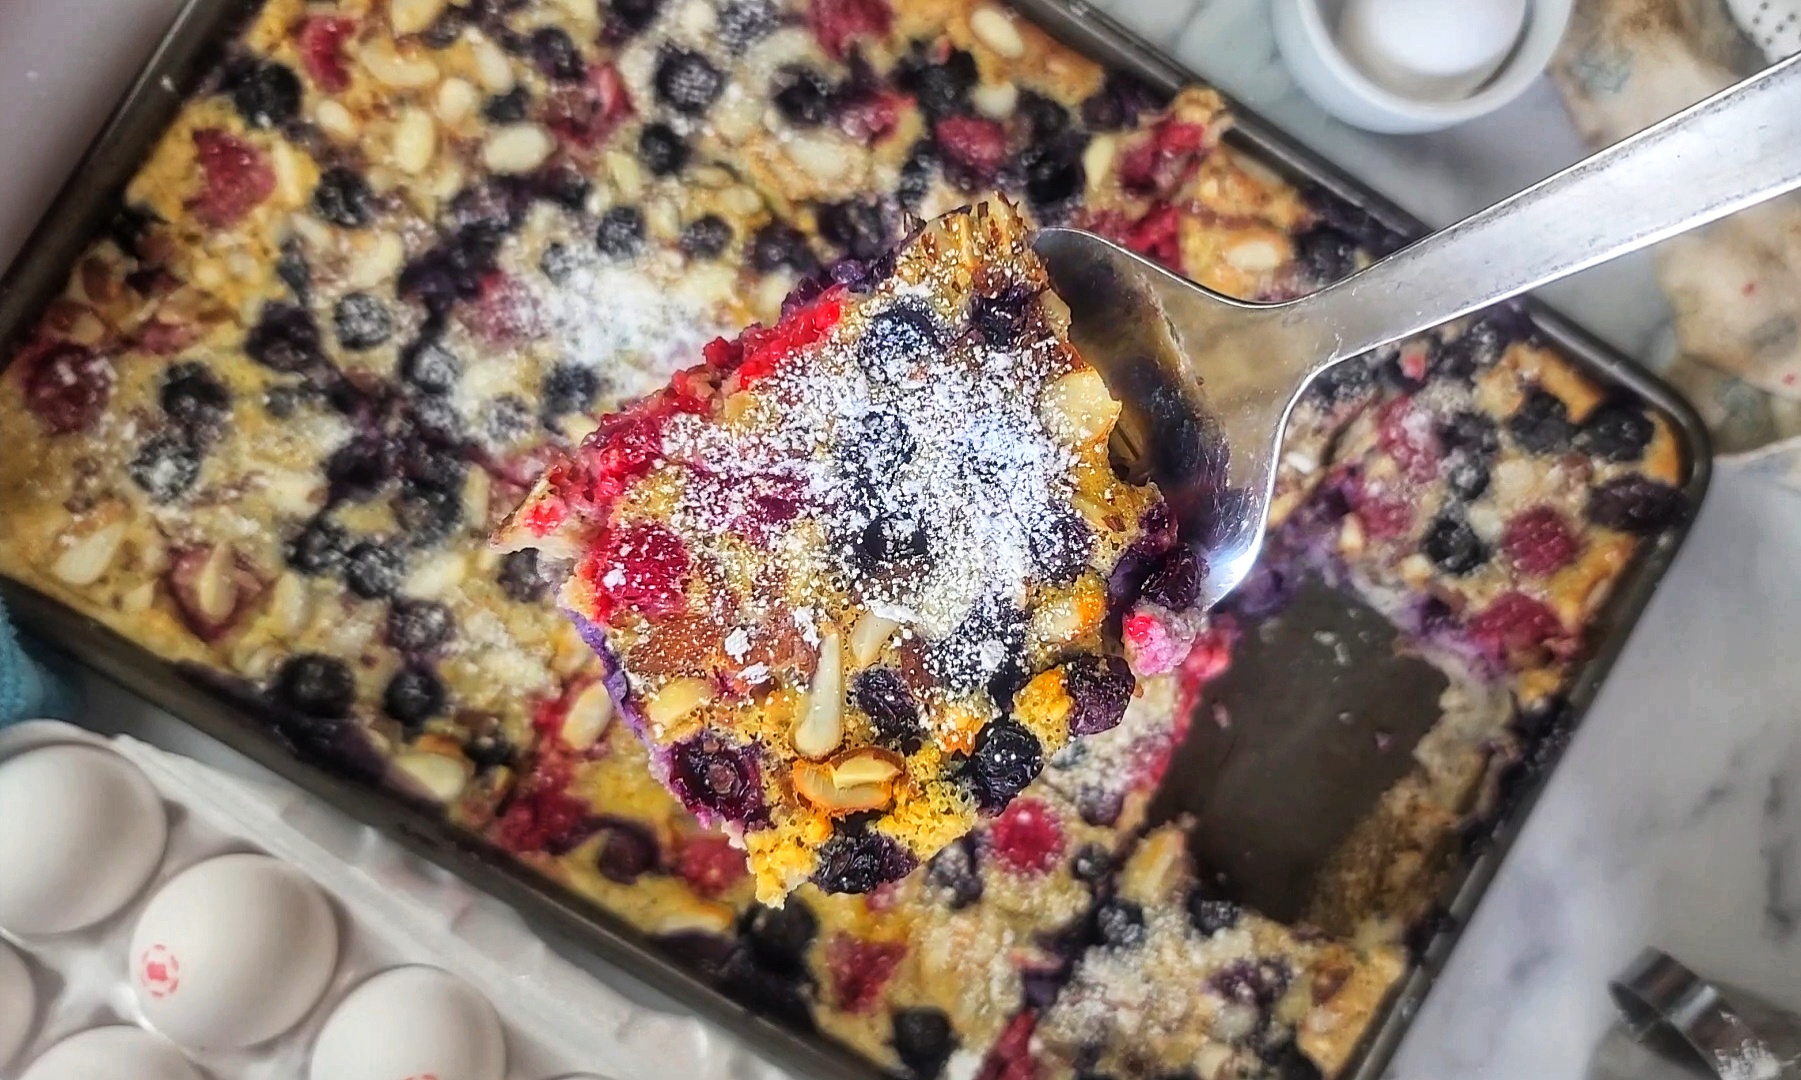
- Cut into 6 large slices (1 per serving) or 12 slices (2 per serving), your preference.
- Freeze leftovers, cut into portions and then warm up on defrost button for about 45 seconds until thawed and lightly warm.

Based on a famous French dessert, but with mindful low-carb tweaks, this Berry Clafoutis makes a delicious brunch, breakfast or healthy dessert. It reminds me of a hybrid flan-pancake. Lower cal and lots of protein from eggs. Size up for a sheet pan to make a little more than the traditional recipe.
- 6 large eggs
- 2 tsp. vanilla extract
- 1/8 tsp. salt
- ½ cup baking sweetener 1:1 cup measuring equivalency, I used a stevia blend
- ½ cup unbleached all-purpose flour or gluten-free alternative
- ½ cup packed almond meal
- 2 cups whole milk
- Baking spray for baking sheet
- 1 lb. mixed fresh berries such as blueberries, raspberries, blackberries, sliced strawberries (rinsed and dried) about 3 to 3.5 cups
- 1/2 cup sliced almonds about 2 ounces
- Optional Powdered sugar for dusting (I used a zero-carb powdered sweetener)
-
Preheat oven to 350F.
-
In large bowl, crack open eggs and whisk smooth. Whisk in milk until incorporated.
-
Next, whisk in sweetener, flour, almond meal and salt until smooth.
-
Spray 10” x 15” “jelly roll” sheet pan with baking spray. Do NOT try to use a standard 9” x 13” low-rimmed sheet pan, it will be too small and overflow. As an alternative, you can use a 9” x 13” ceramic or glass baking dish with HIGHER sides (cooking time will need to be increased).
-
Pour egg batter into pan. Gently scatter berries as evenly as possible on top of batter. Next, sprinkle on sliced almonds.
-
Bake on center rack for 40 minutes, or until turning golden on top and set. If using the 9”x13” glass baking dish, the batter will be deeper, so add on 5 to 10 more minutes of cooking time (so 45 – 50 minutes cooking time).
-
Remove from oven at let cool 5 minutes. Dust with powdered sugar or alternative, if desired. Cut into either 6 large squares or 12 smaller squares (2 smaller pieces per serving).
-
Store leftovers in fridge for up to 3 days. Reheat in microwave for about 45 seconds.