Love Your Heart with Watermelon: A Sweet Way to Support Heart Health in February (and Beyond)

Chocolate Espresso Protein Oats made in the air fryer with whole grain oats and protein powder. A gluten free, flourless, no added sugar breakfast with 23g protein—ready in under 15 minutes.

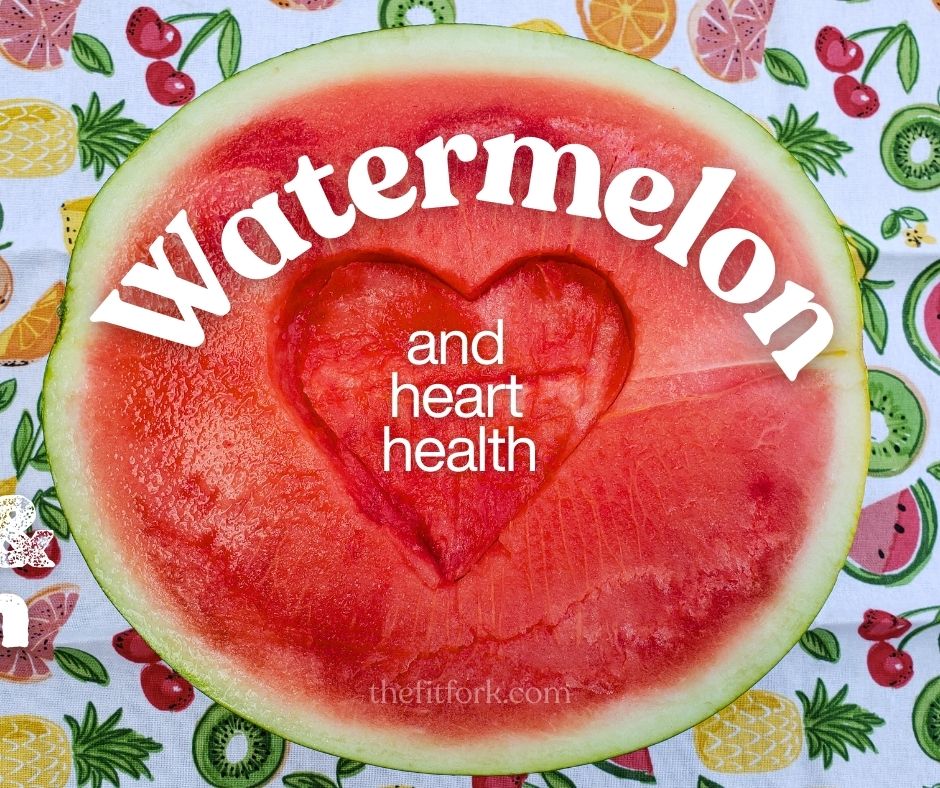
February is American Heart Month — a time to focus on cardiovascular wellness and the habits that support a strong, active life. One simple, delicious way to love your heart? Watermelon. From hydration to heart-friendly phytonutrients, this juicy fruit brings benefits you’ll want all year long.

Watermelon: Hydration That Works for Your Heart

  • Watermelon is ~92% water, making it a natural hydrator — perfect for active people who sweat, train, and need to stay balanced. Adequate hydration supports vital body processes such as delivering nutrients and oxygen to cells, flushing out waste products, and lubricating joints.  (Watermelon Board)
  • Watermelon also has nutrients that support heart health, like magnesium (6% DV), which helps keep the heartbeat steady and phosphorus (2% DV), which has a role in the electrical activity of the heart.)  (Watermelon Board)
watermelon juice is a hydrating, sweet, natural beverage that is easy and economical to make at home.
Learn how to make, store and serve watermelon juice, it’s a convenient way to get the benefits of watermelon on the go.

Lycopene Leader: An Antioxidant-Rich Nutrient

  • Lycopene is a powerful plant carotenoid. A true lycopene leader, watermelon contains 12.7 mg per 2-cup serving – more than any other fresh fruit or vegetable commonly eaten in the United States.Some research links lycopene intake with support for blood pressure, cholesterol, and overall cardio-metabolic health.Further research is needed with a larger sample size and longer duration in order to fully determine the clinical implications. (Watermelon Board)  

L-Citrulline, Blood Flow & Watermelon

  • Exciting new areas of study suggest that an amino acid called L-citrulline (286- 1266 mg per 2 cup serving) in watermelon may help to support vascular health and help maintain healthy blood flow. Larger and longer term studies are needed to demonstrate this effect in other populations(Watermelon Board)
DYK you can eat the entire watermelon? Flesh, juice, seeds and rind! Get more inspo.

Real Research Shows Diet Quality Gains Eating Watermelon

A study published in Nutrients analyzing National Health and Nutrition Examination Survey (NHANES) data suggest that people who eat watermelon had higher overall diet quality and greater intake of beneficial nutrients like fiber, magnesium, potassium, and lycopene — and lower added sugars. (Watermelon Board)

Watermelon is American Heart Association Heart-Check Certified

  • Watermelon is cholesterol-free, fat free, sodium-free, and has 80  calories per serving, and it holds the American Heart Association’s Heart-Check Certification as a heart-friendly food choice. (Watermelon Board)

How to Incorporate More Watermelon into Your Life

  • Simple swaps: Reach for watermelon instead of sugary, processed snacks. For convenience, look for fresh cuts year-round at most grocery stores.
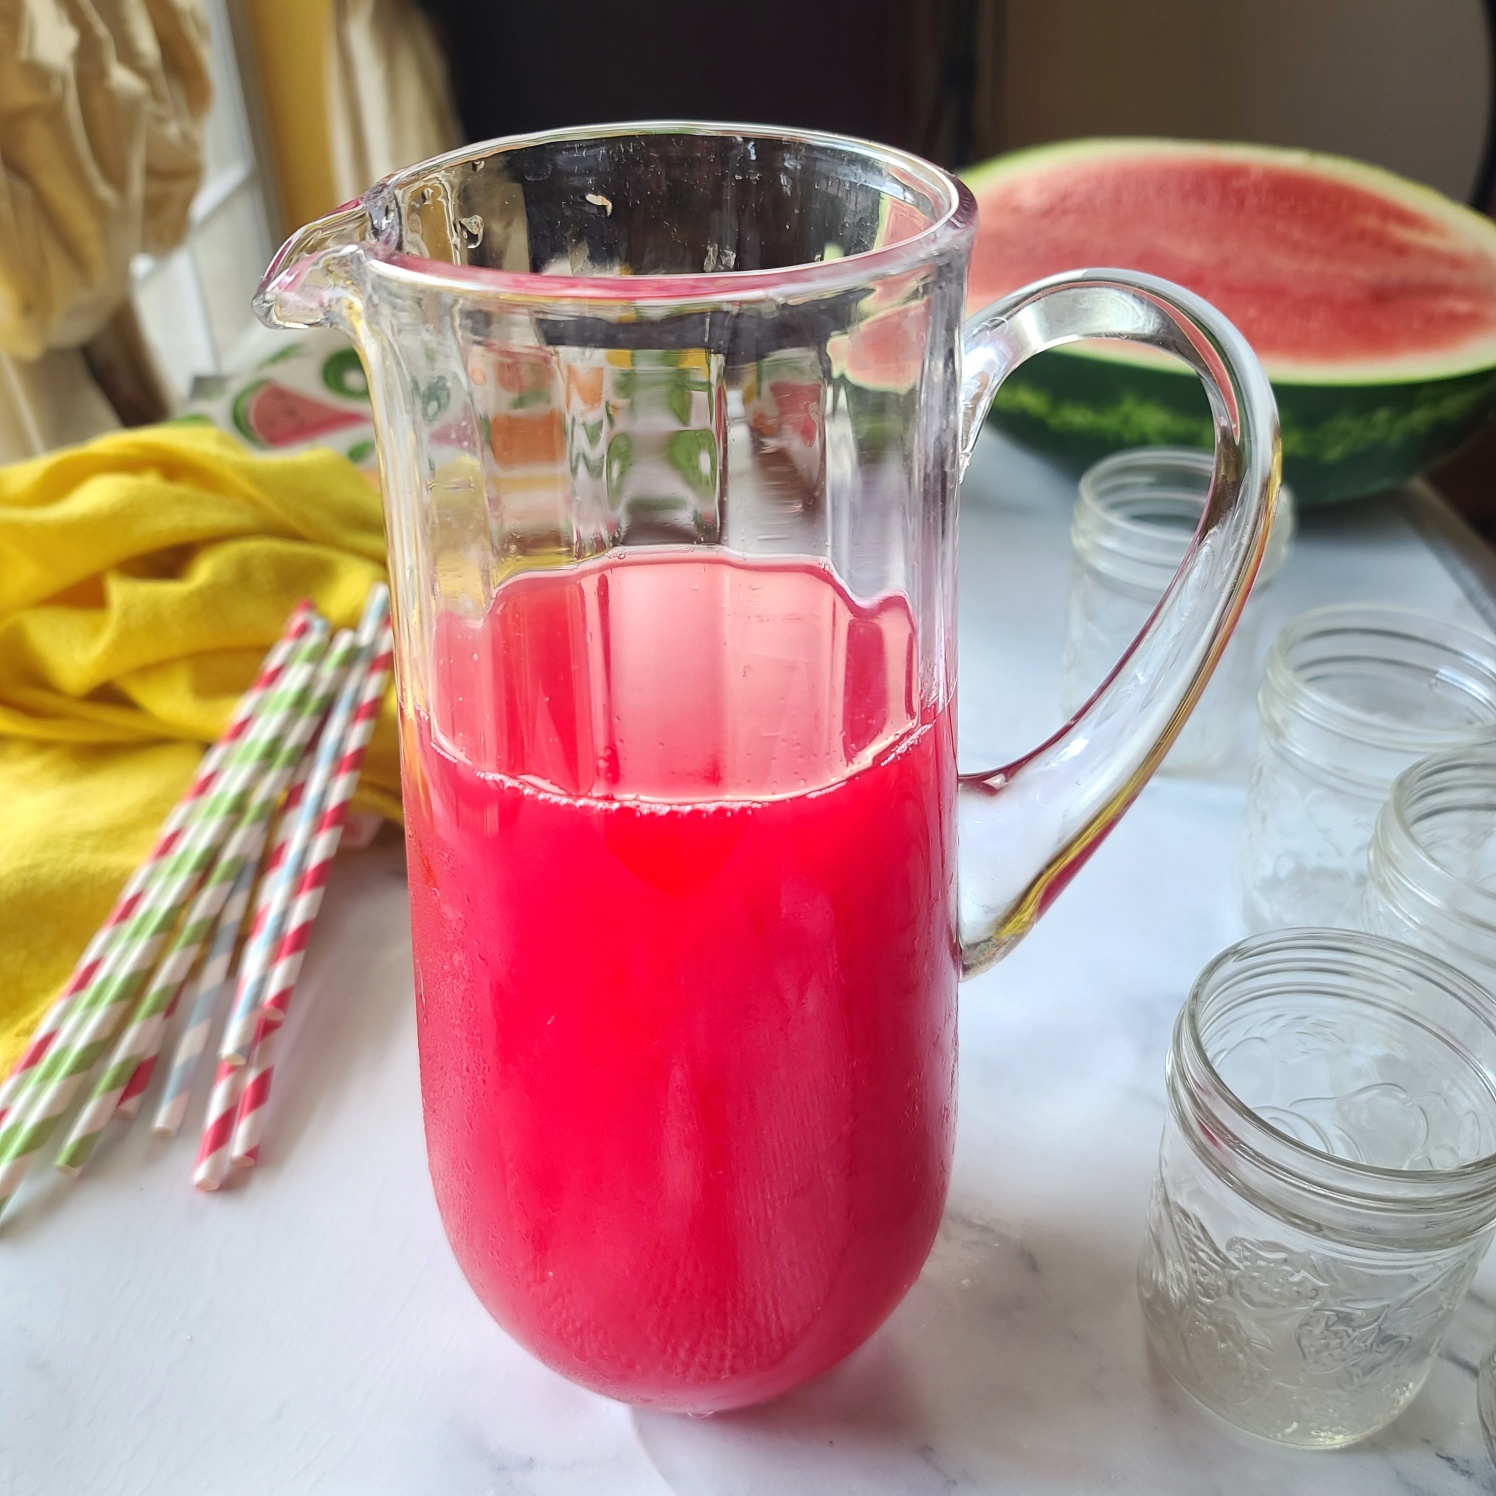
  • Hydrating snack: Freeze cubes of flesh for smoothies or use the juice to make healthy mocktails.
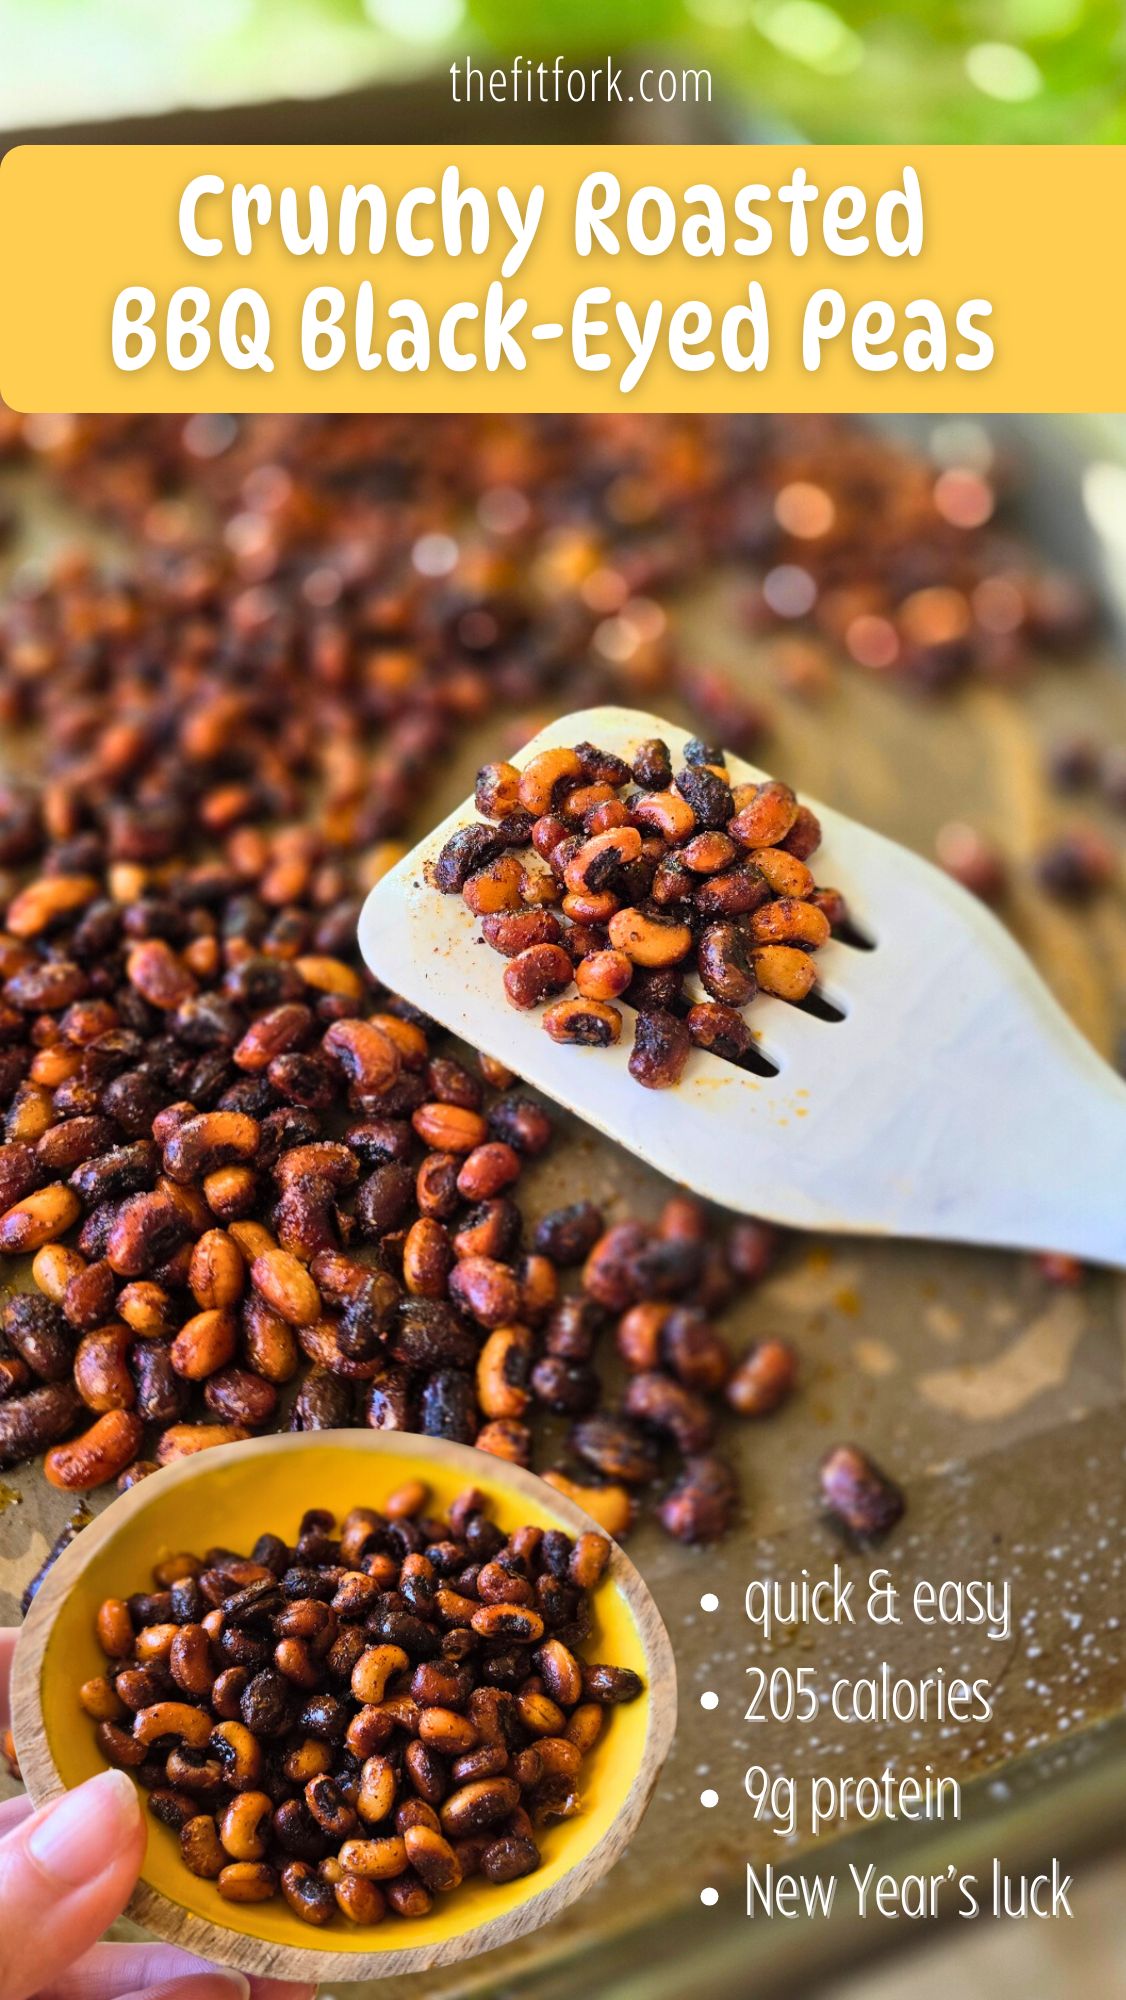
  • With protein: Watermelon pairs well with yogurt (dairy or plant-based), cottage cheese or seeds/nuts for balance
  • In your active routine: Add watermelon to a breakfast bowl, munch on as a post-ride or run snack and (always!) enjoy as a poolside refreshment.
  • Recipes & More: Search “Watermelon” here at TheFitFork.com or visit the impressive recipe collection at Watermelon.org.

Loving your heart doesn’t require complicated foods or fads — it starts with simple choices that add up. Watermelon is a delicious way to stay hydrated, help support heart health, and boost overall wellness. Plus, let’s not forget the joy – watermelon is a‘happy mood’ food and is often shared in social settings – both of which support wellness!

Note: This post is sponsored by the National Watermelon Promotion Board

Roasted BBQ Black-Eyed Peas for New Year’s (and Beyond)

Black-eyed peas have long been tied to New Year’s traditions, symbolizing luck, prosperity, and abundance for the year ahead. And while they’re often served simmered with greens or tucked into classic comfort dishes, this crunchy, roasted version gives the tradition a modern, snack-worthy upgrade.

Think: roasted chickpeas… but with a Southern soul and a spicy-sweet BBQ vibe. Roasted with olive oil and a BBQ seasoning that’s easy and economical to mix up from basic spices in our pantry. Black eyed peas transform into a snack that hits all the notes – crunchy, savory, salty-sweet!

Why We Eat Black-Eyed Peas on New Year’s Day

Across the Southern U.S., black-eyed peas are a staple on New Year’s Day, representing coins or wealth – a hopeful, nourishing start to the year.  Whether you’re deeply rooted in the tradition or just love a meaningful food moment, this recipe lets you honor the symbolism without feeling tied to a heavy or time-consuming dish.

 Crunchy Roasted BBQ Black-Eyed Peas put a modern twist on a New Year’s good luck tradition. A healthy, high-fiber snack that’s perfect for salads, soups, or on-the-go fuel.

Health Benefits of Black-Eyed Peas

Beyond the good-luck lore, black-eyed peas are a nutritional powerhouse, making them a smart choice for active lifestyles and everyday eating.

  • Rich in plant-based protein, helping with satiety and muscle repair
  • High in fiber, supporting digestion and steady energy
  • Packed with complex carbs, ideal for fueling workouts, hikes, and busy days
  • Naturally low in fat, while still deeply satisfying

Tips for Roasting Black-Eyed Peas

  • Use fresh, shelled, pre-soaked black eyed peas. Canned black-eyed peas will be too mushy. Fresh black-eyed peas great for this recipe can typically be found in the produce section and must remain refrigerated until use.
  • Pat dry. If there is any moisture or condensation on the black-eyed peas, pat dry before beginning recipe so that oil and spices will adhere.
  • Sugar substitutions: I used coconut sugar, but you can easily replace that for brown sugar, date sugar — or skip all together.
  • Easy clean-up. Line pan with parchment paper preferably, or foil before adding peas.
  • Single layer. When spreading out on the baking sheet, make sure that peas are not piled up. They must be in a single layer to promote even cooking.
  • Check often. Check 10 minutes or more to turn up with a spatula and rotate pan in the oven. Near the end, keep a close eye so they don’t burn.

How to Serve Roasted Black-Eyed Peas

  • Straight-up snack – like popcorn, but with protein and fiber
  • Salad or bowl topper – adds crunch and smoky flavor without croutons
  • Soup “crunchies” – sprinkle over chili, veggie soup, or stew
  • Trail or hike fuel – lightweight, shelf-stable, and satisfying
  • Lunchbox or road-trip snack – no refrigeration required
Crunchy BBQ Roasted Black-Eyed Peas
Prep Time
5 mins
Cook Time
30 mins
Total Time
35 mins
 

Crunchy Roasted BBQ Black-Eyed Peas put a modern twist on aNew Year’s good luck tradition. A healthy, high-fiber snack that’s perfect forsalads, soups, or on-the-go fuel.

Course: Snack
Cuisine: American, Southern
Keyword: black eye peas, good luck, new year
Servings: 4 servings
Calories: 205 kcal
Ingredients
  • 10 oz fresh shelled black eyed peas not canned or dried
  • 2 tsp olive oil
  • 2 tsp coconut sugar or can sub brown sugar
  • 1 tsp smoked paprika
  • 1 tsp chili powder
  • 1 tsp garlic powder
  • ½ tsp salt
Instructions
  1. Pre-heat oven to 400F.
  2. Pat any moisture off black eyed peas with a paper towl. Add to bowl. Toss with olive oil.
  3. Mix together spices and sprinkle into bowl and stir to ensure all peas are coated.
  4. Spread out in single layer on rimmed baking sheet and roast in the oven for 25-35 minutes, stirring them up every 10 minutes or so. Keep a close eye near the end so they don’t burn.
  5. Serve warm or room temp. Store leftovers in air-tight container for 3-4 days.
Recipe Notes

Cinnamon Maple Air Fryer Apples: A Healthy Fall Dessert

There’s something magical about the smell of warm cinnamon and maple wafting through the kitchen. These Cinnamon Maple Air Fryer Apples are everything you love about apple pie — sweet, cozy, comforting — but without the crust, butter, or refined sugar. It’s a lighter, faster, and more wholesome way to enjoy the flavors of fall.

Perfectly tender and caramelized, these apples make a versatile dish that can be enjoyed in so many ways. Eat them warm right out of the air fryer for a quick snack, or get creative — spoon them over vanilla ice cream for an easy dessert, wrap them up in a crepe, or pile them on top of your morning oats, pancakes, or waffles. They even taste amazing on a toasted bagel with cream cheese for a sweet breakfast twist.

Why You’ll Love This Recipe

  • Quick & easy: Ready in minutes with minimal ingredients.
  • Healthier dessert option: Naturally sweetened with maple syrup — no refined sugar needed.
  • Gluten-free & vegan-friendly: Simple, wholesome, and allergy-friendly.
  • Perfect fall flavor: Warm cinnamon spice meets sweet, caramel-like maple syrup.

Pro Tips for Perfect Air Fryer Apples

  • Batch size matters: If your air fryer is on the smaller side, cut the recipe in half or cook in two batches. Larger oven-style air fryers can handle about 2 pounds of apples at once.
  • Choose the right apples: Firm varieties like Honeycrisp, Pink Lady, or Braeburn hold up beautifully in the air fryer, keeping their texture while becoming soft and caramelized.
  • Don’t skip the oil: A touch of oil helps the apples from sticking and also keeps the edges from getting too crispy. Liquid coconut oil  is a great choice but light olive oil or canola work perfectly too.
  • Use real maple syrup: Pure maple syrup brings a rich, natural depth that’s hard to beat — though pancake syrup in a pinch or even sugar-free alternatives can work if you’re watching carbs.
  • Cinnamon choice: Opt for Ceylon cinnamon if you can find it — it’s softer, more complex, and lower in coumarin (a plant compound that creates potential liver toxicity in higher amount) —  making it a better choice for regular use.

Whether you’re craving a guilt-free treat, need a quick dessert for guests, or just want your kitchen to smell like fall, these air fryer apples will hit the spot every time.

Note: This post contains affiliate links. may earn a small commission from purchases made through links. Proceeds help offset operating expenses for The Fit Fork – thank you!

Cinnamon Maple Air Fryer Apples
Prep Time
5 mins
Cook Time
12 mins
Total Time
17 mins
 
Enjoy warm, cinnamon-dusted, maple syrup glazed air fryer apples — a healthy, gluten-free dessert that tastes like apple pie without the crust. Quick, easy, and made with no refined sugar!
Course: Breakfast, Dessert, Snack
Keyword: air fryer, apples
Servings: 6 servings
Ingredients
  • 2 lbs* small apples cored and sliced 1/3” thick
  • 1 tbsp oil of choice
  • 2 tsp cinnamon
  • 2 tbsp maple syrup
Instructions
  1. Remove apple cores and slice into 1/3” inch slices. Toss apples in oil and cinnamon.
  2. Preheat air fryer to 375°F. Add apples to air fryer basket, spreading out in a single layer (there will be some edges that overlap, but just try not to overfill the tray and pile slices up on each other).
  3. Air fry for about 10-14 minutes or until soft and tender, stirring up apples halfway through for even cooking.
  4. Once apples are cooked, transfer to bowl and drizzle with syrup, stirring in to coat evenly. Serve immediately.
  5. A great addition to pancakes, waffles, oatmeal – or serve as a dessert with ice cream.
  6. Leftovers: Keep leftover cooked apples for up to 5 days in the refrigerator in an air tight container (reheat in microwave).

Giant Protein Snickerdoodle Cookie | Vegan + Toaster Oven Friendly!

Sometimes a craving for something sweet, soft, and cinnamon-sugar coated just hits hard. That’s where this Giant Protein Snickerdoodle Cookie steps in—bringing all the cozy, nostalgic cookie vibes without a sugar crash or guilt. Best of all? It’s totally vegan and packs in 27 grams of plant-based protein!

I created this single-serve recipe for those days when you just need a cookie—stat—but also want to stay on track with your health goals. It’s made with Nourify PLUS from Previnex (use code thefitfork to save 15%), a complete vegan protein powder that blends beautifully into baked goods.

 Instead of egg, I used a gelled chia seed mixture to hold everything together naturally. Peanut flour adds even more protein and keeps it a gluten-free recipe. However, you can use an all-purpose flour, if desired.

The sheer size of this “bis as yo’ face” cookie finished in cinnamon feels indulgent… yet it’s made with good-for-you ingredients. You can even bake it in a toaster oven, so no need to heat up the whole kitchen!

Perfect for a protein-packed breakfast, post-workout treat, or late-night snack—this vegan protein cookie proves you really can have your comfort food and feel good about it too.

Giant Protein Snickerdoodle
Prep Time
10 mins
Cook Time
12 mins
Total Time
22 mins
 

I’m all about a big snack with big benefits, Protein Snickerdoodle Cookie: Made with a plant-based protein powder it packs 27 grams of protein, is gluten-free, and dairy-free. Gelled chia seeds replace eggs to keep my vegan friends happy. Single-serve, full of cinnamon goodness, and yep—you can even bake it in a toaster oven!"

Course: Dessert, Snack, workout
Keyword: cookie, protein powder, vegan
Servings: 1 serving
Calories: 364 kcal
Ingredients
  • 2 teaspoon chia seeds
  • 2 tablespoons water
  • 2 scoops plant-based protein powder such as Previnex Nourify – 60 grams
  • 3 tablespoon peanut flour, chickpea flour or finely ground almond flour (or regular all-purpose flour, but recipe will have less protein)
  • 2 little packets stevia sweeter
  • ¼ tsp baking powder
  • ¼ tsp cream of tartar
  • ¼ teaspoon ground cinnamon
  • 2 teaspoons coconut oil
Instructions
  1. In a small bowl, add chia seeds to water and let sit for 10 minutes until gelling.
  2. In another bowl, mix together protein powder, flour, stevia, baking powder, cream of tartar and cinnamon until combined.
  3. To these dry ingredients, stir in oil and the gelled chia seed mixture and stir until incorporated. Use hands to form into one large dough ball.
  4. Spray center of baking sheet with cooking spray, or use silicone baking sheet. Set dough ball on top of this spot.
  5. Use hands or spray a flat-bottomed bowl with cooking spray and press down on dough ball until spread out approximately 5 inches in diameter. Use hands to shape sides, if needed.
  6. Sprinkle with a little extra cinnamon.
  7. Bake at 350 F degrees in the oven (or toaster oven) for approximately 10 to 12 minutes, or center set and edges and top turning light golden brown.
  8. Remove from oven and let rest on pan for 2 minutes. Eat.
Recipe Notes

Peanut Crunch Asian Edamame Quinoa Salad, Packed with Plant Protein

Peanut Crunch Asian Edamame Quinoa Salad is a meal that is as vibrant and colorful as it is nutritious -the perfect balance of flavor, texture, and good, clean fuel for your body. At just 193 calories per serving, it’s a smart choice for healthy eating without sacrificing taste. Plus, it’s packed with plant protein and more that 20% of your daily fiber needs to keep you satisfied throughout the day.

PLANT PROTEIN TRIO

I love it when a plant-based salad, like this Peanut Edamame Quinoa, boasts an impressive protein content—11 grams per serving—thanks to the dynamic trio of quinoa, edamame, and peanuts. Quinoa is a complete protein, meaning it contains all nine essential amino acids your body needs, making it a fantastic plant-based option. Edamame, or young soybeans, is another excellent protein source, rich in antioxidants and phytonutrients. And let’s not forget the peanuts! While they add a satisfying crunch, they also contribute a dose of protein and healthy fats, balancing flavor and nutrition. Together, these three ingredients make this salad a powerhouse for muscle repair, energy, and overall health.

FRESH VEGGIE INGREDIENTS

In addition to quinoa and edamame, this peanut crunch salad recipe is loaded with fresh, colorful vegetables that bring both crunch and a wealth of vitamins and minerals.

  • Carrots: A vibrant source of beta-carotene, which supports healthy vision and skin.
  • Cucumber: Hydrating and refreshing, cucumbers add a light crunch and are rich in vitamin K.
  • Celery: Crisp and fibrous, celery is a low-calorie addition packed with antioxidants.
  • Red Onion: Adds a zesty kick while providing vitamin C and beneficial compounds that support heart health.

These ingredients don’t just make the Asian Edamame Quinoa Salad look stunning and taste so crispy fresh, they also provide essential nutrients to keep you feeling your best. If you don’t like one of these ingredients, omit or swap – this recipe is forgiving. For example, you could do green onion instead of red onion, zucchini instead of carrot, or red bell peppers instead of or in addition to the carrots!

LOW-FAT PEANUT DRESSING

I’m all about moderation, that’s why the tangy peanut dressing uses peanut butter powder to capture the nutty flavor and creaminess without the extra fat and calories that using regular peanut butter would. This smart swap keeps the Asian peanut dressing with peanut butter powder recipe irresistibly tasty while lowering the total fat content to just 5 grams per serving  — and you still get to use chopped Spanish peanut in the salad toss.

MEAL PREPPING QUINOA SALAD

This salad isn’t just delicious—it’s practical too as are basically all high-protein quinoa salads. It stays fresh and crisp in an air-tight container (these are great, reusable meal prep containers) for up to 4-5 days in the fridge, making it a perfect option for meal prep. Whip up a batch at the start of the week and enjoy it as a grab-and-go lunch or an easy dinner side. Since it’s best served cold, it’s ideal for a brown-bag lunch, an on-the-go meal, or even a quick eat-at-your-desk solution. No reheating required—just open your container and dig in! If you’d like to make it heartier, add pre-cooked protein options like grilled shrimp, chopped chicken breast or salmon bites.

Peanut Crunch Asian Edamame Quinoa Salad
Prep Time
15 mins
Total Time
15 mins
 

Vibrant, colorful, and fun to eat! This Peanut Crunch Asian Edamame Quinoa Salad is a nutrient-packed powerhouse with only 193 calories, 11g protein, and over 20% of your daily fiber needs per serving. It's great for meal prep!

Course: entree salad, Salad, Side Dish
Cuisine: Asian, meal prep, pot luck
Keyword: edamame, peanut butter powder, peanuts, quinoa
Servings: 6 servings
Calories: 193 kcal
Ingredients
  • 2 cups COOKED Quinoa
  • 1 cup chopped cucumber
  • 1 cup shelled edamame soybeans
  • 1/3 cup chopped red onion
  • 1/3 cup chopped celery
  • 1 cup julienned carrots
  • 1/3 cup chopped cilantro
  • 1/3 cup chopped roasted Spanish peanuts
  • For Dressing:
  • 2 Tbsp rice vinegar
  • 2 Tbsp maple syrup
  • 1 Tbsp ginger paste or fresh grated
  • 2 tsp ginger paste or fresh minced
  • 2 Tbsp water
  • 2 Tbsp coconut aminos or soy sauce
  • 2 Tbsp fresh lime juice
  • ¼ cup peanut butter powder like Pbfit
Instructions
  1. Cook quinoa according to package instructions to yield 2 cups cooked.
  2. Let quinoa cool to at least room temperature.
  3. In large bowl, toss together all salad ingredients.
  4. In small bowl, whisk together dressing ingredients (alternately, you can shake up salad ingredients in a mason jar).
  5. Drizzle dressing over salad; stir well to distribute evenly.
  6. Best serve cold, in my opinion. Leftovers stay fresh covered in fridge for 4-5 days.
Recipe Notes